

Page 1
Repair Kit
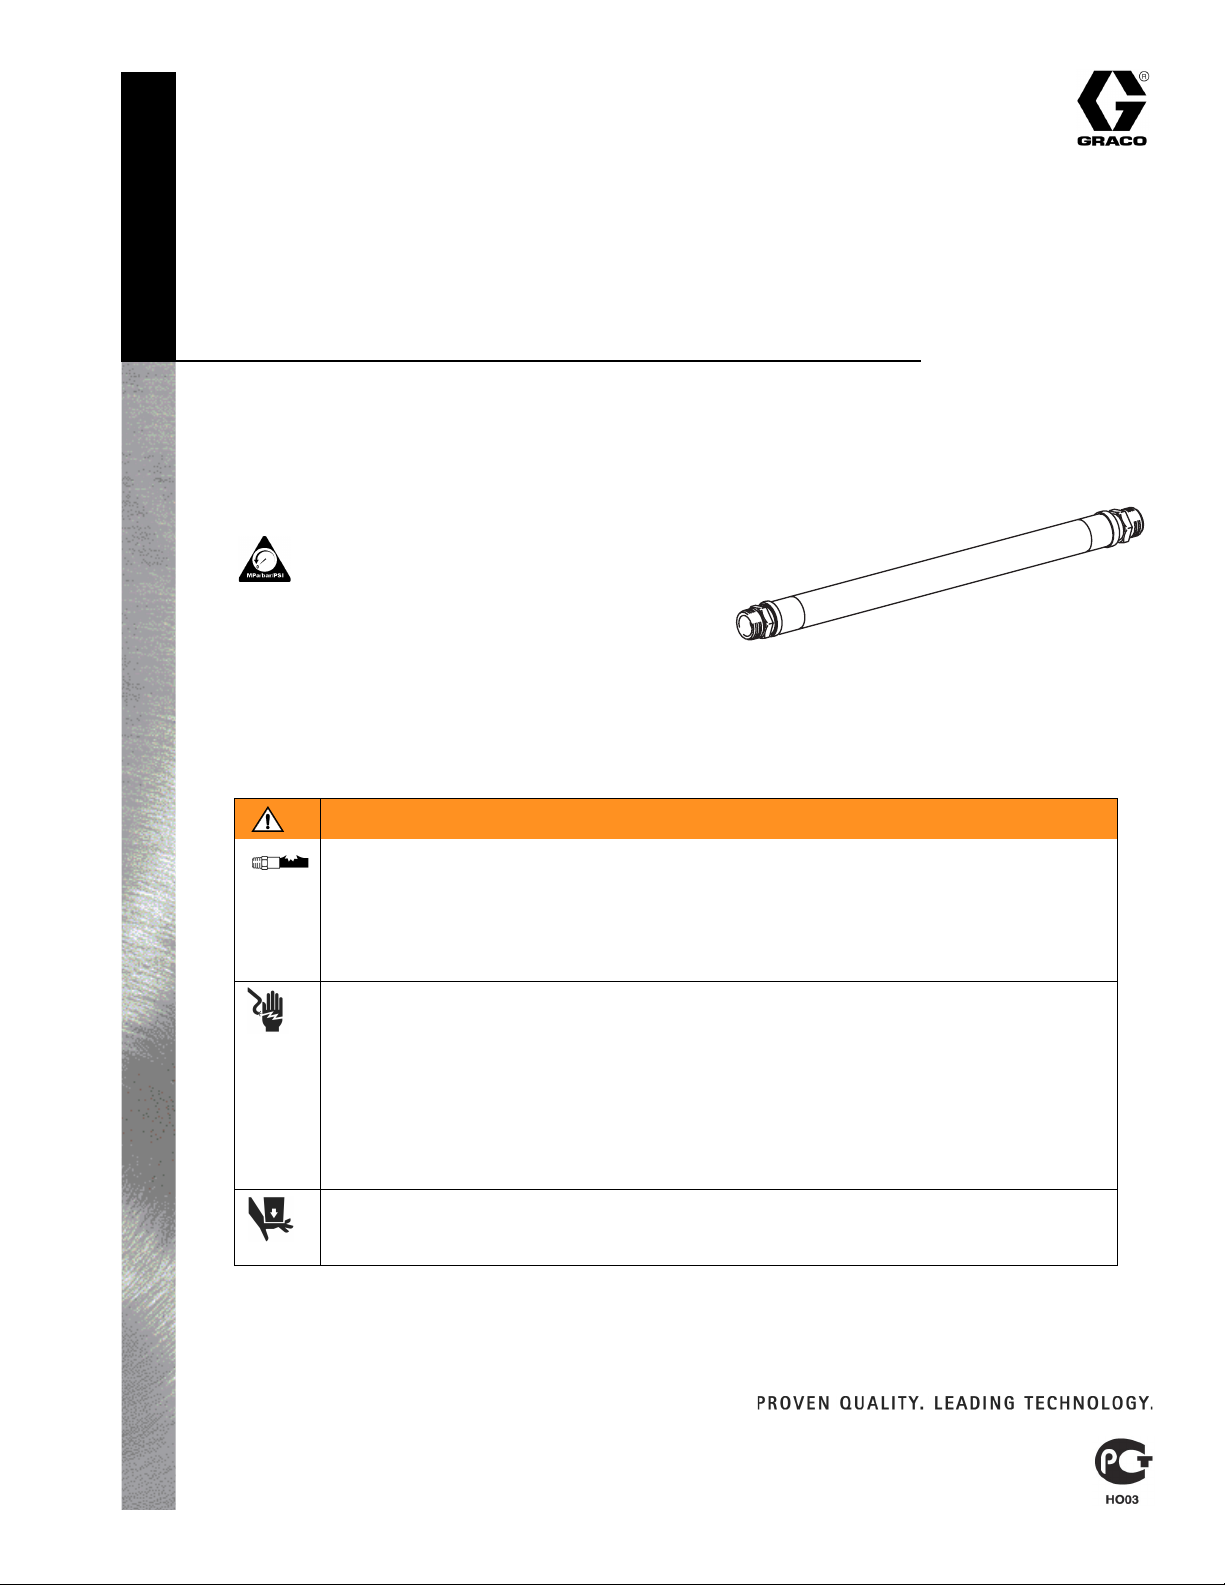
RotoFlex™ Pump
Part No. 234156
60 psi (4.1 bar) Maximum Working Pressure
Pressure Relief Procedure
T
o reduce the risk of serious bodily injury, including electric shock and splashing fluid in eyes, follow this procedure whenever you stop spraying:
ti3126a
1. Shut OFF air source.
309793 A
2. Disconnect power source.
3. Turn gun air valve ON.
WARNINGS
Pressurized Equipment Hazard
Fluid from gun, leaks or ruptured components can splash in the eyes or on skin and cause serious
injury.
•Follow Pressure Relief Procedure when you stop spraying and before cleaning, checking or
servicing.
• Wear protective clothing, gloves, and eyewear.
Electric Shock Hazard
To reduce the risk of electric shock:
• Be sure sprayer is adequately grounded through electrical outlet.
• Use only 3-wire, extension cords.
• Make sure ground prongs are intact on sprayer and extension cords. Improper installation of
grounding plug will result in a risk of electrical shock, fire or explosion that could cause serious injury or death.
• Turn off sprayer. Follow Pressure Relief Procedure and unplug unit, before removing any
parts.
Pinch Hazard
• Do not operate with cover removed.
• Keep clear of moving parts.
Graco Inc. P.O. Box 1441 Minneapolis, MN 55440-1441
www.graco.com
Copyright 2003
Graco Inc. is registered to I.S. EN ISO 9001
Page 2
RotoFlex Pump Repair Kit
ti3119a
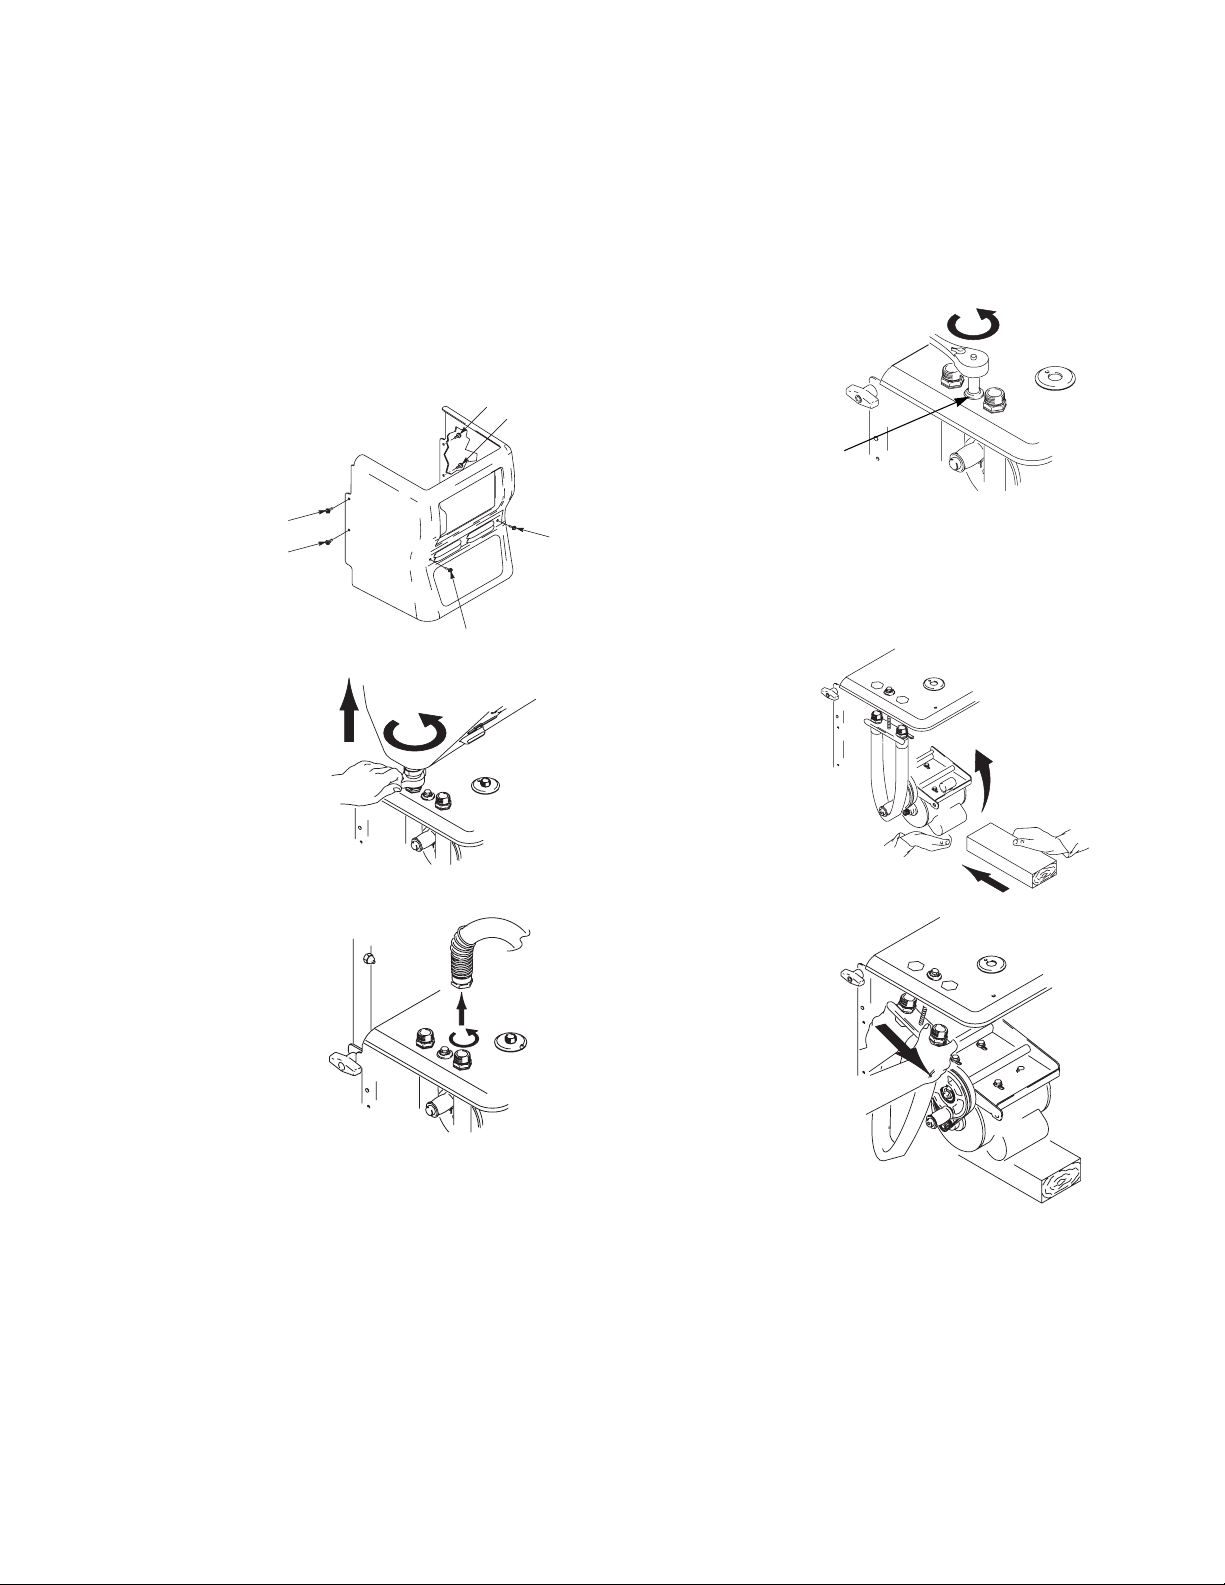
Disassembly
RotoFlex Pump Repair Kit
Relieve Pressure,
1.
page 1.
2. Unplug sprayer from outlet.
3. Remove shroud
(6 bolts).
1
2
4. Remove hopper by
loosening bottom
fitting and then lifting hopper straight
up, off unit.
ti3025a
ti3118a
6. Loosen bolt (A)
located between air
and material hose
outlets. Unscrew
6
5
bolt to lower plate,
leaving about 4-5
threads on bolt.
A
ti3083a
DO NOT REMOVE
4
3
BOLT COMPLETELY.
7. Slide a wood
block under
motor for support.
ti3124a
5. Remove material
hose.
8. Rotate plate.
Slide hose off by
pushing outward on
hose fittings.
ti3132a
2 309793 A
Page 3

Reassembly
RotoFlex Pump Repair Kit
Reinstall RotoFlex Pump hose on plate.
1. Kink hose as shown,
making sure dots
located on hose fitting
face each other.
2. Slide hose onto plate
as shown below, making sure plate slides
into slot between hex
fitting on end of hose.
DOTS
ti3127a
ti3125a
3. Align dots located on hose fitting, making sure they
are facing each other at all times to ensure the hose
does not twist during reinstallation.
ti3084a
4. Reposition plate, aligning hex fittings with enclosure
openings.
5. Remove wood block support under motor.
6. Tighten bolt. As bolt is tightened the plate will snug
back into place.
7. Replace shroud (6 bolts).
8. Replace hopper.
9. Break in new pump by running dry or with warm
water for 3-5 minutes.
309793 A 3
Page 4

RotoFlex Pump Repair Kit
All written and visual data contained in this document reflects the latest product information available at the time of publication.
Graco reserves the right to make changes at any time without notice.
Sales Offices:
International Offices:
PRINTED IN USA 309793 1/2003
Minneapolis, Detroit
Belgium, Korea, Hong Kong, Japan
4 309793 A
 Loading...