

Page 1
Instructions
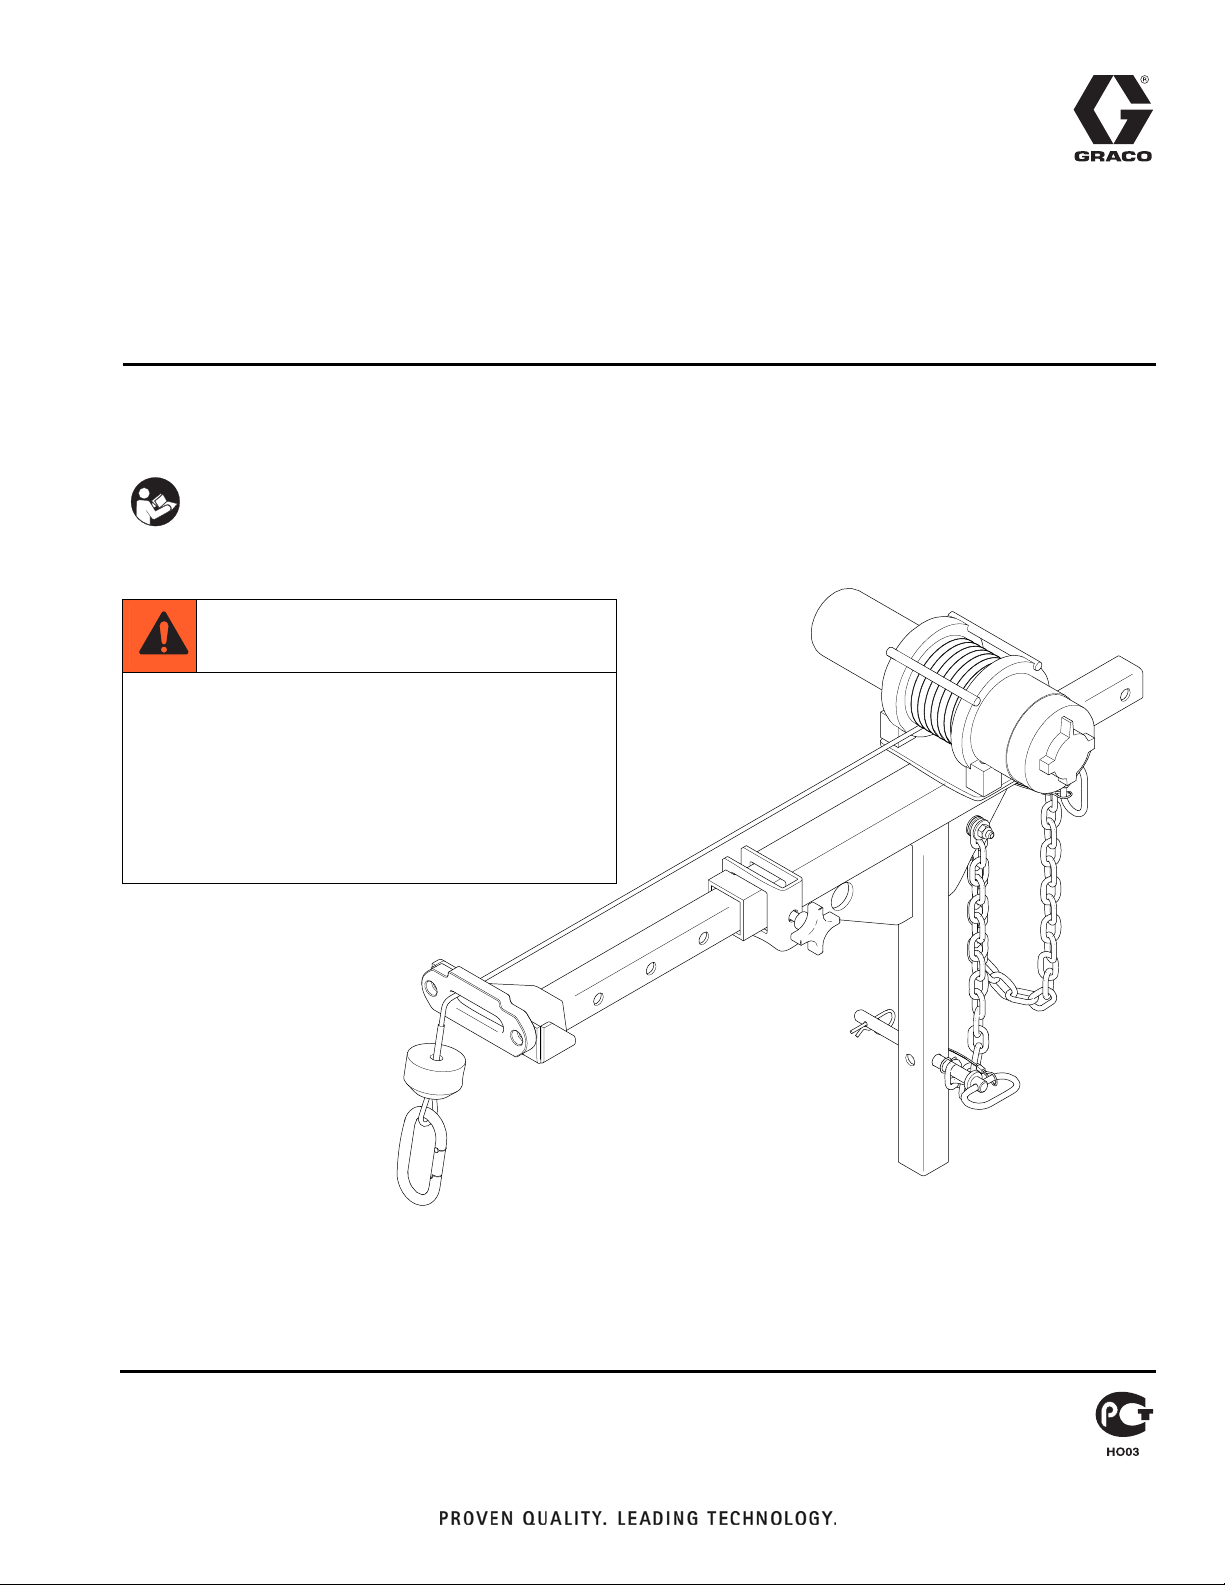
Winch Kit for RoadLazer
™
RoadPak™
3A1307A
Line Striping System
Model 24G773
Important Safety Instructions
For complete warnings and safety instructions see RoadLazer™
RoadPak
The RoadPak Winch Kit is to be used as a safety
device for the operator to lift the gun arm off the ground
and slowly and safely drive out of the way of traffic to a
safe place where the gun arm can properly be stowed
for transporting. When the operator is not spraying, the
vehicle should not be operated unless the gun arm is
stowed in the proper position. See RoadLazer
RoadPak
™
Line Striper System manual. Save these instructions.
™
Line Striper System manual.
™
ENG
ti17103a
Page 2
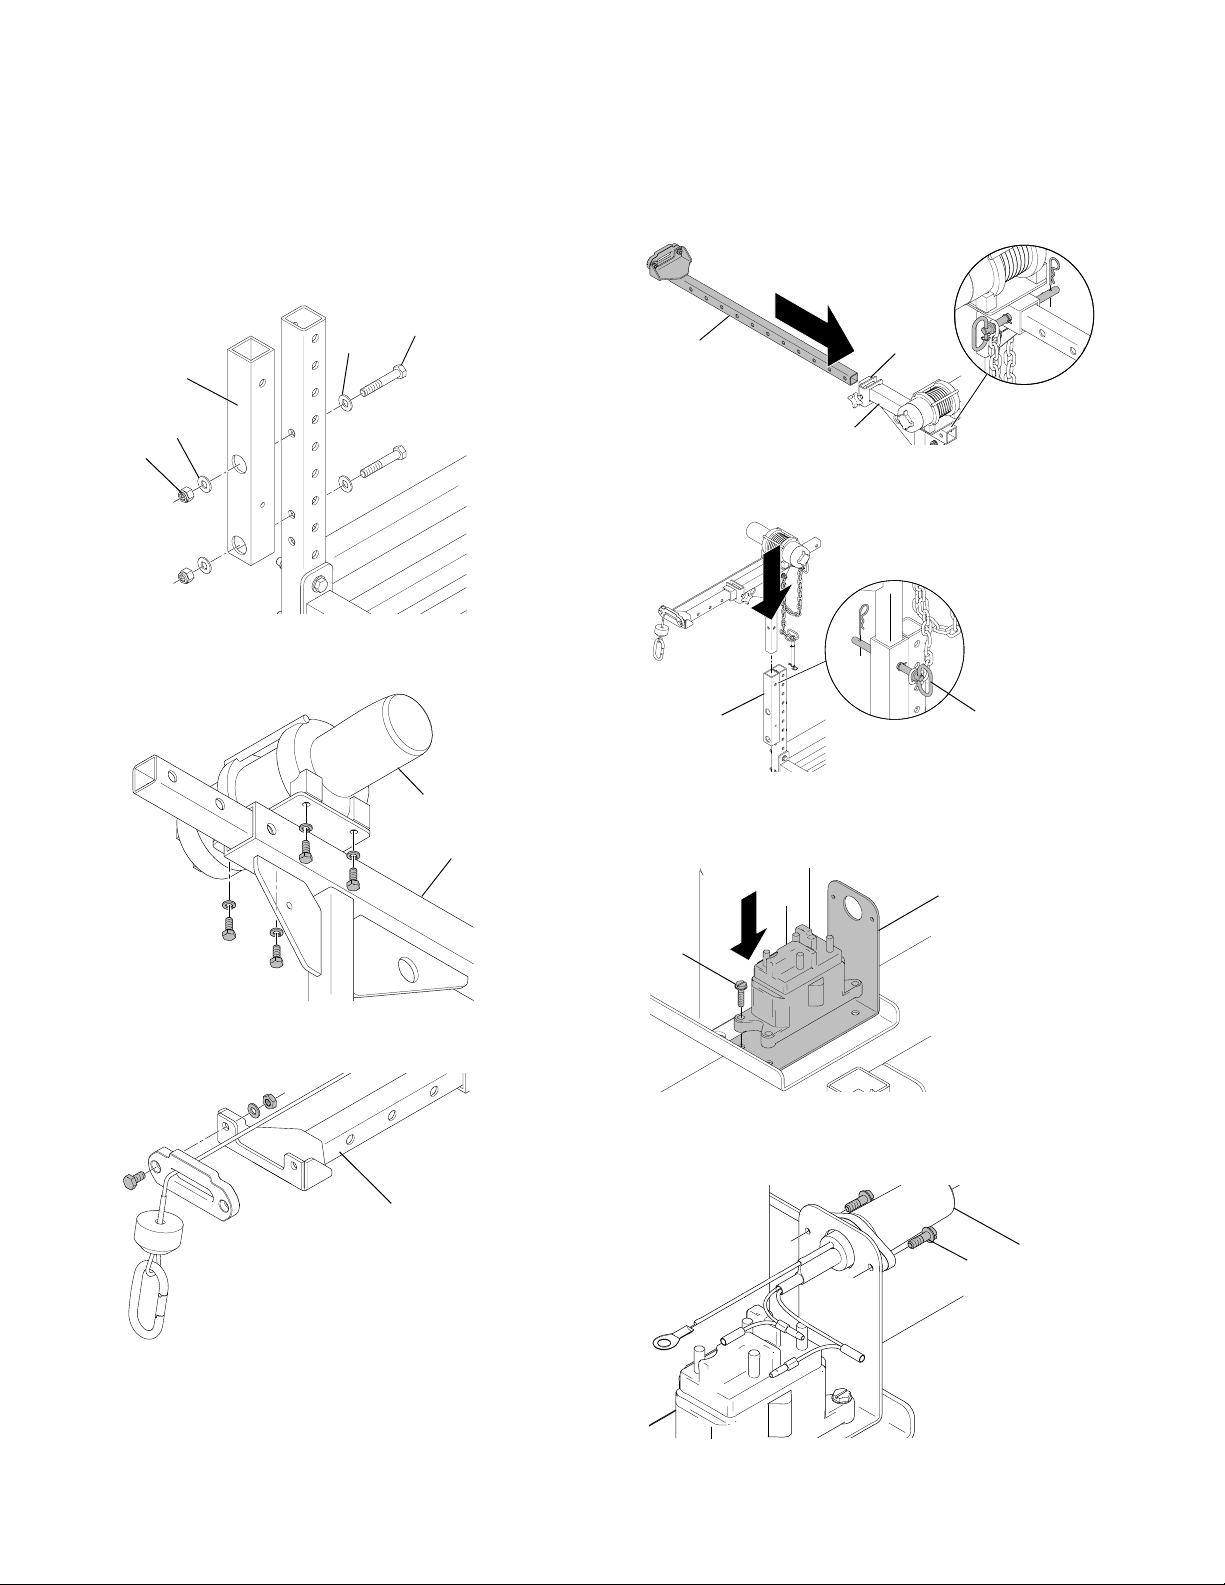
Winch Kit Installation
1. Assemble adaptor bracket (1) to height adjustment
bracket on both sides. Fasten with bolts (6), washers (7), and nuts (8). Torque to 28 ft-lb.
7
1
7
8
2. Use four bolts and lock washers (supplied) to
assemble winch (5) onto winch arm (2).
6
ti17104a
4. Slide winch arm bracket (3) into winch arm (2) and
secure into place by tightening extension clamp (15)
and inserting the safety pin.
3
15
2
ti17106a
5. Insert winch assembly into one of the adapter brackets (1) and secure with pin (9).
1
ti17108a
9
5
2
ti17105a
3. Use bolts, washers, and nuts (supplied) to assemble
cable guide onto winch arm bracket (3).
ti17107a
3
6. Install winch switch (20) and connector bracket (17)
next to the battery on the RoadPak frame. Fasten
with screws (16).
20
17
16
ti17109a
7. Pull the wires of the winch control connector (19)
through the hole of the connector bracket and fasten
the connector to the bracket with screws (18).
19
18
ti17110a
2 3A1307A
Page 3

8. Connect blue and yellow cables (21) from the winch
terminals to blue and yellow color-coded terminals
on winch switch terminal.
11. Plug in winch controller (19) to the connector and
route to the cab of the vehicle. Properly protect and
secure all wires to keep from damaging them during
every day use.
21
ti17111a
9. Disconnect ground terminal on battery. Connect red
and black cables (21) to red and black color-coded
winch switch terminals. Attach the red cable from
the winch control connector and power cable from
the winch switch to the positive terminal on the battery. Then connect the black cable to the ground terminal on the battery. See Wiring Diagram, page 4.
10. Connect the green plugs from the winch control connector and the winch switch as showed in Wiring
Diagram, page 4.
12. Adjust the winch arm (3) so it is in line with the lifting
point on the gun arm. Ensure the winch arm is
secured by pinning it and tightening the extension
clamp (15).
13. Use the buttons on the controller to lower the winch.
Connect the winch hook (22) to the lifting point on
the gun arm.
22
ti17114a
14. When transporting the RoadPak system, the gun
arm must be properly stowed (see manual 3A1214)
and the winch arm must be adjusted to fit within the
width of the vehicle.
ti17112a
3A1307A 3
Page 4

Wiring Diagram
Wiring Diagram
Black
Blue
Red
-
+
Yellow
Black
Green
Black
Green
ti17113a
4 3A1307A
Page 5

Parts List
5
Parts List
23
22
13
14
1414
11
9
1
8
2
15
141414
12
10
6
7
7
21
3
1919
20
16
18
17
ti17115a
Ref. Part Description Qty.
1 16G688 BRACKET, adapter, winch, painted 2
2 24G839 ARM, winch, painted 1
3 24G841 BRACKET, arm, winch, painted 1
5 16G458 WINCH, RoadLazer 1
6 101147 SCREW, cap, hex HD 4
7 109570 WASHER, plain 8
8 801020 NUT, lock, hex 4
9 115473 PIN, hitch 2
10 186812 CHAIN, ground 3.5 HP 2
11 M71635 CLAMP, hose 2
12 100678 SCREW, cap hex HD 1
13 111040 NUT, lock, insert, nylock, 5/16 1
3A1307A 5
Ref. Part Description Qty.
14 100023 WASHER, flat 6
15 238813 CLAMP, extension 1
16 107439 SCREW, mach, hex HD 4
17 16H234 BRACKET, mtg., connector, winch
ctrl
18 117501 SCREW, mach, slot hex wash HD 2
19 16H069 SWITCH, corded remote/plug in 1
20 16F346 SWITCH, winch, contactor 1
21 16H070 WIRE, assemblies, battery/winch 1
22 16H068 CONNECTOR, 1-3/8 in. eye dia.,
carbiner
23 16H067 CABLE, 3/16 in. dia., blue 1
1
1
Page 6

Parts List
All written and visual data contained in this document reflects the latest product information available at the time of publication.
Graco reserves the right to make changes at any time without notice.
Original instructions. This manual contains English. MM 3A1307
Graco Headquarters: Minneapolis
International Offices: Belgium, China, Japan, Korea
GRACO INC. P.O. BOX 1441 MINNEAPOLIS, MN 55440-1441
Copyright 2010, Graco Inc. is registered to ISO 9001
www.graco.com
02/2011
6 3A1307A
 Loading...