

Page 1
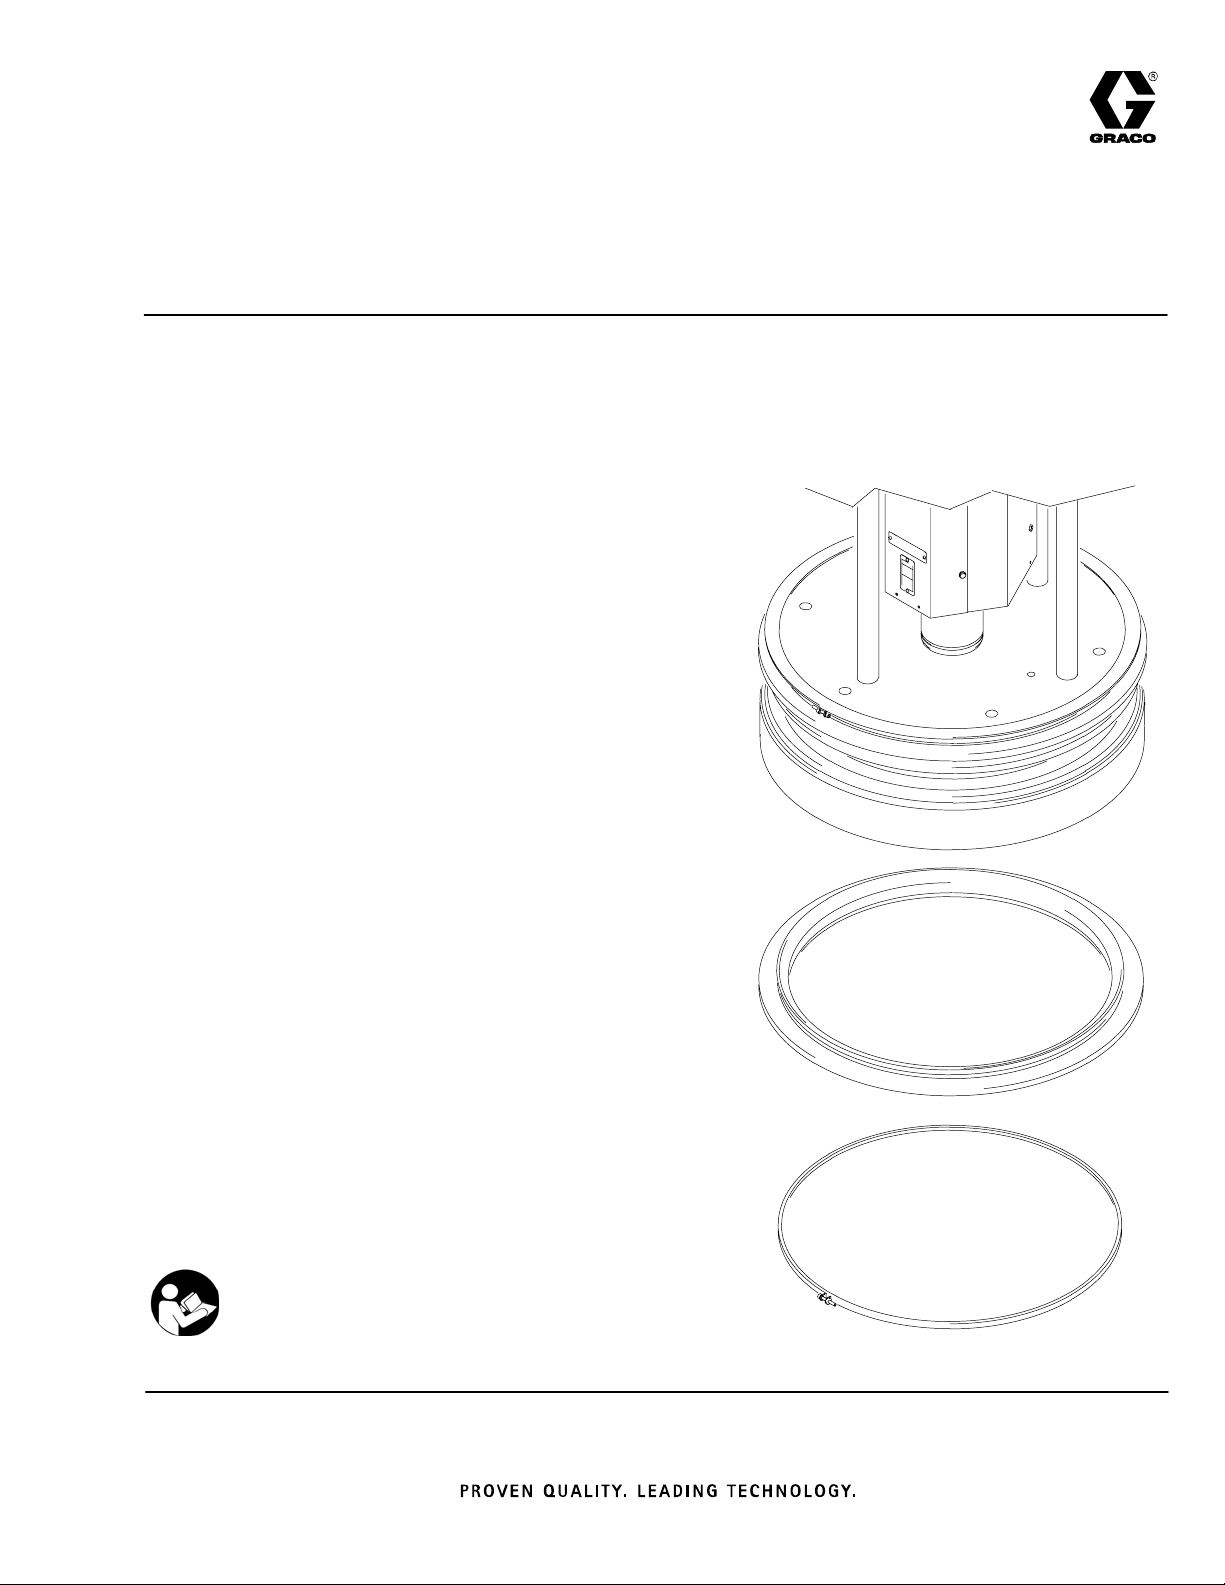
Instructions–Parts List
55 GALLON STANDARD DRUM
Hot Melt Wiper Kits
Designed to fit straight sided drums with a 22.5” (571 mm) ID
Model 243279 (built prior to May 2006)
Model 253292 (built May 2006 and after)
Dual Tee Wipers
Maximum Temperature 250_F (121_C)
Model 245668 (built prior to May 2006)
Model 253290 (built May 2006 and after)
Tee Wiper / Steam Hose
Maximum Temperature 375_F (190_C)
Model C31007 (built prior to May 2006)
Model 253291 (built May 2006 and after)
Silicone Hose / Steam Hose
Maximum Temperature 400_F (204_C)
309196H
EN
Model 234995 (built prior to May 2006)
Model 253289 (built May 2006 and after)
Dual Steam Hoses
Maximum Temperature 400_F (204_C)
Table of Contents
Symbols 2. . . . . . . . . . . . . . . . . . . . . . . . . . . . . . . . . . . . . .
Warnings 2. . . . . . . . . . . . . . . . . . . . . . . . . . . . . . . . . . . . . .
Related Publications 2. . . . . . . . . . . . . . . . . . . . . . . . . . . .
Installation 3. . . . . . . . . . . . . . . . . . . . . . . . . . . . . . . . . . . . .
Parts 7. . . . . . . . . . . . . . . . . . . . . . . . . . . . . . . . . . . . . . . . .
Technical Data 15. . . . . . . . . . . . . . . . . . . . . . . . . . . . . . . .
Graco Standard Warranty 16. . . . . . . . . . . . . . . . . . . . . .
Graco Information 16. . . . . . . . . . . . . . . . . . . . . . . . . . . . .
Important Safety Instructions
Read all warnings and instructions in this manual.
Save these instructions.
TI0410
Page 2

Symbols
Warning Symbol
WARNING
This symbol alerts you to the possibility of serious
injury or death if you do not follow the instructions.
WARNING
HOT SURFACE AND FLUID HAZARD
Heated fluid can cause severe burns and can cause equipment surfaces to become very hot.
D Wear protective gloves and clothing when operating this equipment in a heated system.
D Do not touch the metal heat sink when the surface is hot.
D Allow the equipment to cool thoroughly before servicing.
Some heated systems are designed to dispense Polyurethane (PUR) heated materials. PUR
systems are supplied with ventilation hoods, and require proper ventilation and specially designed
system components.
Caution Symbol
CAUTION
This symbol alerts you to the possibility of damage to
or destruction of equipment if you do not follow the
instructions.
MOVING PARTS HAZARD
Moving parts, such as the ram plate and pump inlet, can pinch or amputate your fingers.
D Keep clear of all moving parts when starting or operating the equipment.
D Keep hands and fingers away from the priming piston during operation and whenever the pump
is charged with air.
D Keep clear of the ram plate, pump fluid inlet, and lip of the fluid container when raising or lower-
ing the ram.
Related Publications
Form Name Form#
Therm–O–Flow Installation and Operation 309180
Therm–O–Flow Installation and Operation 311208
2 309196
Page 3

Installation
Twin Tee Wiper Kit 243279 / 253292
Clean the seal groves as follows:
1. Using a wooden or plastic tool to prevent damage
to the wiper, clean all material from the seal
grooves.
2. Lubricate ram plate grooves, bands, and wipers
before assembly.
Install the wiper ring seals as follows:
NOTE: Wipers are marked top and bottom for 243270.
253292 uses the same wiper top and bottom.
1. Pull the top wiper over the platen assembly. Roll
the first wiper ring (10) down to the top ring groove
as shown in Fig. 1.
2. Install the first upper band (20) over the wiper ring,
placing it in the top groove of the wiper.
CAUTION
5. Secure the top band using the screw in the band.
6. Roll the second wiper ring up from the bottom of
the plate to the bottom ring groove.
7. Install the first lower band over the wiper ring on
the bottom groove, placing it in the top groove of
the bottom wiper.
CAUTION
Do not over tighten the screw in the band. Over tightening the screw will deform the wiper ring.
8. Secure the lower band using the screw in the
band.
9. Install the second lower band onto the bottom of
the wiper ring on the bottom groove of the wiper
ring.
10. Secure the lower band using the screw in the
band.
Do not over tighten the screw in the band. Over tightening the screw will deform the wiper ring.
3. Secure the top band using the screw in the band.
4. Install the second upper band onto the bottom of
the wiper ring on the top groove of the wiper ring.
CAUTION
Make sure the wipers are lubricated. Without lubrication, the wipers may tear.
11. Using a lubricant compatible with the material to
be pumped, lubricate the ram plate wipers.
10
Fig. 1
20
03288
309196 3
Page 4

Installation
Tee Wiper / Steam Hose Kit 245668 /
253290
Clean the seal grooves as follows:
1. Using a wooden or plastic tool to prevent damage
to the wiper, clean all material from the seal
grooves.
2. Lubricate ram plate grooves, bands, and wipers
before assembly.
Install the wiper ring seals as follows:
NOTE: Upper wiper is tee, lower is hose.
1. Pull the tee wiper over the platen assembly. Roll
the tee wiper ring (10) down to the top ring groove
as shown in Fig. 2.
2. Install the first upper band (20) over the wiper ring,
placing it in the top groove of the wiper.
CAUTION
Do not over tighten the screw in the band. Over tightening the screw will deform the wiper ring.
3. Secure the top band using the screw in the band.
4. Install the second upper band onto the bottom of
the wiper ring on the top groove of the wiper.
5. Secure the top band using the screw in the band.
CAUTION
Make sure the wipers are lubricated. Without lubrication, the wipers may tear.
6. Assemble and cut band as shown in Fig. 2.
7. Install screw jack in slot. Tape around tab in slot.
8. Install hose and band so that angled ends of hose
press against each other.
9. After installing clamp, work hose with mallet to
completely close gap at the ends.
10. Hose seam must be in line with tie rod holes
[+ or – 1” (25.4 mm)].
10
Fig. 2
4 309196
TI2345
20
Page 5

Installation
Silicone Hose / Steam Hose Kit C31007 /
253291
Clean the seal grooves as follows:
1. Using a wooden or plastic tool to prevent damage
to the wiper, clean all material from the seal
grooves.
2. Lubricate ram plate grooves, bands, and wipers
before assembly.
Install the wiper ring seals as follows:
NOTE: Upper wiper is green hose, lower is black hose.
1. Assemble and cut band as shown in Fig. 3.
2. Install screw jack in slot. Tape around tab in slot.
3. Install hose and band so that angled ends of hose
press against each other.
4. After installing clamp, work hose with mallet to
completely close gap at the ends.
5. Hose seam must be 180_ apart, and in line with tie
rod holes [+ or – 1” (25.4 mm)].
Fig. 3
TI2345
309196 5
Page 6

Installation
Dual Steam Hose Kit 234995 / 253289
Clean the seal grooves as follows:
1. Using a wooden or plastic tool to prevent damage
to the wiper, clean all material from the seal
grooves.
2. Lubricate ram plate grooves, bands, and wipers
before assembly.
Install the wiper ring seals as follows:
NOTE: Upper and lower hoses are black.
1. Assemble and cut band as shown in Fig. 4.
2. Install screw jack in slot. Tape around tab in slot.
3. Install hose and band so that angled ends of hose
press against each other.
4. After installing clamp, work hose with mallet to
completely close gap at the ends.
5. Hose seam must be 180_ apart, and in line with tie
rod holes [+ or – 1” (25.4 mm)].
Fig. 4
6 309196
TI2345
Page 7

Model 243279
Dual Tee Wipers
Parts
20
10
20
30
40
40
TI0410
Ref.
No.
10 115656 SEAL, wiper ring, upper 1
20 115658 BAND, wiper ring, upper 2
Part No. Description Qty.
Ref.
No.
30 115655 SEAL, wiper ring, lower 1
40 115657 BAND, wiper ring, lower 2
Part No. Description Qty.
309196 7
Page 8

Model 245668
Tee Wiper / Steam Hose
Parts
20
10
20
40
30
Ref.
No.
10 115656 SEAL, tee wiper 1
20 115658 BAND, wiper ring, upper 2
Part No. Description Qty.
TI2346
Ref.
No.
30 C31005 HOSE, follower, lower 1
40 17C674 BAND, clamp, stainless
50 127935 SCREW HOUSING, band
Part No. Description Qty.
steel
clamp
1
2
8 309196
Page 9

Model C31007
Silicone Hose / Steam Hose
Parts
10
20
10
30
Ref.
No.
10 17C674 BAND, clamp, stainless
20 C31003 HOSE, follower, upper 1
Part No. Description Qty.
steel
TI2346
Ref.
No.
2
30 C31005 HOSE, follower, lower 1
50 127935 SCREW HOUSING, band
Part No. Description Qty.
2
clamp
309196 9
Page 10

Model 234995
Dual Steam Hoses
10
30
10
20
Parts
ti1594a
Ref.
No.
10 17C674 BAND, clamp, stainless
20 119414 HOSE, follower, lower; 3/4” 1
Part No. Description Qty.
steel
Ref.
No.
2
30 119413 HOSE, follower, upper; 1” 1
40 127935 SCREW HOUSING, band
Part No. Description Qty.
2
clamp
10 309196
Page 11

Parts
Model 253289, Tire Plate Seal
2 Black EPDM/EPDM, SS wire braid Hose Wipers w/band clamp retention,
2
1
Ref.
No.
1 HOSE, follower upper 2
2 17C674 BAND, clamp, stainless
3 127935 SCREW HOUSING, band
Part No. Description Qty.
steel
clamp
2
2
309196 11
Page 12

Parts
Model 253290, Tire Plate Seal
1 Lower Black EPDM/Chlorobutyl, SS Wire Braid Hose Wiper and 1 Upper White Silicone T–Wiper
20
4
2
Ref.
No.
1 SEAL, T–wiper, 19.70 ID 1
2 BAND, wiper ring, upper 2
3 HOSE, follower upper 1” 1
4 17C674 BAND, clamp, stainless
5 127935 SCREW HOUSING, band
Part No. Description Qty.
steel
clamp
3
1
1
2
12 309196
Page 13

Parts
Model 253291
1 Lower Black EPDM / Chlorobutyl, SS wire braid Hose Wiper and 1 upper Green Silicone, Fiberglass Braid
hose wiper
3
3
2
Ref.
No.
1 C31003 HOSE, follower upper 1
2 119413 HOSE, follower lower 1
3 17C674 BAND, clamp, stainless
4 127935 SCREW HOUSING, band
Part No. Description Qty.
steel
clamp
1
2
2
309196 13
Page 14

Model 253292, Tire Plate Seal
2 White Silicone F T–Wipers
Parts
2
Ref.
No.
1 SEAL, T–wiper, 19.70 ID 2
2 BAND, wiper ring 4
Part No. Description Qty.
1
14 309196
Page 15

Technical Data
Model Upper Wiper Lower Wiper Maximum Temperature
243279 / 253292 white silicone, tee style white silicone, tee style 250_ F
121_ C
245668 / 253290 white silicone, tee style black steam hose
(chlorobutyl)
C31007 / 253291 green silicone hose black steam hose
(chlorobutyl)
234995 / 253289 EPDM hose EPDM hose 400_ F
375_ F
190_ C
400_ F
204_ C
204_ C
309196 15
Page 16

Graco Standard Warranty
Graco warrants all equipment manufactured by Graco and bearing its name to be free from defects in material and workmanship on the
date of sale to the original purchaser for use. With the exception of any special, extended, or limited warranty published by Graco,
Graco will, for a period of twelve months from the date of sale, repair or replace any part of the equipment determined by Graco to be
defective. This warranty applies only when the equipment is installed, operated and maintained in accordance with Graco’s written
recommendations.
This warranty does not cover, and Graco shall not be liable for general wear and tear, or any malfunction, damage or wear caused by
faulty installation, misapplication, abrasion, corrosion, inadequate or improper maintenance, negligence, accident, tampering, or substitution of non–Graco component parts. Nor shall Graco be liable for malfunction, damage or wear caused by the incompatibility of
Graco equipment with structures, accessories, equipment or materials not supplied by Graco, or the improper design, manufacture,
installation, operation or maintenance of structures, accessories, equipment or materials not supplied by Graco.
This warranty is conditioned upon the prepaid return of the equipment claimed to be defective to an authorized Graco distributor for
verification of the claimed defect. If the claimed defect is verified, Graco will repair or replace free of charge any defective parts. The
equipment will be returned to the original purchaser transportation prepaid. If inspection of the equipment does not disclose any defect
in material or workmanship, repairs will be made at a reasonable charge, which charges may include the costs of parts, labor, and
transportation.
THIS WARRANTY IS EXCLUSIVE, AND IS IN LIEU OF ANY OTHER WARRANTIES, EXPRESS OR IMPLIED, INCLUDING BUT
NOT LIMITED TO WARRANTY OF MERCHANTABILITY OR WARRANTY OF FITNESS FOR A PARTICULAR PURPOSE.
Graco’s sole obligation and buyer’s sole remedy for any breach of warranty shall be as set forth above. The buyer agrees that no other
remedy (including, but not limited to, incidental or consequential damages for lost profits, lost sales, injury to person or property, or any
other incidental or consequential loss) shall be available. Any action for breach of warranty must be brought within two (2) years of the
date of sale.
Graco makes no warranty, and disclaims all implied warranties of merchantability and fitness for a particular purpose in connection
with accessories, equipment, materials or components sold but not manufactured by Graco. These items sold, but not manufactured
by Graco (such as electric motors, switches, hose, etc.), are subject to the warranty, if any, of their manufacturer. Graco will provide
purchaser with reasonable assistance in making any claim for breach of these warranties.
In no event will Graco be liable for indirect, incidental, special or consequential damages resulting from Graco supplying equipment
hereunder, or the furnishing, performance, or use of any products or other goods sold hereto, whether due to a breach of contract,
breach of warranty, the negligence of Graco, or otherwise.
FOR GRACO CANADA CUSTOMERS
The parties acknowledge that they have required that the present document, as well as all documents, notices and legal proceedings
entered into, given or instituted pursuant hereto or relating directly or indirectly hereto, be drawn up in English. Les parties reconnaissent avoir convenu que la rédaction du présente document sera en Anglais, ainsi que tous documents, avis et procédures judiciaires
exécutés, donnés ou intentés à la suite de ou en rapport, directement ou indirectement, avec les procedures concernées.
Graco Information
For the latest information about Graco products, visit www.graco.com.
TO PLACE AN ORDER, contact your Graco distributor or call to identify the nearest distributor.
Toll Free: 612–623–6921 or Fax: 612–378–3505
All written and visual data contained in this document reflects the latest product information available at the time of publication.
Graco reserves the right to make changes at any time without notice.
For patent information, see www.graco.com/patents.
16 309196
Original instructions. This manual contains English. MM 309196
Graco Headquarters: Minneapolis
International Offices: Belgium, China, Japan, Korea
GRACO INC. AND SUBSIDIARIES S P.O. BOX 1441 S MINNEAPOLIS MN 55440–1441 S USA
Copyright 2000, Graco Inc. All Graco manufacturing locations are registered to ISO 9001
www.graco.com
Revised September 2014
 Loading...