

Page 1
LPM-09
MODULATING FURNACE, NATURAL GAS TO LP GAS CONVERSION KIT
INSTALLATION INSTRUCTIONS
ATTENTION INSTALLING PERSONNEL
As a professional installer, you have an obligation to know
the product better than the customer. This includes all safety
precautions and related items.
Prior to actual installation, thoroughly familiarize yourself with
this Instruction Manual. Pay special attention to all safety
warnings. Often during installation or repair, it is possible to
place yourself in a position which is more hazardous than
when the unit is in operation.
Remember, it is your responsibility to install the product safely
and to know it well enough to be able to instruct a customer
in its safe use.
Safety is a matter of common sense...a matter of thinking
before acting. Most dealers have a list of specic good safety
practices...follow them.
The precautions listed in this Installation Manual are intended
as supplemental to existing practices. However, if there is a
direct conict between existing practices and the content of
this manual, the precautions listed here take precedence.
RECOGNIZE THIS SYMBOL
AS A SAFETY PRECAUTION
DESCRIPTION
This natural gas to L.P. (liquid petroleum) gas conversion kit
allows modulating furnaces to be used on L.P. gas applications. Upon opening the kit, please verify that all parts are in
an undamaged condition. IF ANY DOUBT EXISTS ABOUT
THE CONDITIONS OF ANY COMPONENT WITHIN THIS
KIT, DO NOT USE THIS KIT AND CONTACT YOUR SUPPLIER FOR A NEW KIT.
PARTS LIST
Part
Number
0151M00025 L.P. Converted Gas Valve 1
IO-819 LPM-09 Installation Instructions 1
B40899125 Kit of 1.25mm Orices 1
B14933151 Conversion Label 1
All of the fasteners removed to perform this conversion are
to be reused. Any component found to be damaged due to
this conversion must be replaced with factory authorized replacement parts before this furnace can be put into operation.
Description Quantity
CAUTION
LabeL aLL wires prior to disconnection when servicing con-
troLs. wiring errors can cause improper and dangerous
operation. verify proper operation after servicing.
NOTE: Do not use power tools for any adjustments on
gas valves.
IO-819
01/2014
Page 2
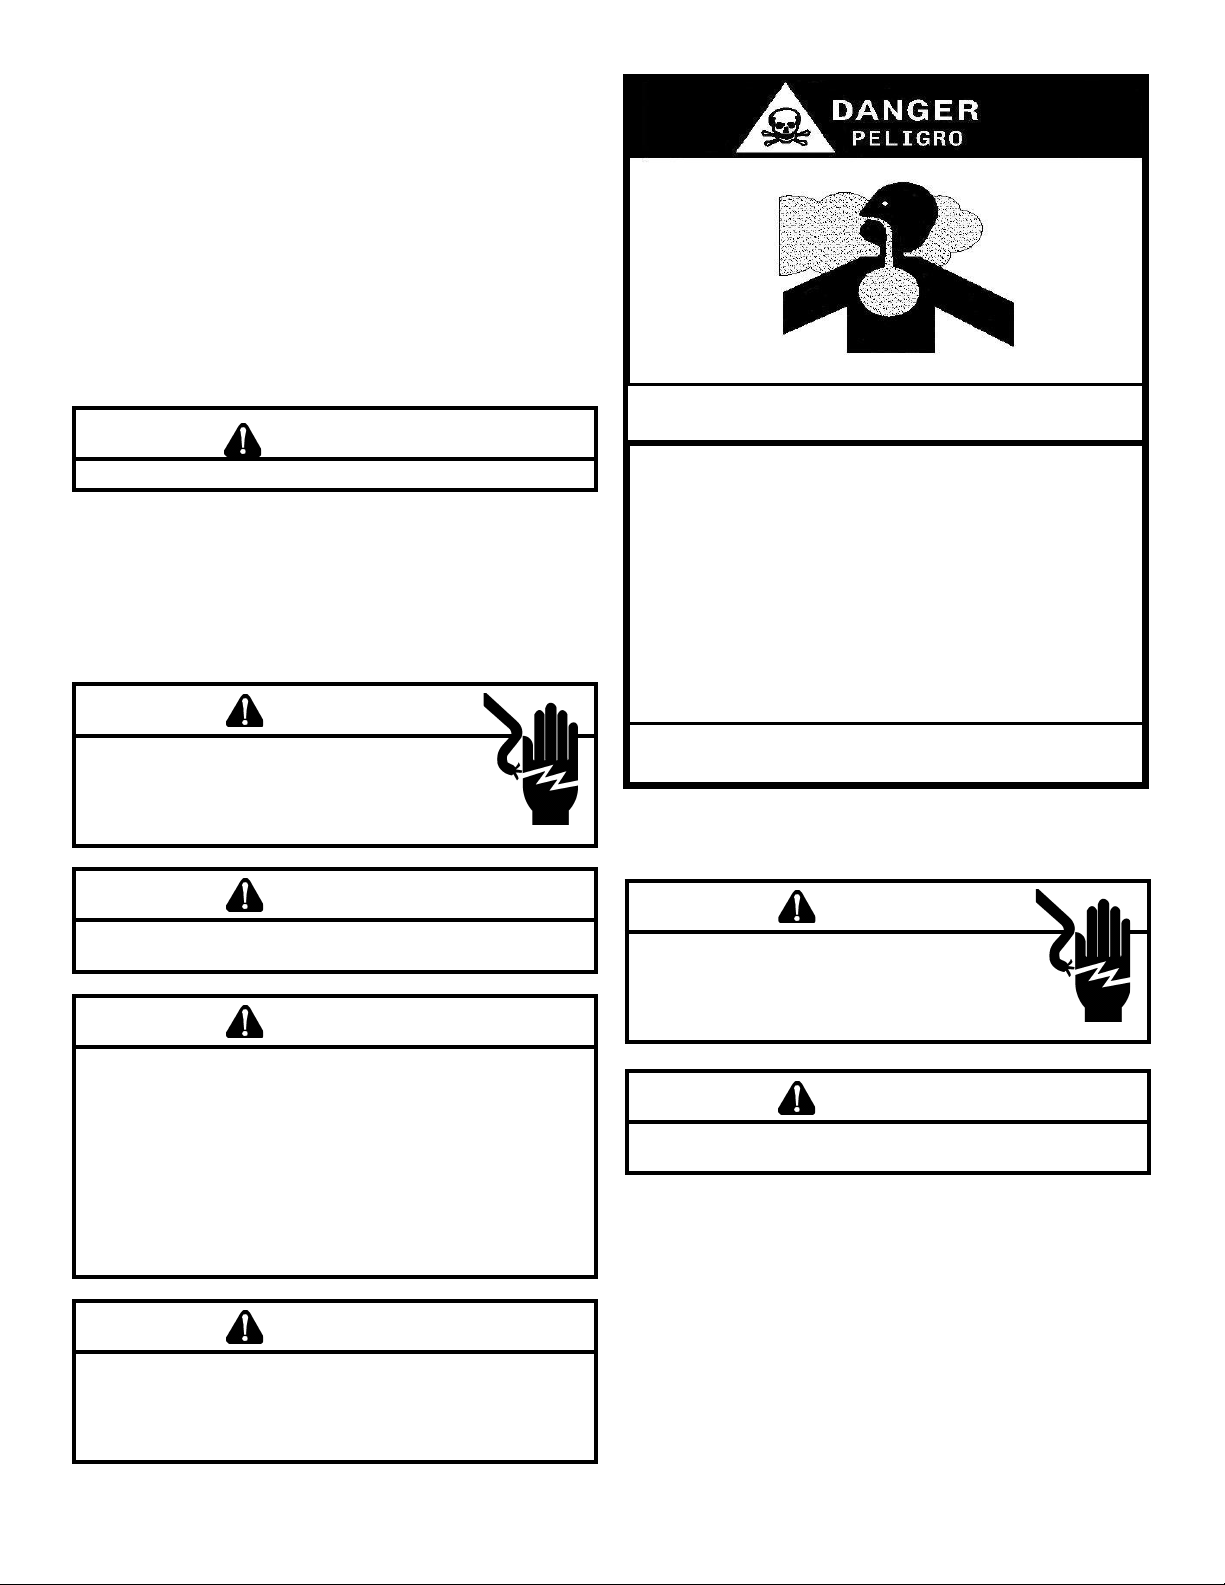
CARBON MONOXIDE POISONING HAZARD
B10259-216
Carbon monoxide producing devices (such as an automobile, space
heater, gas water heater, etc.) should not be operated in enclosed areas
such as unventilated garages, utility rooms or parking areas because of
the danger of carbon monoxide (CO) poisoning resulting from the exhaust
emissions. If a furnace or air handler is installed in an enclosed area such
as a garage, utility room or parking area and a carbon monoxide producing
device is operated therein, there must be adequate, direct outside
ventilation.
This ventilation is necessary to avoid the danger of CO poisoning which
can occur if a carbon monoxide producing device continues to operate in
the enclosed area. Carbon monoxide emissions can be (re)circulated
throughout the structure if the furnace or air handler is operating in any
mode.
CO can cause serious illness including permanent brain damage or death.
Special Warning for Installation of Furnaces or Air Handling Units in
Enclosed Areas such as Garages, Utility Rooms or Parking Areas
The following tools and supplies are required:
• 2 – Pipe wrenches, properly sized to accommodate the
gas piping and connectors
• 1 – 1/4” nut driver
• 1 – manometer to read inlet and outlet pressure of the
gas valve (Minimum range: 0”-20” W.C.)
• Pipe joint compound or pipe thread tape that is approved
for use with L.P. gas
• Gas leak detection solution like a soap and water
solution. Always wipe the solution from the joints when
testing is completed.
WARNING
never use an open fLame to check for gas Leaks.
Prior to performing this conversion, refer to the National Fuel
Gas Code (NFPA 54-02) or in Canada, CAN/CSA-B149.2-05
to ensure that the installation is in compliance with those
and all local codes.
IMPORTANT INFORMATION
WARNING
high voLtage!
disconnect aLL power before servicing.
muLtipLe power sources may be present. faiLure
do so may cause property damage, personaL
to
or death.
injury
carbon monoXide (co) can cause sever personaL
injury or death.
WARNING
this L.p. (Liquid petroLeum) conversion kit must be
instaLLed by a quaLified service person or agency in
accordance with the manufacturer’s instructions and
aLL appLication codes and requirements of the authority
having jurisdiction. faiLure to foLLow these instructions
eXpLicitLy may cause a fire, eXpLosion or the
production of carbon monoXide (co), which
can cause property damage, personaL
injury or death. the quaLified person performing
this conversion assumes the responsibiLity for the proper
conversion of the appLiance.
propane gas is heavier than air and any Leaking gas can
settLe in any Low areas or confined spaces. to prevent
property damage, personaL injury or death due to fire
or eXpLosion caused by a propane gas Leak, instaLL a gas
detection warning device.
WARNING
WARNING
CONVERSION INSTRUCTIONS
WARNING
high voLtage!
disconnect aLL power before servicing.
muLtipLe power sources may be present. faiLure
do so may cause property damage, personaL
to
or death.
injury
CAUTION
to prevent unsatisfactory furnace operation, the proper
gas conversion kit must be used for the appropriate modeL.
1. Turn off the gas supply to the furnace.
2. Turn off the electrical power to the furnace.
3. Remove the furnace control access panel.
4. Separate the gas supply union and remove associated
downstream piping.
5. Always use a backup wrench when removing or replacing
piping to avoid any undue strains or rotation of controls.
6.
Remove the wires from the gas valve. Be sure to remove
any wire ties that may be attached to the manifold assembly.
2
Page 3

7. Remove the pressure switch hose connected to the gas
valve.
8. Remove the 4 sheet metal screws that fasten the manifold/
gas valve assembly to the burner box.
9. Remove the natural gas valve (0151M00024) and retain
for possible future reconversion to natural gas.
10. Remove old pipe joint compound and any debris from end
of manifold.
11. Apply a liberal amount of pipe joint compound or pipe
thread tape to the threads and install L. P. gas valve
(0151M00025). Tighten the valve to prevent gas leaks,
but do not overtighten. NOTE: the pipe joint compound
or pipe thread tape must be resistant to L.P. gas.
12. Visually inspect orices for damage and drill size (marked
on face with 1.25mm) before installation. Using the 7/16”
wrench, remove all existing #45 natural gas orices and
replace with the appropriate 1.25mm L.P. gas orices contained in this kit. Tighten the orices to prevent gas leaks,
but do not overtighten. Retain the natural gas orices for
future reconversion.
13. Install completed L.P. manifold/valve assembly back into
the unit. Be sure to align the orices i n the burner opening.
Fasten with 4 sheet metal screws retained from Step 8.
14. Reattach the pressure switch hose to the gas valve.
15. Reattach the wiring to the gas valve and wire tie any loose
wires to avoid contact with hot or moving parts.
16. Apply a liberal amount of pipe joint compound or pipe
thread tape to the threads and reassemble the piping
previously removed. NOTE: the pipe joint compound or
pipe thread tape must be resistant to L.P. gas.
17. Connect a calibrated water manometer (or appropriate
gas pressure gauge) at either the gas valve inlet pressure
boss or the gas piping drip leg. See gas valve gure for
location of inlet pressure boss.
NOTE: If measuring gas pressure at the drip leg or gas valve,
a eld-supplied hose barb tting must be installed prior to
making the hose connection.
18. Turn on the electrical supply.
19. Turn ON the gas supply and operate the furnace and all
other gas consuming appliances on the same gas supply
line.
WARNING
to prevent the possibiLity of gas Leaks, the pipe joint
compound must be resistant to L.p. gas.
Field Test Mode is intended to help a service person trou-
bleshoot and check out an installed appliance by quickly
bringing the furnace to high re.
To enter Field Test Mode the Fault Recall Push-Button
3
Page 4

must be pressed twice within a 5 second period at any-
®
time during a heating cycle, at which time the display will
show “Ft”. While the display is showing “Ft”, pressing and
holding the Fault Recall Push-Button for 3 seconds will
enable the eld test mode and override the normal ring
rate sequence at a rate of 100% for 5 minutes or until the
end of the call for heat. The display will show the normal
“Hi” while the control is ring at 100%. If the Fault Recall
Push-Button has not been pressed within 5 seconds of
displaying “Ft” the display will revert back to normal.
Inlet Gas Supply Pressure
Natural Gas Minimum: 5.0” w.c. Maximum: 10.0” w.c.
Propane Gas Minimum: 11.0” w.c. Maximum: 13.0” w.c.
20. Measure furnace gas supply pressure with burners ring.
Supply pressure must be within the range specied in the
Inlet Gas Supply Pressure table.
WARNING
never use an open fLame to check for gas Leaks.
If supply pressure differs from table, make the necessary
adjustments to pressure regulator, gas piping size, etc., and/
or consult with local gas utility.
21. Using a soap and water solution, check for leaks around
the gas valve/manifold connection and the burner orices.
Repair any leaks before continuing.
27. Turn on power and set the thermostat to call for heat.
NOTE: After every time the main power is turned off
and back on, the furnace will enter a calibration routine
on the next call for heat. The inducer will ramp up and
down during the calibration routine. After calibration,
the furnace will proceed to ignition cycle.
28. Field Test Mode is intended to help a service person
troubleshoot and check out an installed appliance by
quickly bringing the furnace to high re.
To enter Field Test Mode the Fault Recall Push-Button
must be pressed twice within a 5 second period at any
time during a heating cycle, at which time the display will
show “Ft”. While the display is showing “Ft”, pressing and
holding the Fault Recall Push-Button for 3 seconds will
enable the eld test mode and override the normal ring
rate sequence at a rate of 100% for 5 minutes or until the
end of the call for heat. The display will show the normal
“Hi” while the control is ring at 100%. If the Fault Recall
Push-Button has not been pressed within 5 seconds of
displaying “Ft” the display will revert back to normal.
NOTE: Gas valve is factory set and does NOT require
any eld adjustment. Do NOT attempt to adjust valve.
Measure the gas manifold pressure with burners ring.
29. Turn off all electrical power and gas supply to the system.
22. Turn OFF all electrical power to the system.
23. Turn OFF gas to furnace at the manual gas shutoff valve
external to the furnace, disconnect manometer and reinstall
plug.
GAS MANIFOLD PRESSURE ADJUSTMENT
CAUTION
to prevent unreLiabLe operation of equipment damage, the
gas manifoLd pressure must be as specified on the unit rat-
ing pLate. gas vaLve is factory set and does not require
any fieLd adjustment. do not attempt to adjust vaLve.
The manifold pressure must be measured with the burners
operating. To measure the manifold pressure, use the following procedure.
24. Outlet pressure tap connections: Remove the outlet
pressure boss plug. Install an 1/8” NPT hose barb tting
into the outlet pressure tap.
25. Attach a hose and manometer to the outlet pressure barb
tting.
26. Turn ON the gas supply.
30. Remove the manometer hose from the hose barb
tting.
31. Remove the 1/8” NPT hose barb tting from the outlet
pressure tap. Replace the outlet pressure boss plug and
seal with a high quality thread sealer.
32. Turn on electrical power and gas supply to the system.
33. Set thermostat to call for heat.
Using a leak detection solution or soap suds, check for leaks
at outlet pressure boss plug. Bubbles forming indicate a leak.
SHUT OFF GAS AND REPAIR ALL LEAKS IMMEDIATELY!
34. If no leak is detected, reinstall the access panels.
Manifold Gas Pressure
Gas Range Nominal
Natural High Stage 3.2 - 3.8” w.c. 3.5” w.c.
Propane High Stage 9.5 - 10.5” w.c. 10.0” w.c.
35. Reset all other appliances so they function normally.
Visit our website at www.daikincomfort.com, www.goodmanmfg.com or www.amana-hac.com for information.
5151 San Felipe, Suite 500, Houston, TX 77056
© 2014 Goodman Manufacturing Company, L.P.
is a trademark of Maytag Corporation and is used under license. All rights reserved.
4
 Loading...