

Goodman AC 18, AC 24, AC 36, AC 30 Installation & Operating Instructions Manual
INSTALLATION
FOR CANADA
& OPERATING
INSTRUCTIONS
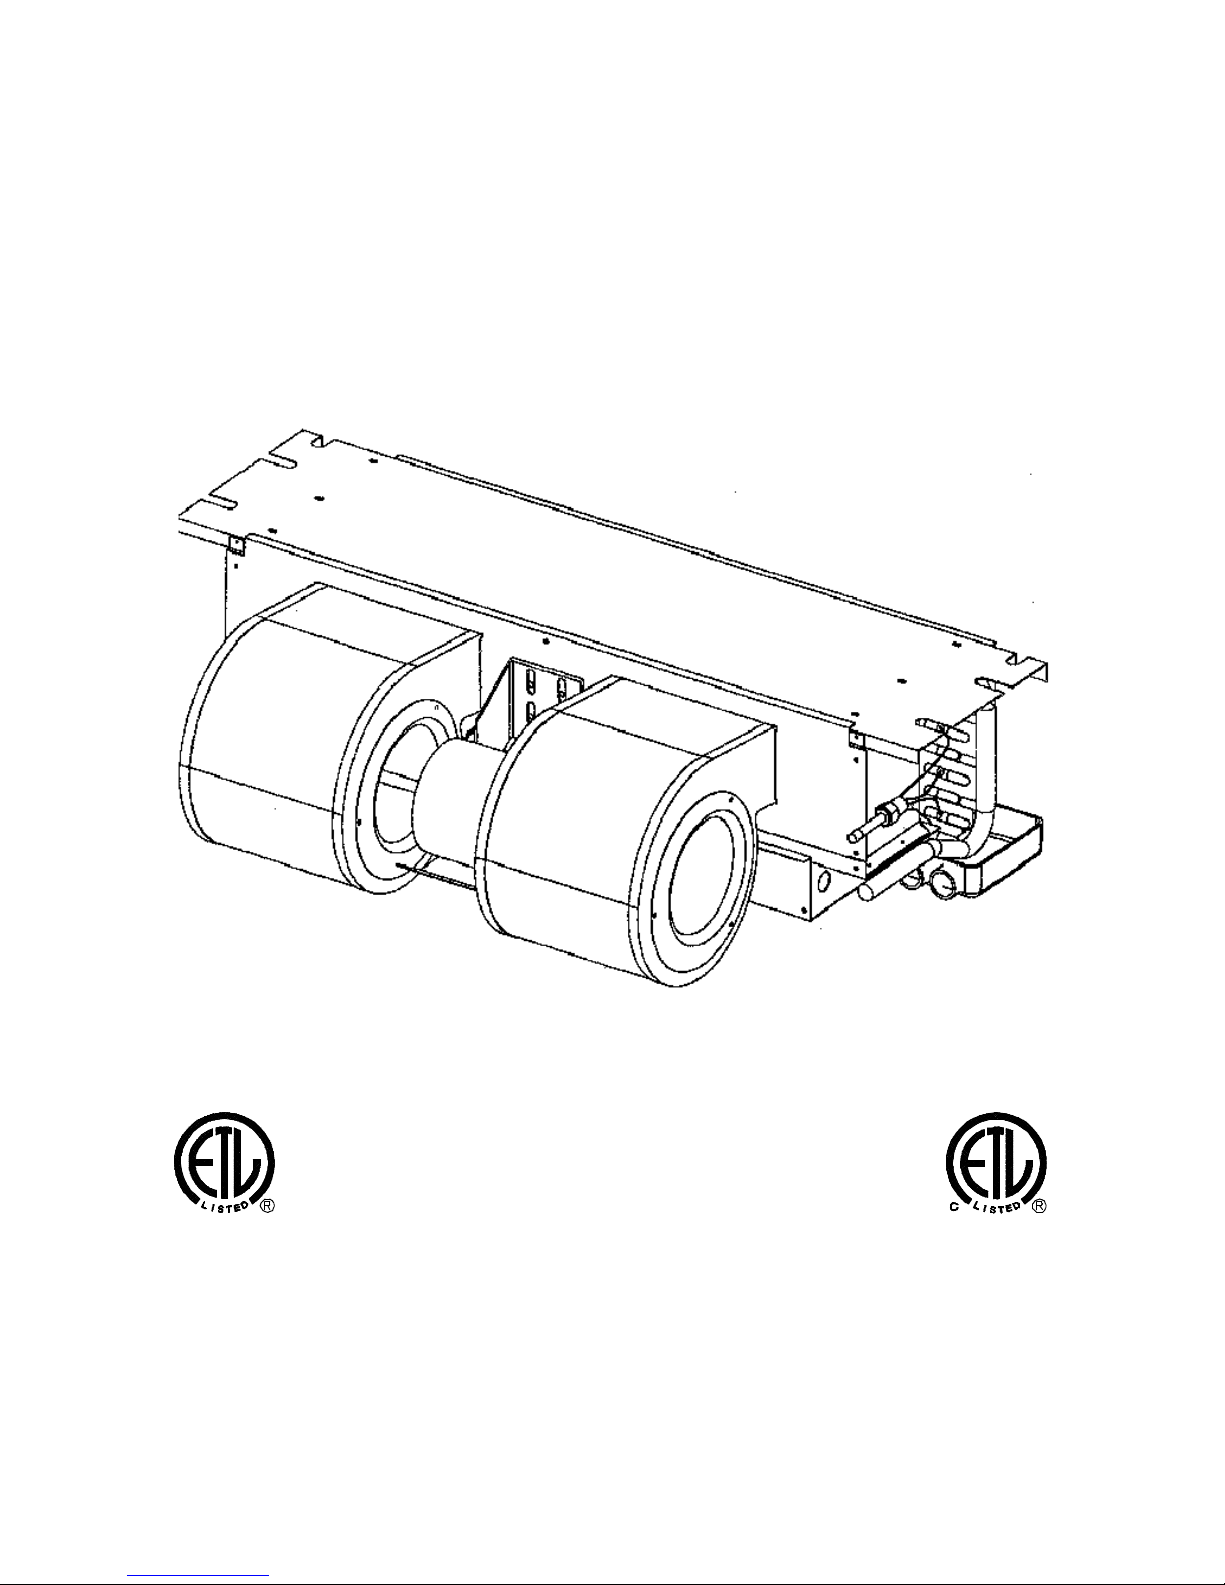
CEILING MOUNT AIR HANDLER
IO-162C 2550 North Loop West Suite 400 AC SERIES 4/02
AC SERIES
CERTIFIED
Made in the USA by:
Goodman Manufacturing Company, L.P.
Houston, Texas 77092
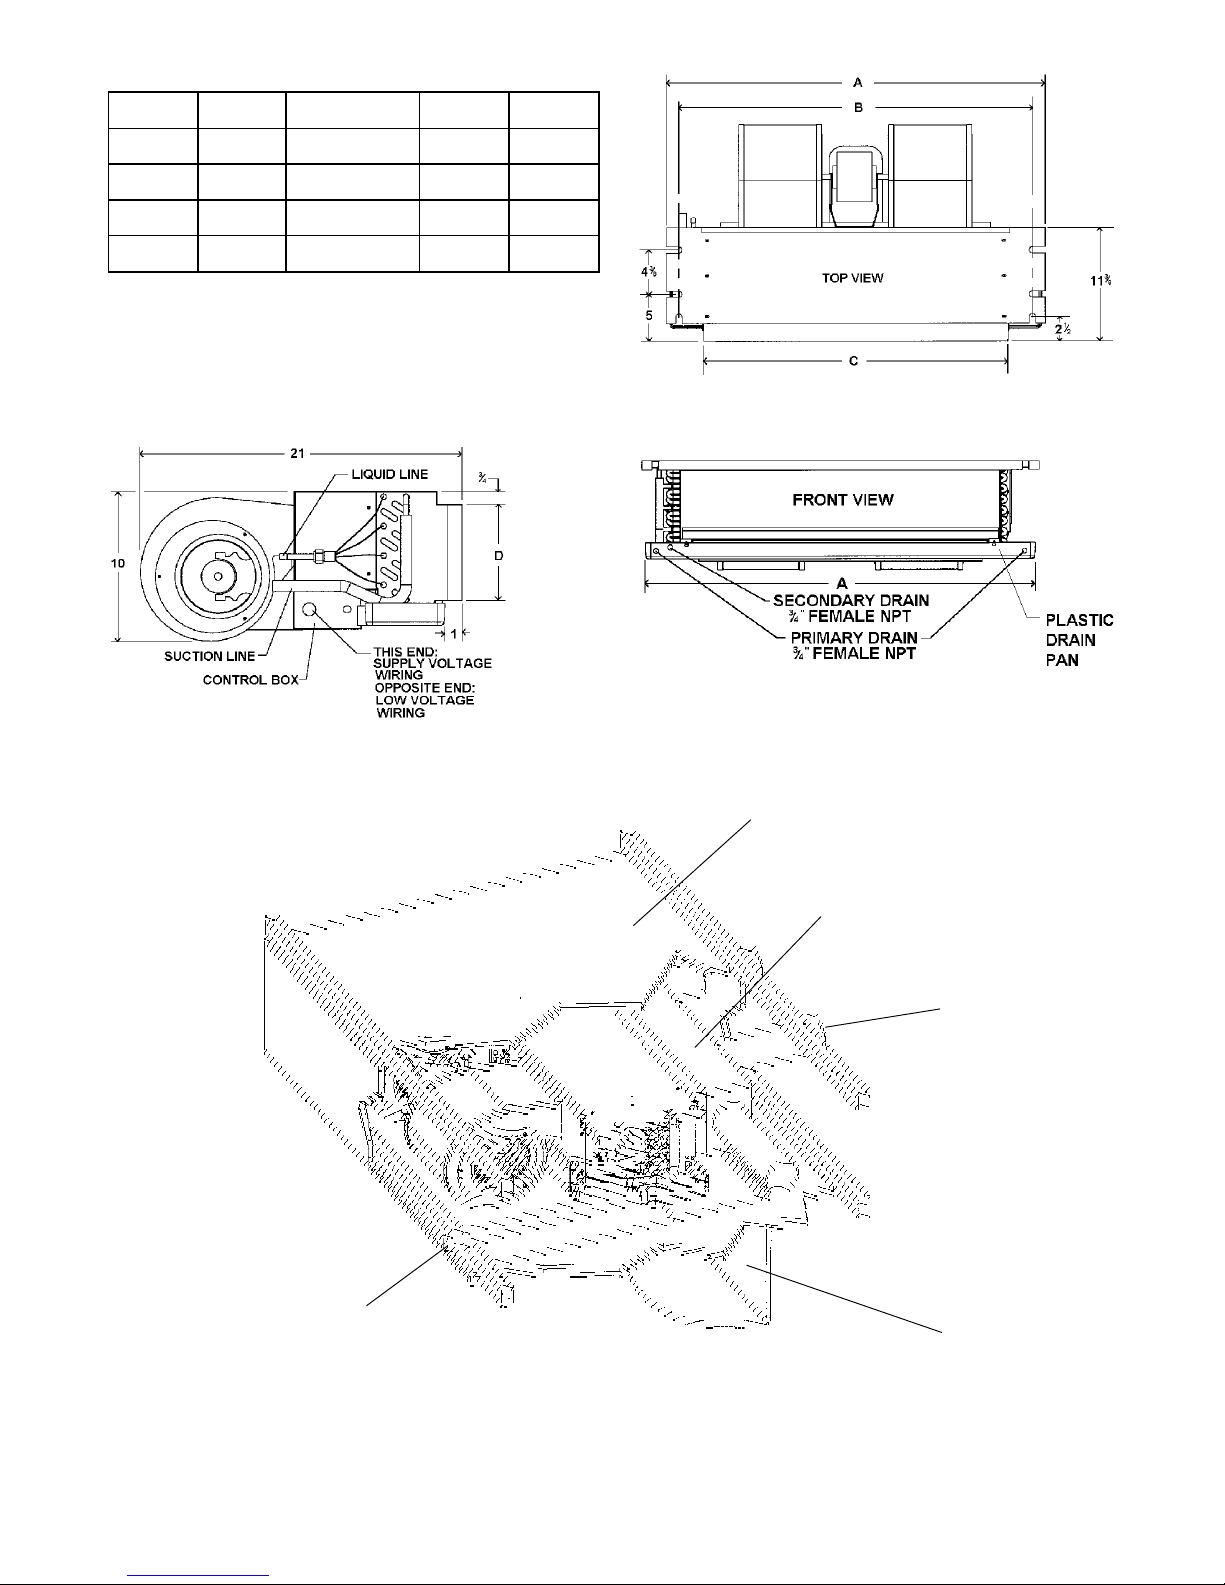
Dimensions
Model A B C D
AC 18 37 1/4 37 11/16 30 6 1/2
AC 24 37 1/4 37 11/16 30 6 1/2
AC 30 43 1/4 40 11/16 36 6 1/2
AC 36 49 1/4 46 11/16 42 6 1/2
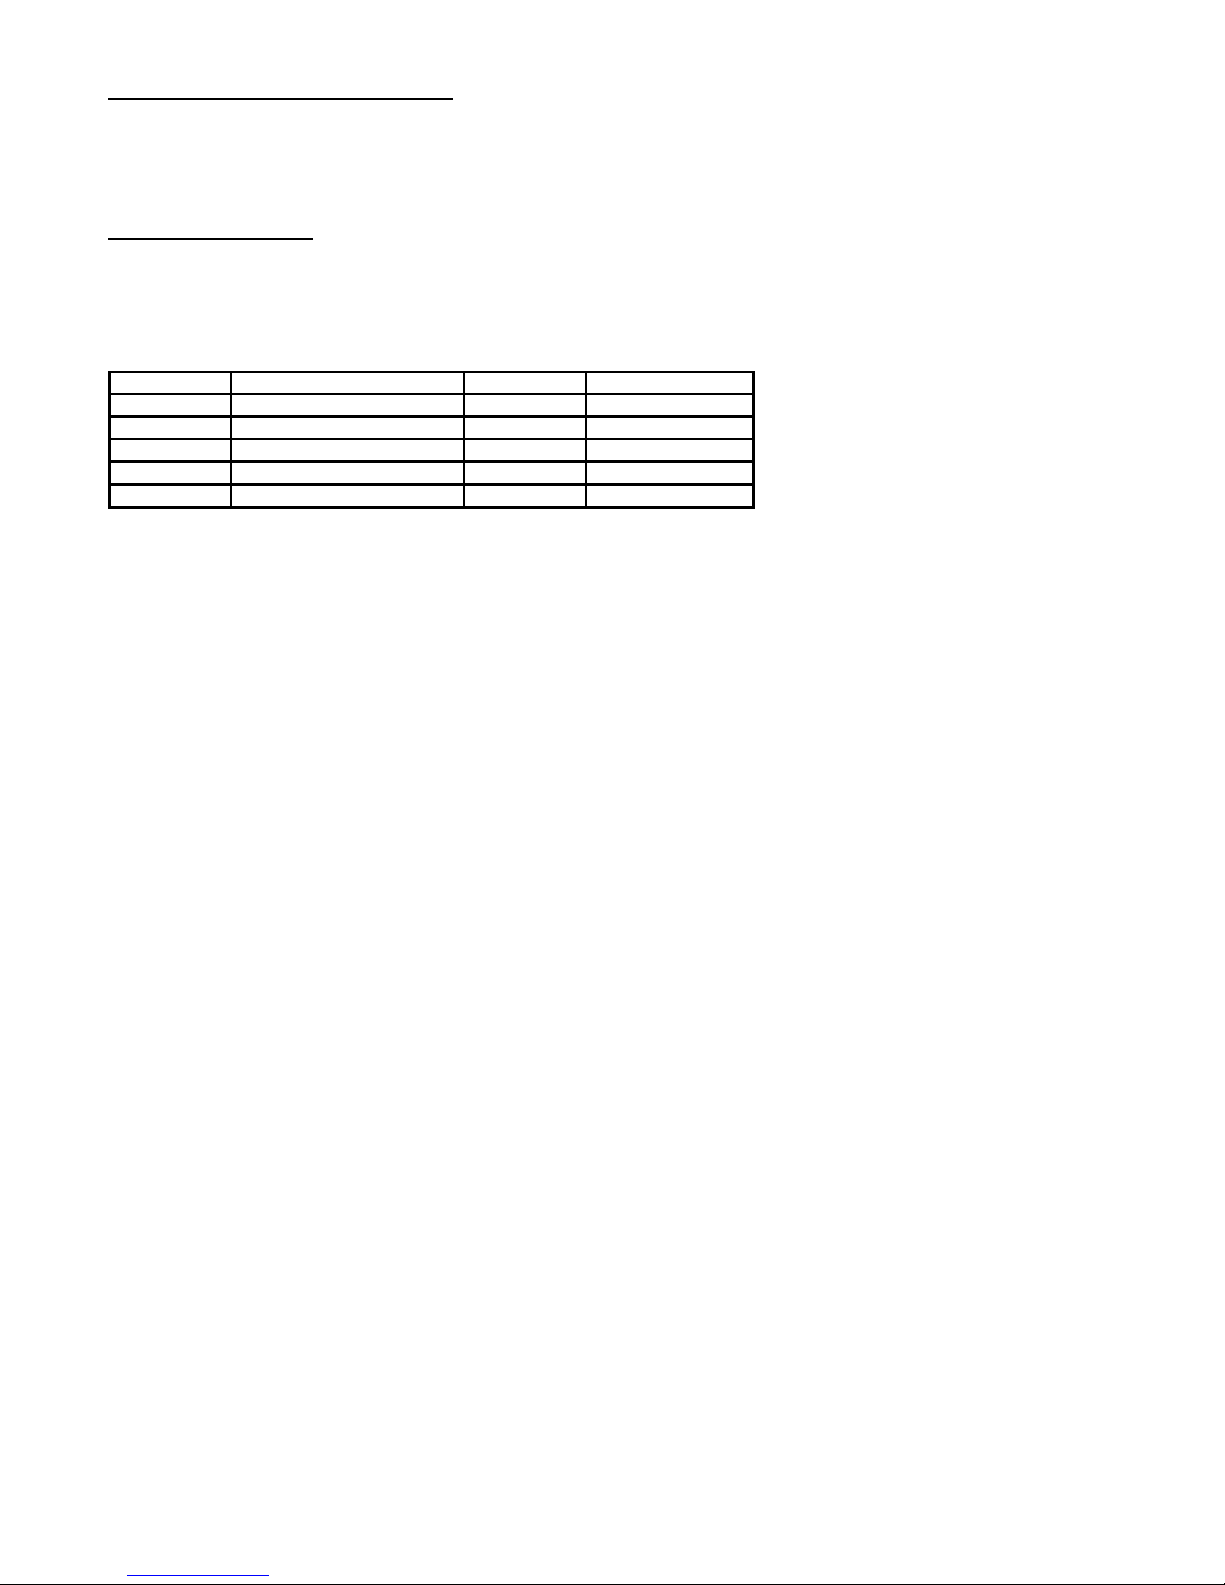
ELECT. HEATER
LOCATION
AC 18, 24, 30, 36
FIGURE 1
LAYOUT FOR
To Drain
Drop Ceiling
Plenum
Outlet Duct
Grill For Return Air
And Service
FIGURE 2
DROP CEILING
INSTALLATION
2
SPECIAL INSTRUCTIONS
This indoor coil contains the flowrator distributor assembly, which consist of a flare nut, distributor body, copper tubes
feeding the coil, and the internal flow check piston. Reference the enclosed “Piston Sizing Chart” for mix-matching of
outdoor / indoor units.
CHANGE THE PISTON
This coil is furnished with a flow control piston installed that matches the BTUH capacity of the coil. A piston size that is
too small will cause starving and one that is too large will cause flooding. The following chart indicates the condensing
unit capacity and the recommended piston size.
CONDENSING UNIT
MODEL NOM. COOLING (BTUH) PART NO. PISTON SIZE
AC18 18,000 BT 13690-04 52
AC24 24,000 BT 13690-01 59
AC30 30,000 BT 13690-05 65
AC36 36,000 BT 13690-06 71
1. Using a back-up wrench on the flare fitting, remove the
3/8" flare nut.
2. Using the back-up wrench on the distributor body,
6. Replace 3/8" flare fitting with Teflon seal using back-up
remove the 3/8" flare fitting and Teflon seal.
3. Using the wire provided with replacement pistons, run
wire (hooked end) through hole in piston.
7. Replace 3/8" flare nut using back-up wrench on flare
4. Hook nose end of piston and lift gently from distributor
body.
8. Remove old piston size label from outside of distributor
5. Replace piston with one of proper size listed above,
install piston with Teflon seal end of piston in distributor
first. Do not force piston into distributor.
9. Check fitting for leaks after installation, evacuation and
NOTE: With piston in distributor, seal end should be
shown and should not be seen looking in end of
distributor. Piston must be free to rotate and move up
If a combination is used that requires
a piston size change, change the
piston in the distributor on the indoor
coil before installing the coil and
follow the procedure shown below.
and down. Make sure piston is free to move in distributor
body.
wrench on distributor body. Torque fitting with 8 to 10 ft.
lb. Do not over tighten.
fitting. Torque 3/8" flare nut with 40 to 45 ft. lb.
body. Remove new piston size label from poly bag new
piston came in and install new size label on outside of
distributor.
charging of the low side is complete.
INTRODUCTION
WARNING: DO NOT CONNECT TO OR USE IN CONJUNCTION WITH THIS UNIT ANY DEVICES FOR THE PURPOSE OF SAVING
ENERGY OR INCREASING OPERATING EFFICIENCIES, WHICH HAVE NOT BEEN TESTED AND APPROVED BY GOODMAN
OR DESIGN CERTIFIED FOR USE WITH THIS UNIT. SERIOUS DAMAGE, REDUCED UNIT PERFORMANCE AND HAZARDOUS
CONDITIONS MAY RESULT FROM THE USE OF DEVICES WHICH HAVE NOT BEEN APPROVED OR CERTIFIED BY
GOODMAN.
This booklet contains the installation and operating instructions
for your ceiling mount air handler. There are a few precautions
that should be taken to derive maximum satisfaction from it.
Improper installation can result in unsatisfactory operation or
dangerous conditions and void the warranty. Read this booklet
and any instructions packaged with accessories prior to
installation. Give this booklet to the user and explain its
provisions. The user should retain this booklet for future
reference.
CHECKING PRODUCT RECEIVED
Upon receiving the unit, inspect it for any damage from shipment.
Claims for damage, either shipping or concealed, should be
filed immediately with the shipping company. Check the unit
model number, specifications, electrical characteristics,
and accessories to determine if they are correct.
ORDERING PARTS
When reporting shortages or damages, or ordering repair parts,
give the complete unit model and serial numbers as stamped
on the unit’s nameplate. Order parts through your local
contractor.
3
 Loading...