


Tablet ORION 7o/7oLITE
OWNER’S MANUAL
Tablet ORION 7o/7oLITE
INSTRUKCJA OBSŁUGI
VISIT OUR WEBSITE
WWW.GOCLEVER.COM
TO SEE MORE PRODUCTS TAB, NAVIO, DVR, DVB-T
Przed skorzystaniem z urządzenia zapoznaj się z niniejszą instrukcją obsługi
oraz zachowaj ją na przyszłość

2
Contents / Spis treści
English
3
Polski
15
Warunki gwarancji
27

3
Precautions
Important Declaration
1. Before using the tablet PC, please read all information provided by us, so that you can use
this product correctly. Please make sure that you have read this manual carefully before
using this product.
2. Our company reserves the copyright of this manual, any random duplication or
interpretation of the full or partial manual is forbidden in commercial activities.
3. The information covered in this manual is all based on the latest information when
compiling the manual, and products are subject to change without notice for further
improvement. We are not committed to any mistakes or incidences caused by the manual.
For additional product information, visit the website: www.goclever.com.
4. When using this product, please make backup for the data by yourself and this company
will just be responsible for the product's hardware itself, and will not undertake any
responsibility for any loss or damage of personal data and information due to wrong
operations of hardware.
This manual includes important information on safety precautions and proper usage of this
product. To prevent any accident, please make sure that you have read this manual carefully
before using this product. Do not keep this product in a place with a high temperature,
humidity or too much dust. Especially do not place this product in a car with all windows
closed in summer, and keep out direct sunlight.
Avoid dropping or shocking this product heavily and avoid shaking the display
violently, otherwise, the display may be damaged or cannot play correctly.
Please choose a suitable volume. Avoid excessively high volume when using a
headset. If you feel any ear noise, please decrease the volume or stop using.
Do not break the connection suddenly when this product is conducting formatting,
uploading or downloading operations, otherwise there may be program errors.
This company will not undertake any responsibility for any memory loss due to
product damage, repairing or other reasons.
Do not dissemble this product by yourself and do not clean the surface of this product
with alcohol, thinner or benzene.
Do not use this product in a place where the using of electronic device is prohibited,
such as on a plane.
4
Do not use this product while driving a car or walking on the street, otherwise traffic
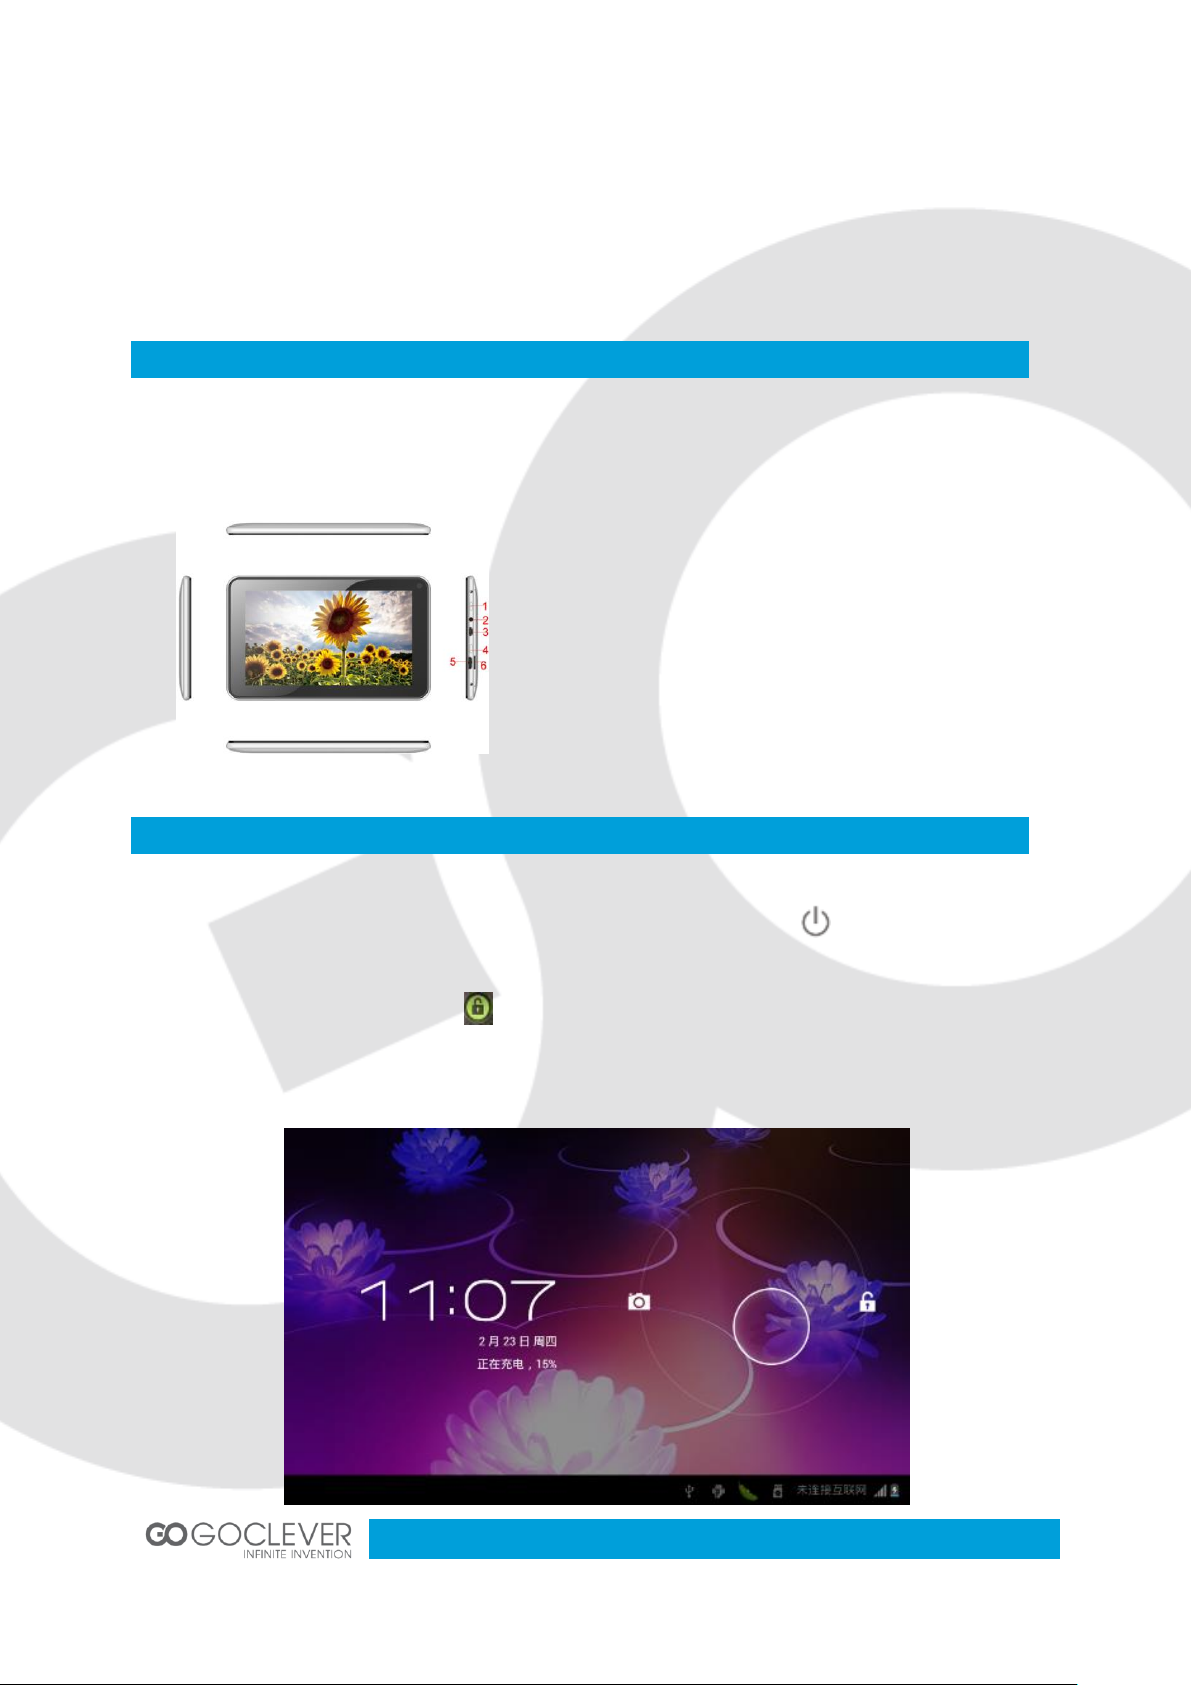
Appearance and Buttons
1. Power Button - long
press this button to turn
On/Off the player, short
press this button to lock
screen in order to avoid
operation error
2. Earphone Jack
3. microUSB OTG
4. Home Button
5. HDMI slot
6. card reader microSD
HC
Quick Start
accident may occur.
Our company reserves the right to make any improvement on this product. No further
notice will be provided on any variation on the specification and design of this
product!
This device is not waterproof.
Power On/Off and unlock: at the status of power off, long press “ ” for three seconds to
turn on. It will take some time to power on, please wait. It will take about 100 seconds to
enter system, drag unlock icon “ ” to the camera icon on the left to take photo and to the
unlocking icon on the right to unlock, see below:
5
Energy-saving and locking mode: at the process of using, system will automatically enter
Battery and Charge
Computer Connection & File Transfer
energy-saving mode, press “ ” to wake up the screen, system will enter unlocking mode in
one second, slip “ ” to unlock.
Notes: At the status of energy saving mode, the main operation won’t stop, only LCD screen
will be off, showing black screen. Music or film continues playing.
Power Off: At the status of using, press “ ” for 5 seconds, the screen will show power off
option. Select “Power off” option, confirm your choice and system will automatically turn off.
Select “Cancel” to cancel power off operation.
Notes: At the status of low-power, it will have warning voice; connect the DC adapter and
begin to charge, it will automatically turn off. If the product cannot boot, please check the
battery.
Battery should be charged about 6 hours for the first time
Please use charger approved by our company for charging
Please don’t disconnect the charger until device is fully charged
Battery icon will show whether it is fully charged
Don’t charge in high temperature environment (like under direct sunshine)
Lithium battery doesn’t need to discharge. User can charge the battery when there is
still power left
While charging, it is normal that both charger and device will heat up
Connect the device to computer with USB cable
The default mode is battery charging mode
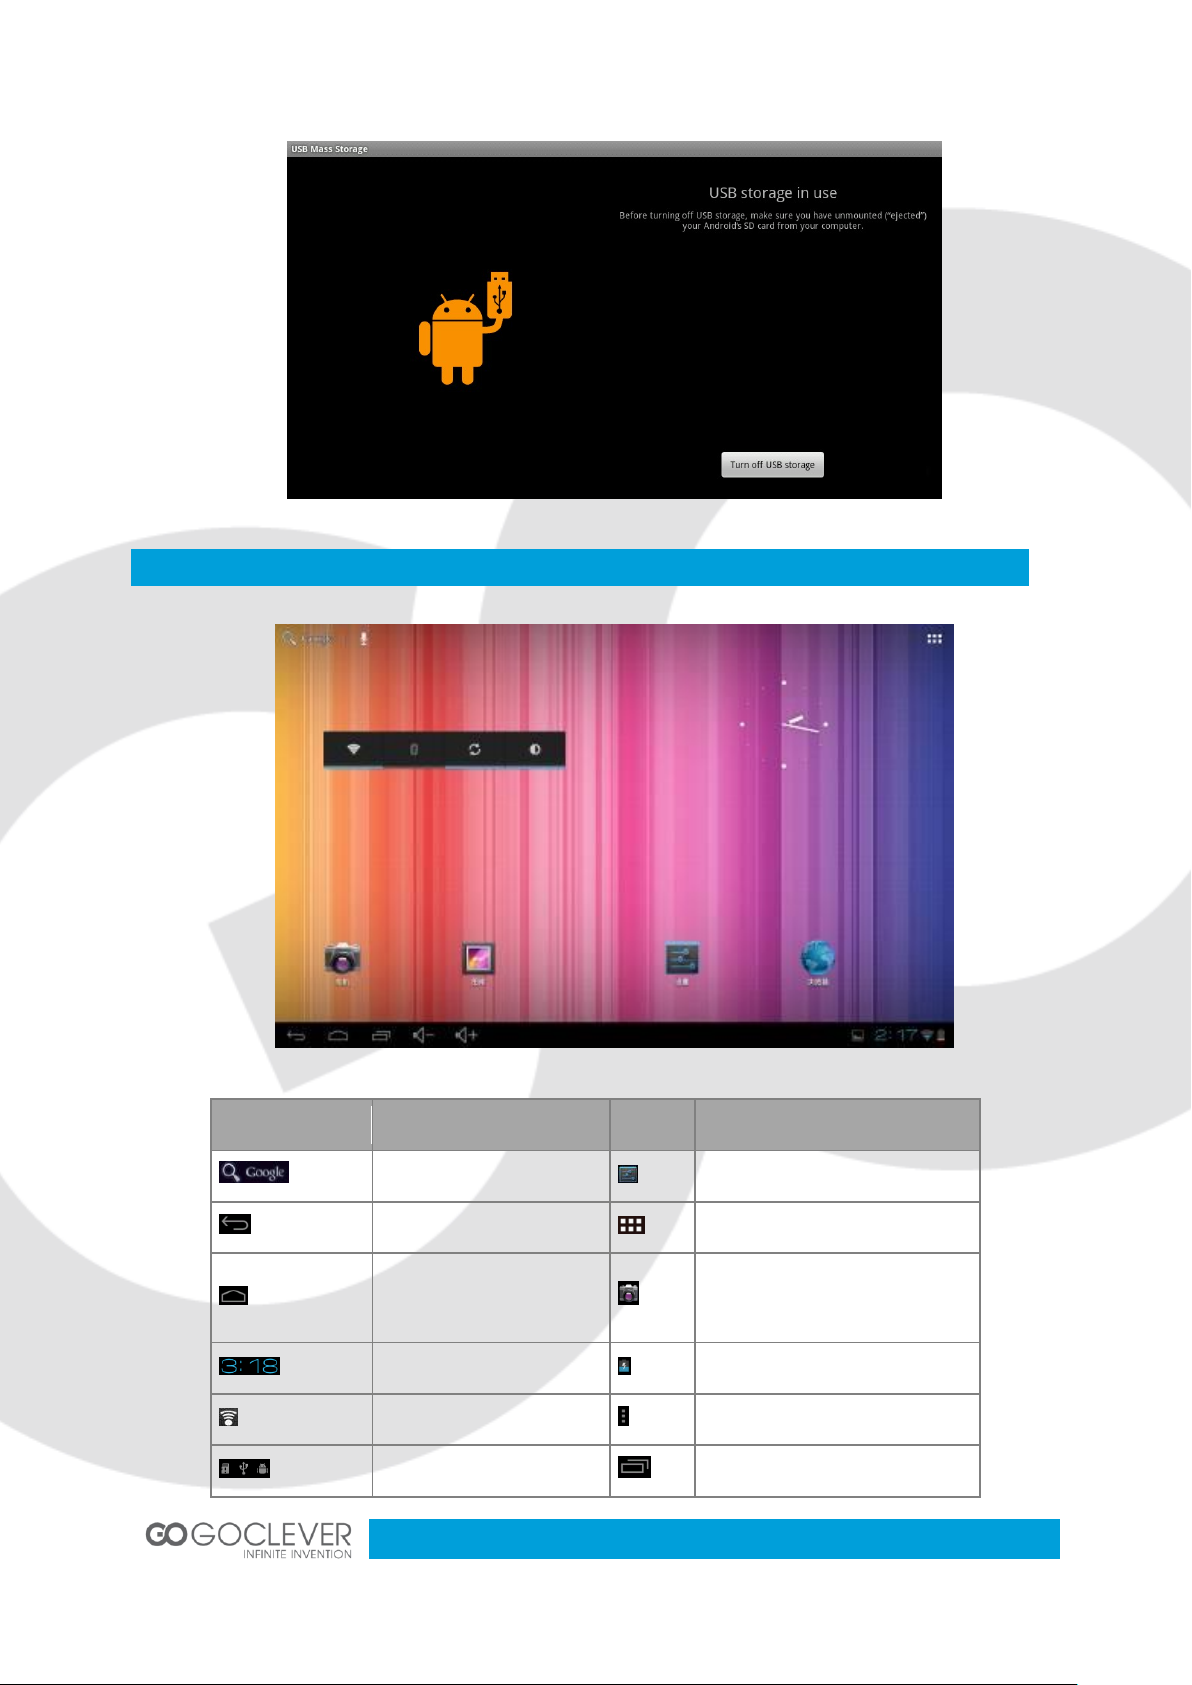
To change the default charging mode to transfer mode, roll down the status bar and
switch to USB storage status (see picture below)
6
Main Interface Functions
Icon
Definition
Icon
Definition
Google search
Setting
Back
Application list
Back to main interface
from any interface
Camera
System current time
Battery
Wi-Fi signal
Menu
Mass storage status
Setting menu
7
Application Installation
Internet
Download and copy your application into memory card
Insert memory card into the device
Open “Setting/application program”
Select “Unknown sources”
Find your application file and install it on the device
If you want to uninstall the application, select “Apk installer”, then select
“Manager” to enter applications list and select the application you want to delete
Click to go back to previous interface
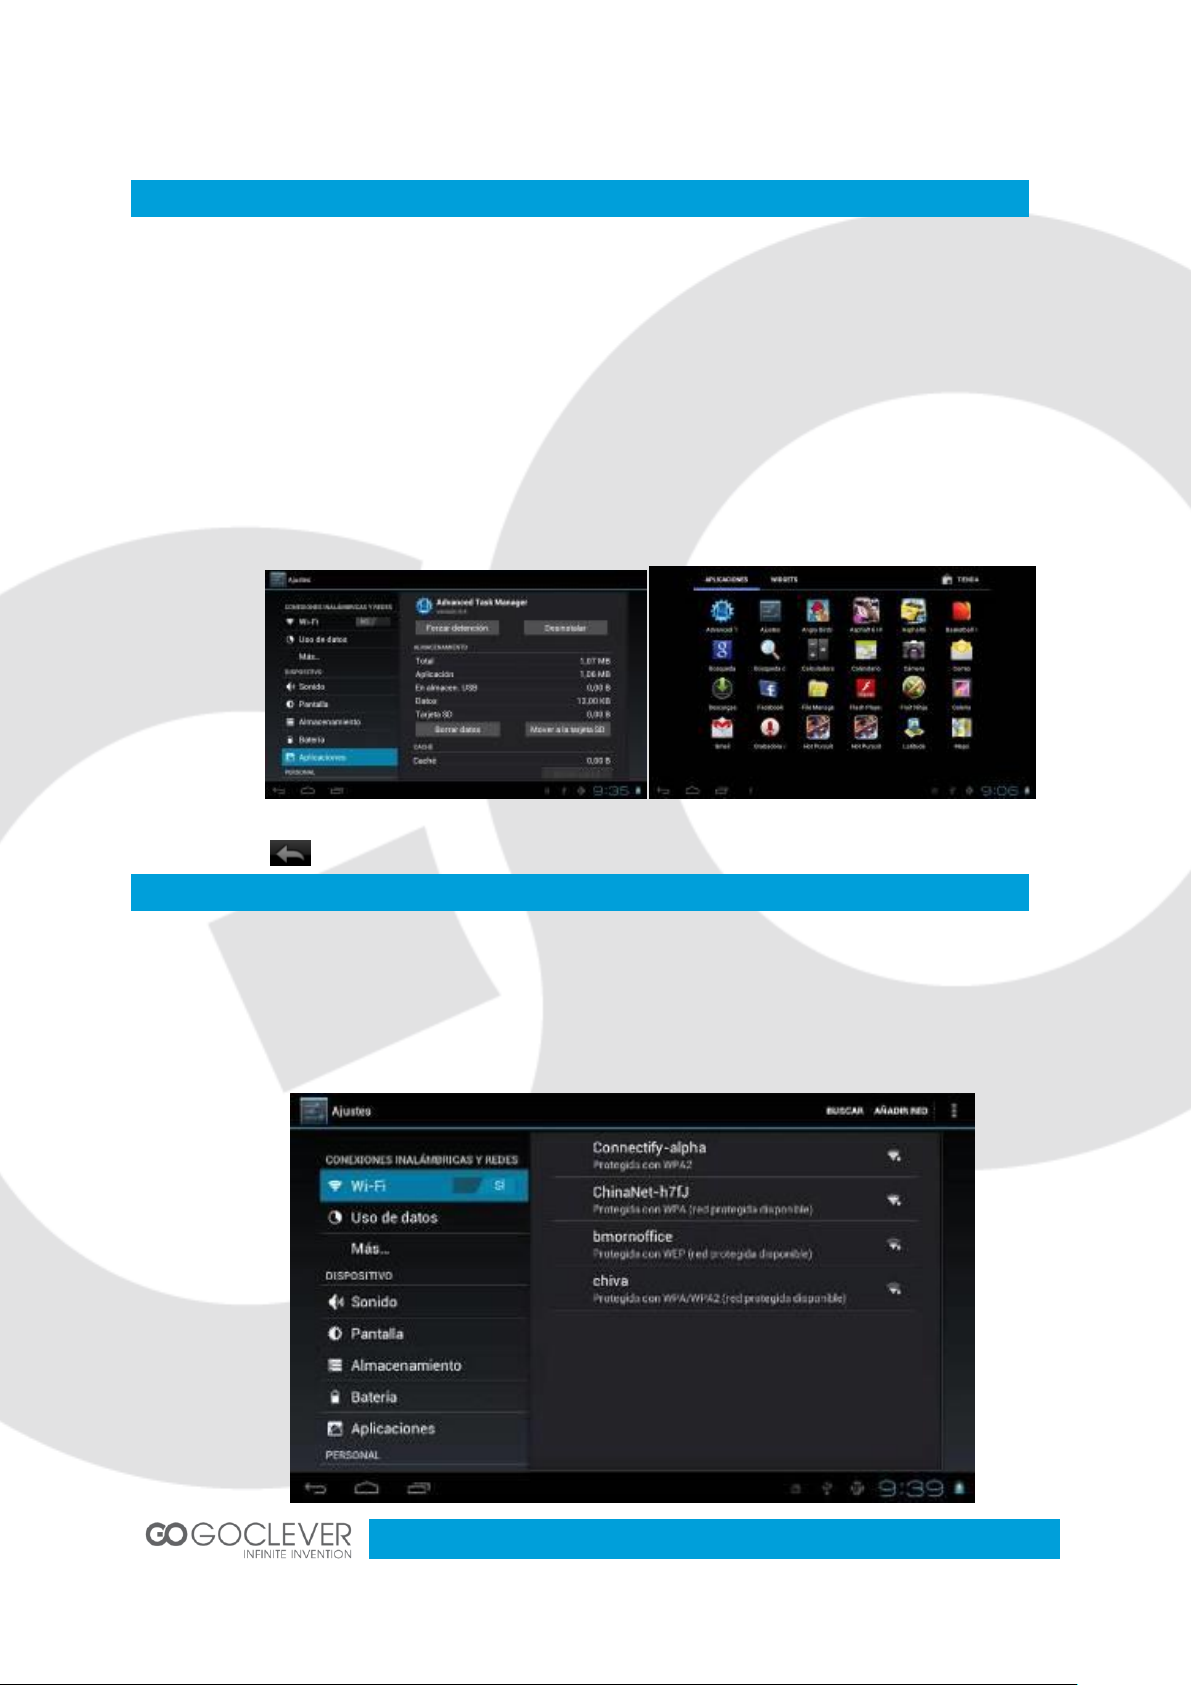
Wi-Fi connection.
Click the main interface shortcut, select “Internet connection manager”, click “Wi-Fi
settings”, enter Wi-Fi setting interface and turn on the Wi-Fi switch (see picture below)
8
The device will automatically scan for wireless networks
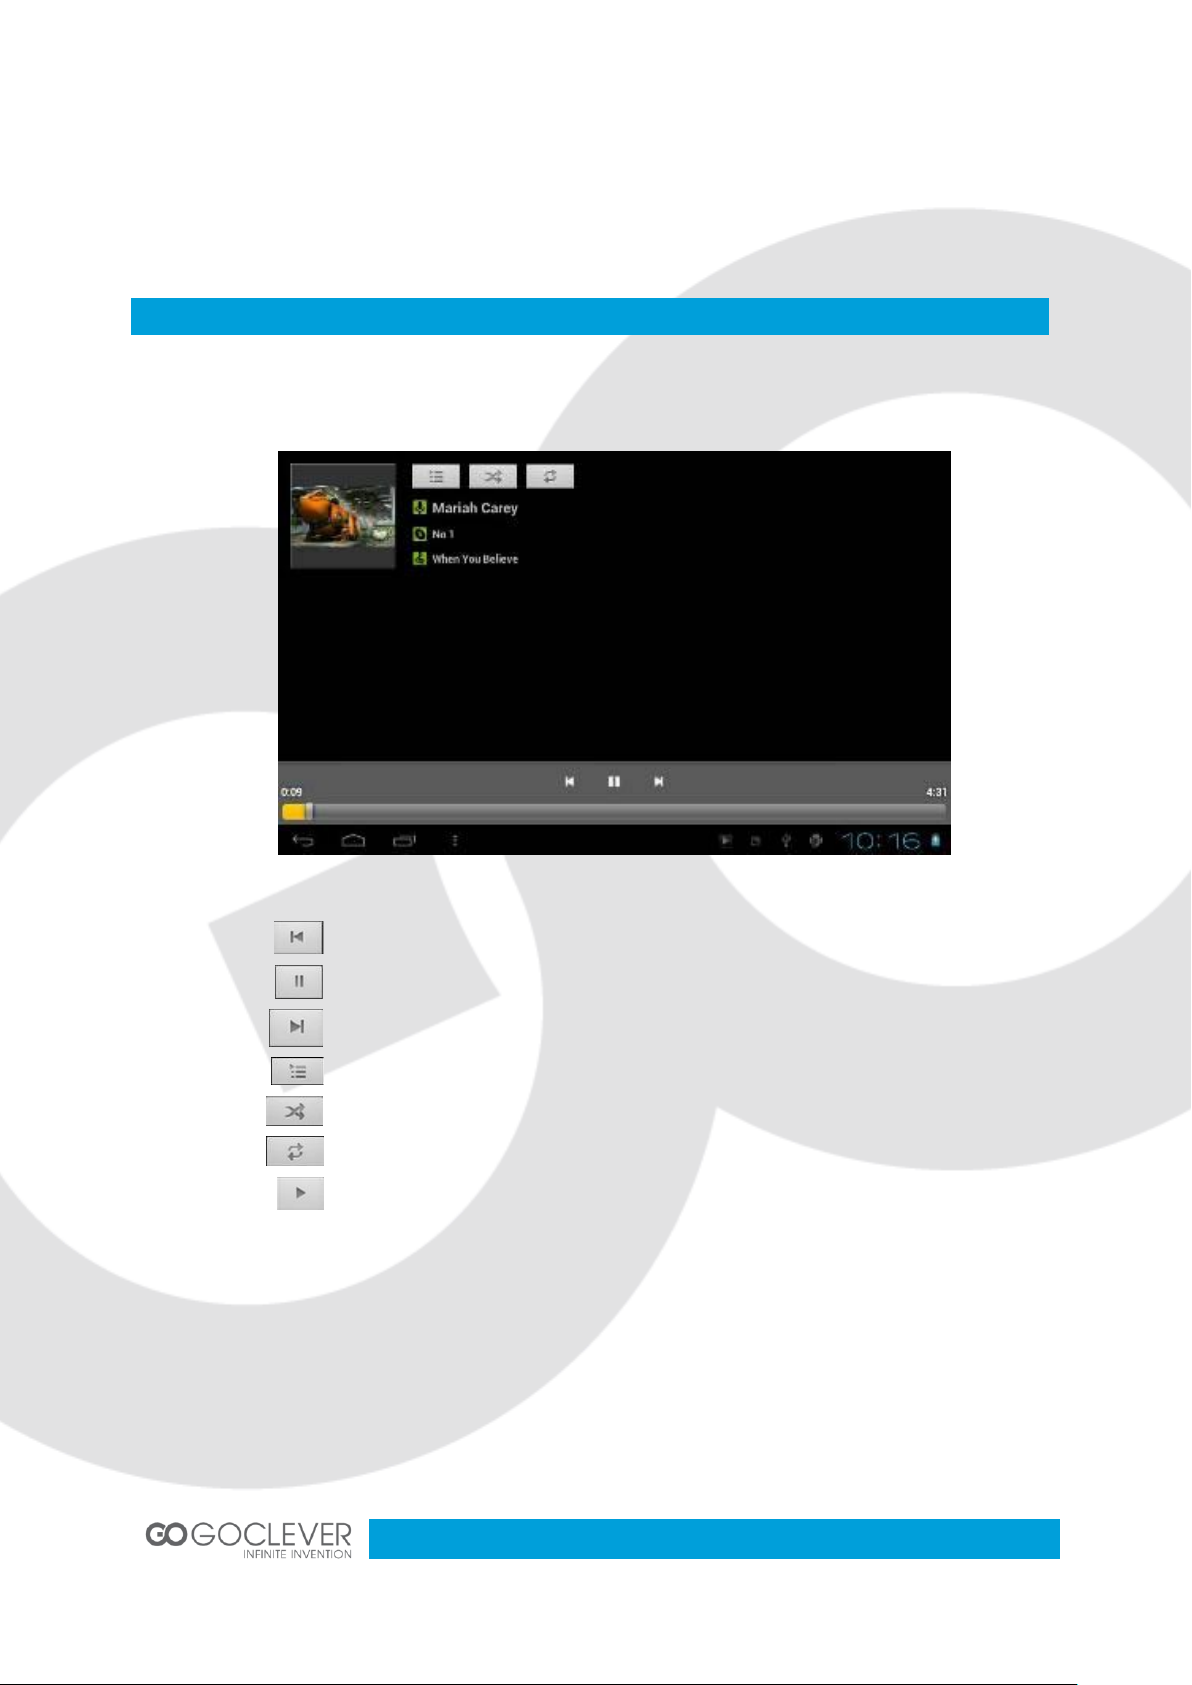
Music Player
Play the previous music, long press to fast reverse
Pause
Play the next song, long press to fast forward
Display the present playing list
Select the random playing mode
Select the repeat playing mode
Play
Select your network
Enter the password when prompted and connect to the network to get access to the
Internet
Click the music icon to enter the music player interface. Select your music file.
9
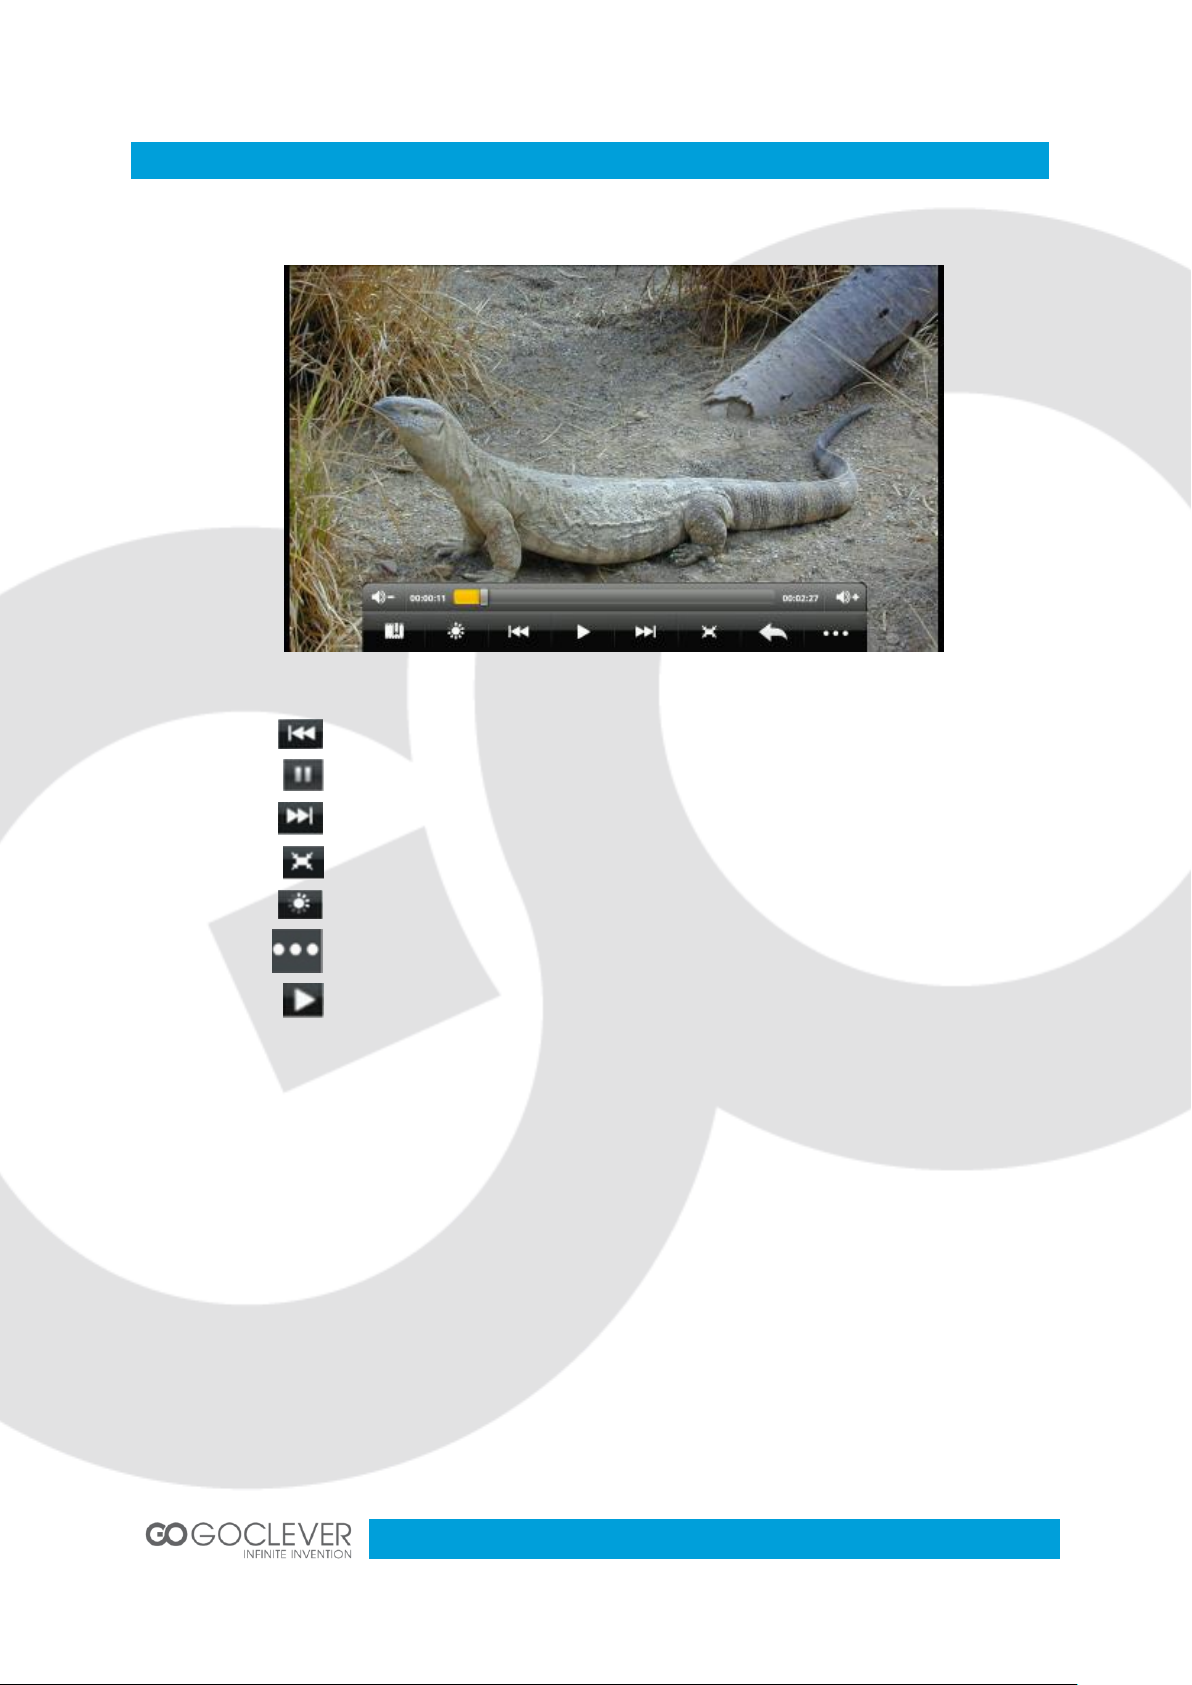
Video Player
Play the previous video, long press to fast reverse
Pause
Play the next video, long press to fast forward
Screen adjustment
Click to set up brightness
Enter video settings
Play
Click the video icon to enter the video player interface. Select your video file.
10
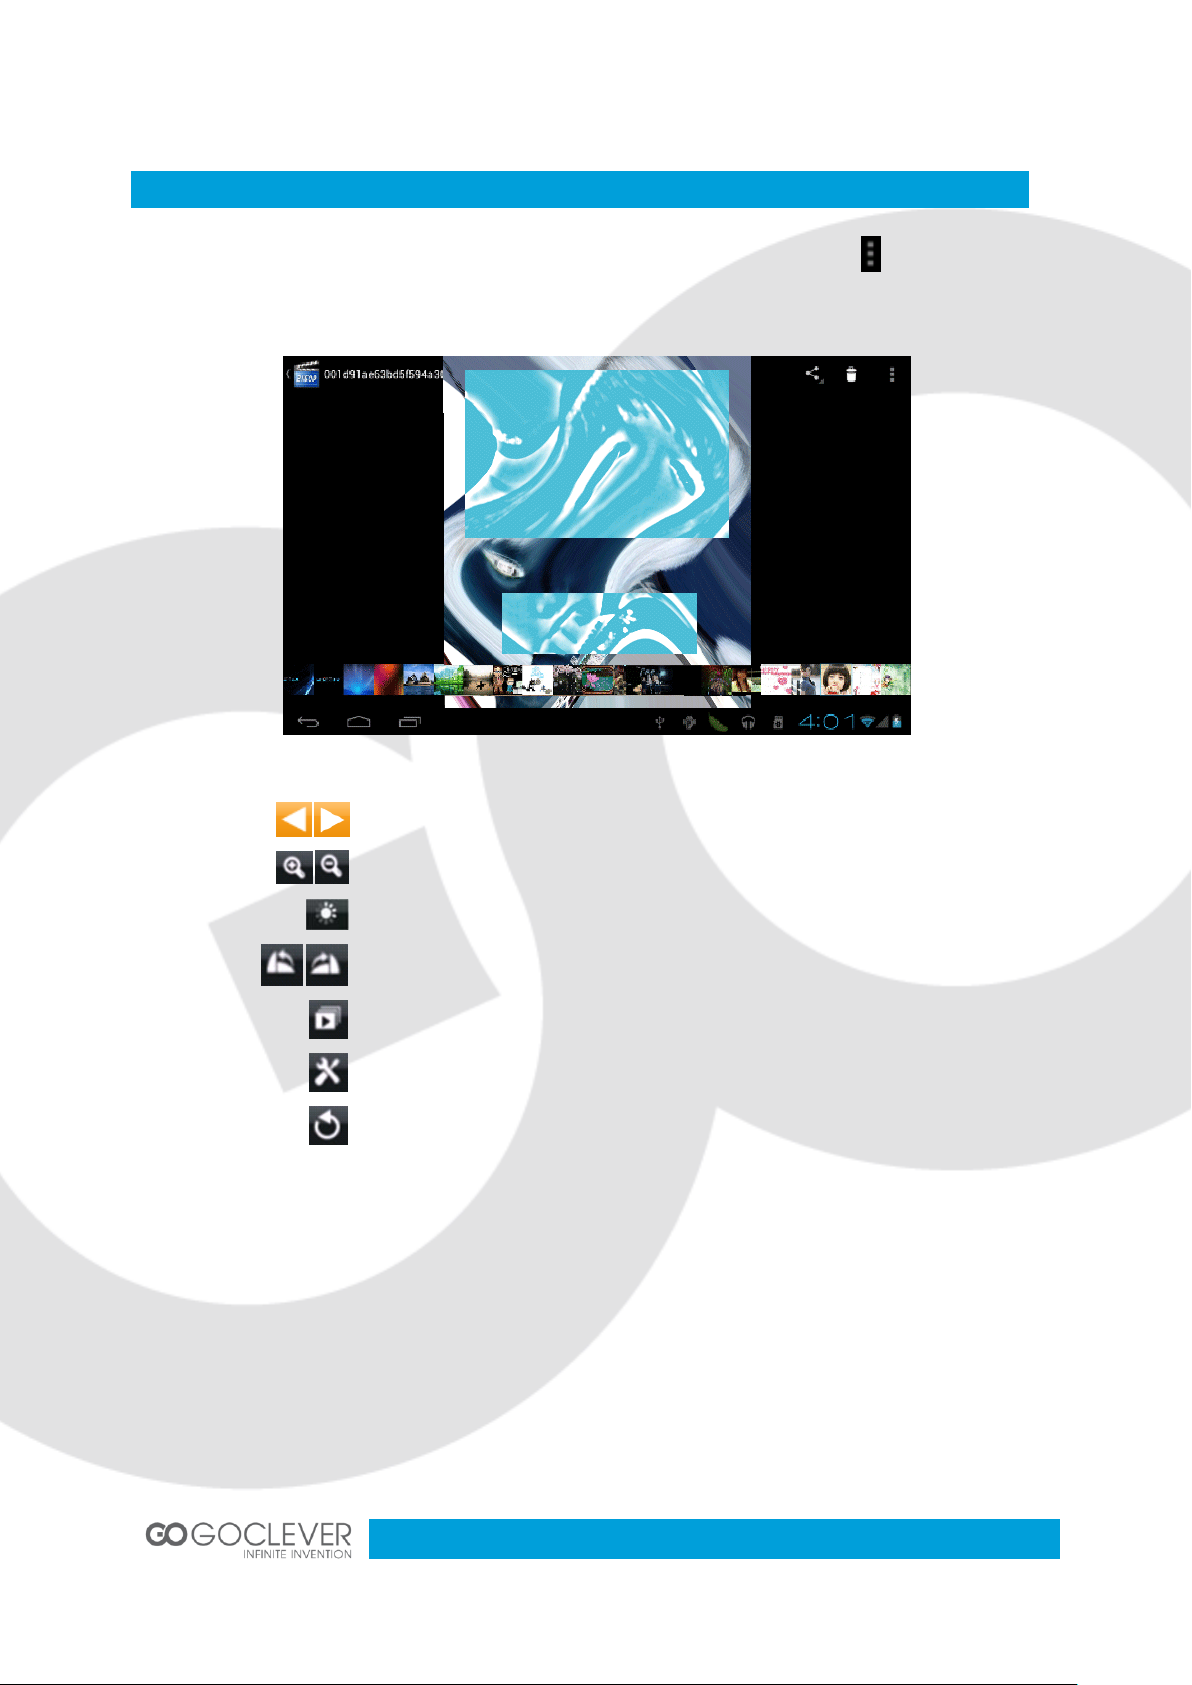
Photo Browser
Select pictures
Zoom in/out the picture
Brightness setting
Rotate the picture
Enter the slideshow mode
Enter video settings
Return to previous menu
Click the photo gallery icon to enter the photo browser interface. Click icon to bring up
photo menu.
 Loading...