

Page 1
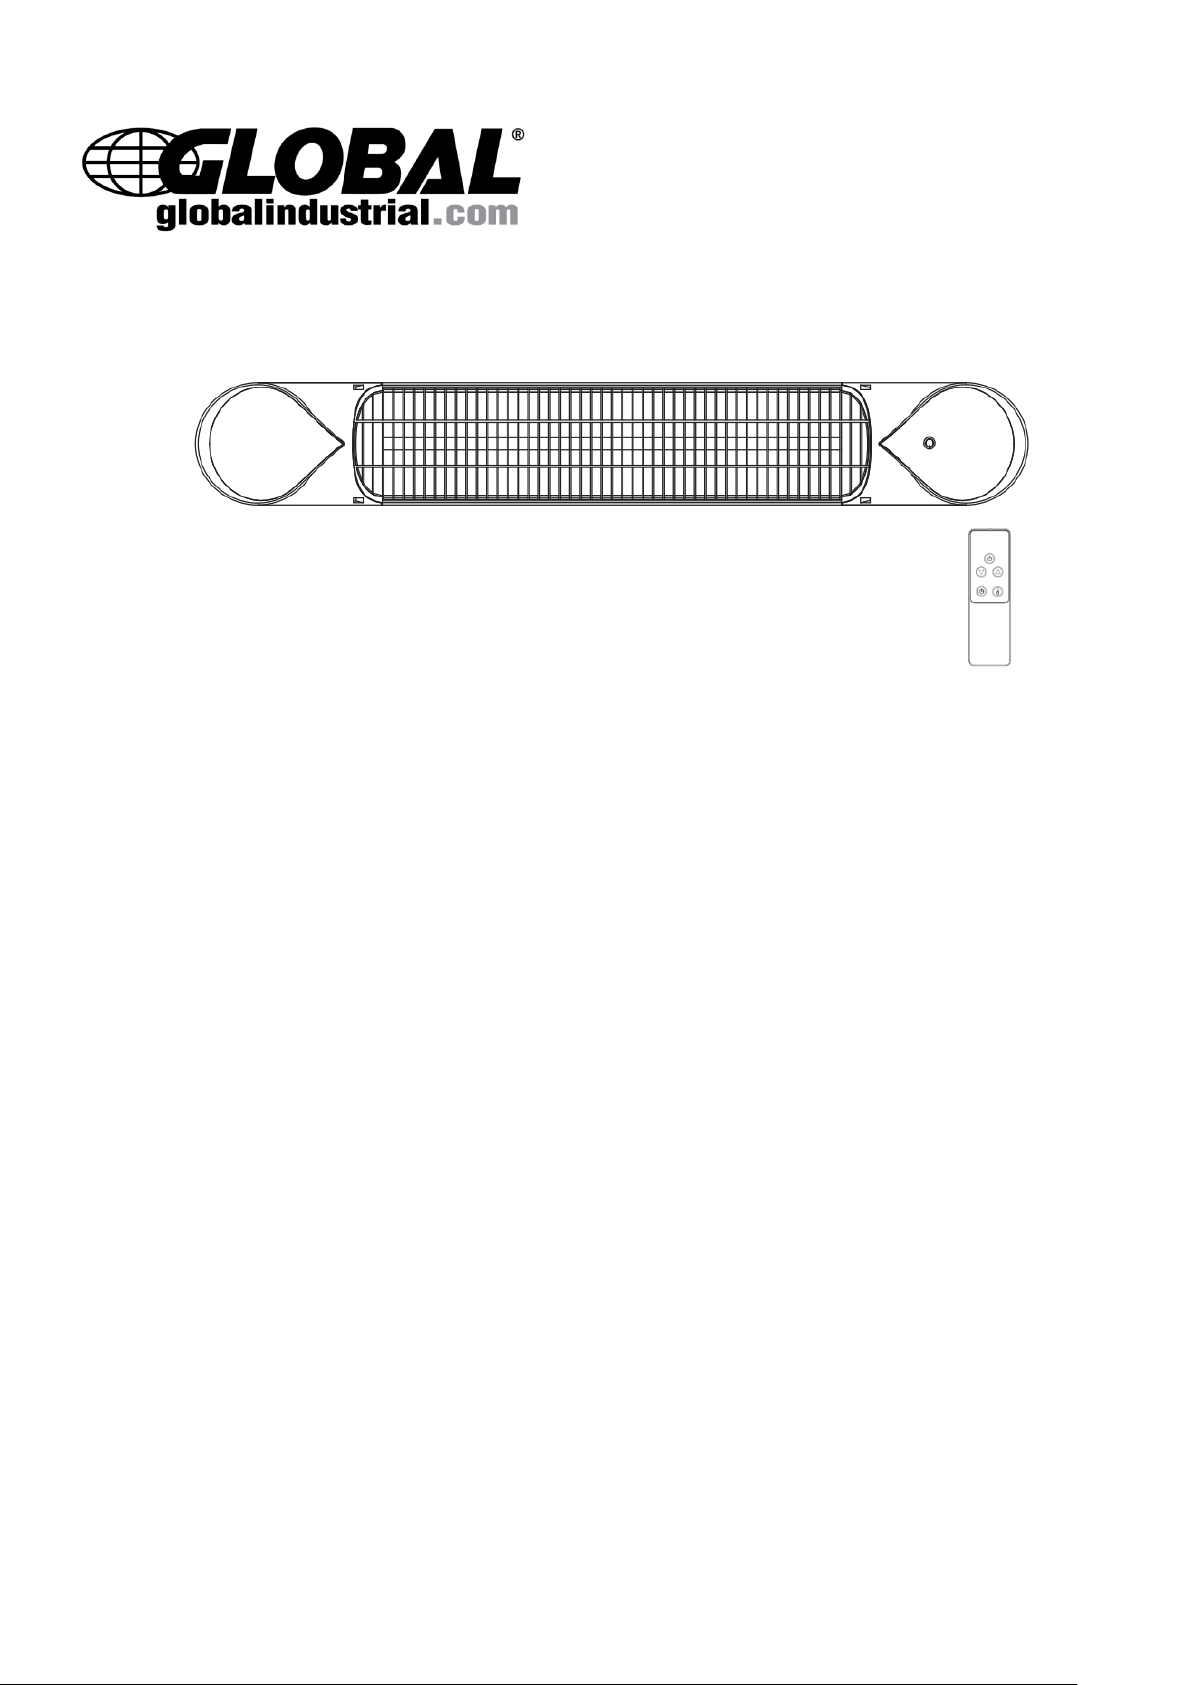
Infrared Patio Heater w/ Remote
Control, Wall/Ceiling Mount
User Manual
Model 246718
Read this manual thoroughly prior to installation and operation.
Keep these instructions in a safe location for future reference.
For questions, visit globalindustrial.com or contact Customer Service at 1-800-645-2986.
SAFETY INFORMATION
TO AVOID RISK OF SERIOUS INJURY OR DAMAGE, READ AND FOLLOW ALL SAFETY PRECAUTIONS,
OTHERWISE WARRANTY WILL BE VOIDED.
WARNING: To prevent overheating, keep the air inlets and outlets clean and free of anything that may
cause blockage. Often check all inlets and outlets to ensure they are clear of any dirt or dust
accumulation. DO NOT COVER.
WARNING: Parts of the heater may exceed 390ºF, contact with the heating tube, reflector, or mental
parts near the heating tube, may cause severe BURNS. DO NOT let bare skin touch hot surfaces. Switch
off, unplug and allow the heater to completely cool off before making contact.
WARNING: If provided, use handles when moving this heater. Keep combustible materials, such as
furniture, pillows, bedding, papers, clothes, and curtains at least 3 feet from the front of the heater and
keep them away from the sides and rear.
DO NOT insert fingers or objects into any of the openings.
Keep all objects a minimum of 3-ft. away from the heater.
DO NOT cover the heater, or put objects such as fabrics or combustible materials in contact with the heater.
DO NOT allow children to play with the appliance. Keep children away unless continuously supervised.
Check that the voltage in the rating label fits the power supply.
The use of these heaters is forbidden in any area where there is a presence of gases, explosives or
inflammable objects.
Neither the connecting cable nor any other object must come into contact with the heater.
This heater should be switched off at the isolating switch before maintenance or repair work.
Installation must be carried out by a certified technician in accordance with current local electrical
regulations.
The heater must not be installed just below an electrical socket-outlet.
Never touch the heater with wet or humid hands or while barefoot.
Page 2
DO NOT expose heater to rain/snowfall.
Model:
246718
Voltage:
110-120 VAC
Wattage:
1500W
Hertz:
60Hz
Application:
Outdoor
Dimensions:
35-1/2”L x 3-1/2” W x 5-1/8”H
Weight:
6.6 lbs.
Cord Length:
6 ft.
The supply circuit must incorporate a double-pole isolating switch having a contact separation of at least
1/8”.
DO NOT operate if the power cord or plug is damaged, after a malfunction, or after the unit has been
dropped or damaged in any manner. Disconnect power and have the heater inspected by a reputable
electrician before reusing.
Connect to properly grounded outlets only.
It is important to maintain a minimum distance of 3-feet between the heater and curtains, or any other
combustible materials that will be affected by the radiated heat.
DO NOT touch the fireguard or reflecting cover when the heater is in use; do not insert any objects into the
fireguard to prevent high temperature scalding.
Heater is for outdoor use only.
Outdoor weatherproof outlet is recommended.
NEVER leave the heater unattended while it is operating.
DO NOT run cord under carpeting, throw rugs, runners, or similar coverings. Do not route cord under
furniture or appliances. Arrange cord away from high traffic areas and where it will not be tripped over.
DO NOT let the power cable hang over the edge of a table/counter or let it come in contact with hot surfaces.
DO NOT use an extension cord.
To disconnect heater, turn controls to off, then remove plug from outlet.
Disconnect heater during installation and maintenance.
NEVER place hands under the heating elements. ALWAYS allow heating element to cool at least 10 minutes
before touching the heating tube or adjacent parts.
The heater has hot and arcing or sparking parts inside. Do not use it in areas where gasoline, paint, or
flammable liquids are used or stored.
NEVER dismantle the components of the heater or replace with components not offered or recommended by
Global Industrial.
SPECIFICATIONS:
INSTALLATION
Tools Required:
1. Power Drill and Drill Bits
2. Phillips Head Screwdriver
3. Hammer
4. Level
5. Pencil
A wall mounting bracket is provided with the heater. Before drilling holes make sure the mounting
surface (ceiling or wall) is solid and that there are no hidden water pipes or electric wires behind it.
Allow a minimum of 20” from each side of the heater to the wall and 7.8-ft off the floor.
Page 3
WARNING: The heater must be installed on the solid surfaces like concrete, wood or metal, etc.
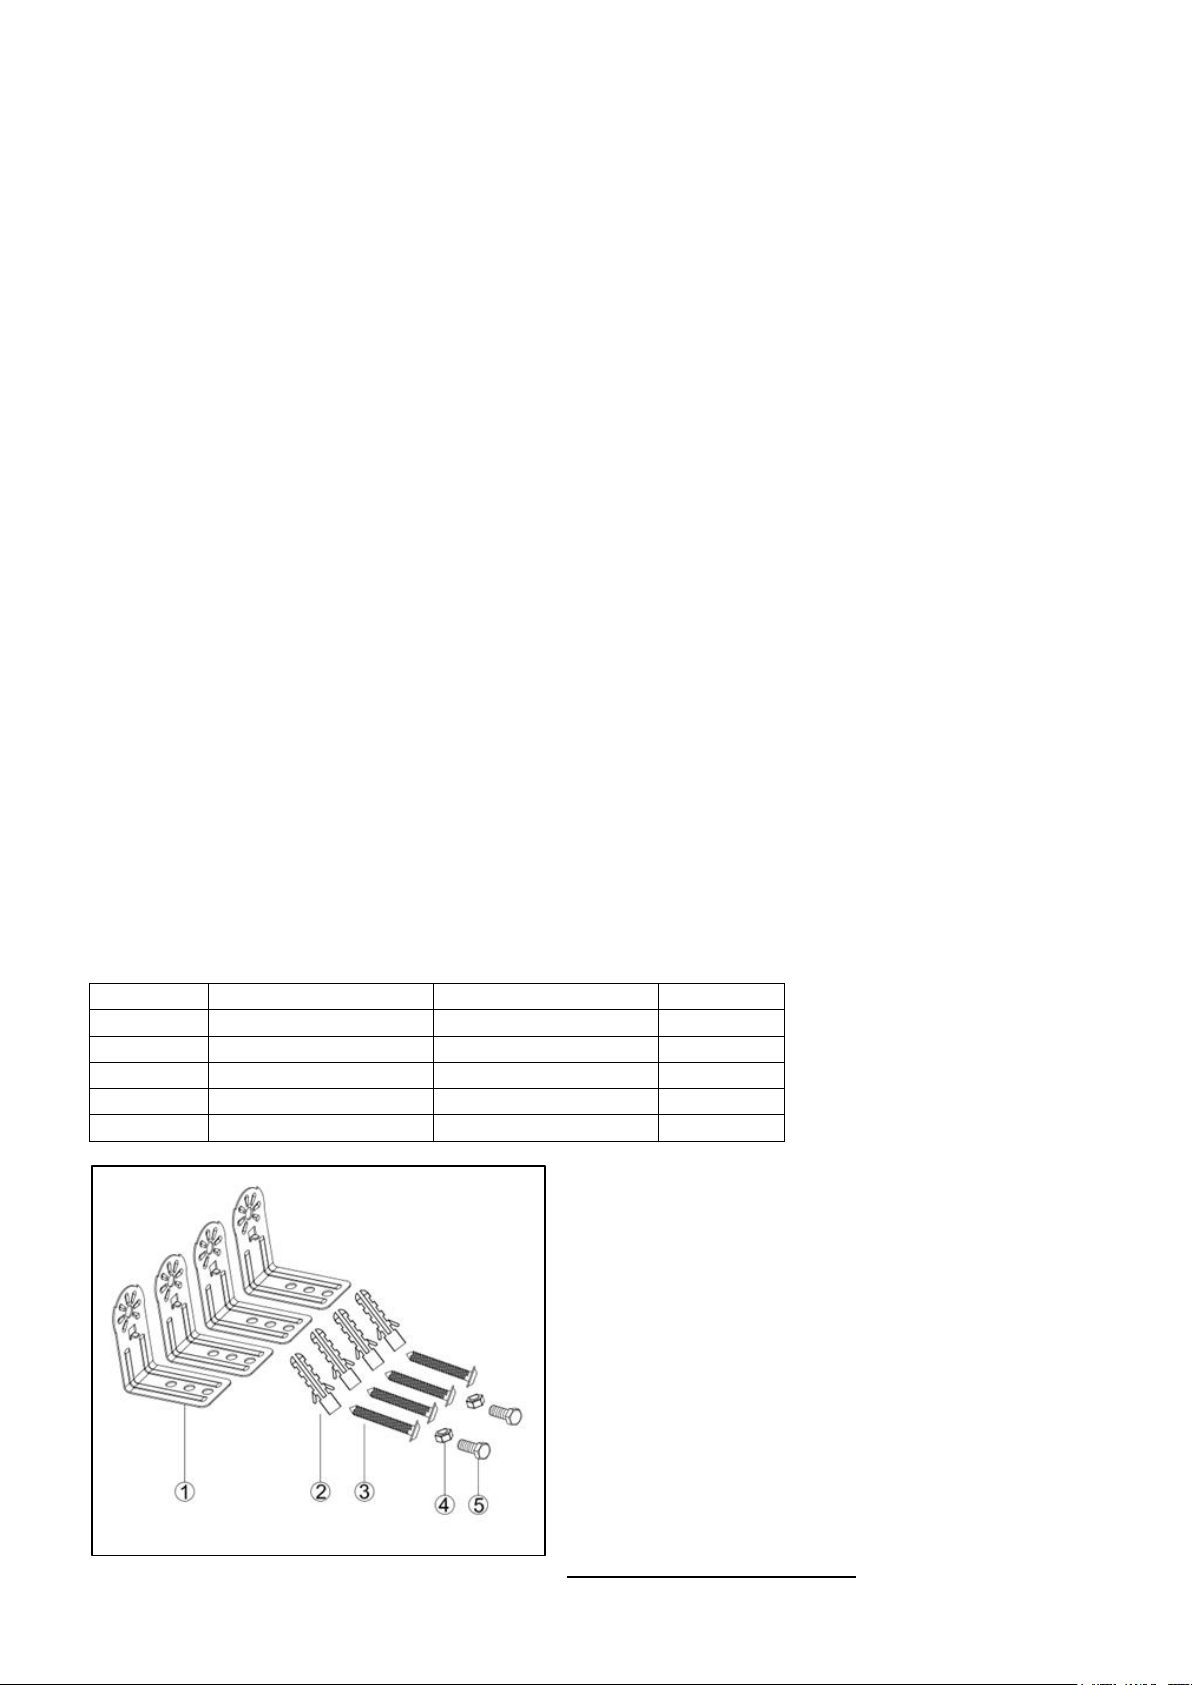
Ref.
Type
Size
Qty.
1
Bracket
L-Shaped
4 2 Plastic Anchor
5/16” x 1-1/4”
4
3
Screw
3/16” x 1”
4 4 Nut
1/4”
2
5
Screw
1/4” x 1/2”
2
WARNING: Ensure that the supply cable is well mounted and does not come into contact with
reflector of the heater or that does not trail into heated area. The supply cable can be fixed to the
metal mounting bracket behind heater with plastic zip ties.
Heater to be installed by a qualified installer.
ALWAYS disconnect the heater and allow it to cool before installation/or maintenance.
For ceiling mounting, the lowest part of the heater must be located at or above a minimum height
of 7.8-ft. from the floor.
Allow a minimum of 20” from each side of the heater to the wall
The distance from the front side of the heater to materials such as wood, carton, cloth etc., must
be a minimum of 3.5-ft.
For ceiling mounting, DO NOT position the heater at an angle more than 90° or less than 45°.
The supply cable must be at the lower end of the heater if the heater is installed at an angle or
vertically.
Keep the supply cord away from the body of the heater which will get hot during use.
DO NOT install the heater on an inflammable surface.
Observe the minimum safe distance between the heater body and the inflammable surfaces
when mounted.
The heater must be installed on the mounting brackets provided.
Fasten the brackets securely to the mounting surface and the backside of the heater using the
nuts and screws provided.
The brackets can be used to adjust the direction of the heater, adjust the heater angle by
loosening the two bolts on the wall mounting bracket, tighten the bolts again when the desired
angle is reached.
Hardware Included:
Wall Mounted Installation:
Page 4

Ceiling Mounted Installation:
Page 5

Correct Wall / Ceiling Position:
OPERATING:
Product Key Function:
1. Turn on the power, the product is in standby mode and displays: (- -)
2. Press key function button, then press the heat levels (L1-L2-L3 - STANDBY - OFF)
Remote Control Instructions:
1. POWER BUTTON: Turn the heater on/off.
2. UP BUTTON: Increase timer and level.
3. DOWN BUTTON: Decrease timer and level.
4. LEVEL BUTTON: Use to adjust the heat levels (L1-L3).
Press the LEVEL button, then use the UP and DOWN buttons to
increase or decrease the heating level.
5. TIMER BUTTON: To set the timer from 0H-9H, which is the
number of hours it will run. 0H will display and then adjust to the
number of hours you would like to set, using the UP and DOWN
buttons.
Note: All Global Industrial 246718 heaters and their remote controls have the same frequency, so it is
possible to control several heaters with just one remote.
Inserting Batteries
Insert 2 AAA/ Alkaline type batteries into your remote control
1. Remove the battery cover on the backside of the remote control.
2. Insert (2) AAA/alkaline type batteries.
3. Reattach the battery cover.
Page 6

CAUTION:
Remove batteries if remote will not be used for long period of time; to prevent leakage which may
impair your remote control.
Do not allow water or liquid to get into the remote control.
CLEANING & MAINTENANCE
Regular and careful cleaning helps your infrared heater operate efficiently for many trouble free years.
Periodically inspect and remove any dirt or contaminants to ensure that the equipment can be operated
safely. To clean your heater, follow the steps below:
1. Turn off and unplug the power cord.
2. Make sure the heater is cool before continuing.
3. To keep the heater clean, the outer shell maybe cleaned with a soft, damp cloth. You may use a
mild detergent if necessary. After cleaning, dry the unit with a soft cloth. WARNING: DO NOT let
liquids enter the heater.
4. DO NOT use alcohol, gasoline, abrasive powders, furniture polish or rough brushes to clean the
heater. This may cause damage or deterioration to the surface of the heater.
5. DO NOT immerse the heater in water.
6. Wait until the heater is completely dry before use.
7. DO NOT use alcohol, gasoline, abrasive powders, furniture polish or rough brushes to clean the
heater. This may cause damage or deterioration to the surface of the heater.
8. DO NOT immerse the heater in water.
9. Wait until the heater is completely dry before use.
10. Check the filthiness of the Reflector and IR-Filament at least once a month. Clean as needed.
11. The frequency of maintenance checks may be increased considering the amount of the dust in the
environment.
12. Check the condition of the Reflector, Wire and Frame visually while cleaning the appliance. In case
of deformation, consult with a qualified electrician.
13. Check the Power Cord and Plug visually while cleaning the appliance. In case of damage, consult
with a qualified electrician.
STORAGE:
Store the heater in a cool, dry location when not in use to prevent dust and dirt build up. Use packaging
carton to store.
CAUTION:
When the appliance is not operated for a long period of time, cleaning or maintenance is conducted or
when transporting, ALWAYS turn off and unplug the heater from the electrical connection.
WARNING:
Always disconnect the heater from the electricity supply and allow it to cool before attempting to
work on it.
If the heater has collected dust or dirt inside or around the heating element, have the unit cleaned
by a qualified service agent. DO NOT operate the heater in this condition.
The only maintenance required is cleaning of the external surfaces of the heater.
DO NOT touch the heating element with bare fingers, as residue from your hand could affect the life
of the lamp. If it is accidentally touched, remove the finger marks with a soft cloth moistened with
mentholated spirit or alcohol.
DO NOT attempt to repair or adjust any electrical or mechanical functions on this heater.
The heater contains no user serviceable parts. Should the product suffer damage or breakdown,
contact Global Industrial.
Page 7

TROUBLESHOOTING:
If heater is not working, check the following:
1. Make sure the power cord is plugged into an electrical socket properly.
2. Make sure there is electricity to the main fuse.
3. Make sure the thermostat knob is to the “ON” position
4. Check the thermostat setting; the heater may be off because it has reached the desired
temperature setting.
Error Messages:
E1 Error on Display: Control unit overheat. Check installation clearances.
E2 Error on Display: Tip over function. Adjust heater less than a 60° working angle and restart.
L1,2,3 on Display (but no heat): Bulb is damaged/replace bulb. Contact Global Industrial for additional
information.
The symbol on the product or in its packaging indicates that this heater may not be treated
as household waste. Instead it shall be handed over to the applicable collection point for the
recycling of electrical and electronic equipment. By ensuring this product is disposed of
correctly, you will help prevent potential negative consequences for the environment and human
health, which could otherwise be caused by inappropriate waste handling of this product. For more
detailed information about recycling of this product, please contact your local city office, your
household waste disposal service or the shop where you purchased the product.
For additional questions or concerns, contact Global Industrial
Customer Service at 1-800-645-2986 or visit www.globalindustrial.com
 Loading...