

Global Industrial 242066 User Manual
Instruction Manual
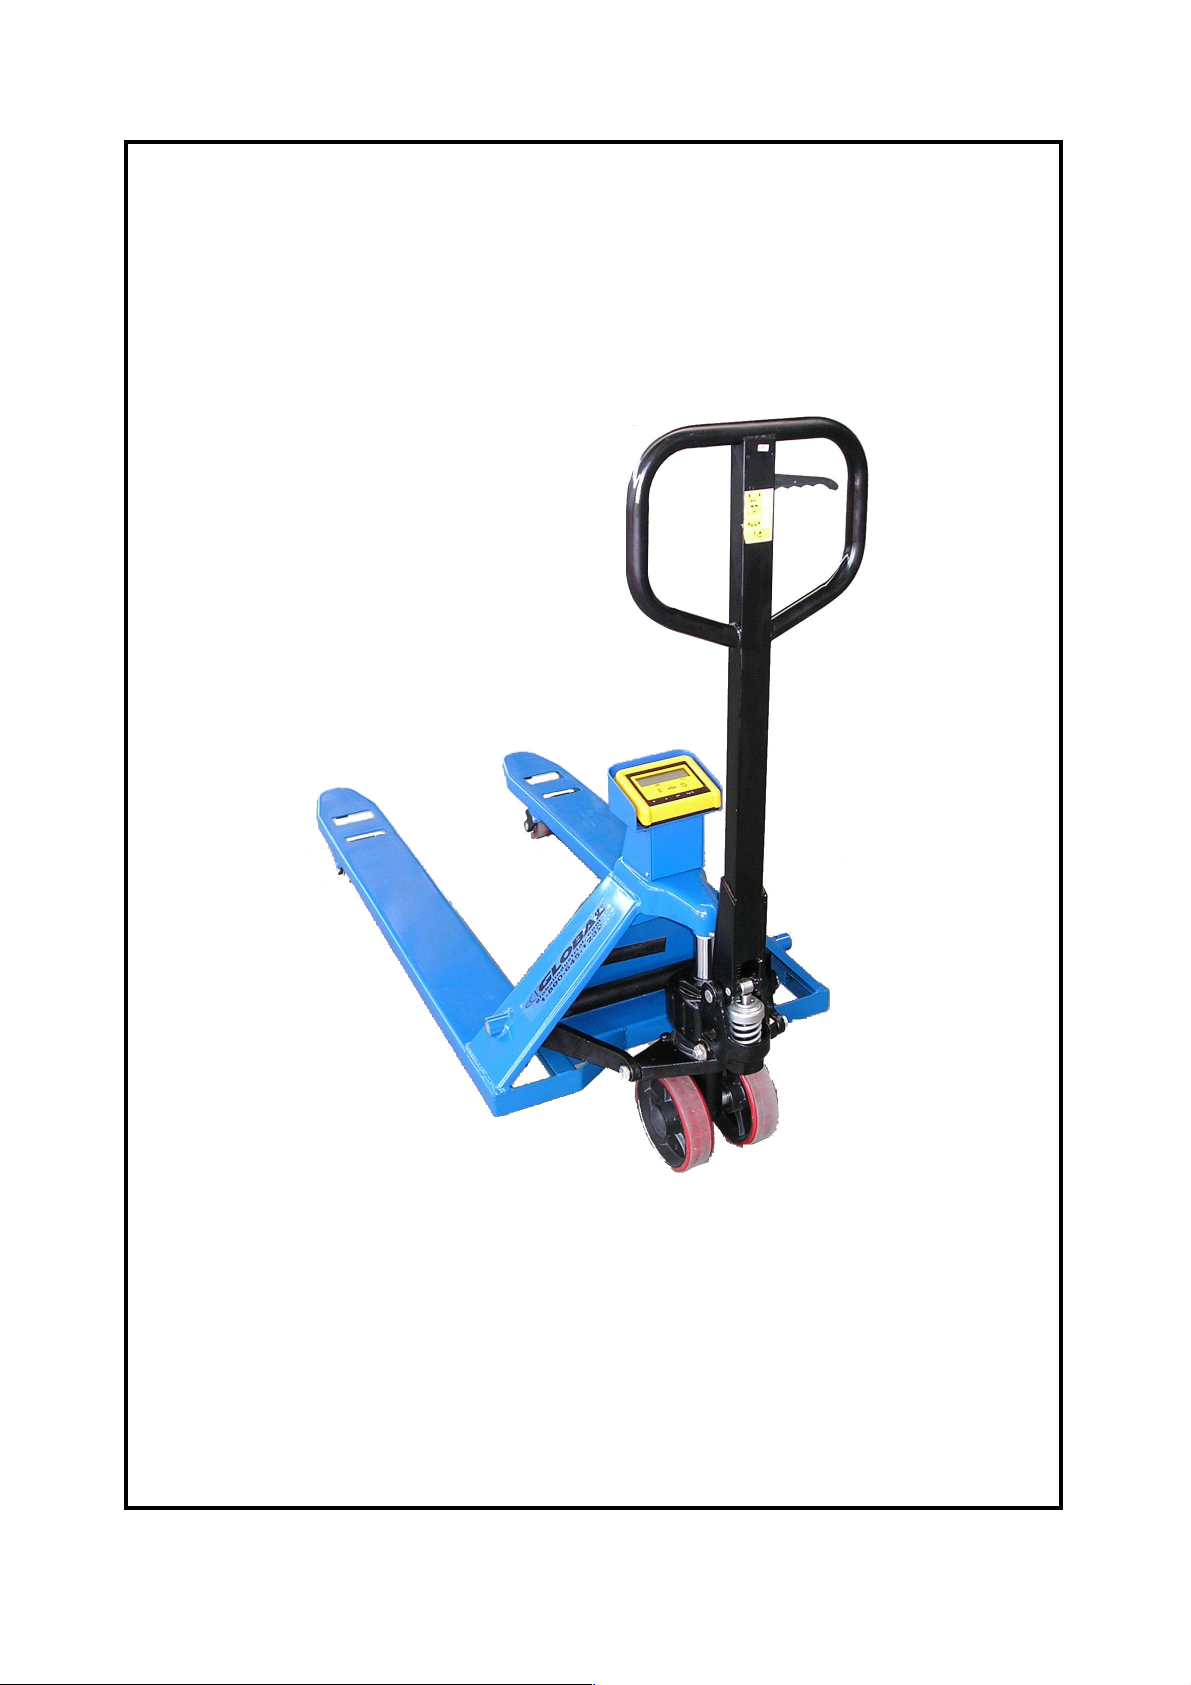
Pallet Truck with Load Indicator
Note: Owner/Operator must read and understand this instruction
manual before using the pallet truck with load indicator.
RevA::::04/2007

Thank you for using this hand pallet truck with load Indicator. For your safety and correct operation of the scale,
please read these instructions carefully before using it.
NOTE:
(1) All of the information reported herein is based on data available at the moment of printing. The
factory reserves the right to modify its own products at any moment without notice and incurring
any sanction. So it is suggested to always verify possible updates.
(2) The rechargeable batteries must be charged before use, according to the instructions supplied
with the batteries.
1. GENERAL SPECIFICATIONS
Model Capacity Graduation
SSS25L 5500 lb 10 lbs
Materials and specifications are subject to change without notice.
4400~5500lbs ±60lbs
2. TO ATTACH HANDLE TO PUMP UNIT
2.1 Take out the handle assembly and then insert it into the pump body.
2.2 Take out the axle from the plastic bag.
2.3 Insert the axle into one end of the pump body and then connect the pump body and the handle
assembly. Pay attention to the position of the hole of the axle and feed the steel wire and pin on rod and
chain through the hole of the axle.
2.4 Secure the axle with the spring pin.
2.5 Press down the pump rod , and take out the pin.
2.6 Raise the crank link and take out the pin.
Weighing
Accuracy
0 ~ 4400lbs ±50 lbs
Length Width over forks Fork Width
48’’ 27’’ 6.3’’ 203lbs
Fork size
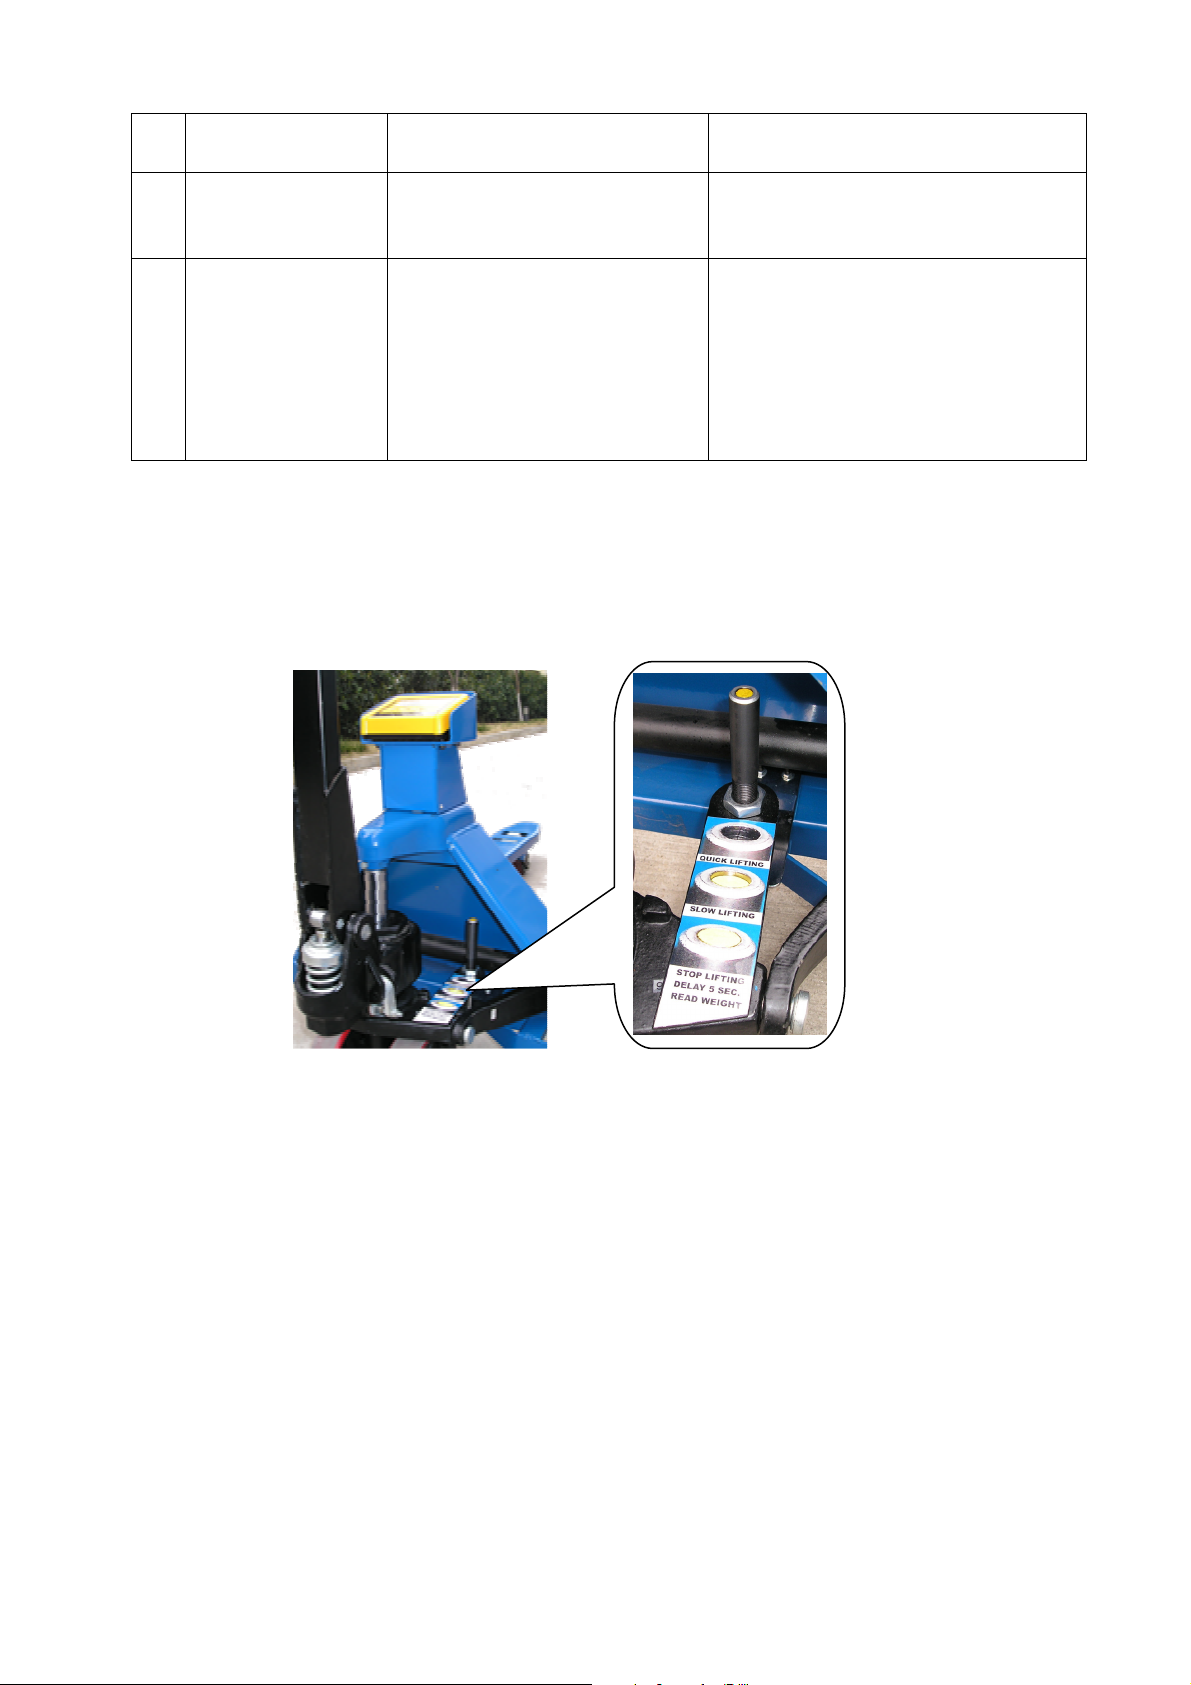
3. TO ADJUST RELEASE DEVICE
On the handle of the pallet truck, you will find the control lever (4058) which can be set in three positions
(See Fig. 1): LOWER=to lower the forks; NEUTRAL=to move the load; ASCENT=to raise the forks.
After assembling the handle, you can adjust the three positions.
3.1 First tighten the setting screw (3939) on the crank link (3938) until the LOWER position function works.
3.2 If the forks elevate while pumping in the NEUTRAL position, turn the setting screw (3939) clockwise
until pumping the handle does not raise the forks and the NEUTRAL position functions correctly.
3.3 If the forks descend while pumping in the NEUTRAL position, turn the setting screw (3939)
counter-clockwise until the forks do not lower.
3.4 If the forks do not descend when the control lever (4058) is in the LOWER position, turn the setting
screw (3939) clockwise until raising the control lever (4058) lowers the forks. Then check the
NEUTRAL position as per item 3.2 and 3.3.
3.5 If the forks do not lift while pumping in the ASCENT position, turn the setting screw (3939)
counter-clockwise until the forks elevate while pumping in the ASCENT position. Then check the
NEUTRAL and LOWER position as per item 3.2, 3.3 and 3.4.
4. MAINTENANCE
4.1 Oil
Please check the oil level every six months. The volume of oil is about 0.8lt. Restore the fluid in the
rubber reservoir to 5mm below the top, this must be with the forks in the lowered position.
Use the hydraulic type oil according to temperature scale below.
Temperature Oil
-5℃~+45℃
-15℃~-5℃
L-HM68 Hydraulic oil (equivalent to ISO VG68)
L-HM46 Hydraulic oil (equivalent to ISO VG46)
Net
weight
2

4.2 How to expel air from the pump unit
Air may get into the hydraulics during transportation or when a pump is stored upside down. This can
prevent the forks from lifting while pumping with the lever in the ASCENT position. The air can be
expelled in the following way: Lift the control lever (4058) to the LOWER position, then move the
handle (4051) up and down several times.
4.3 Daily check and maintenance
Daily check of the pallet truck will limit wear as much as possible. Pay special attention to the wheels
(127, F116 or F117), the axles (F114, F118, F121, F122), the handle (4051), the forks (F110) and lift
and lower control. The forks should be unloaded and lowered in the lowest position when the job is
over.
4.4 Lubrication
Use motor oil or grease to lubricate all moveable parts.
5. GUIDE TO SAFE OPERATION
For safe operation of the truck, please read all warning signs and instructions here and on the truck
before using this truck.
5.1 Do not operate the pallet truck unless you are familiar with it and have been trained or authorised to do
so.
5.2 Do not operate the truck unless you have checked its condition. Give special attention to the wheels,
the handle assembly, the forks, lift and the lower control.
5.3 Do not use the truck on sloping ground.
5.4 Never place any part of your body in the lifting mechanism or under the forks or load. Do not carry
passengers.
5.5 The operator should wear gloves and safety shoes for protection.
5.6 Do not handle unstable or loosely stacked loads.
5.7 Do not overload the truck.
5.8 Always place loads centrally across the forks and not at the end of the forks (refer to Fig.).
5.9 The capacity of the truck assumes an evenly distributed load with the centre of the load being at the
halfway point of the length of the forks (refer to Fig. 2)
5.10 Make sure that length of the forks matches the length of the pallet.
5.11 Lower the forks to lowest height when the truck is not being used.
5.12 At other specific conditions or places, the operator should operate the pallet truck carefully.
6. TROUBLESHOOTING
NO TROUBLE CAUSE SOLUTION
1 The forks cannot be
lifted to max. height.
2 The forks do not lift
up.
3 The forks cannot be
lowered.
-There is not enough hydraulic oil. - Pour in enough filtered oil.
-There is no hydraulic oil.
-The oil has impurities.
-Discharge valve is out of
adjustment.
-Air in the hydraulic oil.
-The rod (3902) and the cylinder
(3946) becomes deformed due to
serious unbalanced load.
-Component deformation due to
unbalanced load.
-The forks were kept at high position
for long time with rod (102) bared
which became rusty.
-Pour in more filtered oil.
-Change the oil.
-Adjust the setting screw (3939) (See item
3.5).
-Expel the air (See item 4.2).
-Replace the rod (3902) or cylinder (3946).
-Repair or replace component to make it
run smoothly.
-Remove the rust on the rod (102). Keep
the forks at lowered when not in use.
3
-The setting screw (3939) is not in
the correct position.
4 Leaks -Seals worn out or damaged.
-Some parts may be cracked or
-Adjust the setting screw (3939) (See item
3.4)
-Replace seals with new ones.
-Check and replace with new ones.
worn out.
5 The forks descend
without being
lowered.
-Impurities in the oil cause the
discharge valve (3988) to fail to
close.
-Air in the oil.
-Seals worn or damaged.
-Discharge valve (3988) is out of
-Replace with filtered oil.
-Expel the air (See item 4.2).
-Replace with new ones.
-Adjust the setting screw (3939) (See item
3.3).
adjustment.
*NOTE: DO NOT ATTEMPT TO REPAIR THE PALLET TRUCK UNLESS YOU ARE TRAINED
AND AUTHORIZED TO DO SO.
7. WEIGHING OPERATION
7.1 Put the control lever in the LOWER position and lower the truck to lowest position.
7.2 Press the key to turn the system on. After the start-up sequence the indicator will display the weight.
7.3 Weighing method for gross weight:
Reference height
Put the control lever in the ASCENT position, pump the handle to make the forks rise until the reference
height has been reached. Press the 0 key to set the gross weight to 0. Put the forks under the
pallet and check that the load is properly balanced. Put the control lever in the ASCENT position, pump
the handle to make the forks rise the reference height has been reached. When the indicator is stable,
the gross weight of the goods (total weight of the pallet and the goods) is shown.
7.4 Weighing method for net weight:
To display the weight of the goods without the weight of the pallet (or other container):
7.4.1 Put the control lever in the ASCENT position, pump the handle to make the forks rise until the reference
height has been reached. Weigh single standard pallet, for example: weight of pallet: 88 lb.
7.4.2 Press the 0 key, the indicator will display “0 lb”.
7.4.3 Remove the pallet from the forks, the indicator will display “-88 lb”.
7.4.4 Weigh the goods on the pallet as shown in 7.3, when the indicator is stable, the net weight of the goods
is shown.
7.5 Switch between lb and kg.
When the weight is shown in lb, press the lb/kg key shortly and the unit shown will switch to kg’s. Press
the lb/kg key again and the unit shown will switch back to lb.
4

7.6 Totalling
7.6.1 First running: Power on and hold Σ button for 4 second
and then release it
"0" alternately. Finally appears with "0",then the totalling function is running.
, the screen will flash "- -00-" and
7.6.2 Lift the goods to the rated height, press Σ button shortly after 4 second when stable, current totalling times and
current totalling weight will flash alternately, finally appear with current weight. For example:
7.6.2.1 Lift the X lb goods to the rated height first time, press Σ button shortly after 4 second when stable, "- -01-"
Σ
and "
" will flash on the screen alternately, stable fix on X
1
;Σ
=X finally.
1
7.6.2.2 Unload the heavy, make the fork to the minimum height. Raise the Y lb goods to the rated height second
time, press
stable fix on Y
button shortly after 4 second when stable. "- -02-" and "
;Σ
=X+Y finally.
2
Σ
" will flash on the screen alternately
2
Σ
7.6.2.3 Unload the heavy, make the fork to the minimum height. Raise the Z lb goods to the rated height second
time, press
stable fix on
Σ
button shortly after 4 second when stable. "- -03-" and "
Σ
=X+Y+Z finally.
3
Σ
" will flash on the screen alternately
3
7.6.2.4 And so on .
Σ
7.6.3 After used totalling function, hold
status, former totalling times and totalling weight will flash alternately on the screen. If you press
button for 4s then release(whatever with or without load) under power on
Σ
button
shortly at the time, "- -00-" and "0" with flash alternately, finally appears current weight, the former totalling will
be erased. If you want totalling, please repeat 7.6.2.
ATTENTION:
- Weights below 210 lb will not be added .
nd
- The scale needs to be unloaded before a 2
weight can be added to the total.
7.7 Turn off the Indicator. Press the key until the indicator displays “OFF”. Releasing the key will turn off
the indicator.
8. BATTERY POWER DATA AND REPLACEMENT
Step 1
Step 2 Step 3
The indicator on the pallet truck scale uses 4 “AA” size batteries as power. You are recommended to use
alkaline battery. Also you can use rechargeable batteries. Rechargeable batteries need to be charged,
according to their own instructions, before they are first used. Change the batteries when
is shown in the
display.
5
 Loading...