

Page 1

Gigabyte GA-7VT600-L
Written by Chris Emry
Friday, 04 September 2009 11:40
..:: Introduction ::..
With every Gigabyte motherboard that has previously entered the MBReview testing labs, each
one has always walked away as a proven winner. Gigabyte was not purely known for
breakaway performance in the past, but they sure have put the petal to the metal lately while
still pleasing the enthusiast crowd with a full fledged product package at just the right price.
This time around, Gigabyte is one of the first manufacturers out of the gate with a VIA KT600
chipset based motherboard. In fact, they have no less than three versions in their product lineup
with this chipset. The one we will be looking at today is the budget 7VT600-L and has integrated
LAN.
Will the Gigabyte 7VT600-L be a flop? How much performance will you get from a KT600
motherboard over previous VIA chipset based motherboards? Is it worth your time to upgrade
and spend hard earned money? These questions and many more will be answered for you in
our review of the Gigabyte 7VT600-L.
..:: Gigabyte GA-7VT600-L Specifications ::..
Processor
- Socket A for AMD Athlon XP/Athlon/Duron
- 400/333/266/200MHz FSB
1 / 12
Page 2

Gigabyte GA-7VT600-L
Written by Chris Emry
Friday, 04 September 2009 11:40
Chipset
- VIA KT600 Northbridge
- VIA VT8237 Southbridge
- Realtek RTL8101L 10/100 Mbps LAN
- Realtek ALC655 6-channel Audio CODEC
- 6 x USB 2.0 ports (VT8237 built-in)
Memory
- 3 x DDR DIMM Sockets
- Max. 3GB unbuffered PC3200/PC2700/PC2100/PC1600
Expansion Slots
- 1 x AGP 8X
- 5 x PCI
- 2 x UDMA/133/100/66
- 1 x FDD
2 / 12
Page 3

Gigabyte GA-7VT600-L
Written by Chris Emry
Friday, 04 September 2009 11:40
Special Features
- STR (Suspend to RAM)
- Thermal Shutdown Protection
- Front panel audio connector
Back Panel I/O Ports
- 1 x Parallel, 1 x Serial
- 1 x PS/2 Keyboard, 1 x PS/2 Mouse
- 1 x Audio I/O (Line In, Line Out, Mic In)
- 2 x USB 2.0, 1 x RJ-45 Port
BIOS Feature
- 2Mb Flash ROM, Award BIOS
- Q-Flash and @BIOS Update Methods
- CPU/AGP/DDR Voltage Adjustments
- CPU/AGP/DDR/PCI Clock Adjustments
3 / 12
Page 4
Gigabyte GA-7VT600-L
Written by Chris Emry
Friday, 04 September 2009 11:40
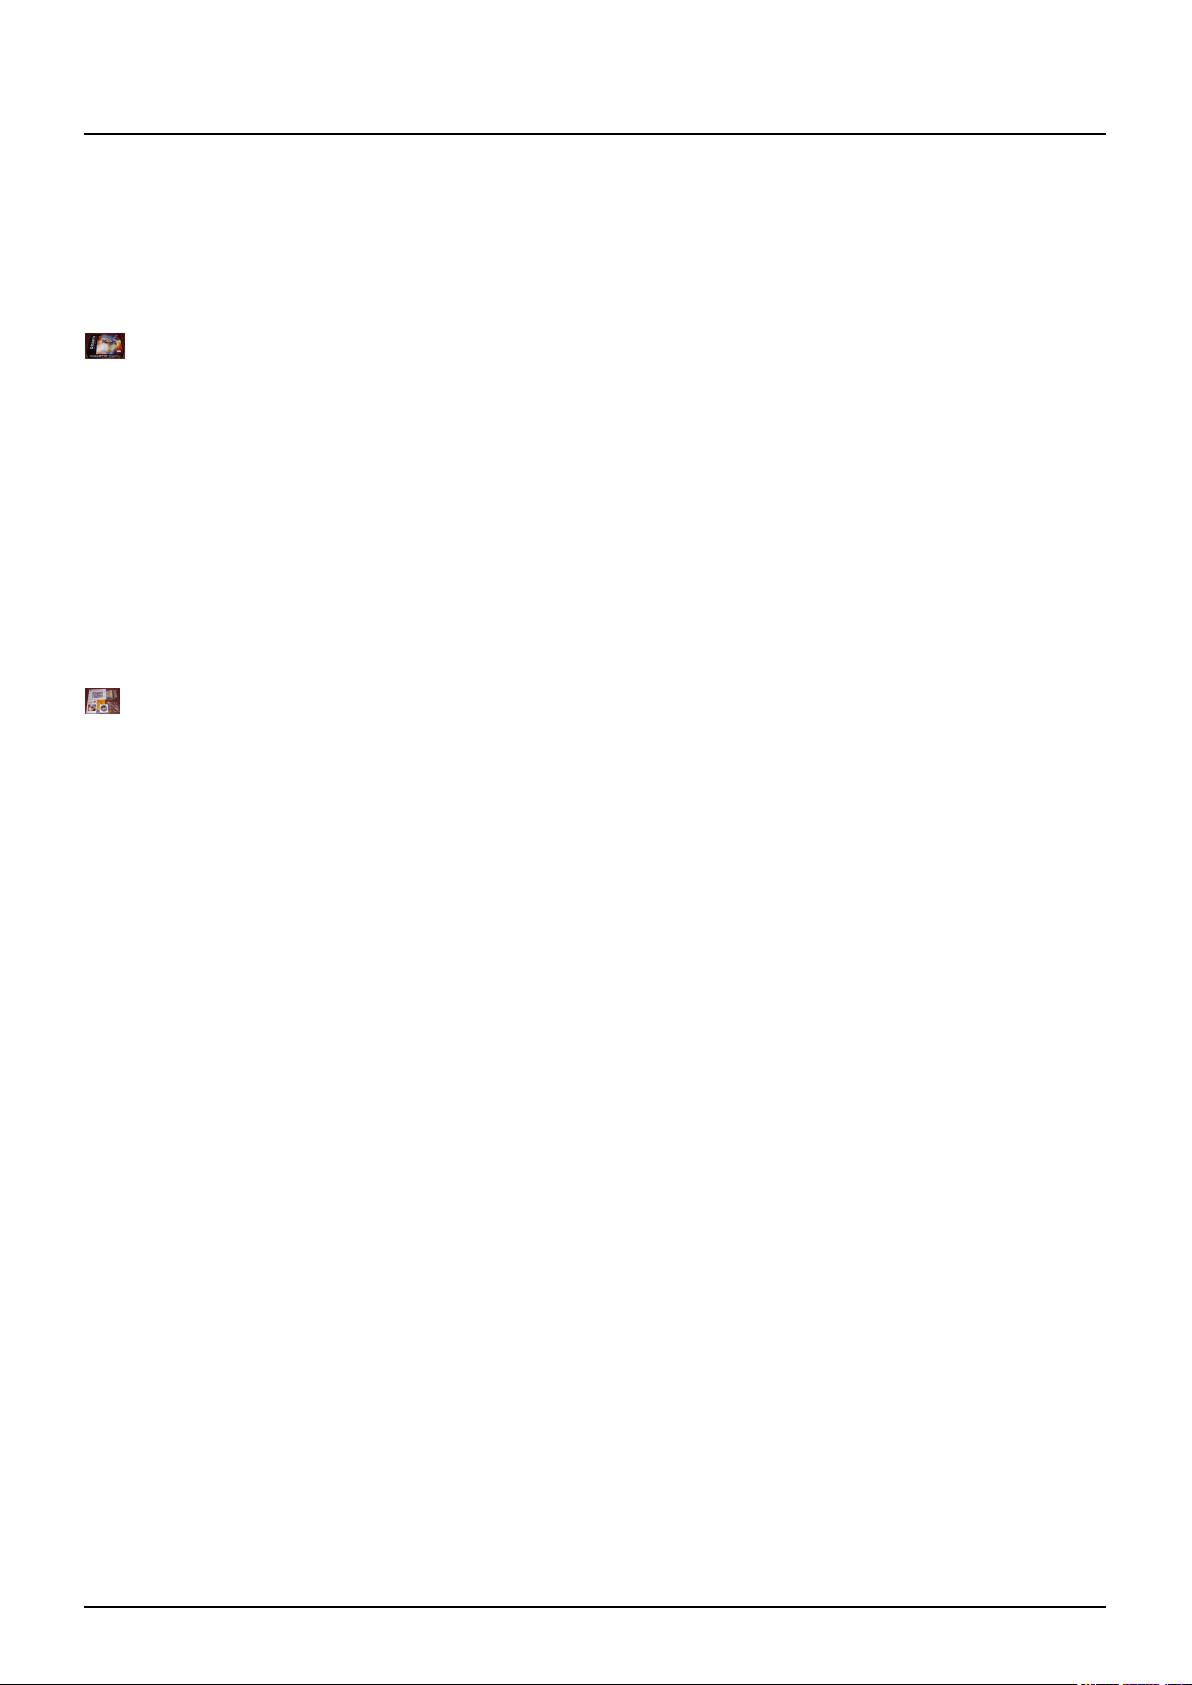
..:: Gigabyte GA-7VT600-L Product Package ::..
Gigabyte ships the 7VT600-L in a black colored box with their usual spaceship design on the
top. The only way to distinguish that you indeed have this specific motherboard model is by
locating a small sticker on the left side of the box, so make sure you don't end up with the wrong
board at the checkout counter.
One thing that Gigabyte is well known for is the amount of items and accessories that they
include with their motherboards, and the goodies that the 7VT600-L is bundled with is no
exception. The package contains the usual accessories such as a user manual, an I/O
backplate, the driver/software installation CD, one UDMA/133 hard drive cable and a floppy
cable. Gigabyte doesn't stop there, however. They also toss in a quick installation guide, an
orange sticker to affix to the interior of the computer case, a USB 2.0 bracket with two ports, two
case badges of different sizes and even a UDMA/33 cable for an optical drive! Needless to say,
the 7VT600-L has a very comprehensive package for a motherboard that is targeted at the
budget consumer.
Nearly all of the topics in the user manual are clear and detailed with the exception of the BIOS
section. Granted that some of the BIOS settings do not need an in-depth explanation as to what
each one is designed to do, but some of the hidden BIOS features and settings of the 7VT600-L
motherboard are nowhere to be found in the user manual. We'll explain how to enable them as
well as show you these hidden features and settings later on in the BIOS section of this review.
..:: Gigabyte GA-7VT600-L Software Suite ::..
4 / 12
Page 5

Gigabyte GA-7VT600-L
Written by Chris Emry
Friday, 04 September 2009 11:40
After you install your operating system of choice, the next thing you will need to do is install the
drivers. The 7VT600-L motherboard was just released as of the writing of this review, therefore
Gigabyte provides all of the latest versions of the drivers with the included installation CD. When
you first insert the disc into your CD-ROM, the main window will pop up right to the driver install
window. Here, you simply click which drivers to install and you’re good to go. The next window
that’ll be important is the Utilities window. Here you’ll be able to install all of the third party
software, and Gigabyte’s own software onto your system. One of the nicer software inclusions
within the package is that of Norton Internet Security. This software package includes the likes
of Norton Anti-Virus, Personal Firewall, Parental Controls, etc. Gigabyte has also chosen to
include their Windows-based BIOS writer, along with a basic system monitoring utility. Overall
the Gigabyte GA-7VT600-L comes along with a great software suite for a budget board.
..:: Gigabyte GA-7VT600-L Layout ::..
As with most of Gigabyte's motherboards that have been released within the past year or so,
you can see that their definitive color scheme is also present on the 7VT600-L. This
motherboard is based on the industry standard ATX form factor, although the width of the
7VT600-L is a bit thinner than usual. This is a sure-fire way to keep the motherboard's price at
an acceptable level for consumers on a low budget, but this type of design can cause a bit of
frustration with some of the integrated components that are near each other on the PCB.
Gigabyte's "Yellow Thunder Socket" is oriented in a north to south direction and is clearly away
from the top edge of the motherboard. This should make it a lot easier to remove a heatsink in a
tightly cramped case. Gigabyte also places a clear strip of plastic under each side of the socket
heatsink clips to protect the 7VT600-L if the screwdriver slips or the heatsink scrapes the
motherboard during installation. We can find the cpu fan header in this area as well, which is
located to at the top edge of the motherboard near the first memory bank. The four heatsink
5 / 12
Page 6

Gigabyte GA-7VT600-L
Written by Chris Emry
Friday, 04 September 2009 11:40
mounting holes are not to be found around the socket, therefore you will not be able to mount
water blocks or larger types of heatsink coolers to the 7VT600-L motherboard.
While we are on the topic of large heatsinks, a problem occurred when I tried to install our
Thermaltake Volcano9 on the 7VT600-L. If we zoom in to the bottom left edge of the processor
socket, there is a large capacitor located here that almost prevented me from using the
Volcano9. It was such a tight fit, the heatsink came in contact with this capacitor and started
pushing on it.
This contact happened with the capacitor near the top right area of the socket as well. After
wiping the sweat from my forehead, I finally managed to get the heatsink installed properly, but
it is resting against both capacitors. Be forewarned that if you are going to install any type of
heatsink that is as large as our Thermaltake Volcano9, be extra careful not to damage these
capacitors on the 7VT600-L during installation.
To the right of the processor socket are the three purple colored memory banks that house the
DDR modules. Right between the memory banks and the right edge of the 7VT600-L are the
floppy connector and the main ATX power supply connector. The extra 12V ATX connector is
not present on the 7VT600-L, so users should not have to worry about purchasing a new power
supply.
6 / 12
Page 7

Gigabyte GA-7VT600-L
Written by Chris Emry
Friday, 04 September 2009 11:40
..:: Gigabyte GA-7VT600-L Layout Continued ::..
No matter how many times we stress to manufacturers concerning problematic areas with their
motherboard designs, an installed video card in the AGP slot will repeatedly interfere with
installing extra memory in the memory banks if the banks are placed too close to the AGP slot.
Unfortunately this problem is present on the 7VT600-L motherboard. This design makes it very
difficult to perform a memory upgrade which should be the easiest type of upgrade for any
computer system. Instead, the user has to uninstall the video card, install the memory module,
and then reinstall the video card. In addition, the memory banks on the 7VT600-L are located
close to the processor socket towards the center of the motherboard which can easily block all
three banks.
Between the motherboard's battery and the floppy connector, here we can find where the clear
CMOS jumper would have been located. Instead, Gigabyte chose to supply the 7VT600-L with
a BIOS timeout feature. For example, if you choose a setting within the BIOS with an incorrect
value for a particular hardware component, the BIOS will determine an appropriate configuration
within a twenty second period and then the system will boot correctly.
Moving down the right side of the motherboard, there is a FSB switch located beneath the AGP
slot clip. When this switch is set to the off position, the 7VT600-L will automatically determine
the default FSB of a 266MHz, 333MHz, or 400MHz DDR FSB processor. When this switch is
set to the on position, the motherboard will default the FSB of any AMD processor to 200MHz
DDR. Just below the FSB switch is the new VIA VT8237 southbridge, although the 7VT600-L
does not take advantage of the SATA features that the VT8237 chip is capable of. To the
immediate right of the southbridge resides the only additional 3-pin system fan header.
7 / 12
Page 8

Gigabyte GA-7VT600-L
Written by Chris Emry
Friday, 04 September 2009 11:40
Near the bottom right hand corner of the motherboard, we come across a few more items. You
can see that the white colored IDE connector is to the immediate right of the fifth PCI slot. If you
happen to use a long PCI card in this slot, it will surely hamper the ability to remove or install an
IDE cable. It will also be hard to reach the IDE cable to the top of a case since the IDE
connector is located here at the bottom of the board. Under the right side of the green IDE slot
we can find two yellow colored USB 2.0 headers to connect four additional USB ports. Just
along the bottom edge of the 7VT600-L are the front panel connectors where you will connect
the power switch, reset switch and LEDs to the appropriate color coded pins.
..:: Gigabyte GA-7VT600-L Layout Continued ::..
Moving along to the bottom left edge of the motherboard are more additional features. Beneath
the left edge of the fifth PCI slot resides a single BIOS chip since the 7VT600-L does not
support Gigabyte's DualBIOS feature. Directly under the BIOS chip lies a group of pins that
resembles a USB header, but this connector will allow you to connect an optional modem card.
The black group of pins beside the modem connector is what you will use to connect a cable for
a Game/MIDI port. The iTE 8705 Super I/O chip sits to the immediate left of the fifth PCI slot.
This chip controls the input and output of data communication of certain ports located on the
7VT600-L. Moving up the motherboard, to the left of the fourth PCI slot is where the Realtek
8101L network chip resides, and it can provide up to a 100 Mbps transfer rate. In case you are
wondering, the version number can be located in this corner of the 7VT600-L motherboard. A
closer look will reveal that this is the retail 1.0 version.
8 / 12
Page 9

Gigabyte GA-7VT600-L
Written by Chris Emry
Friday, 04 September 2009 11:40
A few more items are located on the 7VT600-L as we make our way up the left side of the
motherboard. Between the second and third PCI slots are two groups of pins for use with certain
types of audio connections. The black group of pins allows surround sound capabilities and the
red group of pins allows for an optional S/PDIF input and output Dolby Digital decoder. The
small chip that is located beside the white colored aux_in connector is the Realtek ALC655
audio chip. As you might have guessed, this chip controls the 6-channel audio on our
7VT600-L. To the left of the green AGP slot is the black cd_in connector and another group of
pins and jumpers for you to use audio controls in the front of your PC.
Right above the AGP slot on the 7VT600-L is the VIA KT600 northbridge chip. The chip is
passively cooled with a gold colored aluminum heatsink with the Gigabyte company logo
stamped on it. The heatsink is mounted to the northbridge with a plastic plug for each of the two
motherboard holes that surrounds the KT600. It was rather easy to remove the plugs from the
underside of the motherboard, but the thermal adhesive pad had a tight grip that prevented me
from removing the heatsink without fear of damaging the capacitors surrounding the KT600
chip.
The 7VT600-L motherboard is equipped with a 2-phase power solution. You may be thinking
that this is an inadequate attempt to feed all of the power that the motherboard needs, but I
found no stability issues when benchmarking.
Our last stop with the design of the 7VT600-L motherboard is the I/O back panel. These are the
ports that you will use to connect your external devices to the rear of the computer. The panel
consists of two PS/2 ports for a keyboard and mouse, one parallel port, two serial ports, one
9 / 12
Page 10

Gigabyte GA-7VT600-L
Written by Chris Emry
Friday, 04 September 2009 11:40
10/100 ethernet port, two USB 2.0 ports and three audio ports.
..:: Gigabyte GA-7VT600-L System BIOS ::..
Our motherboard was originally shipped with the initial F5 BIOS release for the 7VT600-L.
However, the images shown here to describe the 7VT600-L motherboard's BIOS was
successfully flashed to the latest F6 release using Gigabyte's software based @BIOS update
method described in the user manual. This release was also used for all of our benchmarking
and overclocking tests.
After pressing the delete key during POST, you will come to the main menu of the Award BIOS.
If you start to configure your hardware now, you will quickly realize that the tweaking options
located within these sub-menus are almost non-existent on the 7VT600-L.
However, if you press the Ctrl+F1 key combination when you are within the main menu of the
Award BIOS, you can enable a couple of extra sub-menus as well as a plethora of tweaking
options within each sub-menu. These are the hidden BIOS features and settings (which we
talked about earlier) that are nowhere to be found in the user manual. I'm not sure why Gigabyte
has decided to hide them, but the images below are taken with these hidden BIOS features and
settings enabled.
10 / 12
Page 11

Gigabyte GA-7VT600-L
Written by Chris Emry
Friday, 04 September 2009 11:40
The image above is the advanced chipset features sub-menu. You will not able to access it
without pressing the Ctrl+F1 key combination. As you can see, this is a critical section of the
BIOS for tweaking numerous memory timings and for controlling AGP settings. The fast
command setting can be set to either normal, fast or ultra, but selecting the ultra setting resulted
in an unstable environment when running 3D applications with our hardware.
The next sub-menu is to disable or enable the integrated peripherals that are on the 7VT600-L
motherboard. This section is self explanatory, but for an example, if you wish to use an Audigy 2
sound card, all you have to do is select the AC97 audio feature and set it to disabled. The next
section in the BIOS controls the power management. These features are usually included in
every motherboard's BIOS, so there is really nothing special here to report.
The PC health status sub-menu is where you can monitor voltages, temperatures and fan
speeds within your system. For some unknown reason, the 7VT600-L is providing our 2500+
processor an unnecessary amount of extra voltage, if this reading is indeed correct. The
processor's temperature is a bit higher than we are used to seeing while operating at a default
clock speed. Hopefully this voltage problem can be fixed in a future BIOS update.
The next sub-menu is where you can change the frequency and voltages of certain
components if you plan on overclocking. However, if you change the FSB frequency, you will
inadvertently affect the PCI/AGP clocks. Not being able to lock the PCI/AGP clocks is the
unfortunate limitation found on all VIA chipset motherboards and not just the Gigabyte
7VT600-L. The processor's FSB options are available up to 250MHz which is the equivalent of a
500MHz DDR FSB. By selecting the cpu overvoltage control, you can feed an extra 10% of
voltage to the processor's default voltage. If you need more voltage for the video card or for the
memory, an extra 0.3 volts are available for each of these components as well.
11 / 12
Page 12

Gigabyte GA-7VT600-L
Written by Chris Emry
Friday, 04 September 2009 11:40
Gigabyte's top performance option becomes available after pressing the Ctrl+F1 keycombination. This feature automatically selects the most aggressive, yet stable settings for yourparticular hardware as the motherboard sees fit. When we tested out this feature, the 7VT600-Lset our 333MHz FSB processor to 340MHz. This feature would be handy to the novice user thatis afraid to play around with the some of the more advanced settings within the BIOS. ..:: Gigabyte GA-7VT600-L System BIOS ::..
Let us now take a look at how well the Gigabyte 7VT600-L motherboard can handle someoverclocking. With the layout and design of the 7VT600-L, it is obvious that heavy duty coolingmethods will not likely be used with this motherboard, but to keep the playing field level for all ofmy reviews, I am going to use the air conditioner once again. Armed with a ThermaltakeVolcano9 heatsink with the fan at the highest RPM setting, a dab of Arctic Silver 3 grease andan air conditioner blowing cold air directly into the test system, how far can the 7VT600-L go?
Amazing! The Gigabyte 7VT600-L was able to overclock our 2500+ processor to 2.188GHz ona 398MHz DDR FSB with the PCI bus running at 39MHz. This overclock is by far the best FSBresult I have ever been able to achieve on a VIA chipset based motherboard. All of my previousoverclocking attempts have ended up crashing Windows with a 39MHz PCI clock. Raising theprocessor's voltage, the AGP voltage, memory voltage, or decreasing the memory timings couldnot help produce a higher FSB overclock. ..:: SiSoft SANDRA ::..
The first benchmark we will be using today is SiSoft SANDRA, one of the most popularsynthetic benchmarking programs. In the cpu arithmetic test, the Gigabyte KT600 basedmotherboard has a minimal speed improvement over the Asus KT400 based motherboard. Tooclose to call a winner while taking the margin of error into account. Moving on to the SANDRA cpu multimedia test, the Gigabyte 7VT600-L is able to gain a slightperformance lead over the Asus motherboard. So far, the difference between the two chipsets isminimal. In the SiSoft SANDRA memory bandwidth tests, our Gigabyte KT600 motherboard is finallyable to dominate the KT400 thanks to VIA's FastStream64 enhanced memory controller. Herewe are seeing a 5.2% advantage in the integer test with a 4.9% advantage in the floating pointtest, both in favor of the Gigabyte 7VT600-L. ..:: MBReview PriBench v1.04 ::..
Using our very own in-house benchmark, MBReview PriBench uses a computationally intensivealgorithm to compute several hundred millions of prime integers. Unlike other syntheticbenchmarks which relies on additional aspects within a computer system like hard drive speeds,PriBench does not rely on any of these exterior devices for the tests. PriBench is a system levelbenchmark, and solely utilizes the performance of the processor and memory subsystem. Ourbenchmarking program is extremely accurate as we have witnessed time fluctuations ofapproximately .03 seconds. Taking a look at the results, our statement proves itself worthy inthe different intensity tests. Due to the fact that the 7VT600-L clocks the FSB of our AMDprocessor a half megahertz faster than the A7V8X-X, the performance advantage for theGigabyte motherboard is evident, but virtually nil. ..:: SuperPI ::..
In the Super PI tests, we run the program four times; once at one million, once at two million,once at four million, and once at eight million. The numbers in the graph above show the time inseconds that it took the system to calculate prime integers to the set number of digits with thelower score in each test indicating better performance. In this benchmark, the 7VT600-L againwins every benchmark but with minimal gains. The largest advantage is 2.7% in the eight millionprime integer test. ..:: Specviewperf 7.0 ::..
I was expecting to see a larger performance advantage from the Gigabyte 7VT600-L over theKT400 motherboard in the SPECviewperf tests. After taking a look at the results, we'll noticesomething that we have seen so far in the previous benchmarks. The winner here is the7VT600-L, but again it is by a slight margin. ..:: FutureMark 3DMark2001SE ::..
The 3DMark2001 SE benchmark exhibits the advantage of having improved memoryperformance. The 7VT600-L is able to pull ahead of the A7V8X-X in each of our selected tests.Reducing the program's default settings to a 640x480 resolution in 16bit color, the performancegain is roughly 3.3%. ..:: Quake III Arena ::..
The next benchmark we have for you is embedded within my favorite computer game, QuakeIII Arena. There is no question that the relevance of this benchmark is coming to an end soon,however overall performance can improve dramatically with increased system memorybandwidth, even with today's fastest video cards. Taking a look at the results, it is no surprisethat the Gigabyte 7VT600-L is able to walk away with another victory because of theFastStream64 enhanced memory controller in the KT600 northbridge. ..:: Unreal Tournament 2003 ::..
The last benchmark we will test our motherboards with is Unreal Tournament 2003. Since I donot have the full retail version, I am going to use the 2.1 release of the HardOCP benchmarkingadd-in program that can be used with the v2206 demo. I have found that it saves a lot of timewhen benchmarking, has a very simple interface, and is already pre-configured to test a varietyof platforms equally instead of having to manually adjust the settings myself. Using the add-inprogram, I chose to benchmark our motherboards using the Direct3D engine with low qualitytests at a 640x480 resolution. The Gigabyte 7VT600-L again leads the KT400 motherboard inevery test by a few frames per second for each map. ..:: Gigabyte GA-7VT600-L Conclusion ::.. Now comes the time where we look at everything the Gigabyte 7VT600-L motherboard hasgoing for it and make our final judgment call. First and foremost, let's talk about the stability. Wecan say that without a doubt, the stability of the 7VT600-L is a solid foundation for any computersystem. We did not experience one single crash during normal benchmarking or torture tests.The motherboard ran flawlessly right out of the box. The 7VT600-L may look pretty with the usual Gigabyte color scheme, but the overall designand layout of the motherboard is very disappointing. One of our biggest complaints is with thememory/AGP issue. All three memory banks can easily be blocked with the required use of avideo card in the AGP slot. Another big issue is with the two large capacitors that are situatedaround the processor socket. It will easily prevent you from using a large heatsink. Furthermore,the placement of the IDE connectors can create two more additional problems. Since theseconnectors are placed near the bottom of the board, the IDE cable may not reach drives thatare installed at the top of the case. If you have a long PCI card in the fifth PCI slot, removing theIDE cable will require you to uninstall the PCI card as well. I think Gigabyte should have stuck tothe layout of their high-end KT600 offering (the 7VT600-1394) and take out all of the integratedfeatures that the 7VT600-1394 motherboard is equipped with to resemble the features found onthe 7VT600-L. The 7VT600-L is a motherboard targeted at consumers with a low budget, so Gigabyte decidednot to include many integrated features on this motherboard. The 7VT600-L does not even takeadvantage of the native SATA feature found in the VIA VT8237 southbridge. It does, however,provide the consumer with support for the new 400MHz FSB processors from AMD. The BIOS for the 7VT600-L has a good amount of tweaking options for the consumer huntingfor a budget AMD motherboard. Just make sure that you enable the hidden BIOS features andsettings by pressing the Ctrl+F1 key combination when you are at the main menu. We wish thatprocessor multiplier selections could be present on the 7VT600-L, but they are not. Overclocking our hardware with the 7VT600-L was surprising and exciting. This was the firsttime we were able to overclock the FSB to a new level on a VIA chipset based motherboard.However, most users will probably not be able to duplicate the same results that we achievedsince we used an air conditioner. Only time will tell if this feat was accomplished by luck, or withthe skillful engineering from VIA or Gigabyte. We can only hope that manufacturers will send ustheir KT600 solutions in the near future so we can show our dedicated readers some moreoverclocking results with motherboards using this chipset. The VIA FastStream64 enhanced memory controller is a nice step up from their previouschipsets. Not all of your applications will benefit from this single-channel solution, but it will giveyou the ability to keep up with the slightly faster dual-channel nForce2 chipset and also saveyou some money from purchasing an extra memory module. To sum up the results, we are placing the 7VT600-L on our recommended list for budgetbuyers. If you are in the market for a low cost KT600 motherboard for your next upgrade thathas support for AMD processors with a 400MHz FSB, the Gigabyte 7VT600-L will be hard toresist, especially at it's current price point of only a mere $72.00 or so from several reputableonline retailers. - Stability: 20/20 - Design: 13/20 - Features: 14/20 - BIOS: 8/10 - Overclocking: 8/10 - Performance: 17/20 ------------------------- Total: 80/100 Points - Average
12 / 12
 Loading...