

Geniatech ATV520V ENJOY TV DUAL CORE Platnium User Manual
Android Box
ENJOY TV DUAL CORE Platnium
ATV520V
User’s Guide
Thank you for purchasing this Geniatech product.
.Before using it, be sure to read the precautions contained in this User’s Guide.
.Keep the User’s Guide in a safe place for future reference.
.For the most up-to-date information about this product, visit official website at
http://www.geniatech.com


1. Safety Information
Read and understand all instructions before using this product. If damage is caused by failure to
follow the instructions, the warranty does not apply.
1.1 Warning
To reduce the risk of electric shock, DO NOT remove the cover (or back).
DO NOT attempt to repair the product, this could lead to the risk of injury, damage to the
product .
To reduce the risk of fire or electric shock, keep this product away from exposed direct sunlight,
naked flames or heat, large amounts of moisture, dust, and sand.
FCC Note (for U.S.A)
This equipment has been tested and found to comply with the limits for a Class B digital device,
pursuant to Part 15 of the FCC rules. These limits are designed to provide reasonable protection
against harmful interference in a residential installation. This equipment generates, uses and
can radiate radio frequency energy and, if not installed and used in accordance with the
instructions, may cause harmful interference to radio or television reception, which can be
determined by turning the equipment off and on.
The user is encouraged to try to correct the interference by one or more of the following
measures.
- Reorient or relocate the receiving antenna.
- Increase the separation between the equipment and receiver.
- Consult the dealer or an experienced radio/TV technician for help.
- This class B digital product meets all requirements of the Canadian Interference - Causing
Equipment Regulations.
1.2 Precautions
Important Safety Instructions
Read these operating instructions carefully before using the unit. Follow all the safety
instructions listed below.
Keep these operating instructions handy for future reference.
1.2.1 Read these instructions.
1.2.2 Keep these instructions.
1.2.3 Heed all warnings.
1.2.4 Follow all instructions.
1.2.5 DO NOT use this apparatus near water.
1.2.6 DO NOT clean with any chemical detergent. Clean only with a dry cloth.
1.2.7 DO NOT block any ventilation openings. Install in accordance with the manufacturer’s
instructions.
1.2.8 DO NOT install near any heat sources such as radiators, heat registers, stoves, or other
apparatus that produce heat.
1.2.9 Protect the power cord from being walked on or pinched particularly at plugs,
convenience receptacles, and the point where it exits the apparatus.
1.2.10 Only use attachments/accessories specified by the manufacturer.
1.2.11 Use only with the cart, stand, tripod, bracket, or table specified by the manufacturer, or
sold with the apparatus. When a cart is used , use caution when moving the cart/apparatus
combination to avoid injury from tip-over.
1.2.12 Unplug this apparatus during lightning storms or when unused for long period of time.
1

1.2.13 Refer all servicing to qualified service personnel. Servicing is required when the
apparatus has been damaged in any way, such as when the power-supply cord or plug is
damaged, liquid has been spilled or objects have fallen into the apparatus, the apparatus has
been exposed to rain or moisture, does not operate normally, or has been dropped.
1.3 Handling Cautions
1.3.1 DO NOT expose this apparatus to dripping or splashing. Do not put objects filled with
liquids, such as vases on the apparatus.
1.3.2 To turn this apparatus off completely, you must pull the power plug out of the wall socket.
Consequently, the power plug must be easily and readily accessible at all times.
1.3.3 DO NOT plug multiple electric devices into the same wall socket. Overloading a socket
can cause it to overheat, resulting in a fire.
1.3.4 Before connecting other components to this player, be sure to turn them off.
1.3.5 If the product makes an abnormal noise or produces a burning smell or smoke, turn off
the power switch immediately and disconnect the power plug from the wall outlet. Then,
contact the nearest customer service center for technical assistance. Do not use the product.
Using the product as it is may cause a fire or an electric shock.
2. Introduction
2.1 Package Contents
Enjoy TV Dual Core Nano - ATV520V
User’s Guide
HDMI Cable
A/V Cable
Optional Cable RJ45 Network Cable
IR Remote Controller (IR RC)
Optional Remote Controller
2.4G wireless Remote Controller
USB wire/wireless Mouse & Keyboard
Power Adapter, Input: AC100 ~ 240V, 50/60Hz, Output: 5V/2A
2.2 Product Features
ARM CORTEX A9 x 2, 1.5GHz, RAM 1G, built in 4G flash memory
Powered by Android 4.1 OS
802.11b/g/n WIFI module, wireless Internet access
2 USB interfaces, support mobile HDD, wired/wireless mouse and keyboard operation
RJ45 10/100M Ethernet interface
Support 1080P video playback
HDMI video output, connect to HDTV for HD video playback
Support weather, calendar, and desktop clock gadgets
Support 2.4G wireless motion Remote Controller
2

Support Flash Player 10.2 for hardware decoding, Flash 11.1 for software decoding ,
playback online video
Support music player, picture player and more family entertainment
Support Google Chrome browser and virtual private network access
App Installer for application installation from USB/SD card
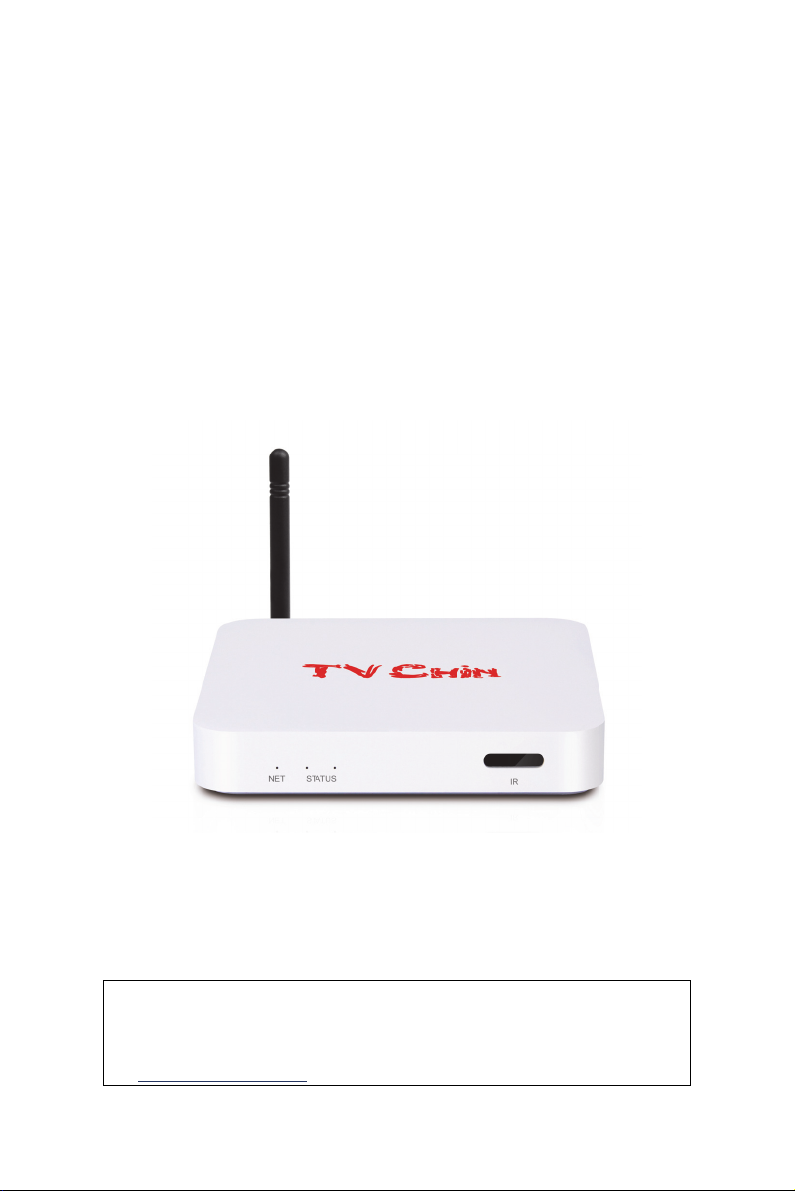
2.3 Panel Introduction
2.4 Remote Controller
[01] Power
[02] Mode
[03] Mute
[04] Up
[05] Left
[06] Right
[15] Page up
[07] Down
[16] Volume [08] Enter
[17] Page down
[09] Exit
[10] Home
[11] Switch
[12] Menu
[13] Volume +
[14] Notifications
Note: Button Battery 2025 3V insert with correct polarity (+/-).
3
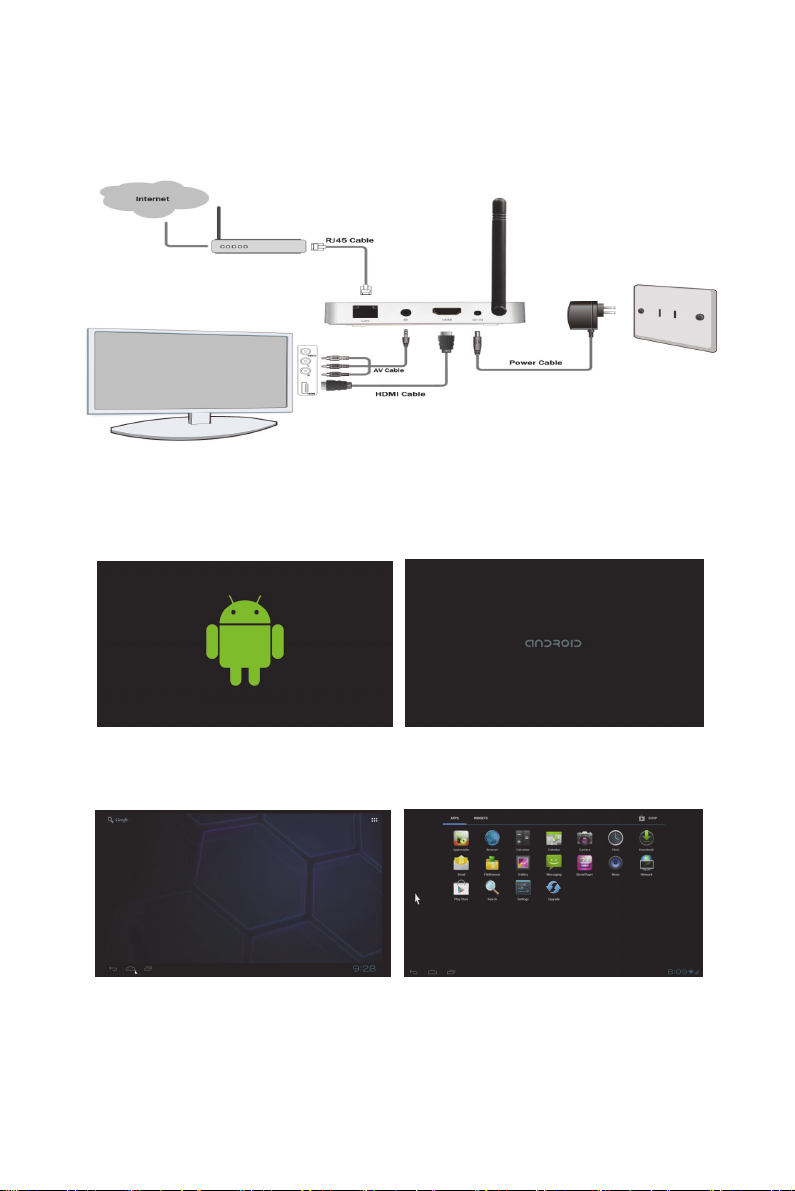
2.5 Setup Connection
Place ATV520V on a flat platform near the TV, and make sure nothing block the remote control
signal.
2.6 Display when Power Up
2.6.1 After power up, the TV will first show a green robot then change to “android” logo during
loading. When loading is finished, it will go to Home screen.
2.6.2 Home Screen display.
3. Settings
Using Navigation (4 directions), OK, EXIT, and Menu keys of Remote Controller to select the
options, the option selected will be highlighted and confirmed by pressing OK key. Same
4
 Loading...