

Page 1
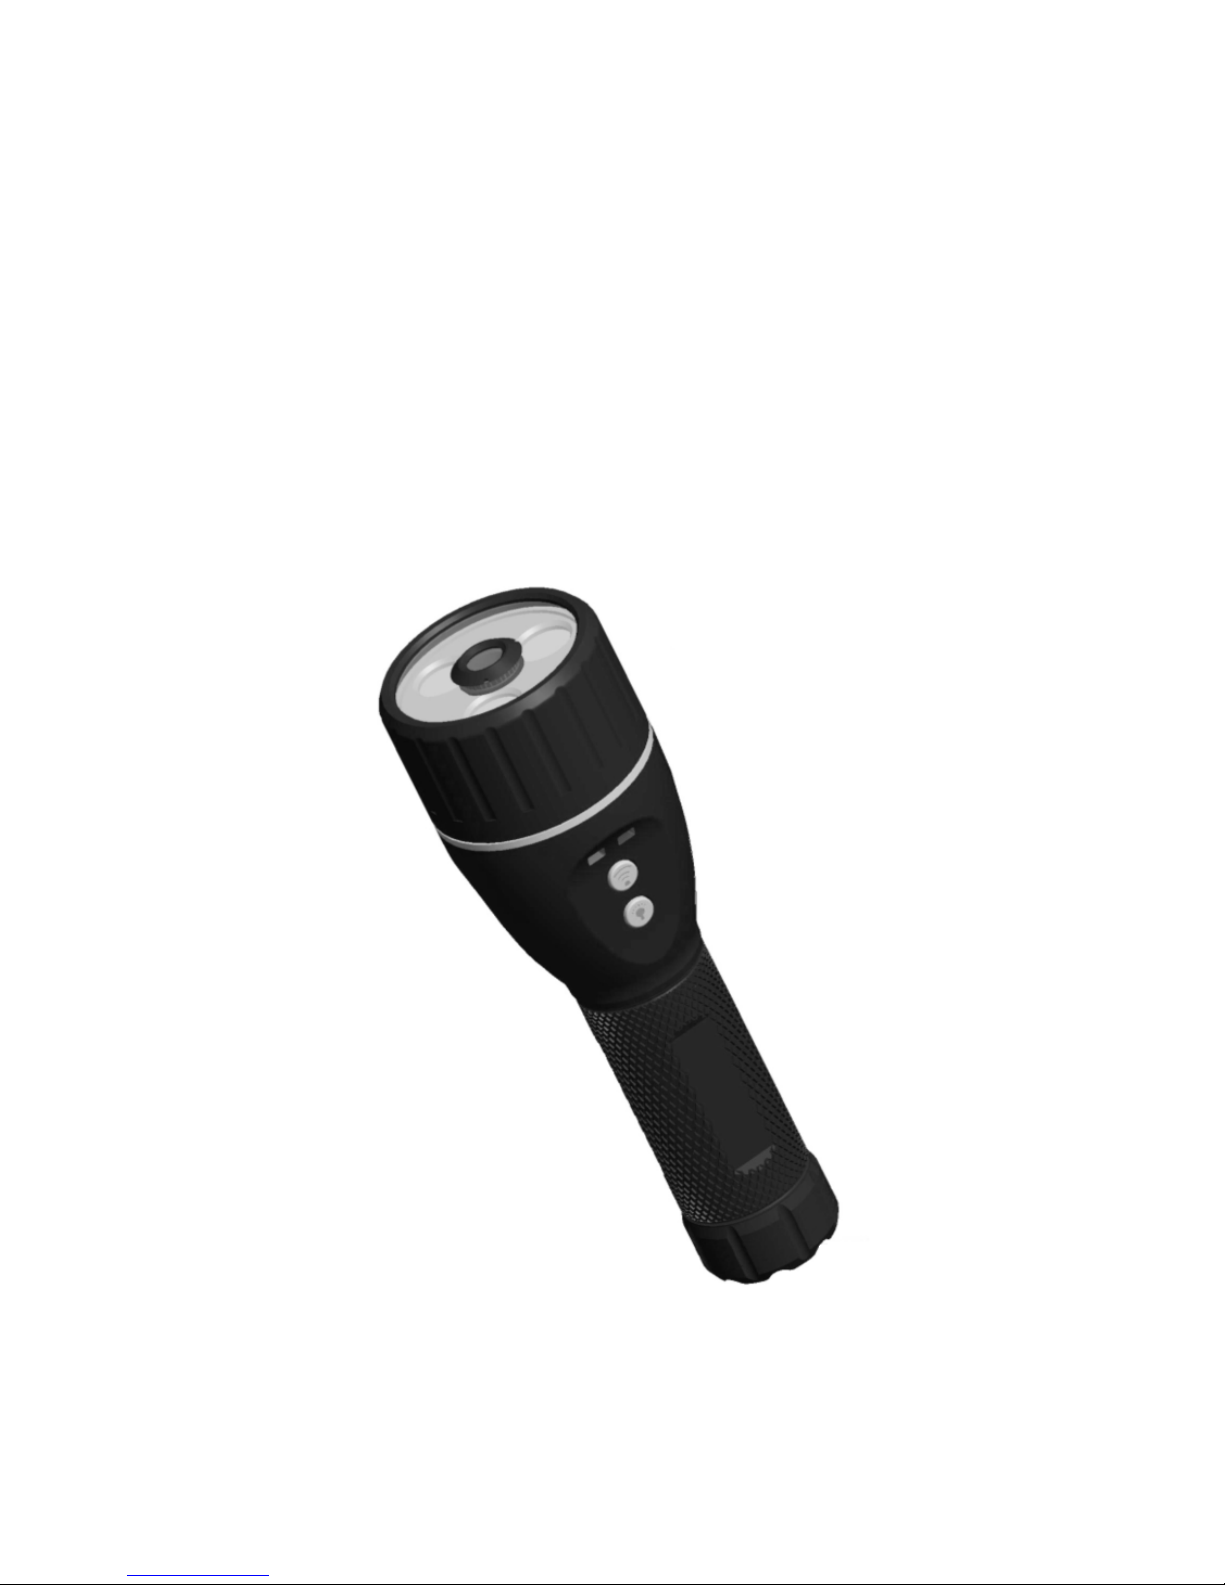
ToolSmart Illuminated Inspection Camera
Model: TS07
Operation Manual
160228 V1.0
Page 2

ToolSmart Illuminated Inspection Camera
Model::::TS07
Overview
TS07 product has CMOS image sensor, it combines the light function and wifi camera head with one
product.
target video and image to the platform device for remote recording and review.
display, also can take a photo and video using a platform.
built-in polymer lithium battery, also could use 5V DC adapter or USB port for charging with LED indicator. It
has the advantages of small size、stable performance、easy operation and portability. It is widely used in
applications such as daily carry, camping, on foot ,hunting, fishing, industry, the building, the aviation, the
vehicles maintenance and so on.
Safety Instructions
●Read and understand all instructions prior to any operation.
●Do not remove any labels from the tool.
●Don’t stare at the flashlight or exposure the light to another person, it will hurt people’s eyes and blasting flash
●Do not operate the tool with the presence of flammable/explosive gases.
●Keep bystanders、children and visitors away while operating the tool.
●Please put the device away from children while not use, otherwise will cause danager.
●Don’t operate the device under humidity, low temperature or high temperature for long time, otherwise will
damage the device and decrease the lifetime.
●The unit is not shock-resistant. Do not use it as a hammer or drop it.
Lighting for the Scope’s line-of-sight camera is provided by a powerful LED, also can send the
The unit uses WIFI technology and supports iPad/ iPhone/ Android .etc. It is easy for realtime image
LED flashlight can be used separately with several modes or to illuminate camera’s field of view. It has
Failure to follow the instructions listed below may result in electric shock or personal injury.
function can make eyes temporarily blind dizzy.
This device complies with part 15 of the FCC Rules. Operation is subject to the following two conditions:
(1) This device may not cause harmful interference, and
(2) this device must accept any interference received, including interference that may cause undesired
operation。
Battery precautions
● Take off the battery when clean the device.
● Take off the battery if not use for long time.
● Place the battery with right polarity.
●The unit can connect the USB port to charge. Please use the standard factory connecting wire.
●The charging and discharging time differs because the different power from the factory.
1 160228
V1.0
Page 3
●Please always keep the charging connector away from the metal and oily objects.
●Please fully charging the battery before it is not for use, to make sure the high performance while using.
●Don’t compress and puncture the inside battery.
●Please stop operating if the inside battery is broken.
●Don’t throw the product into fire, which will cause explosion.
● Don’t immerge the battery inside water.
● Don’t allow children to touch the battery.
●Please dispose the battery properly. High temperature will cause the battery to explode. Please follow the local
regulations for disposing the old battery.
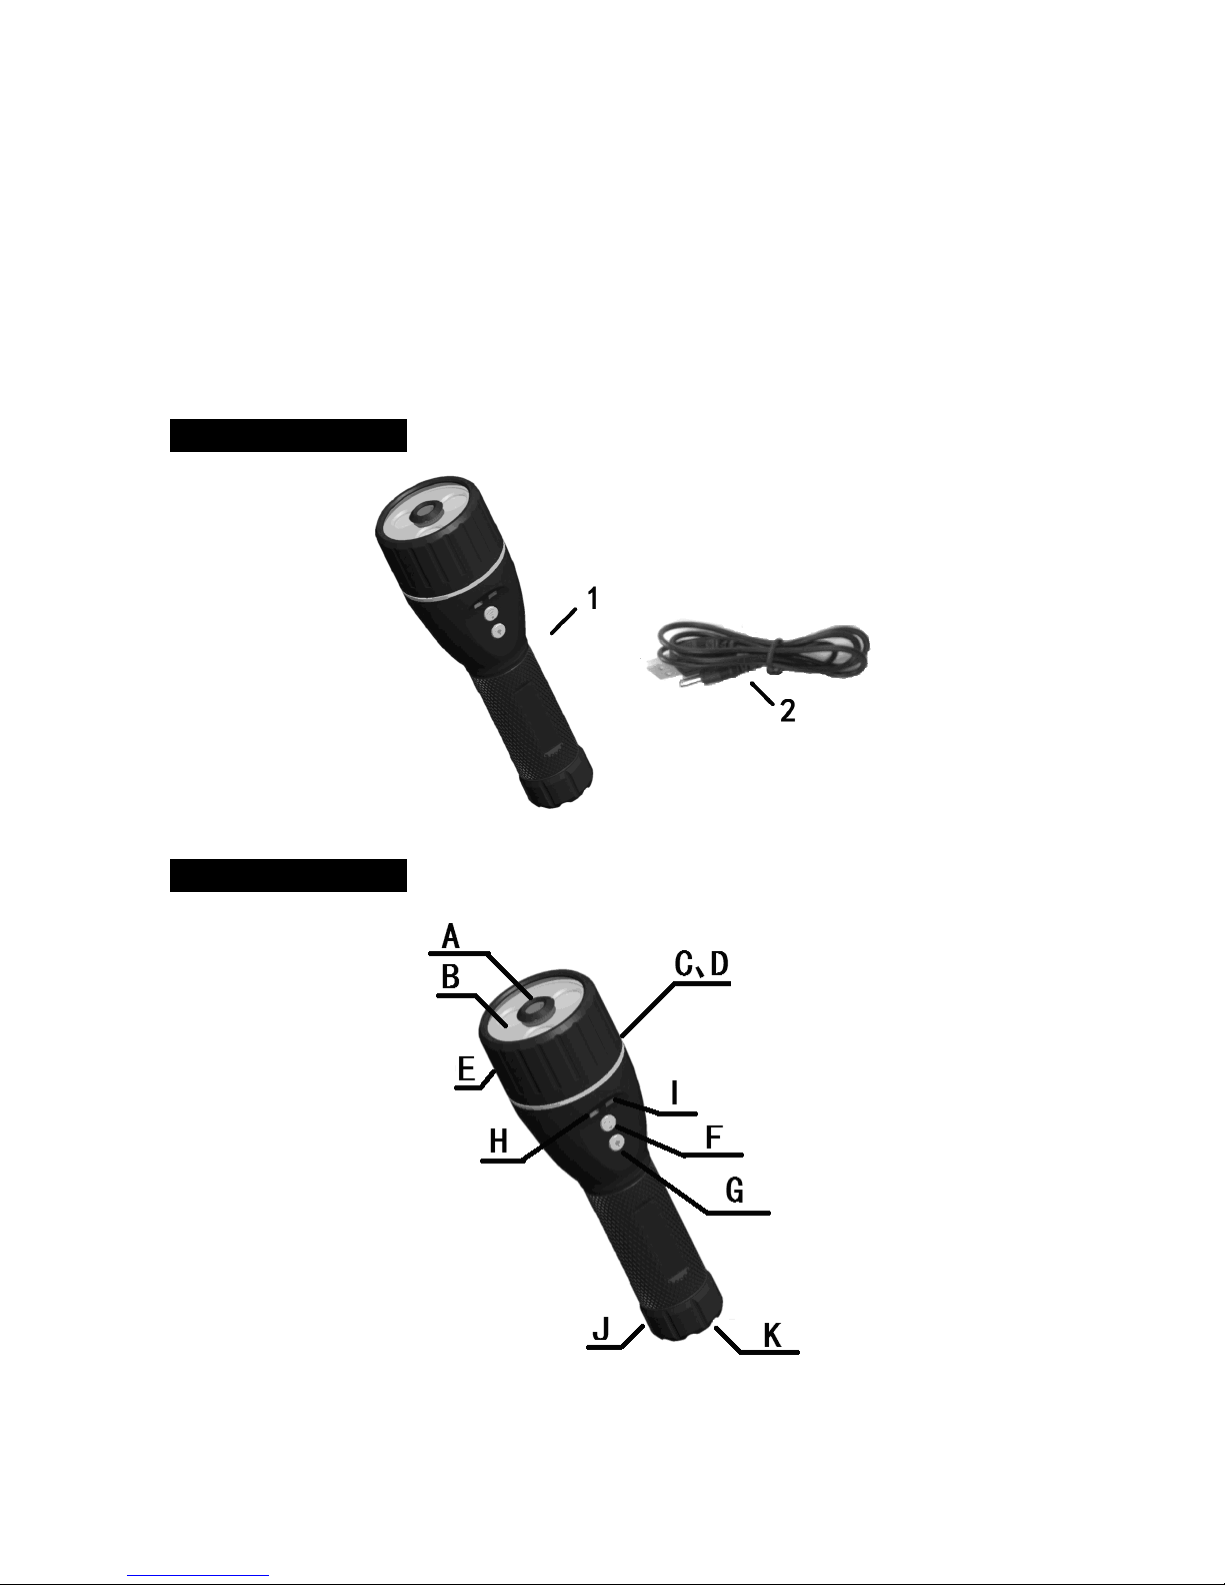
Product Configures
1.video flashlight ×1 2.USB charging/interface cable ×1
Product Configures
A:Camera head
B:LED lights
2 160228
V1.0
Page 4

C:Charging hole ( inside the front cover)
D:Return to factory default set hole (at the opposite side of front cover charging hole).
E:Front cover
F: WIFI camera power button。Hold for 1s to turn on the WIFI camera head; Hold 1s again to turn off
the camera head.
G: Flashlight LED power button, each press to switch the lighting mode.
H:Camera head power indicator (green) (Flashes if the camera head battery is low).
I:WIFI indicator(Blue)/ charging indicator (green) (if the flashlight is low battery, flashes green)
J:Battery cover
K:Safety sling hole.
Operation Instructions
●
Battery Installation
The product uses 3.7V rechargeable cylinder Li-on battery.
1、Counter-clockwise open the battery cover;
2、As per the right polarity, insert the battery with the positive pole ahead.
3、Clockwise direction to close the battery cover.
Tips: The battery is installed before leaving factory, please remove the insulation spacer before use.
●To charge the battery:
1、Power off the flashlight and the camera power button.
2、Counter-clockwise direction to rotate the front cover and show the charging hole.
3、Plug the USB charging wire into the charging interface of main body. And connect the other side of charging
wire to the computer’s USB port or other 5V power supply with USB port (iPhone and ipad adapter is
compatible).
4、When the green indictor light in the right of faceplate flashes 1Hz, it means charging.
5、When the green light in the right of faceplate is on all the time ,means fully charged.
6、Pull out the cable, then put on the front cover.
NOTES: Please keep the unit turn off while charging to avoid power loading. The charging time may last for
more than 6 hours. If you use USB cable for charging, the charging time will be longer.
●USING THE FLASHLIGHT
1、Press the first time,the flashlight enters 100% level, it is better for searching、inradiation the far target.
2、Press the second time,the flashlight enters 50% level, it is better for close distance use.
3、Press the third time,the flashlight enters 25% level, it is better for close distance use.
4、Press the fourth time,the flashlight enters fast strobe mode.
3 160228
V1.0
Page 5

5、Press the fifth time,the flashlight enters SOS strobe mode, it is better for SOS.
6、Press the sixth time,power off the flashlight.
NOTES:a、Under any mode, no matter what status, holding for 2s to turn on SOS mode, press
again to turn off the flashlight power.
b、While use the device as a flashlight, the light brightness level will affect the battery working time, the higher the
brightness, the shorter battery working time.
c、During the flashlight is on, when it is low battery, the green light in the right of faceplaste will flash every 4s
until shut off. If it is very weak, it will turn off automatically.
●
WIFI camera operation instructions
1、Holding for 2s to turn on the WIFI camera power, the green light will be on .
2、After about 20s, the blue WIFI light will be on, also “IP BoreScope” will be found. The received image and
video can be reviewed via App. During image transmission, the blue WIFI light will flash in a fast speed.
3、Hold for 2s, the green light is off and the WIFI camera will be off.
NOTES:a、During working, if the blue wifi light is off, or the green light flashes, it means the battery is low,
please use after charging.
b、If the image environment is too dark, turn on the flashlight button, first press (100%)、twice(50%) or third
time(25%),until you get a desirable status.
c、While the camera head and the flashlight works at the same time,the green power light flashes mean low
battery. You can decrease the brightness or shut off the flashlight to have a long working time.
● About WIFI image wireless transmission
This product uses WIFI wireless transmission, can work with iPhone/iPad and Android. On the intelligent
platform, user can take a photo、Video and review.
How to work with the intelligent platform, please refer to APP operation instructions.
Operation Precautions:
●Please read the safety instructions carefully, choose desirable work area for fear causing danger.
● If the battery is low while camera working, the green light will flash, after a while the camera head will turn
off automatically. So please charge the battery in time to avoid to delay your operation.
● As a flashlight if the battery is low, the charging indication light inside the front cover will flash every 4s, if the
battery is too weak , the flashlight will turn off automatically.
● Please keep the camera head surface clean, otherwise will affect the image clarity.
● Please dry your hand before using the product, also can’t immerce the product in water, it will destroy the
product or shock hazard.
● Keep the product away from the high temperature objects, such as radiator、heat facility、stove or another
product could cause heat (including magnifying glass). Don’t operate the product under environment temperature
4 160228
V1.0
Page 6

above 45℃.
● Take care of this product, if drops, please check if every parts are ok, otherwise will affect the operation.If any
damage, please repair it well, then operate.
● Store the product in aeration-drying places.
● Use accessory from the default factory, otherwise will cause danger.
● If the product doesn’t work well or smell strange or smoking, please turn off and stop using, otherwise will
cause danger.
● If the following condition occurs, please ask a professional person to repair:
a、There is liquid or strange objects inside the product.
b、The product doesn’t work according to the manual.
c、The product is dropped or there is damage.
d、The performance differes so much..
●Electromagnetic compatibility declaration:
This product has been tested in accordance with the electromagnetic compatibility of the European Union and
the approval, this does not guarantee that this product is absolutely not subject to electromagnetic interference,
please avoid using this product in strong electromagnetic environment.
1. Please note that changes or modifications not expressly approved by the party responsible for compliance
could void the user’s authority to operate the equipment.
2. Note: This equipment has been tested and found to comply with the limits for a Class B digital device,
pursuant to part 15 of the FCC Rules. These limits are designed to provide reasonable protection against harmful
interference in a residential installation. This equipment generates, uses and can radiate radio frequency energy
and, if not installed and used in accordance with the instructions, may cause harmful interference to radio
communications. However, there is no guarantee that interference will not occur in a particular installation. If
this equipment does cause harmful interference to radio or television reception, which can be determined by
turning the equipment off and on, the user is encouraged to try to correct the interference by one or more of the
following measures:
—Reorient or relocate the receiving antenna.
—Increase the separation between the equipment and receiver.
—Connect the equipment into an outlet on a circuit different from that to which the receiver is connected.
—Consult the dealer or an experienced radio/TV technician for help.
3. This equipment complies with radio frequency exposure limits set forth by the FCC for an uncontrolled
environment.
This equipment should be installed and operated wit
user or bystanders.
This device must not be co-located or operating in conjunction with any other antenna or transmitter.
h a minimum distance of 5mm between the device an
d the
5 160228
V1.0
Page 7

Trouble Shootings
Problems Causes Solutions
Can’t charge.
The product can’t power on.
Loose connection of
the charging wire
The Charging interface or
wire is bad
Dead battery Ask a technician to replace the
The circuit is in protection
status.
Low energy of inside
battery
Dead battery
The circuit is in protection
status.
Please make sure the connection
is good before use.
Replace before use
battery.
Use USB charging wire for
charging to release.
Take off the battery, charge then
install again to turn on
Use USB cable to charge
Replace the battery
Blue light off or 20s after
turning on the blue light is not
on
The image has spots The camers head has spots. Check and clean.
The image is still or disappears There is interference Restart the device and connect
Low battery. Use USB cable to charge
C a u t i o n s
●
Don’t drop the product or use by force.
●
Don’t disassemble the product to avoid failure.
●
Keep the product clean and dry.
●Don’t place the product with corrosive gas or objects.
6 160228
V1.0
Page 8

●Don’t expose the product in environment, which is with shock 、too high or too low
temperature.
●Don’t immerse the product into water, which will result in damage to product.
●Please charge the inside battery regularly (charging every three month is
recommended) to aviod overdischarge of battery.
● Take out the battery if not use for long time.
Technical Specifications
Name ToolSmart Illuminated Inspection Camera
Model TS07
Lighting
Light Mode
Image sensor 720P CMOS sensor
Viewable angle About 62°
Visible range 60mm to without end
Image zip mode Motion-JPEG-N
WIFI
camera
information
Accessories
Protection IP54
Power supply Inside replaceable 3.7V cylinder Li-on battery
Continuous working time
Charging voltage DC 5V
Charging current Max. 1.2A
Operating temperature
Operating humidity RH 5%~95% non-condensing
Storage temperature -20℃~+60℃,≤85%(w/o battery)
Dimension
Weight
WIFI
transmission
distance
Wireless net
standard
Support WIFI
platform
3pcs of 2W high brightness LED, Max:600 lumens.
5 levels ( 100%——50%——25%——8Hz fast
strobe——SOS——turn off ,in turns)
More than 10m at bleakerbleakest places
WIFI 802.11 b/g/n
Support iPad / iPhone / Android and so on
USB cable (use adapter of Ipad and Iphone, compatible with all
computer
1.8 hours @ 100% brightness, 3.5 hours @ 50% brightness, 7 hours
@ 25% brightness, 4 hours @ wifi working independent
0℃~45℃
188mm(L)×Φ40mm(Head Φ58mm)
About 325g(with battery)
Warranty
The product is warranted to be free from defects in materials and workmanship for a period of one year
7 160228
V1.0
Page 9

from the date of purchase.
Notice: The warranty does not apply to the following conditions:
● Disassembling the laser tool will void the warranty.
● We are not responsible for any damage resulting from abrasion, water, dropping or disassembling.
Tips:Most parts of the product could be recycled, please refer to your local regulations for disposing of them
instead of throwing into the dustbin.
8 160228
V1.0
 Loading...