

Page 1
MADRID
USER GUIDE
Page 2

UGMADRID_UK ED.01
RECYCLING DIRECTIVES
For product support and help visit our website at www.geemarc.com
The WEEE (Waste Electrical and Electronic Equipment) has been put in
place for the products at the end of their useful life are recycled in the best
way.
When this product is finished with, please do not put it in your domestic
waste bin.
Please use one of the following disposal options:
- Remove the batteries and deposit them in an appropriate WEEE skip.
Deposit the product in an appropriate WEEE skip.
- Or, hand the old product to the retailer. If you purchase a new one, they
should accept it.
Thus if you respect these instructions you ensure human health and
environmental protection.
30
Or fax 01707 372529
Telephone 01707 384438
1
CONTENTS
CONTENTS 1 INTRODUCTION 3
Unpacking the Telephone 4
DESCRIPTION 5
General Description 5
LCD Description 7
INSTALLATION 8
Setting Up 8
Wall Mounting 9
SETTINGS 10
Ringer Volume Setting 10
Language Settings 10
Date and time Setting 11
Screen Contrast Setting 14
Area and Long Distance Code Settings 15
Time Break Recall Setting ‘R’ Function 16 USING THE TELEPHONE 17
Making a Call 17
Receiving a Call 17
R, * and # Keys 17
Last Number Redial 17
Recalling Recent Numbers 18
Deleting Recent Numbers 18
Storing Telephone Numbers 19
Dialling Stored Telephone Numbers 20
CALLER DISPLAY 21
View Caller Display List 22
Dial a Number from the Caller Display List 22
Delete an Entry from the Caller Display List 23
Delete all Entries from the Caller Display List 23
Caller Display with Call Waiting 24
Message Waiting 25
Page 3

CONTENTS
GUARANTEE
TROUBLESHOOTING 26 SAFETY INFORMATION 27 GUARANTEE 28 RECYCLING DIRECTIVES 30
29
Electrical connection: The apparatus is designed to operate from a 230V
50Hz supply only. (Classified as ‘hazardous voltage’ according to
EN60950 standard). The apparatus does not incorporate an integral
power on/off switch. To disconnect the power, either switch off supply at
the mains power socket or unplug the AC adaptor. When installing the
apparatus, ensure that the mains power socket is readily accessible. Telephone connection: Voltages present on the telecommunication
network are classified TNV-3 (Telecommunication Network Voltage)
according to the EN60950 standard.
Page 4

GUARANTEE
28
. The guarantee does not cover accidents, negligence
the United Kingdom only
Please note: The guarantee applies to
DECLARATION: Geemarc Telecom SA hereby declares that this
product is in compliance with the essential requirements and other
relevant provisions of the Radio and Telecommunications Terminal
Equipment Directive 1999/5/EEC and in particular article 3 section
1a, 1b and section 3. The telephone does not operate if the line
current is lower than 18 mA.
or breakages to any parts. The product must not be tampered with or
taken apart by anyone who is not an authorized Geemarc representative.
From the moment your Geemarc product is purchased, Geemarc
guarantee it for the period of one year. During this time, all repairs or
replacements (at our discretion) are free of charge. Should you experience
a problem then contact our help line or visit our website at
www.geemarc.com
The Geemarc guarantee in no way limits your legal rights. IMPORTANT: YOUR RECEIPT IS PART OF YOUR GUARANTEE AND
MUST BE RETAINED AND PRODUCED IN THE EVENT OF A
WARRANTY CLAIM.
INTRODUCTION
Congratulations on purchasing your Geemarc Madrid telephone. This is a
multifunction telephone which offers features such as direct and indirect
memory and caller display*.
Its is important that you read the instructions below in order to use your
Geemarc telephone to its full potential. Keep this user guide in a safe
place for future reference.
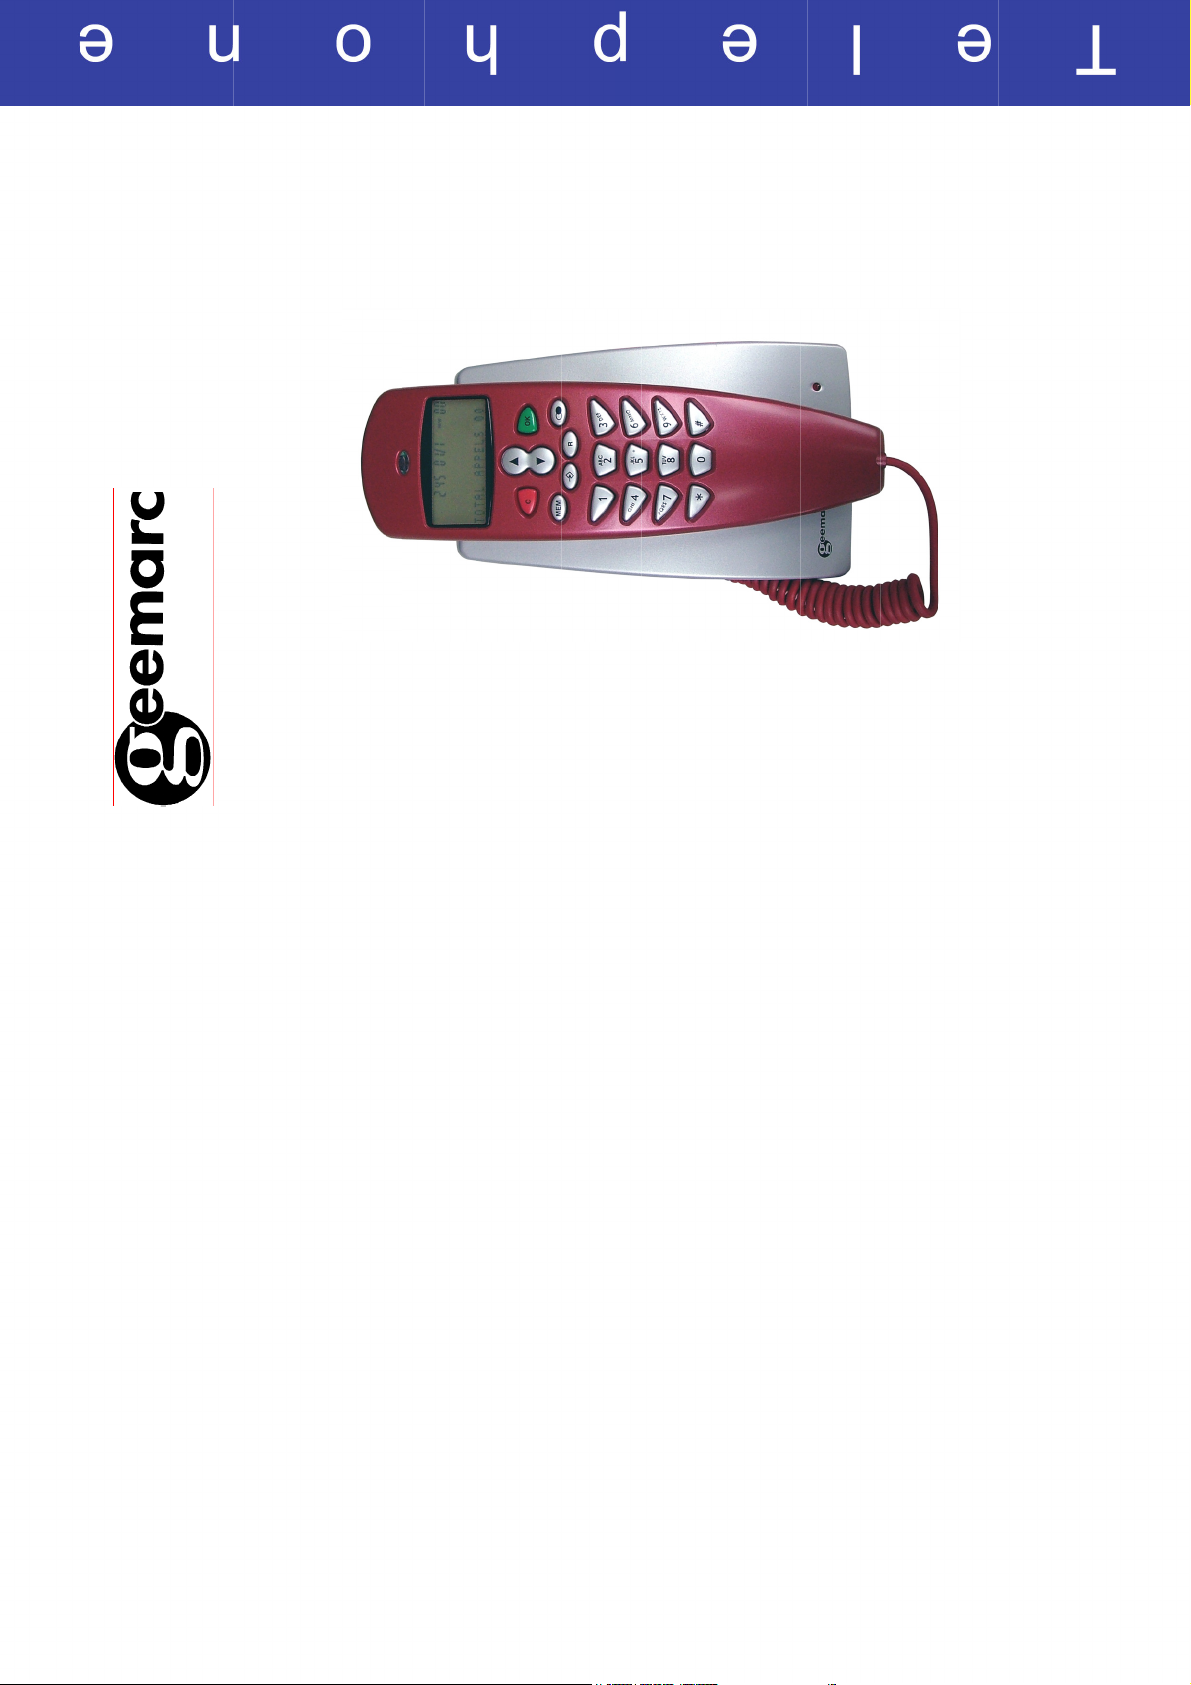
This guide explains how to use the following telephone:
MADRID
*To use the caller display f acility, you must subscribe to your network provider’s caller display
service.
Page 5

INTRODUCTION
Or fax 01707 372529
Telephone 01707 384438
Telephone line cord
Unpacking the Telephone
• 1 MADRID unit
• 1 MADRID handset with curly cord • ✑
When unpacking the telephone, you should find the following in the box:
• 1 User Guide
For product support and help visit our website at www.geemarc.com
27
SAFETY INFORMATION
General
Only use the correct Geemarc authorised power supply with the product. Do not open the unit (except to replace the batteries). Contact the helpline
for all repairs.
Never dispose of batteries in a fire. There is a serious risk of explosion
and/ or the release of toxic chemicals.
Cleaning
Clean the telephone with a soft cloth. Keep the base and handset charging
contacts clean. Never use polishes or cleaning agents - they could
damage the finish or the electrics inside.
Environmental
Do not expose to direct sunlight.
Always ensure there is a free flow of air over the surfaces of the
telephone.
Do not place any part of your product in water and do not use it in damp or
humid conditions e.g. bathrooms.
Do not expose your product to fire or other hazardous conditions. Unplug your phone from the telephone socket during thunderstorms
because it could damage your telephone. Your guarantee does not cover
thunderstorm damage.
The telephone is designed for working within a temperature range of 5°C
to 45°C.
Page 6

TROUBLESHOOTING
26
No display
• Make sure that the power adaptor is plugged in correctly and is not
damaged
• Make sure the batteries are inserted correctly
New Call Indicator
• Make sure that the batteries are fully charged
Madrid does not ring
is not damaged
• Make sure that the telephone line cord is plugged in correctly and
Indirect Memory Key
your telephone to another socket to track if the failure is coming
from your telephone or your PTT socket
single telephone line e.g. another telephone, modem or facsimile
machine. Contact your network provider for help in calculating the
limit for your home or business line
• Connect another telephone to the telephone PTT socket or move
• There may be too many communication devices connected to a
Last Number Redial
Memory Storing Key
No dial tone
is not damaged
• Make sure that the telephone line cord is plugged in correctly and
R Key
• Connect another telephone to the telephone PTT socket or move
your telephone to another socket to track if the failure is coming
Numeric Keypad
from your telephone or your PTT socket
single telephone line e.g. another telephone, modem or facsimile
machine. Contact your network provider for help in calculating the
limit for your home or business line
• There may be too many communication devices connected to a
caller display service or ensure that it has been activated if you
have subscribed already
want to show their number, the display will show PRIVATE or if the
call is from an area not providing caller display, OUT OF AREA will
be displayed
properly if the telephone is connected to a PBX
• Please contact your telephone network provider to obtain the
No number is displayed when the telephone rings:
• Even if you have subscribed to caller display, if the caller does not
Incoming Call
Indicator
• It could be a call from a PBX. Caller display may not work
No response on LCD display
respond then replace the batteries with new ones.
weak. If the power is restored and the LCD display still does not
• If you have experienced a power failure the batteries may become
DESCRIPTION
General Description
Handset Description
Page 7

Y
On hook/Off hook
Button
Voicemail*
Direct Memory Keys
DESCRIPTION
‘MSG
* Only relevant if you subscribe to this service with your network provider
CALLER DISPLA
, the message waiting LED is activated and MSG will be
Message Waiting
This system allows the caller to leave you a message. You will be
informed of an incoming call with a message by the incoming call list. This
call is distinguished from other calls and the screen displays
WAITING’
seen in the top left of the screen. Note : ‘MSG WAITING’ will be displayed to indicate a message not read.
After review, ‘MSG WAITING’ will be automatically removed from the
screen.
MSG 9:52 9/12 00
MESSAGE WAITING
25
Page 8

g
p
y
p
y
LLER DISPLA
Y
R key.
24
on the LCD display
C
like by pressing the telephone hook switch or
First incoming call received - Caller display information is displayed
Caller Display with Call Waiting
With this service, you are made aware that a new call is coming through
when you are in conversation. You can take this call and switch between
callers. To use this feature, you must have subscribed to this service with
your network provider.
Second incoming call received – the waiting tone (beep) is heard.
connect Caller 2. While you are speaking to Caller 2, Caller 1will not
Press the phone hook switch or R key to place Caller 1 on hold and
be disconnected. You may switch between callers as often as you
New Calls
n
02
la
Number Dis
la
Name Dis
7
e Time and Date
Scroll Keys
XXXXXXXXXXXXX
XXXXXXXXXXXXXXXX
REPEAT
DESCRIPTION
Messa
MSG 9:52 9/12 CALL
Cancel Key Validation Key
NEW
C key is used to cancel an action/entry,it can also be used
LCD Display
LCD Description
Line In Use
Icon
Battery
OK key is used to confirm action or a choice on the screen.
S or T keys are used to scroll through the menu.
The
to confirm a choice (for example to cancel a stored number).
The
In general, the
Page 9

Y
INSTALLATION
,
y
Setting Up
Ringer Setting
Mains Adaptor
Socket*
Switch
Note: Mains/battery power is required to power the multifunction
features of the telephone. If using mains power, fit 4 x AAA sized
Line Cord Socket**
Connect the handset. The connector at the end of the curly cord plugs
into the socket on the base of the Madrid unit.
Open the battery compartment located on the base of the telephone (small
screwdriver required). Insert 4 good quality alkaline batteries (AAA size,
1.5V type, not supplied). Replace the battery cover. If the batteries are
running low, the battery icon will be shown on the LCD display. The
batteries are required to power the multifunction features of the telephone. Note : Do not use rechargeable batteries. Do not put batteries into the
household rubbish, pay attention to battery regulations regarding battery
disposal.
Connect the line cord to the socket located at rear of telephone then
connect the plug into the PTT wall socket *.
If you require, a mains adaptor can be used (not supplied). Call Geemarc
customer services to order an adaptor. Connect the mains adaptor to the
socket located on the rear of the telephone then plug into a 13amp wall
socket. Please choose a mains socket near your telephone socket to
enable you to unplug the mains power quickly in case of a problem.
batteries in order to save and use stored numbers in case of power
failure. Without mains or battery power, the telephone can still be used
icon will flash
the batter
to answer calls or to manually dial out calls but all stored numbers will
be lost. If no batteries are inserted
(**) Classified TNV-3 according to EN60950 standard.
(*) Classified “hazardous voltage” according to EN60950 standard
23
‘DEL?’
Display
CALLER DISPLA
You will be prompted to confirm the deletion
memory. Total Calls will now display 00
display list until you find the telephone number you wish to delete
In the on hook position, use S and T to scroll through the caller
Delete an Entry from the Caller Display List
Press C
Confirm by pressing C again, (OK to Cancel)
Delete All Entries from the Caller Display List
display list until you find the telephone number you wish to delete
In the on hook position, press S or T to scroll through the caller
Press and hold C until .’ALL DEL?’ is displayed on the LCD
return to standby mode after clearing the telephone numbers from
Press C again to confirm, (OK to Cancel) and the telephone will
Page 10

Y
22
Lift the handset
NO CALL is displayed. If a call comes
CALLER DISPLA
the telephone number you wish to dial
Use S and T to scroll through the caller display list
repeatedly, the ‘REPEAT’ icon will be displayed in the upper right corner
View Caller Display List
Notes: At the end of the caller display list the LCD display will display
END OF LIST. If there are no caller display telephone numbers in
o
of the LCD display.
Dial a Number from the Caller Display List
the caller display list,
.
Use S and T to scroll through the caller display list until you find
Press OK to automatically dial the telephone number
Or
Lift the handset to automatically dial the telephone number
display list until you find the telephone number you wish to dial
In the on-hook position use S and T to scroll through the caller
13
9
INSTALLATION
Wall Mounting
Template 88mm
Wall Mounting
Make 2 holes in the wall, 88mm apart (use the wall mount template), insert
wall plugs and the wall mounting screws. The screws should protrude
from the wall by 6-7 mm. Place the phone onto the screw-heads and slide
down to secure.
To ensure that the handset stays firmly in position when phone is wall
mounted, turn the clip clockwise through 180
Page 11

Y
JOHN SMITH
10
SETTINGS
‘SET LANGUAGE’
Use S and T to scroll through the menu to select
Ringer Volume Setting
A switch located on the rear of the Madrid base unit allows the ringer to be
switched to OFF, LOW, HIGH.
Your phone comes with the ringer switched to ‘High’.
Language Setting
You can choose between 16 different languages including English and
French
In the on hook position, press C twice
Use S and T to select the language
Press OK
Press OK to confirm selection
Number of new call records received
Total calls
Caller’s number
Caller’s name
21
02
n
02
n
CALLER DISPLA
12274612345
Time and Date of Call
The features described in this section are only available if you subscribe to
a Caller Display service from your network provider.
Caller Display means you can see who is calling on your LCD display
(provided the number is not withheld, unavailable or is an international
call). Whether you take a call or not, the caller’s details are stored in the Call list.
The call list stores the last 66 incoming calls. When the call list memory is
full, a new call will take the place of the oldest call. You can display, scroll
through and dial numbers in the list.
If the caller has exercised the option to prevent his number from being
displayed, PRIVATE will be shown on the LCD display. If someone is
calling from an area where the service provider is not offering the Caller
display services or an area which is not providing name and number
delivery to your area via the long distance network, OUT OF AREA will be
displayed on the LCD display.
The red indicator light on the handset will flash when you have received a
new call in your absence. The indicator will continue to flash until you
review all the new calls displayed on the screen. A caller display record consists of the following information:
9:52 9/12
TOTAL CALLS 04
9:52 9/12
Page 12

Dialling Stored Telephone Numbers
OR
Lift the handset
automatically
number. The stored number will be dialled automatically
Press either M1, M2, M3 or to dial the direct memory telephone
direct memory telephone number. The stored number will be dialled
Press MEM followed by the appropriate location key 0-9 to dial the in
20
SETTINGS USING THE TELEPHONE
Date and Time Setting
11
‘HOUR FORMAT’
In the on hook position, press C twice
Use S and T to scroll through the menu to select
If you subscribe to Caller Display, date and time will be set automatically
when you receive your first call.
Hour Format
You can choose between two formats:
12 hours or 24 hours.
If you choose ‘12 HOUR’, hours before noon will be displayed with ‘AM’
and ‘PM’ for the hours after noon.
Press OK
Use S and T to select 12 HOUR or 24 HOUR
Press OK to confirm selection
Press C to exit menu and return to standby
Page 13

12
SETTINGS
‘DATE FORMAT’
Use S and T to scroll through the menu to select
Date Format
You can choose between Day-Month or Month-Day.
In the on hook position, press C twice
Press OK
Use S and T to select DD-MM or MM-DD
Press OK to confirm selection
Press C to exit menu and return to standby
USING THE TELEPHONE
To delete all numbers in the redial memory
Display
The LCD display will show
In the on hook position, press OK
‘DIALED’ together with the number of callls dialled (up to 10)
Press and hold C until .’ALL DEL?’ is displayed on the LCD
memory
Lift the handset
return to standby mode after clearing the telephone numbers from
Press C again to confirm, (OK to Cancel) and the telephone will
Storing Telephone Numbers
Your telephone has 14 memory locations – 4 direct memories for priority
telephone numbers and 10 indirect memories for frequently used numbers.
Press
have keyed it in correctly
Dial the number you wish to store, checking on the display that you
19
Press either M1, M2, M3 or to store the telephone number in a
direct memory location
O R
Replace the handset
direct memory location
Chose a memory location 0-9 to store the telephone number in an in
Press
Page 14

18
Lift the handset.
USING THE TELEPHONE
Recalling Recent Numbers
You can call back any of the last 10 numbers dialled as follows:
The LCD display will show
In the on hook position, press OK
Use S and T to scroll through the
dialled numbers until you find the number you wish to call
The selected telephone number will be dialled automatically
‘DIALED’ together with the number of callls dialled (up to 10)
Deleting Recent Numbers
To delete a specific number in the redial memory
The LCD display will show
Use S and T to scroll through the
dialled numbers until you find the number you wish to delete
‘DIALED’ together with the number of callls dialled (up to 10)
In the on hook position, press OK
has been deleted from memory
Press C. You will be prompted to confirm the deletion
Press C again to confirm, (OK to Cancel). The telephone number
Press OK to return to standby
SETTINGS
13
‘SET TIME’
Use S and T to scroll through the menu to select
Time Setting
In the on hook position, press C twice
Press OK
1 The HOUR digit will flash
2 Use S and T to set the correct hour
3 Press OK to confirm selection
Repeat steps 1-3 for MINUTES, MONTH, DATE,YEAR
Press C to exit menu and return to standby
Page 15

14
SETTINGS
Screen Contrast Setting
The contrast between the text on screen and LCD display has two
CONTRAST LO
‘LCD CONTRAST’
Use S and T to scroll through the menu to select
settings, High and Low.
In the on hook position, press C twice
Use S and T to select SET CONTRAST HI or SET
Press OK
Press OK to confirm selection
USING THE TELEPHONE
Making a Call
Lift the handset.
Lift the handset and speak
number will be displayed on the LCD display
To end the call simply replace the handset in the cradle
When you hear dialing tone, dial the number on the keypad. The
Receiving a Call
When an incoming call is received the telephone rings and the incoming
call indicator flashes.. If the caller can be identified (due to subscription to
a Caller Display service), the caller’s telephone number will be displayed.
To end the call simply replace the handset in the cradle
R, * and # Keys
These are used with the new services provided on digital exchanges. For
details please contact your network provider.
Last Number Redial
17
Lift the handset
Press to redial the last number dialled.
Page 16

SETTINGS
‘SET FLASH’
Use S and T to scroll through the menu to select
Time Break Recall Setting ‘R’ Function
Your telephone works with a time break recall for United Kingdom
(R=100ms)
In the on hook position, press C twice
Press OK
Use S and T to select the correct flash setting (R= 100ms for UK)
Press OK
Press C to exit menu and return to standby
SETTINGS
‘SET LDS CODE’
‘SET AREA & LDS’
Use S and T to scroll through the menu to select
Area and Long Distance Code Setting
In order to use your call records for dialling, the telephone needs to
distinguish between local and long distance calls. You must program the
telephone with your area code.
In the on hook position, press C twice
Press OK
The LCD display shows ‘SET AREA CODE’
Use S and T to select the correct digit
Press OK to set the next digit
The LCD display shows
When the area code setting has been completed, press OK.
Use S and T to select the correct digit
Press OK to set the next digit
menu and return to standby
When the LDS code setting has been completed, press C to exit
15 16
 Loading...