

Page 1
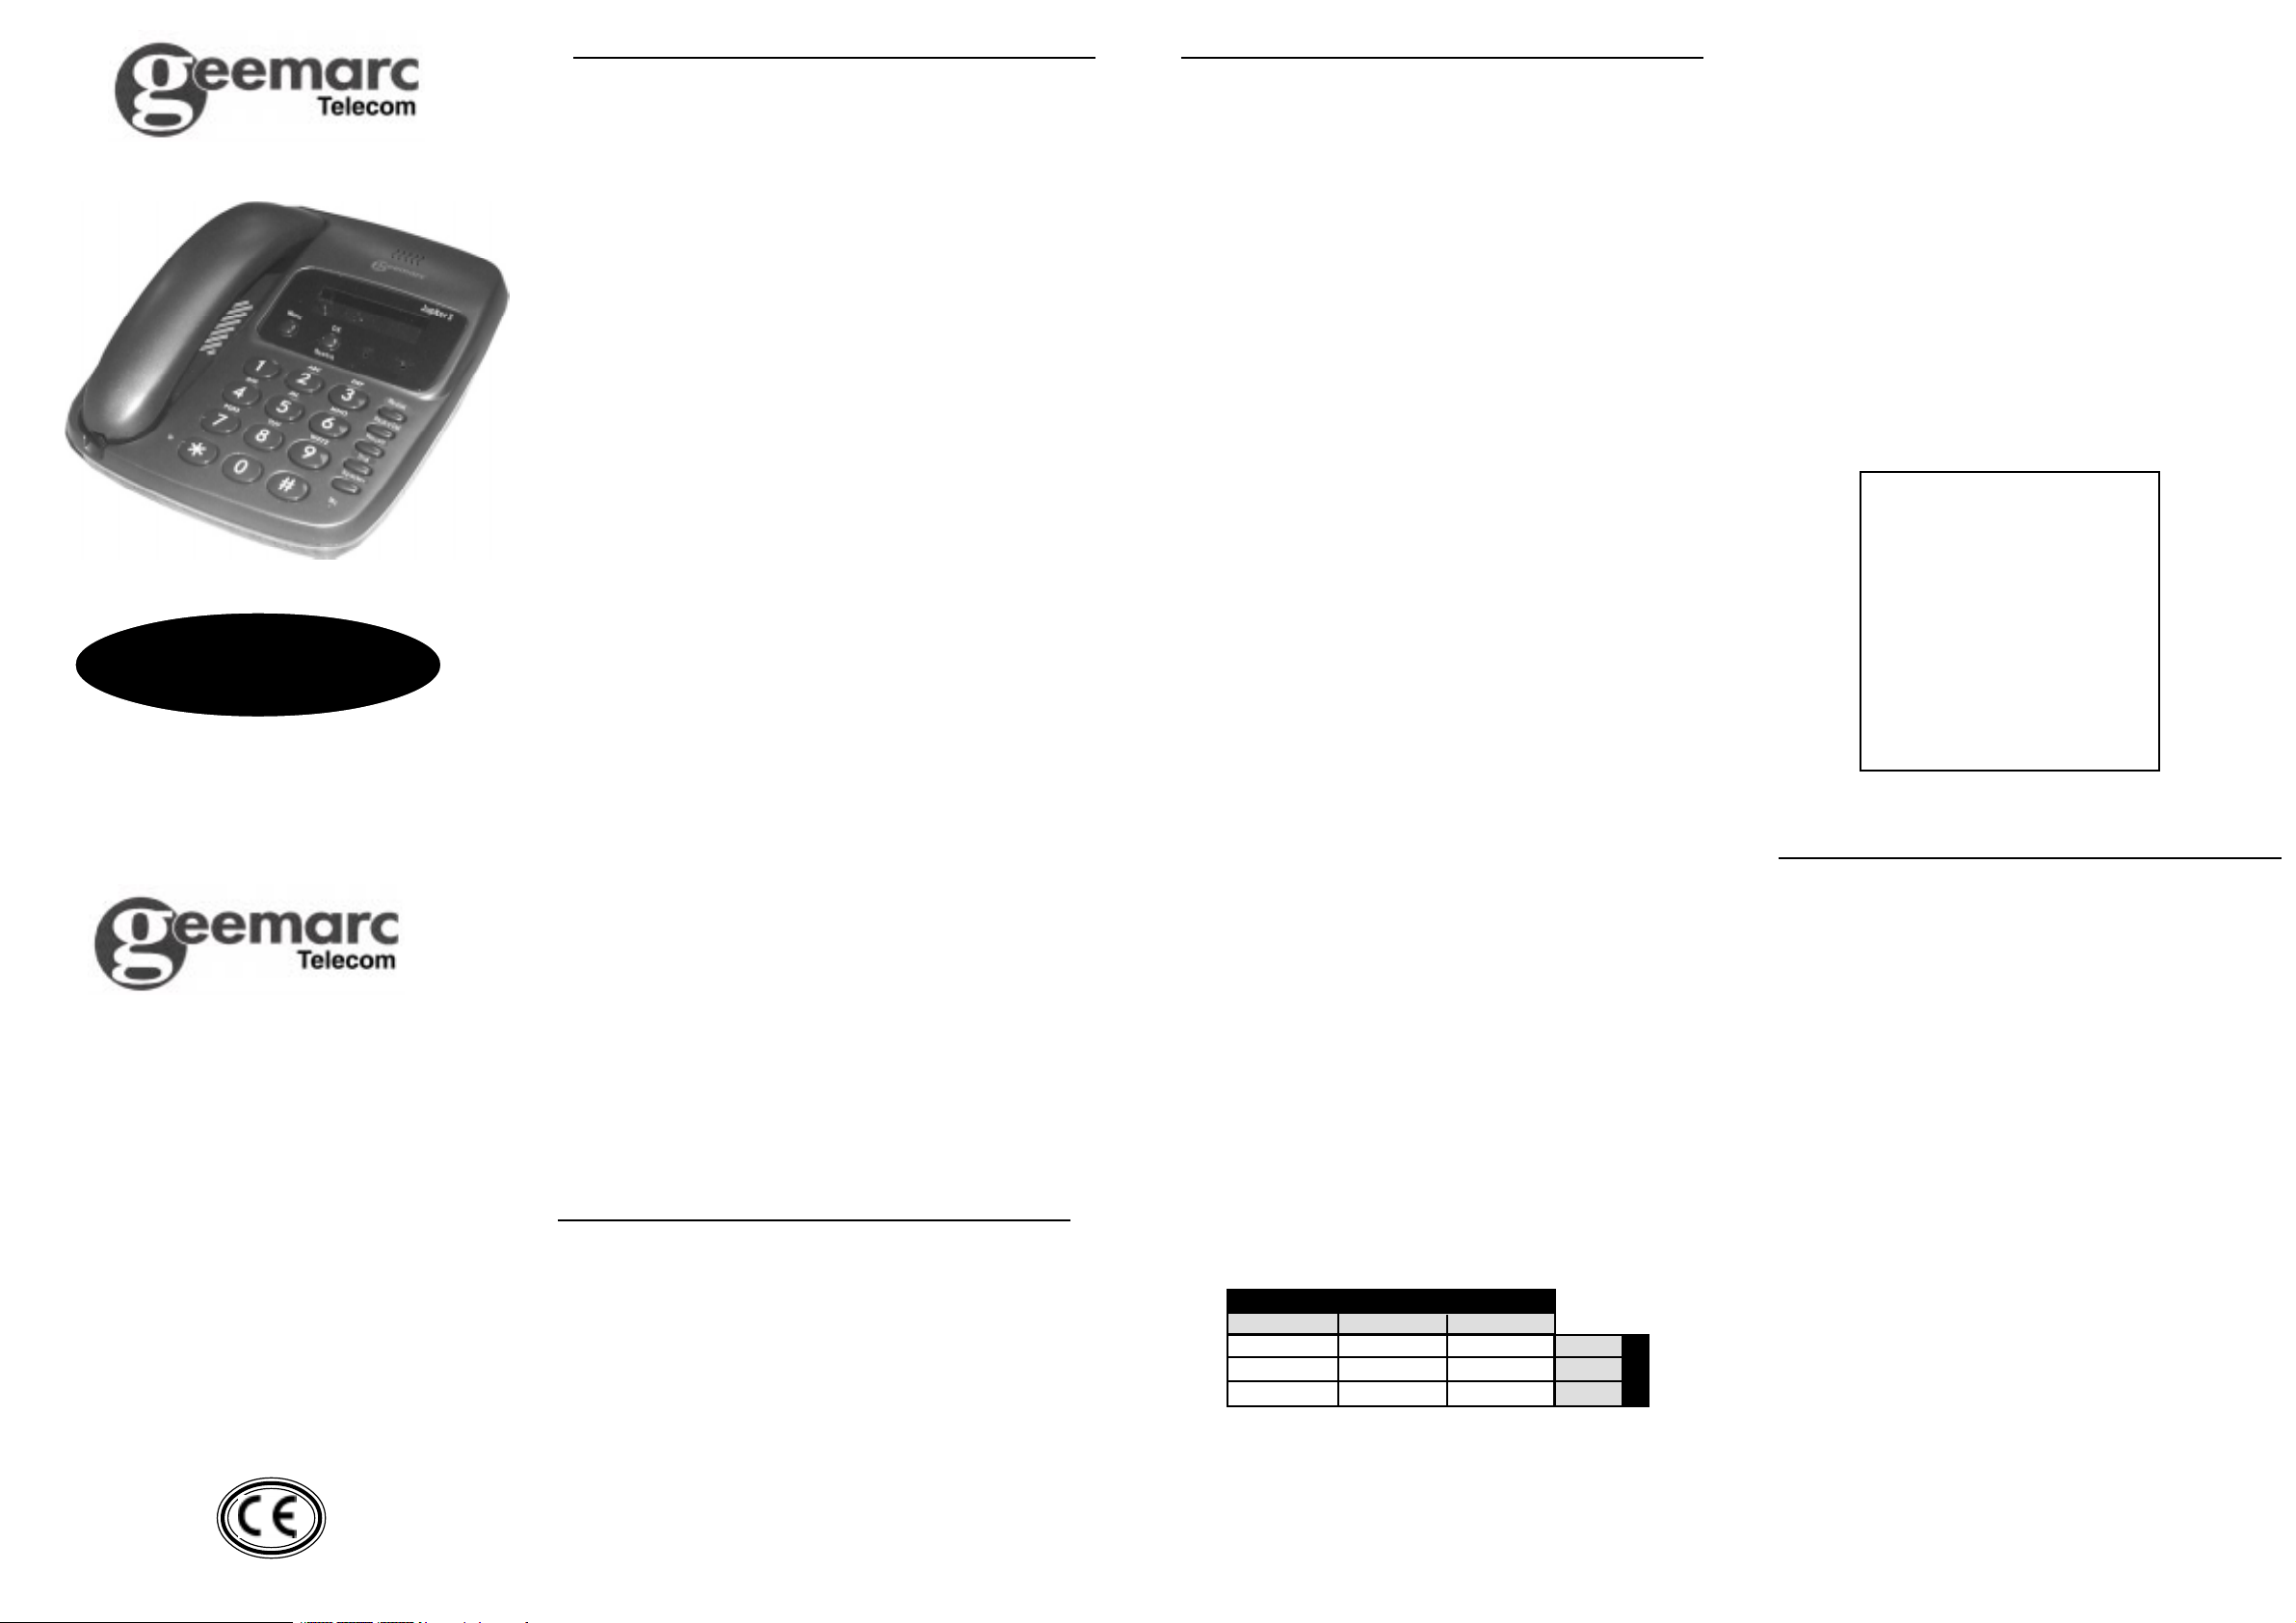
Jupiter 3
5 Swallow Court
Swallowfields
Welwyn Garden City
Herts AL7 1SB
For product support & help
www.geemarc.com
or Tel: 01707 384438
Introduction
Congratulations on choosing a Geemarc Jupiter 3. We at
Geemarc want you to get the most out of our product. And
that’s why we’ve developed a manual that’s easier to use. So
please take the trouble to read it - and enjoy your Jupiter 3 to
the full.
What you can use your Jupiter 3 with
and what you can’t
You can use your telephone with private lines, business lines
and compatible, approved PABXs. If you have a problem,
contact your PABX supplier.
Your line must accept tone dialling. If you have a problem,
contact your telephone company.
Do not use your telephone with:
♦ shared service or party lines
♦ 1+1 carrier systems.
♦ a payphone unless it’s a private payphone with the ‘green
spot’ approval mark.
Where to put your telephone
and how to look after it
♦ Keep it away from heat, dust and damp.
♦ Clean it with a soft cloth (try not to press the buttons).
♦ Never use polish or cleaning agents - they could damage
the finish or the electrics inside.
NOTE: We advise that the telephone be placed on a table
cloth or similar, as rubber feet can mark some surfaces.
How much telephone equipment
can you have in your home?
Each item is marked (usually on the base) with a REN number.
For example, your Jupiter 3 is REN 1 and most BT phones are
REN 1. The REN numbers of all your equipment, added up,
must not exceed 4. Otherwise you’ll overload your line and
your equipment may not work properly.
Thunderstorms
Unplug your telephone from the telephone socket during
thunderstorms: if lightning strikes your phone line, it could
damage the product. Your guarantee does not cover lightning
damage.
General
What you need to know before you start.
MENU key function: you can set the following options by using
the MENU key with the handset on hook (on hook).
DATE/TIME : PHONE BOOK : TONE/PULSE : RING MELODY
: PAUSE TIME : SET TIME - When entering data into any section
of the Menu don’t leave more than 15 secs between key
presses. Otherwise you will have to start again and the display
will revert to Date/Time. To programme a setting, you use UP
or DOWN key. UP takes you to a higher setting; DOWN to a
lower setting.
Installation
Having removed your Jupiter 3 from the giftbox, take the
coiled cord fitting one end to the handset and the other to the
handset jack on the left hand side of the telephone base unit.
Take the line cord and fit the smaller end into the rear of the
base unit.
Setting up – follow steps1–6
Step 1 : Fit 4 x 1.5v leak-resistant
alkaline AA batteries
Why? They are required to operate the display for the Date/
Time and all other functions available on the menu.
1. Remove battery cover underneath the telephone.
2. Fit the 4 batteries, ensuring that the correct polarity is
observed.
3. Replace the battery cover.
NOTE: It is recommended that the batteries be changed
every 6 months or earlier if necessary.
IMPORTANT: Dispose of batteries carefully. Never burn
them or let children play with them.
Step 2: Setting the Date and Time
1. Press Menu until ‘Set Time’ is displayed.
2. Press OK/Search key, date and time is displayed.
3. Month Flashes, press UP or DOWN arrow to set month.
Then press OK/Search key.
4. Repeat item 3 for Date, Hour and Minutes. (Note time
uses the 24 hour clock).
5. Press Menu key at any time to complete setting and return
to normal Date Time Display.
Step3:TonePulse Setting
1. Press Menu key until ‘Tone/Pulse’ is displayed.
2. Press OK/Search key, ‘Tone (Pulse)’ is displayed.
3. Press UP or DOWN arrow to select (Tone).
4. Press OK/Search key, display reverts to Date Time and
indicates acceptance of setting.
Step 4: Ringer Melody Setting
1. Press Menu key until ‘Ring Melody’ is displayed.
2. Press OK/Search key, ‘Mode 0-9’ is displayed.
Note: To switch ringer OFF press 0.
3. Press a key 0 to 9 and display reverts to Date Time and
indicates acceptance of setting.
Ringer melody table
VOLUME
SOFT MEDIUM LOUD
1 2 3 SLOW
4 5 6 MEDIUM
7 8 9 FAST
MELODY
Step 5 : Pause Time Setting
1. Press MENU key until ‘Pause Time’ is displayed.
2. Press OK/SEARCH key, ‘2S (4S)’ is displayed.
3. Press UP or DOWN arrow to select required pause time.
4. Press OK/SEARCH key, display reverts to Date Time and
indicates acceptance of setting.
Step 6 : Plug the machine into
your telephone socket
If the plug doesn’t fit your telephone socket, contact BT or
your telephone supplier. The interconnection point of the
telephone line lead at the handset carries a
Telecommunication Network Voltage (TNV). Caution must be
exercised if this connection is exposed.
WARNING
DO NOT REMOVE ALL BATTERIES
OR THE STORED MEMORIES MAY
BE LOST
To ensure the memory does not get lost users
should take out one battery at a time and
replace with a new one before taking out the
next battery.
Change all 4 batteries when the battery low
symbol shows in the display.
Operation
Having connected the telephone to the telephone socket,
you can now make a call. When using the Telephone a symbol
will appear at the top of the display panel to tell you the function
in use. Two modes of operation are provided; normal handset
mode where the handset is lifted (off hook) and replaced in
the normal manner, and handsfree mode where the caller or
called party is heard through a loudspeaker built into the
telephone, and a microphone picks up your voice. When
making or receiving a call, you may alternate between the
two modes of operation. On dialling a telephone number,
the display will change to ‘IN USE’ and indicate the dialled
number. If the dialled number has more than 20 digits the
display will scroll left and only the last 20 digits will be
displayed.
Handset Operation
Pick up the handset and if making a call, await the dial tone
and dial the required telephone number. On completion of
the call, replace the handset in cradle.
UG/JUPITER 3 Issue 2 11/00
Page 2

Handsfree Operation
(See also Phonebook Dialling)
Receiving a call: When the telephone rings, press the
Speaker key and commence your conversation speaking at
a comfortable distance of about 30cms from the telephone.
Making a call: Press Speaker key, await dial tone and dial
the required telephone number. On completion of the call
press Speaker key to clear down the line.
Pre Dialling: With handset on hook:a) Use dial keys and enter telephone number
b) Press Dial key, Speaker on indicator light is illuminated
and number commences to dial.
c) On completion of the call press Speaker key to clear down
the line.
To change from handsfree mode
to handset mode
Pick up the handset. Replacing the handset in the cradle will clear
down the line when you have completed your call.
To change from handset mode
Press Speaker key and replace the handset in the cradle.
Pressing the Speaker key again will clear down the line when
you have completed your call.
During handsfree call mode the Speaker on indicator will be
illuminated. When you have finished a call, always ensure
that the indicator is extinguished.
Volume Control
Adjust the volume by pressing the Volume UP and DOWN
keys on the right hand side of the telephone base unit. The
volume control affects both the handset and the handsfree
speaker volume.
Phonebook Dialling
To Dial a Telephone number from Phone Book
1. Press Menu key until ‘Phone Book’ is displayed.
2. Press UP or DOWN arrow until entry to be dialled is
selected.
3. Press Dial key, Speaker on indicator light is illuminated
and number commences to dial.
On completion of the call press Speaker key to clear down the
line.
To Search for and dial a name and
telephone number from Phone Book
1. Press OK/Search key, ‘Search Memory’ is displayed.
2. Enter the full name or first letter(s) of the name you require
to search for.
Press the OK/Search key, the telephone number nearest
to your entered name appears in the display.
3. Press UP or DOWN arrow until entry to be dialled is
selected.
4. Press Dial key, speaker on indicator light is illuminated
and number commences to dial. On completion of the
call press Speaker key to clear down the line.
Managing Phonebook Records
What you need to know before you start:
In the Phone Book you can store up to 100 Names and
Telephone Numbers. The display will take up to 15 alpha
characters for names and 20 digits for telephone numbers.
Each of the keys 1 to 9 corresponds to several characters.
To select the character you want you may have to press the
appropriate key several times, for example:-
To enter the letter C press the 2 key 3 times. Where the next
alpha character of a name is on the same key press the up
arrow then enter the character required. A list of each Key
and the character they produce is listed below.
KEY 1
KEY 2 A B C Å Ä A
KEY 3 D E F 3
KEY 4 G H I 4
KEY 5 J K L 5
KEY 6 M N O
KEY 7 P Q R S 7
KEY 8 T U V 8
KEY 9 W X Y Z 9
KEY SS
KEY 0 + & @ / 0
KEY # #
__
?, .: ‘( ) 1SPACE
E2
ÖØ 6
NOTE: The following operations commence with the Handset on
hook and the Speaker switched off.
Making entries in the Phone Book
1. Press Menu key until ‘Phone Book’ displayed.
2. Press OK/Search key ‘Enter New Name’ displayed.
3. Enter name by using Keys 1 to 9 and press OK/Search
key.
4. Enter telephone number and press OK/Search key, ‘Enter
New Name’ displayed.
5. Repeat steps 2 to 4 to enter more names and telephone
numbers, or
6. Press Menu to finish, display returns to Date Time.
To add a new name and number to
Phone Book at a later date
1. Repeat steps 1 to 6 above.
New entries will be stored int he Phone Book in alphabetical
order.
Note: If the message ‘FULL’ appears in the display, no more
entries can be made to the Phone Book memory.
Pause/Del Key
This key has two functions, Pause and Del: Delete. The use
of these functions are described in the following paragraphs.
For product support & help
www.geemarc.com
or Tel: 01707 384438
Pause Key
With some PABX’s it is necessary after dialling an outside
line access digit (often 9) to wait for a new dial tone before
dialling the outside number. If the Pause/Del key is pressed
after the access digit has been dialled the number may be
dialled immediately without waiting for a new tone as the
telephone will introduce the required pause in the dialling
sequence. In some cases it may be necessary to obtain a
second pause, but do not enter more than 3 pauses or
unsatisfactory operation may result. It is essential to carry
out this operation if use of the redial facility is envisaged.
Failure to do so may result in wrong numbers being obtained.
Access digits plus pauses may also be stored as part of the
numbers in the Phone book. Simply press the Pause/Del
key at the appropriate part of the number during the storage
process.
To delete an entry from the Phone Book
1. Press UP or DOWN arrow until entry to be deleted is
displayed.
2. Press Delete (Pause/Del) key, ‘Delete?’ is displayed.
3. Press OK/Search key to confirm entry is deleted.
4. Repeat steps 1 to 3 to delete more entries, or
5. Press MENU to finish, display returns to Date Time.
To delete all entries from the Phone Book
1. Press UP or DOWN arrow until any entry is displayed.
2. Press and hold Delete (Pause/Del) key until ‘All Delete’ is
displayed.
3. Press OK/Search key, to confirm entry is deleted.
4. Press Menu to finish, display returns to Date Time.
Redial key
If the telephone number you have called is engaged or if you
want to repeat the call to the number you dialled previously,
lift the handset or press Speaker key, await dial tone and
press the Redial key. The previously dialled number will be
automatically redialled. Up to 32 digits can be stored in the
redial memory.
Recall, S & # keys
These are used with the new services provided on digital
exchanges. For details please contact your network operator.
Call Timer
The call timer will operate every time you make or receive a
call, the display will show that the telephone is in use and the
call timer clock display in the top right hand corner of the
display will start counting. When the handset is replaced on
the cradle or the speaker is switched off the call timer is
switched off and returns to zero.
In case of difficulty
Intheevent ofthe telephone failingto operate properly ,you cancheck whetheritis the
telephoneorthe exchangeline causingtheproblem asfollows:
IS THE RINGER MELODY
SET TO ON?
YES
IS THE TOTAL REN VALUE, FOR
ALL THE PHONES CONNECTED
TO YOUR LINE, 4 OR LESS?
YES
DOES A KNOWN WORKING
PHONE OPERATE CORRECTLY
WHEN CONNECTED IN PLACE OF
THIS TELEPHONE?
YES
PLEASE CONTACT CUSTOMER
SERVICES BEFORE RETURNING
YOUR PRODUCT FOR REPAIR
(01707) 384438
SWITCH RINGER MELODY ON
NO
NO
NO
DISCONNECT ENOUGH
PHONES ON YOUR LINE TO
REDUCE THE TOTAL REN
TO 4 OR LESS.
THERE COULD BE A PROBLEM
WITH YOUR TELEPHONE LINE.
PLEASE CONTACT B.T.* OR
OTHER NETWORK OPERATOR.
*NOTE : IF BT OR OTHER
TELEPHONE NETWORK
OPERATOR ENGINEERS ARE
CALLED OUT UNNECESSARILY
AND THE LINE IS NOT AT FAULT,
A CHARGE WILL BE MADE.
Approval
The apparatus has been approved for the use of the following
facilities:-
♦ Simple telephone operation with ability to make calls to the 999
and 112 Emergency Services
♦ Multi Frequency (TONE) signalling
♦ Automatic storage of Last Number Dialled
♦ Timed Break Recall
♦ Handsfree operation with volume control
♦ 100 Memories
♦ 15 characters for name and 20 digits for telephone number
♦ Dial key for memory dialling or on hook dialling
♦ Memory search by UP/DOWN key or by name
♦ All memory can be deleted or just one record
♦ Can store records in off hook mode
♦ Digital volume control
♦ Full handsfree
♦ Programmable melody/volume for ringer
♦ Programmable pause time 2 secs/4 secs
♦ Call duration time indication
♦ Clock with date and time display
Any other usage will invalidate approval of the apparatus if as a
result, it then ceases to conform to the standards against which
approval was granted.
Hereby Geemarc Telecom Ltd declares that this telephone is in
compliance with the essential requirements and other relevant
provisions of the Radio and Telecommunications Equipment
Directive 1999/5/EC and in particular sections 3.1a, 3.1b and
section 3.3.
Guarantee (UK only)
If your telephone goes wrong within one year from the date you
bought it, we will repair or replace it (at our option) free of charge
provided:
♦ it has not been damaged by a battery, misuse or negligence;
♦ it has not been tampered with or taken apart unless by a
Geemarc representative; and
♦♦
♦ that you supply the product with yourreceiptandpaythecarriage.
♦♦
If you do have a problem, please read ‘In case of difficulty’ section.
If you still can’t solve the problem, then in the first instance contact
the shop where you bought your product.
If you send us your Jupiter 3, please enclose:
♦ your name and address;
♦ an explanation of the problem;
♦ a cheque or postal order for £5 for postage and packing; and
♦ a copy of your receipt to show where you bought your Jupter 3.
♦ This guarantee does not affect your legal rights.
♦ Our products are subject to constant review,we therefore reserve
the right to change their design and specification without prior
notice.
 Loading...