

Gedore EF 120, K 450 Operator's Manual
Electric Torque
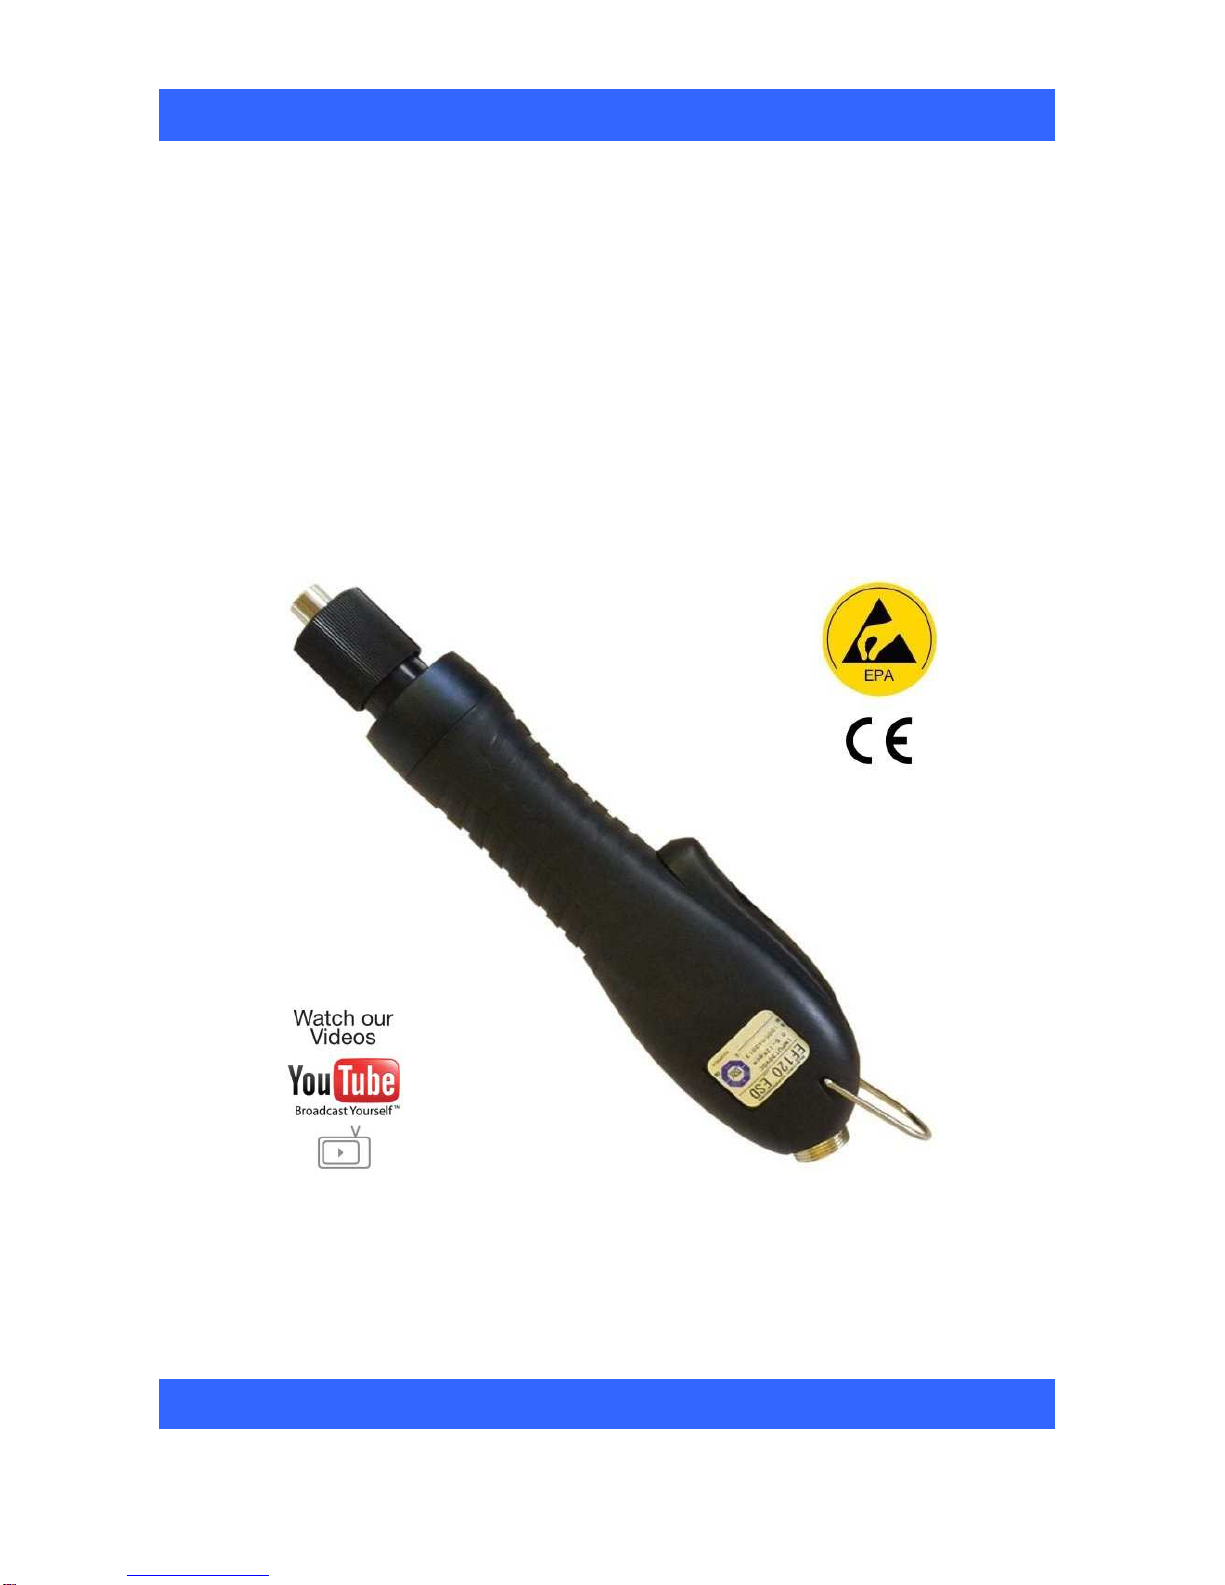
Screwdriver
EF 120
Operators Manual
EF 120
Instruction part Number P32230 Issue 4

Screwdriver/Controller Setup:
1. Attach power lead to the Screwdriver. Make sure notch in plug lines up with the notch on the socket.
Tighten knurled ground ring. Attach power lead to the STC 30+ Controller. Make sure notch in plug lines
up with the notch on the socket. Tighten knurled ring.
2. To insert a driver bit, retract the driver bit chuck. Insert the driver bit and release the retracted chuck
collar. To avoid damaging fasteners, make sure the correct driver bit is suitable for the head of the
fastener.
3. The Torque setting is determined by the tension of the coil spring housed in the torque adjustment
sleeve. See charts below to determine the appropriate torque adjustment setting.
4. Rotate the torque adjustment collar to set the required Torque. Turn clockwise to increase torque and
counter clockwise to decrease torque.
Note:
The scale adjacent to the Torque Adjustment Collar is a reference guide. The torque output from the
driver can change depending on various fastening factors like friction, type of joint, and the type material
being used like a washer.
5. Attach the power lead to the STC 30+ Controller. Plug in and check the power indicator illuminates. If it
does not, check fuse in the Controller.
The STC 30+ Controller - Features a HIGH & LOW speed button. Select the appropriate speed for your
application.
6. Operate driver and check for proper rotation. FOR-clockwise, REV-counterclockwise.
7. To apply torque, rotate the adjustment collar to the required setting on the adjustment scale. Squeeze
the lever. The driver will automatically stop when the preset torque has been reached.
8. To remove the screw, operate the Forward/Reverse switch to the reverse position.
How To Replace The Carbon Brushes:
WARNING: When replacing the carbon brushes, detach the power lead from the driver body or unplug
the transformer from the power supply.
1. The carbon brush piece is 1/3" long when new. Change the pair when they are worn to about half the
original length.
2. Insert a flat bladed screwdriver into the slot of the carbon brush cap and unscrew the cap.
3. Replace the worn brushes with a new pair. The contact surface of the brush is concave. Insert the brush
so that the concave end properly aligns with rounded surface of motor comutator.
 Loading...