

GE ZDP36N4DHSS, ZDP30N4DSS, ZDP36N4RHSS, ZDP36N6HSS, ZDP48L4GHSS Installation Instructions Manual
...
GE Monogram
Installation
Instructions
Professional
Ranges
48" Natural Gas Models
ZDP48N4G
ZDP48N6R
ZDP48N6D
®
48" LP Gas Models
ZDP48L4G
ZDP48L6R
ZDP48L6D
36" Natural Gas Models
ZDP36N6
ZDP36N4R
ZDP36N4D
36" LP Gas Models
ZDP36L6
ZDP36L4R
ZDP36L4D
30" Natural Gas Model
ZDP30N4
30" LP Gas Model
ZDP30L4
CAUTION
WARNING
Before you begin—Read these instructions completely and carefully.
IMPORTANT: Save these instructions for local inspector’s use.
IMPORTANT: OBSERVE ALL GOVERNING CODES AND ORDINANCES.
NOTE TO INSTALLER: Be sure to leave these instructions with the Consumer.
NOTE TO CONSUMER: Keep these instructions with your Owner’s Manual for future
reference.
This appliance must be properly grounded. See “Electric Supply”, page 7.
For Monogram local service in your area,
1-800-444-1845.
For Monogram Service in Canada,
Call 1-888-880-3030.
For Monogram Parts and Accessories, call
1-800-626-2002.
If you received a damaged range, you should
Installation of this range requires basic
electrical, carpentry and mechanical skills.
Proper installation is the responsibility of the
installer. Product failure due to improper
installation is not covered under the GE
Appliance Warranty. See the Owner’s Manual
for details.
contact your dealer.
In the Commonwealth of Massachusetts:
• This product must be installed by a licensed plumber or gas fitter.
• When using ball type gas shut off valves, they shall be T-handle type.
• A flexible gas connector, when used, must not exceed 3 feet.
Contents
CAUTION:
THESE RANGES SHOULD BE INSTALLED
IN CONJUNCTION WITH A SUITABLE
OVERHEAD VENT HOOD. Due to the high
heat capacity of this unit, particular attention
should be paid to the hood and duct work
installation to assure it meets local building
codes.
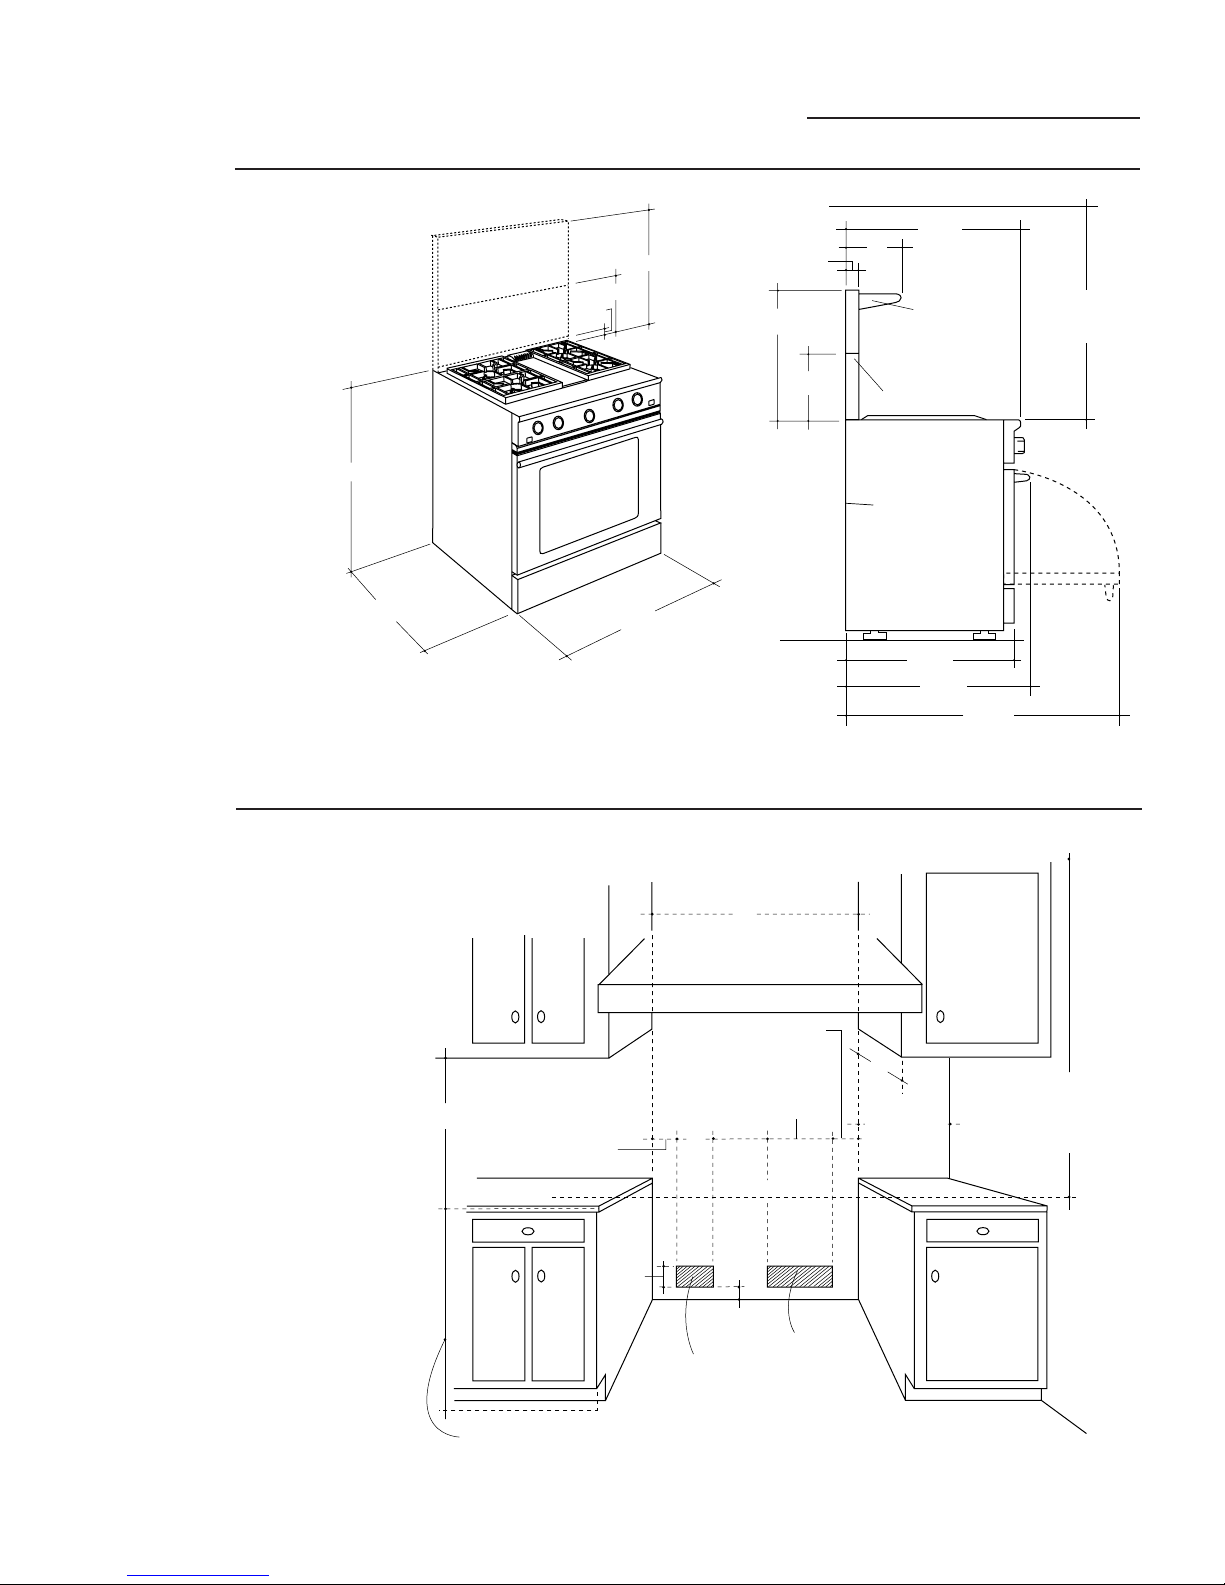
Standard countertop and island installations:
A 1200 CFM hood is recommended for 48"
ranges.
A 600 CFM hood is recommended for 30" and
36" Ranges.
Hoods should be 24" min. deep and the same
width as the cooktop.
Check local building codes for the proper
method of gas range installation. Local codes
vary. Installation, electrical connections and
Design Information
Models Available......................................................... 3
Accessory Requirements .......................................... 3
Models Dimensions and Clearances.................... 4,5
Advance Planning ....................................................... 6
Tools & Materials Required....................................... 6
Installation Preparation
Power Supply Locations ............................................ 7
grounding must comply with applicable codes.
In the absence of local codes, the gas range
should be installed in accordance with the
National Fuel Gas Code ANSI 223.1, latest
edition and National Electrical Code ANSI/
NFPA 70, latest edition.
CAUTION:
These ranges weigh up to 600 pounds. Some
disassembly will reduce the weight considerably. Due to the weight and size of the range
and to reduce the risk of personal injury or
damage to the product, TWO PEOPLE ARE
REQUIRED FOR PROPER INSTALLATION.
Installation
Step 1: Remove Packaging........................................ 8
Step 2: Level the Range.............................................. 9
Step 3: Install Anti-Tip Device................................... 9
Step 4: Connect Range to Gas ................................ 11
Step 5: Install the Range Backguard ..................... 11
Step 6: Connect Electrical ....................................... 12
Step 7: Slide Range Into Position ........................... 12
Step 8: Replace Oven Doors ................................... 12
Step 9: Assemble & Adjust Burners ...................... 13
Step 10: Adjustable Low Burner Settings .............13
Finalize Installation ................................................... 13
2
Design Information
Professional Ranges
Models
Available
Accessory
Requirements
These ranges are factory set for either natural
gas or liquid propane gas. Order the model
for your installation situation.
48" Natural Gas Models:
ZDP48N4G
4 gas burners, grill and griddle
ZDP48N6R
6 gas burners and grill
ZDP48N6D
6 gas burners and griddle
48" Liquid Propane Gas Models:
ZDP48L4G
4 gas burners, grill and griddle
ZDP48L6R
6 gas burners and grill
ZDP48L6D
6 gas burners and griddle
All models require the installation of a backguard. A backguard should be ordered at the
same time as the range. Both must be on site
at the time of installation.
Order one backguard for 48" Models:
ZX1B48
1-1/2" high backguard (required for island
installations or installations where back wall is
non-combustible such as brick, ceramic tile,
marble, etc.)
ZX12B48
12" high backguard
ZX22B48
22" high backguard with warming shelf
(2 piece)
36" Natural Gas Models:
ZDP36N6
6 gas burners
ZDP36N4R
4 gas burners and grill
ZDP36N4D
4 gas burners and griddle
36" Liquid Propane Gas Models:
ZDP36L6
6 gas burners
ZDP36L4R
4 gas burners and grill
ZDP36L4D
4 gas burners and griddle
30" Natural Gas Model:
ZDP30N4
30" Liquid Propane Gas Model:
ZDP30L4
Order one backguard for 30" Models:
ZX1B30
1-1/2" high backguard (required for island
installations or installations where back wall is
non-combustible such as brick, ceramic tile,
marble, etc.)
ZX12B30
9" high backguard
ZX22B30
22" high backguard with warming shelf
(2 piece)
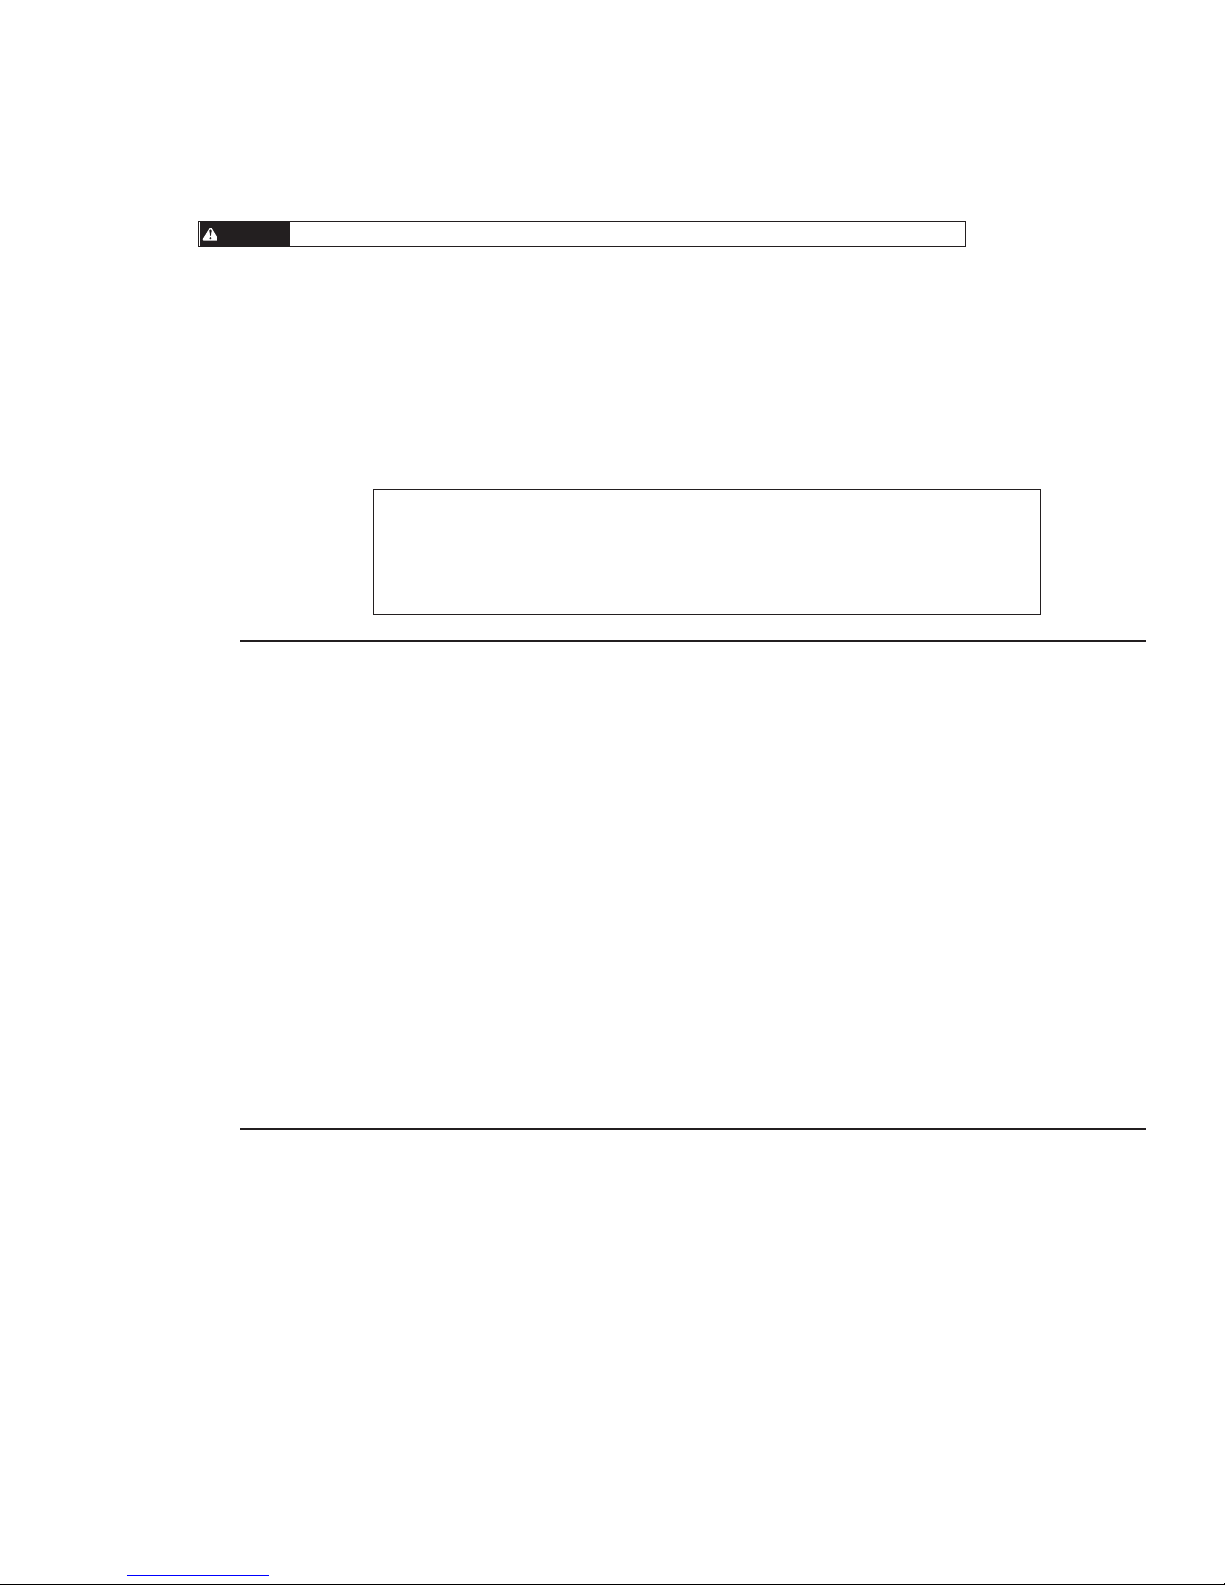
22" High Backguard With
Warming Shelf
Order one backguard for 36" Models:
ZX1B36
1-1/2" high backguard (required for island
installations or installations where back wall is
non-combustible such as brick, ceramic tile,
marble, etc.)
ZX12B36
12" high backguard
ZX22B36
22" high backguard with warming shelf
(2 piece)
Installation Note:
For approved installations to non-combustible back wall materials, consult
material representative to ensure that the material has appropriate resistance
to staining and/or discoloration.
12" High Backguard
(9" High for 30" Models)
1-1/2" Backguard for
Island Installations only
3
Product
Design Information
Professional Ranges
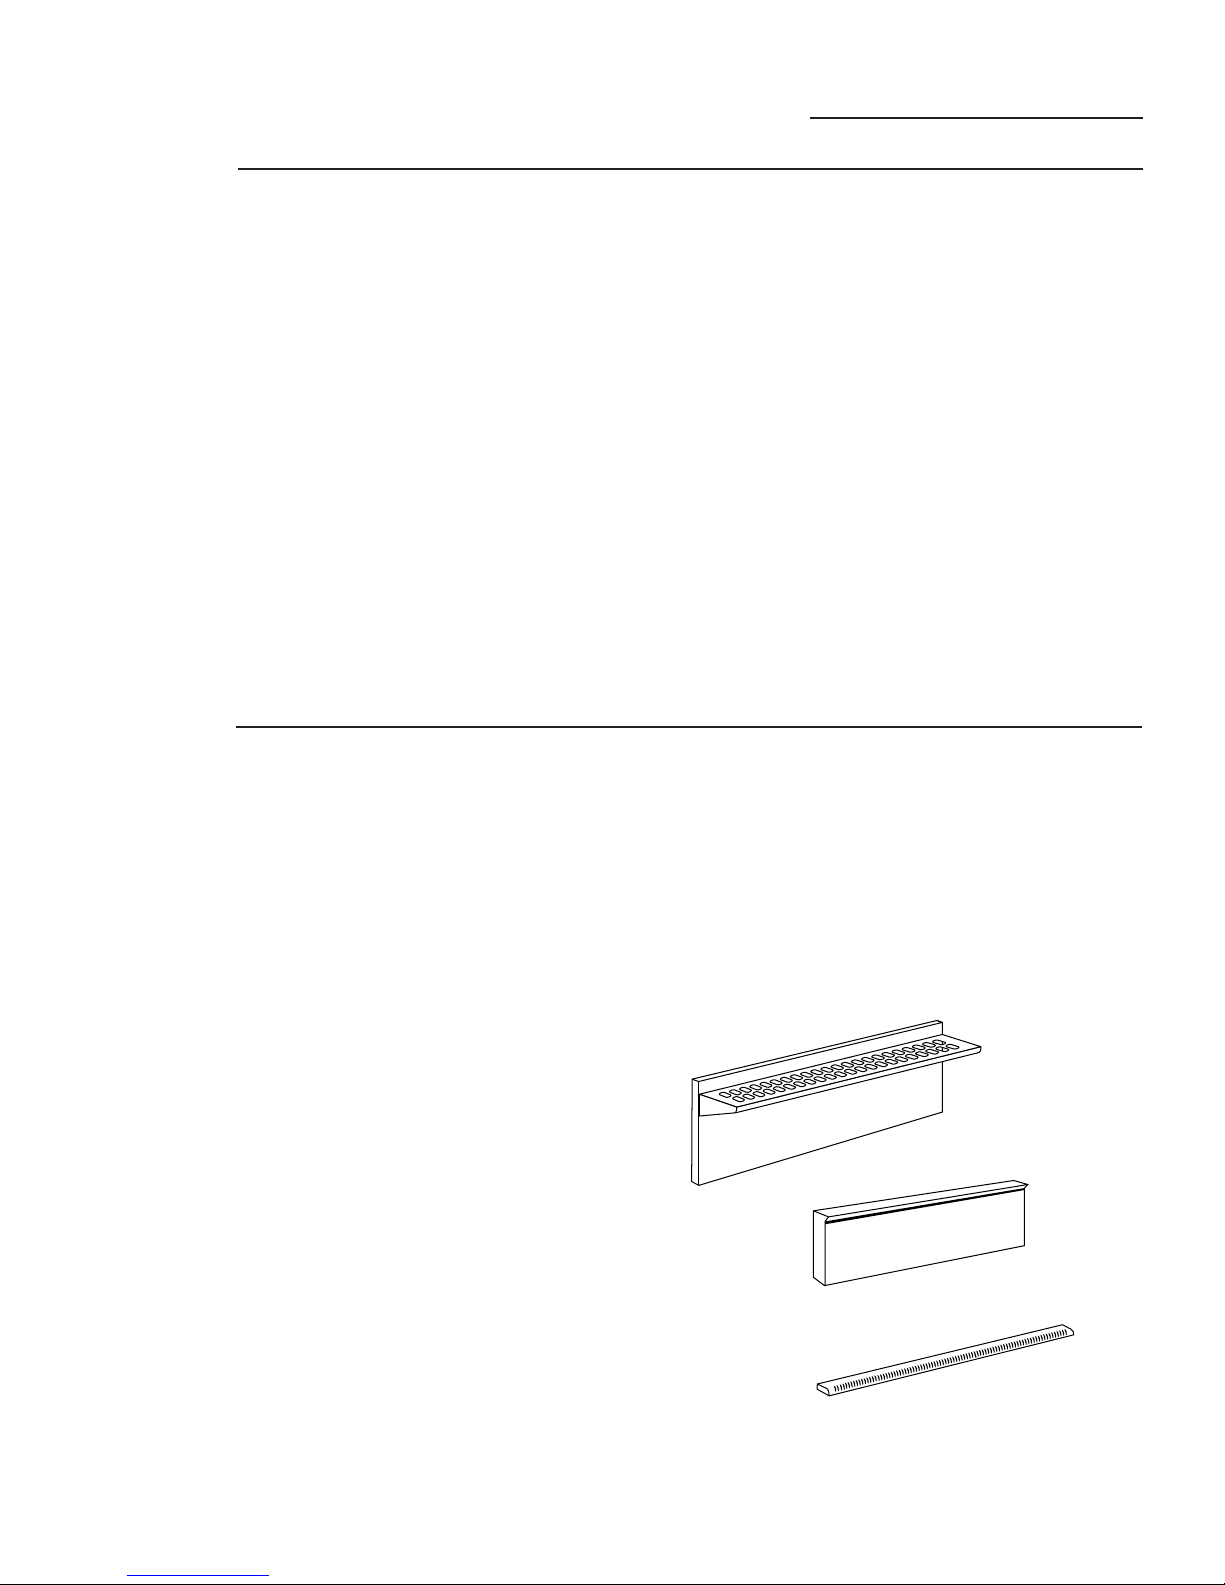
Dimensions
& Clearances
35-1/4"-36-3/4"
28-1/4"
21-1/4"
3-1/4"
12"
Optional Backguards
29-1/16"
12"
High
Shelf
Low Back
1-1/2"
47-7/8"
to Combustibles
21-1/4"
12"
36" Min.
35-1/4"-36-3/4"
28-1/4"
Optional Backguards
36" Wide Range Models48" Wide Range Models
12" Min. to Combustibles
Without Backguard or 0"
to Non-Combustible Wall
with 1-1/2" Backguard
1-1/2"
Backguard
1-1/2"
36" Min.
to
Combustibles
21-1/4"
12"
35-7/8"
48" and 36" Range Models
4
0" Clearance
0" Clearance
All Models
26"
28-1/4"
31-1/2"
45-5/8"
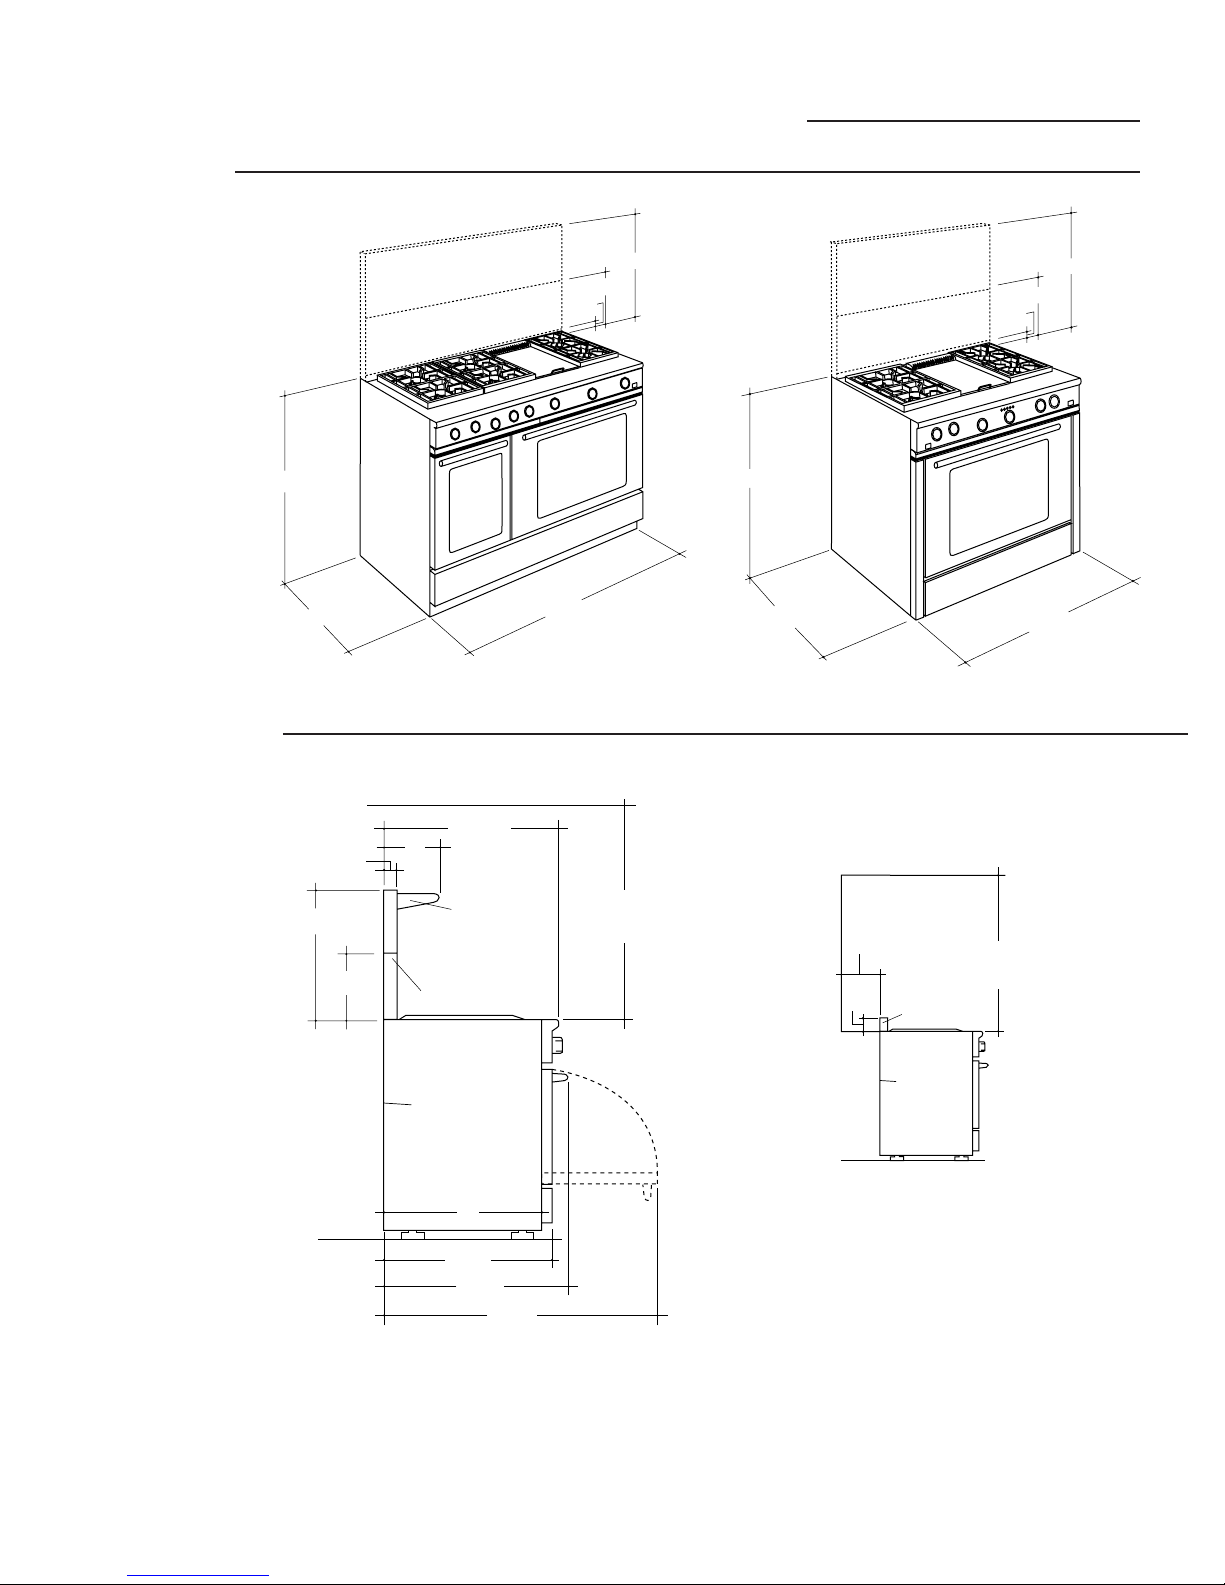
Design Information
3-1/4"
18" Min.
30"/36" Wide Models 4"
48" Wide Models 8"
35-3/8" Max. for Counter Level
36-3/4" Max. with Range Leveling Legs Fully Extended
3-1/2"
Gas Supply
Electrical Supply
Cooking Surface
13"
Max.
30"/36" Wide Models 4"
48" Wide Models 8"
30"/36" Wide Models 12"
48" Wide Models 16"
30" Wide Range Hood
Or
36" Wide Range Hood
Or
48" Wide Range Hood
12" Min. to
Combustible
Material
Each Side
36" Min. to
Combustible
Material From
Cooking Surface
12"
Professional Ranges
Product
Dimensions
& Clearances
35-1/4"-36-3/4"
26-3/4"
Optional Backguards
21-1/4"
9"
1-1/2"
29-7/8"
30" Wide Range Models
21-1/4"
3-1/4"
9"
27-3/8"
12"
High
Shelf
Low Back
0" Clearance
26-3/4"
29-1/4"
36" Min.
to Combustibles
43-7/8"
Note: Refer to Vent
Hood Installation
Instructions for
hood height above
the range.
5
 Loading...