

GE PWR04FANCBS, PWR04FANBBS, PWR04FANBBB Owner’s Manual

ge.com
Safety Instructions ........... 2, 3
Installation Instructions ........ 4
Operating Instructions
Automatic Humidity Control ..... 6
Control Settings .............. 5, 6
Locking the Controls ........... 6
Care and Cleaning ......... 7-1o
Replacing the Light Bulb ........ 8
Rmersing the Door . ......... 9, 10
Troubleshooting Tips ...... 11, 12
Consumer Support
Consumer Support ............ 16
Product Registranon ........ 13, 14
V_'arranty .................... 15
Write the model and serial
numbers here:
Model #
Serial #
Find these numbers inside the
wine chiller on the leit side.
197D#613PO03 49-60428 11-05JR

IMPORTANTSAFETYINFORMATION.
READALLINSTRUCTIONSBEFOREUSING.
WARNING!
Use this appliance only for its intended purpose as described in this Owner's Manual.
SAFETYPRECAUTIONS
When using electrical appfiances, basic safety precautions should be foflowed, including
the following:
_: This wine chiller must be properly installed
and located in accordance with these
instructions before it is used.
Do not allow children to climb, stand or hang
on the shelves in the wine chiller. They could
damage the wine chiller and seriously ii_jure
them selves.
::Ji::Do not store or use gasoline or other
flammable vapors and liquids in the
vicinity of this or anv other appliance.
::Ji::Before replacing a burned-out light bulb, the
wine chiller should be unplugged in order to
avoid contact with a live wire filament.
(A burned out light bulb may break when
being replaced.)
_: Keep fingers (rot of the "pinch point" areas;
clearances between the doors and between
the doors and cabinet are necessarily small.
Be carefifl closing doors when children are
in the area.
_: Unplug the wine chiller befiwe cleaning and
making repairs.
NOTE: Westrongly recommend that any serviclhg be
performed by aqualified individual
::Ji::Do not store or install this appliance outdoors.
DANGER!RISKOFCHILDENTRAPMENT
PROPERDISPOSALOFTHEWINECHILLER
Child entrapment and suflbcation are not
problems of the past.flmked or abandoned
re&igeration products are still dangerous.**
even if they will sit for 'ijust a tbw days."
If you are getting rid of your old appliance,
please Ibllow the instructions below to help
prevent accidents.
Before You ThrowAway YourOld
Refrigeration Product:
_: Take off the doors.
iJi::i,eave the shelves in place so that children
may not easiE climb inside.
USEOFEXTENSIONCORDS
Because of potential safety hazards under certain conditions, we strongly recommend against
the use of an extension cord.
Refrigerants
All refl'igeration products contain refl'igerants,
which tinder federal law Inust be rellloved prior
to product disposal. If wm are getting rid of an
old refrigeration product, check with the
company handling the disposal about what
to do.
However, if xou must use an extension cord, it is absolutelx necessary that it be a UIAisted,
3-wire grounding type appliance extension cord haxing, a grounding type I)lu°_ and outlet and
that the electrical rating of the cord be 15 amperes (minimmn) and 120 xolts.
HOWTOCONNECTELECTRICITY
Do not, under any circumstances, cut or remove the third (ground) prong from the power cord.
For personal safety, this appfiance must be properly grounded.
ge.com
The power cord of this appliance is equipped
with a 3-prong (grounding) plug which mates
with a standard 3-prong (grounding) wall outlet
to minimize the possibility of electric shock
hazard from this appliance.
Have the wall outlet and circuit checked by a
qualified electrician to make sm'e the outlet is
properly grotmded.
If w)u have only a standard 2-prong wall outlet,
it is w)ur personal respoi_sibility and obligation
to have it replaced with a properly grounded
3-prong wall outlet.
The wine chiller should always be phlgged into
its own individual electrical outlet which has
a w)ltage rating that nmtches the rating plate.
This provides the best perfln'mance and also
prevents overloading house wiring circtfits which
cotfld cause a fire hazard fl'om overheated wires.
Never tmphlg yore" wine chiller by ptflling on
the power cord. Always grip pltlg firmly and
ptfll straight out from the outlet.
Repair or replace immediately all power cords
that have become fl'aved or otherwise damaged,
Do not use a cord that shows cracks or abrasion
damage along its length or at either end.
When moving the wine chiller away ti'om the
wall, be careflfl not to roll over or damage the
power cord.
READANDFOLLOWTHISSAFETYINFORMATIONCAREFULLY.
SAVETHESEINSTRUCTIONS
3
Installingthewine chiller.
Removing the Packaging
Before using the wine chiller, be sure all packing materials and tape have been removed,
including the protective film covering the control and any film protecting the cabinet.
If you are discarding an old refrigeration product, remove the doors to reduce the danger
of children being trapped inside.
Installation Guidelines
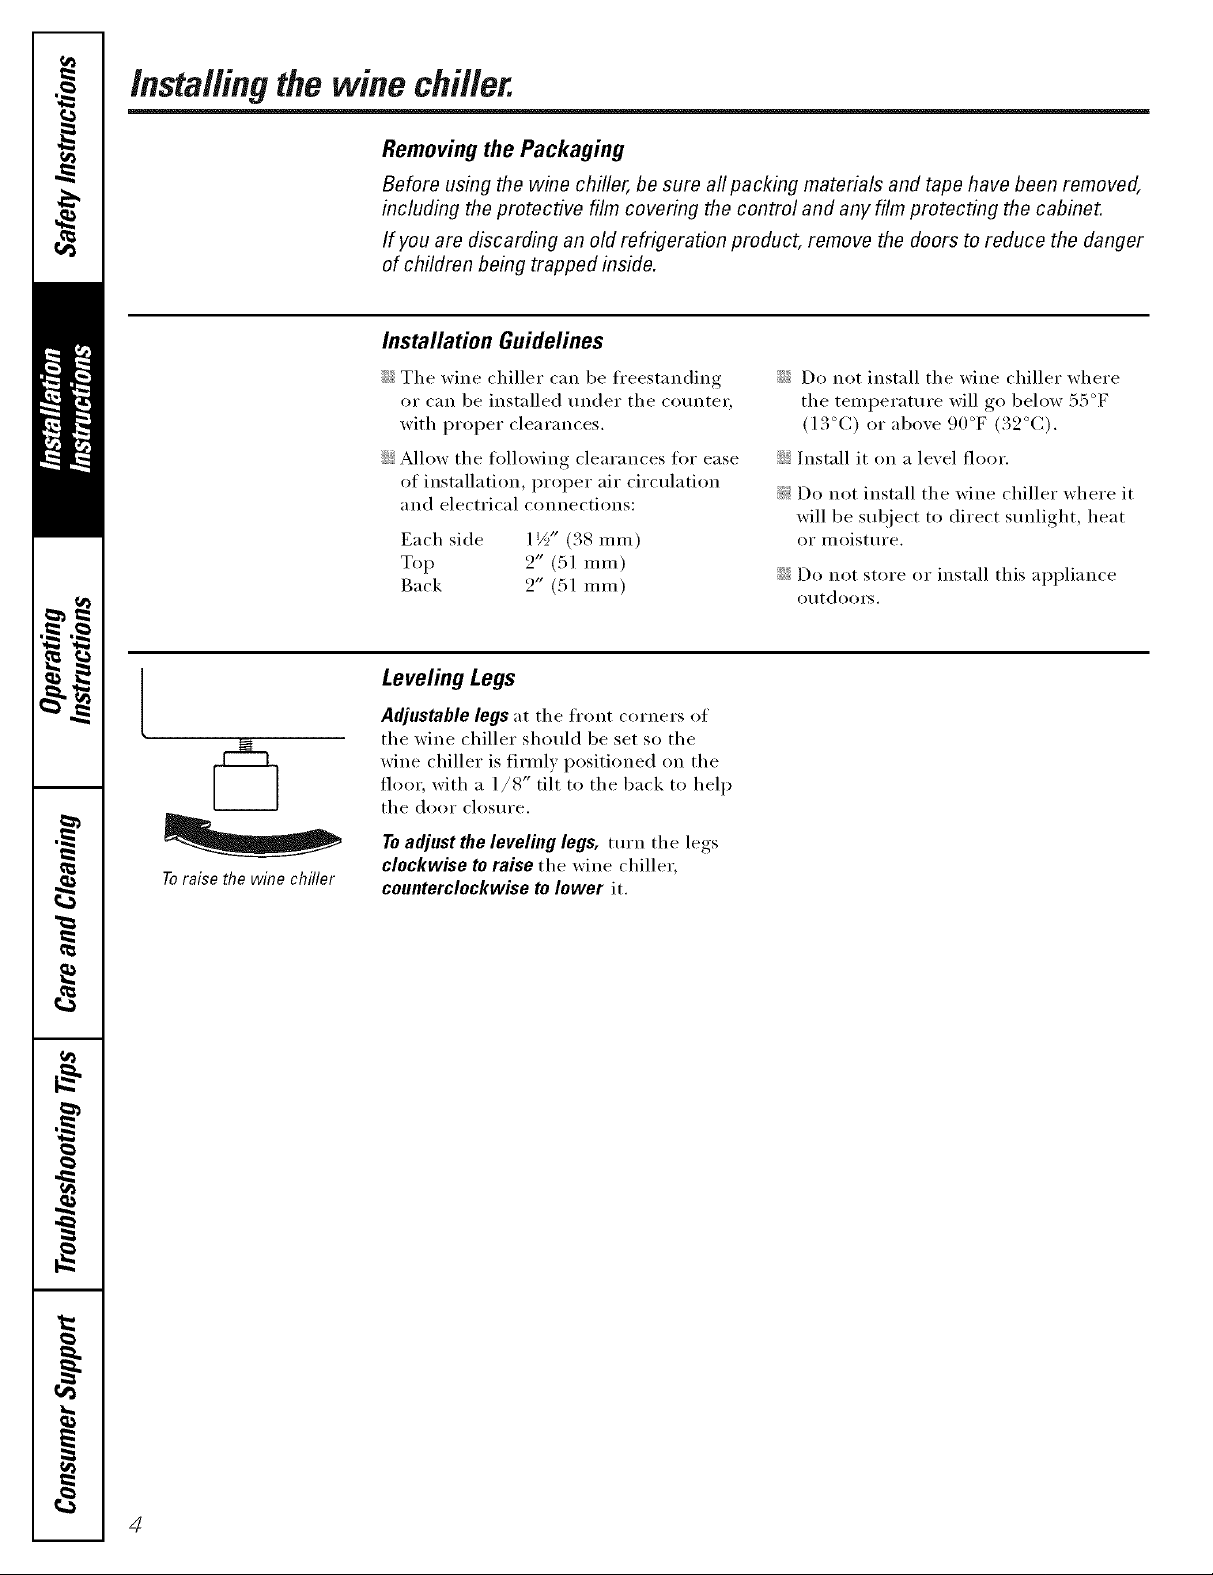
Toraise the wine chiller
::Ji::The wine chiller can be fl'eestanding
or can be installed under the counter,
with proper clearances.
::Ji::Allow tile fl)lh)wing clearances fin" ease
of installation, proper air circulation
and electrical connections:
Each side llA" (38 ram)
Top 2" (51 ram)
Back 2" (51 ram)
Leveling Legs
Adjustable legs at tile front corners at
tile wine chiller should be set so tile
wine chiller is firmly positioned on the
flora; with a 1/8" tilt to the back to hel I)
tile door closure.
7"0adjustthe leveling legs, mrn tile legs
clockwise toraise tile wine chilleI;
counterclockwisetolower it.
::Ji::Do not install tile wine chiller where
tile temperature will go beh)w 55°F
(13°(7) or above 90°F (32°C).
::Ji::Install it on a level floor.
_: Do not install tile wine chiller where it
will be subject to direct s/mlight, heat
or i/loisttlre.
::Ji::Do not store {)I"install this appliance
otltdooI's.
4
Aboutthe contro/andsettings, ge.co,,
ControlSettings
The controls give you three setting options.
RED WINE--Use hn" the storage ot red wines.
This setting will provide a storage teillperattli'e
of 55°F (l 3°C), which is optinnun for the
storage of red wine.
WHITEWINE--Use for the storage of white
wines. This setting will provide a storage
temperatm'e of 45°F (7°C), which is optimum
for the storage of white wine.
CUSTOM TEMP--This setting allows you to
customize the temperature when storing both
red and white wines. The custom temperature
can be set anywhere between 40 ° to 65°F
(4 ° to 18°C). The recommended temperature
when storing half red wine and half white
wine is 50°F (10°C).
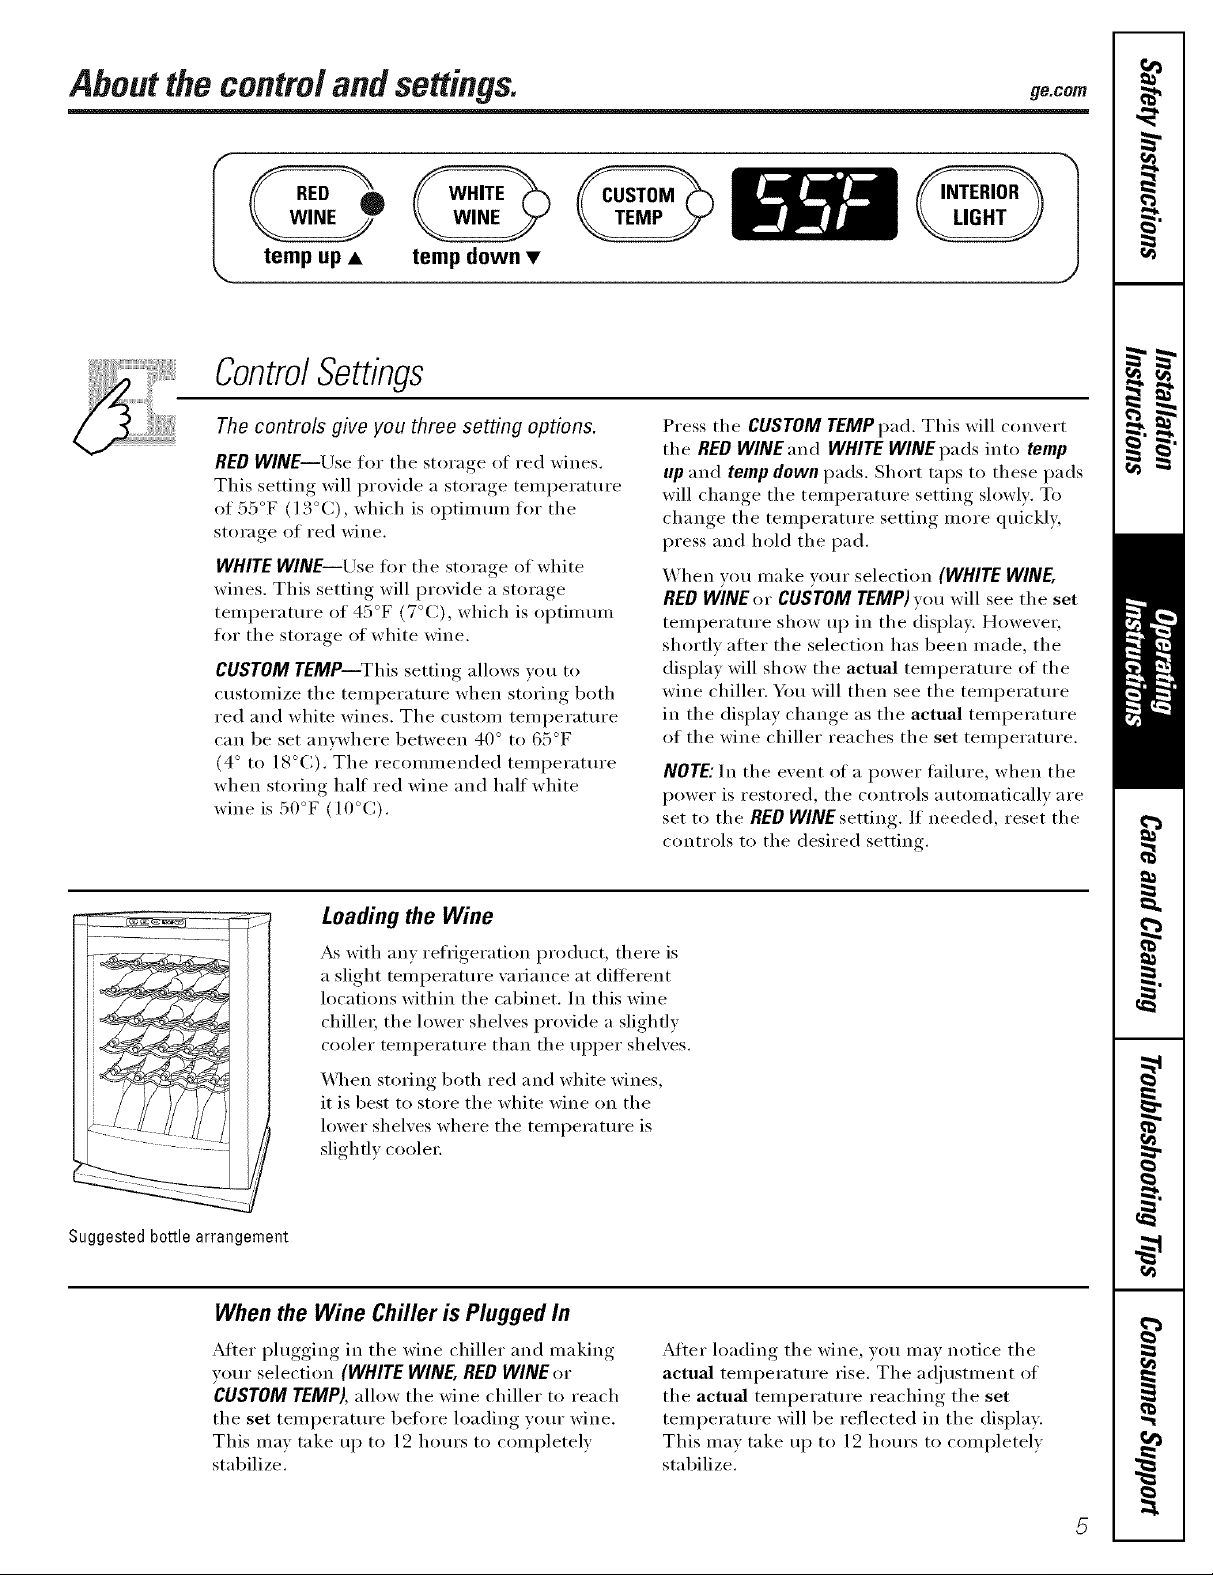
Loading the Wine
_s with any refrigeration l)rodu(t, there is
a slight temperature variance at (litterent
locations within the cabinet. In this wine
chille_; the lower shelves provide a slightly
cooler temperature than the ul)per shelves.
Press the CUSTOMTEMPpad. This will convert
the RED WlNE and WHITE WlNE pads into temp
up and temp down pads. Short taps to these pads
will change the temperature setting slowly. To
change the temperature setting more quickl>
press and hold the pad.
When you make your selection (WHITE WINE
RED WINEor CUSTOMTEMP)you will see the set
temperature show up in the display. However,
shortly alter the selection has been made, the
display will show the actual temperatm'e of the
wine chiller. You will then see the temperatm'e
in the display change as the actual temperattu'e
of the wine chiller reaches the set temperature.
NOTE; In the event of a power taihu'e, when the
power is restored, the controls automatically are
set to the RED WINE setting, If needed, reset the
controls to the desired setting.
. j/i
Suggested bottle arrangement
When the Wine Chiller is Plugged In
After I)lugging in the wine chiller and making
your selection (WHITE WINE, RED WINE or
CUSTOM TEMP), allow the wine chiller to reach
the set teml)eramre before hmding y(mr wine.
This may take up to 12 horn's to completely
stabilize.
X_]_en storing both red and white wines,
it is best to store the white wine on the
lower shelves where the temperature is
slightly coole_:
After loading the wine, you may notice the
actual temperature rise. The ac!justment of
the actual temperature reaching the set
temperatm'e will be reflected in the display:
This mav take up to 12 horn's to completely
stabilize.
 Loading...