

Page 1
Installation GuideGE
Lighting
®
Tetra
LED ARCHITECTURAL SERIES
Product Codes
94900, 94983, 65463, 65464, 75547, 75548, 75549, 75550, 75551, 75552
PowerGrid
LED System Features
• Certied to UL 2108
• Low-Voltage Luminaire (24 VDC)
• IP52, dry or damp location rated: 75547, 75548, 75549,
75550, 75551, and 75552
• IP54, dry or damp location rated: 94900, 94983,
65463 and 65464
• Compatible with 24 Volt GE LED Drivers
• Dimmable with GE 0-10V Dimming LED Driver or
GE Dimming Module and compatible dimming controller
For use in the following applications
• Backlighting
• Illuminated Walls or Ceilings
Save These Instructions
This product is intended solely for the use of nonresidential architecture lighting and is not intended for
use in any other applications.
BEFORE YOU BEGIN
Read these instructions completely and carefully
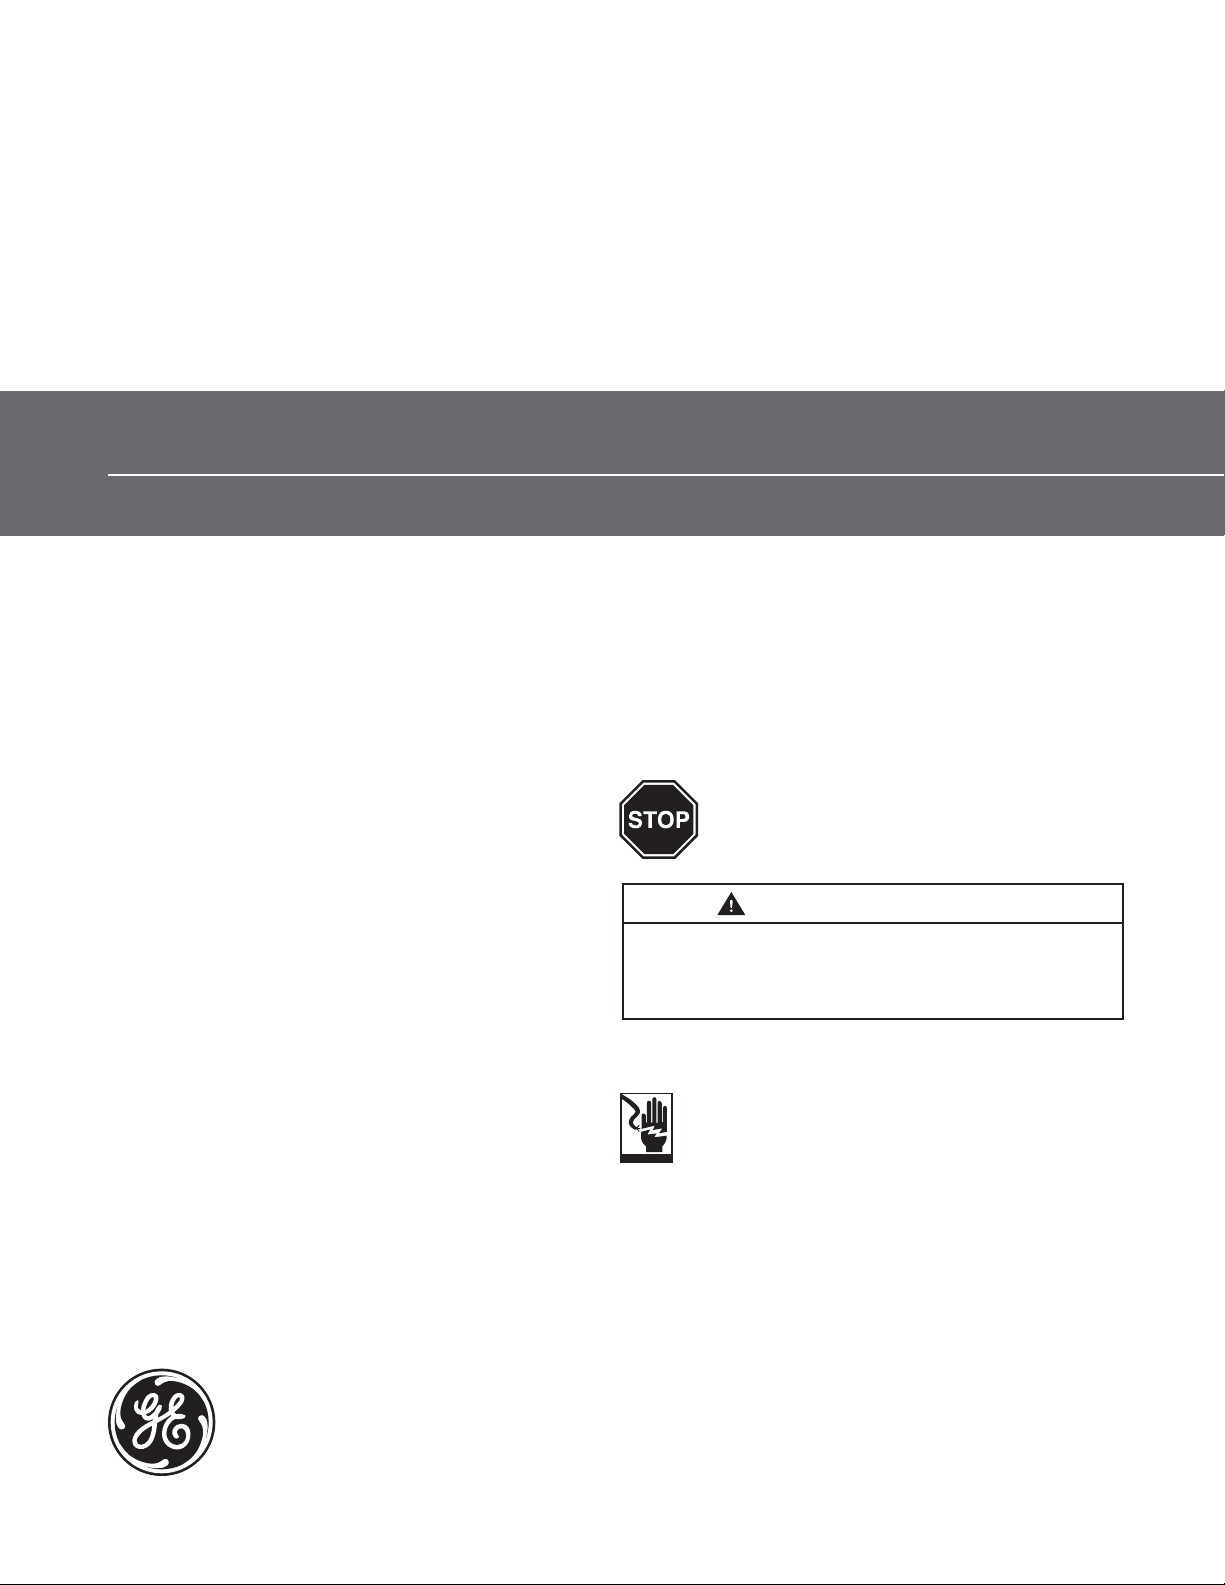
WARNING/AVERTISSEMENT
Risk of electrical shock. Disconnect power before servicing or
installing product.
Risque de choc électrique. Couper l’alimentation avant le
dépannage ou avant l’installation du produit.
Prepare Electrical Wiring
Electrical Requirements
• Do not use in wet locations.
• The grounding and bonding of the LED Driver shall be
done in accordance with National Electric Code (NEC)
Article 600.
• Follow all National Electric Codes (NEC) and local codes.
imagination at work
Page 2

Determine Layout
Determine total number of modules needed to populate the application
1
area based on width and height. Refer to estimating charts below.
B
NOTE:
For optimal light uniformity, application depth should be a minimum
of 3 inches (76 mm) for Generation 2 SKUs (94900, 94983, 65463 and
65464) and 5 inches (127 mm) for Generation 1 SKUs (75547, 75548,
75549, 75550, 75551, and 75552). A mock-up using the PowerGrid
module and panel to be illuminated is highly recommended.
Total number of modules required based on height and width:
Horizontal width in FEET (B)
1 2 3 4 5 6 7 8 9 10 11 12 13 14 15 16 17 18 19 20 21 22
1 2 3 4 5 6 7 8 9 10 11 12 13 14 15 16 17 18 19 20 21 22
1
3 6 9 12 15 18 21 24 27 30 33 36 39 42 45 48 51 54 57 60 63 66
2
4 8 12 16 20 24 28 32 36 40 44 48 52 56 60 64 68 72 76 80 84 88
3
6 12 18 24 30 36 42 48 54 60 66 72 78 84 90 96 102 108 114 120 126 132
4
7 14 21 28 35 42 49 56 63 70 77 84 91 98 105 112 119 126 133 140 147 154
5
9 18 27 36 45 54 63 72 81 90 99 108 117 126 135 144 153 162 171 180 189 198
6
10 20 30 40 50 60 70 80 90 100 110 120 130 140 150 160 170 180 190 200 210 220
7
12 24 36 48 60 72 84 96 108 120 132 144 156 168 180 192 204 216 228 240 252 264
8
13 26 39 52 65 78 91 104 117 130 143 156 169 182 195 208 221 234 247 260 273 286
9
15 30 45 60 75 90 105 120 135 150 165 180 195 210 225 240 255 270 285 300 315 330
10
Vertical height in FEET (A)Vertical height in METERS (A)
16 32 48 64 80 96 112 128 144 160 176 192 208 224 240 256 272 288 304 320 336 352
11
18 35 54 72 90 108 126 144 162 180 198 216 234 252 270 288 306 324 342 360 375 396
12
A
Horizontal width in METERS (B)
0.25 0.50 0.75 1.00 1.25 1.50 1.75 2.00 2.25 2.50 2.75 3.00 3.25 3.50 3.75 4.00 4.25 4.50 4.75 5.00
0.25
1 1 2 3 4 5 5 6 7 8 9 10 11 11 12 13 14 14 15 16
0.50
2 2 4 6 8 10 10 12 14 16 18 20 20 22 24 26 28 28 30 32
0.75
4 44 8 12 16 20 20 24 28 32 36 40 40 44 48 52 56 56 60 64
1.00
5 5 10 15 20 25 25 30 35 40 45 50 50 55 60 65 70 70 75 80
1.25
6 6 12 18 24 30 30 36 42 48 54 60 60 66 72 78 84 84 90 96
1.50
7 7 14 21 28 35 35 42 49 56 63 70 70 77 84 91 98 98 105 112
1.75
8 8 16 24 32 40 40 48 56 64 72 80 80 88 96 104 112 112 120 128
2.00
10 10 20 30 40 50 50 60 70 80 90 100 100 110 120 130 140 140 150 160
2.25
11 11 22 33 44 55 55 66 77 88 99 119 119 121 132 143 154 154 165 176
2.50
12 12 24 36 48 60 60 72 84 96 108 120 120 132 144 156 168 168 180 192
2.75
13 13 26 39 52 65 65 78 91 104 117 130 130 143 156 169 182 182 195 208
3.00
15 15 30 45 60 75 75 90 105 120 135 150 150 165 180 195 210 210 225 240
Page 3

Using the diagram below as an estimation guide, begin cutting strings of modules to create 8-inch (203 mm) tall
2
rows and 12-inch (305 mm) wide columns.
Modules should be 2 inches (51 mm) from the edge of the application with 2.77 inches (70 mm) between
each column.
tall rows
8” (203 mm)
12” (305 mm)
wide columns
2.77” (70 mm)
between
columns
2” (51 mm)
from edge
Typical layout
2” (51 mm)
from edge
Install Modules
Lay modules into the application at least 2 inches
1 2
(51 mm) from the edges.
Fasten down each module with at least one screw
in the center hole or two opposing sides.
2.77” (70 mm)
between columns
2” (51 mm)
from edge
Start another row with 2.77-inch (70 mm) spacing
between the module strings.
Continue this process until the entire application is
populated with modules.
Page 4

Electrical Connections
Strip the ends of the wire 1/2-inch (13 mm) on the
1
modules (white and red) of adjacent columns that
you want to connect.
Use UL approved wire connectors (twist-on or
2
in-line connectors) and 18 AWG (0.82 mm2) wire to
connect the corresponding wires.
Strip the end of the wire 1/2-inch (13 mm) on the
3
rst column of modules and connect to the output
of the LED Driver. Output connections must be
red-to-red and white-to-black.
Refer to the LED Driver Installation Instructions for
4
more information on connecting the LED Driver.
LED Driver Wire connections Cap all unused wires
Loading Chart
LED Driver Minimum Loading Maximum Loading
79045 (GE080/MV/D24T1-A) 1 Module 21 Modules/14 ft. (4.27m)
67825 (GEPS24-100UGL-IP) 1 Module 24 Modules/16 ft. (4.88m)
62189 (GE180/MV/24T1-C) 1 Module 22 Modules/14.75 ft. (4.47m) per Bank; 44 Modules/29.5 ft. (8.94m) per Driver
Remote Mounting Distance
LED Driver
67825 (GEPS24-100UGL-IP)
62189 (GE180/MV/V24T1-C)
79045 (GE080/MV/D24T1-A)
18 AWG/0.82 mm
Supply Wire
1-30 ft. (0.3-9.1m) 1-50 ft. (0.3-15.2m) 1-80 ft. (0.3-24.4m) 1-120 ft. (0.3-36.6m)
2
16 AWG/1.31 mm
Supply Wire
2
14 AWG/2.08 mm
Supply Wire
2
12 AWG/3.31 mm
2
Supply Wire
Troubleshooting
Symptom
Row of modules does not light
All modules do not light
Individual modules do not light
Modules are dim
This device complies with Part 15 of the FCC Rules. Operation is subject to the following two conditions: (1) This device may not cause harmful interference,
and (2) this device must accept any interference received, including interference that may cause undesired operation. This Class [A] RFLD complies with the
Canadian standard ICES-003. Ce DEFR de la classe [ A ] est conforme á la NMB-003 du Canada.
Note: This equipment has been tested and found to comply with the limits for a Class A digital device, pursuant to part 15 of the FCC Rules. These limits are
designed to provide reasonable protection against harmful interference when the equipment is operated in a commercial environment. This equipment generates, uses, and can radiate radio frequency energy and, if not installed and used in accordance with the instruction manual, may cause harmful interference to radio communications. Operation of this equipment in a residential area is likely to cause harmful interference in which case the user will be required
to correct the interference at his own expense.
Solution
• Check wire connections to LED Driver to ensure red-to-red and white-to-white connections.
• Check row-to-row polarity connections.
• Check input voltage and check LED Driver input/output connections.
• Check wire connection attachment and polarity of wires.
• Ensure the overall length of modules does not exceed the maximum load for the LED Driver.
• Ensure the length of the supply wire is equal to or below the recommended remote mounting
distance (see remote mounting distance chart above).
GE Lighting • 1-888-MY-GE-LED
GE Lighting Solutions, LLC is a subsidiary of the General Electric Company. Tetra is a trademark of GE Lighting. The GE brand and logo are trademarks of the General Electric Company.
© 2014 GE Lighting Solutions, LLC. Information provided is subject to change without notice. All values are design or typical values when measured under laboratory conditions.
(1-888-69-43-533)
• www.gelighting.com
ARCH015-R110614
GEH-5988 35-201578-180
 Loading...