

GE EWA4000B9WW, EWA4000B0WW Owner’s Manual
GEApp/iances.com
Safety Instruaio_ .......... 2
Operating Instruotions
Clothes Care Cycles ........... 5
Controls ................... o
Controls Features ............ 6
Cycle Options ............... 7
Loading and Using
the _J\hsher ............... 9, 10
One Touch C,vcles .......... 3, 4
Other Features .............. 7
_¢\hsher Features ............ 5-8
Troubleshooting Tips ..... 11-14
Consumer Support
Consumer Support . . . Back (:over
Warrant},' .................. 15
EWA 4000
Write the model and serial
numbers here:
Model #
Serial #
You can find them in the
upper right corner on the
back of wmr washer.
175D1807P387 49-90124 12-07 Jl_
IMPORTANTSAFETYINFORMATION.
READALLINSTRUCTIONSBEFOREUSING.
WARNING! Foryoursafe theinformationinthismanualmustbefollowedtominimizetherisk
of fire or explosion, electric shock, or to prevent property damage, personal injury,
or loss of life.
WATERHEATERSAFETY
Under certain conditions hydrogen gas may be produced in a water heater that has not been used for two weeks
or more. Hydrogen gas can be explosive under these circumstances.
If the hot water has not been ttsed fin" two x_eks or more, prevent the possibility of damage or iqjm Tby turning
on all hot x_ter fimcets and allowing them to run fin" several minutes. Do this befin'e using any electrical
appliance which is connected to the hot water system. This simple procedure will allow any built-u l) hydrogen
gas to escape. Since the gas is flammable, do not smoke or tt_;ean open flanle or appliance dunng this process.
PROPERINSTALLAtiON
This washer must be properly installed and located in accordance with the Installation Instructions before it
is used. ff you did not receive an Installation Instructions shee_ you can receive one by visiting GEAppliances.cem,
%
or by calling 800.GE.CARE$(800.432.2737).
• Install or store M_ere it will not be exposed to
temperatures below fl'eezing or exposed to the
wear]let.
• Remove the colored protective fihn fi'om the
control panel,
• Properly ground _asher to confi)rm _ith all
goxeming codes and ordinances. Follo_ details
in Installation Instructions.
YOURLAUNDRYAREA
• Keep tile area underneath and around _otu"
appliances fl'ee of combustible materials such as
lint, paper; rags, chemicals, etc.
• Close sui)ervision is necessary if this appliance is
used b'_ or near children. Do not allow children to
pla) on, with or inside this c,r an) other appliance.
Use this
appliance
only for its
intended
purpose as
described in
this Owner's
Manual.
WHENUSINGTHEWASHER
• Never reach into washer while it is moving,. Wait
until the machine has completely stopped before
opening the lid.
Do not mix chlorine bleach with ammonia or
acids such as vinegar and/or rust remover Mi_ng
different chemicals can produce a toxic gas which
may cause death.
Do not x_:_shor d_y articles that have been cleaned
in, washed in, soaked in, or spotted with combustible
or explosive substances (such as wax, oil, paint,
gasoline, degreasers, d_T-cleaning solvents, kerosene,
etc.) _hich _l)r ig_3im or explode. Do not add these
substances to the _Jsh _lte_: Do not use or place
these substances around your washer or (hTer
during operation,
WHENNOTINUSE
• Turn off water faucets to relieve pressure on hoses
and \_flves and to minimize leakage if a break or
rulxure should occm: Check the condition ot the
fill hoses; they should be replaced every 5 vea_s.
• Before discarding a washe_; or removing it fl'om
service, remove the washer lid to prevent children
fl'om hiding inside.
• The latm&y process can reduce the flame reta_dancy
oftiJbfics. To avoid such a result, carefiflly fi_llow the
garment mantdiJcturer's wash and care instructions.
• To minimize the possibiliD, of electric shock,
tmI)lug this appliance fl'om the power supi)ly
or disconnect the washer at the household
distribution panel by removing the Rise or
switching off the drcuit breaker before attempting
any maintenance or cleaning. NOTE."Pressing
START or STOP does NOYdisconnect the
appliance fl'om the power sui)pl >
• Never attempt to operate rids appliance if it is
damaged, malfunctioning, partiall} disassembled,
or has missing or broken parts, including a
damaged cord or plug.
Do not attempt to repmr or replace any part of
this appliance unless specifically recommended in
this Owner's Manual, or in published use>repair
instruct.ions that w_u trade,stand and have the
skills to carry out.
Do not tamper with controls.
INFORMAtiONCAREFULLY.
SAgE TttESE INSTRUCTIONS
READANDFOLLOWTHISSAFETY
Easy ONE TOUCHCycles. GEAppliances.com
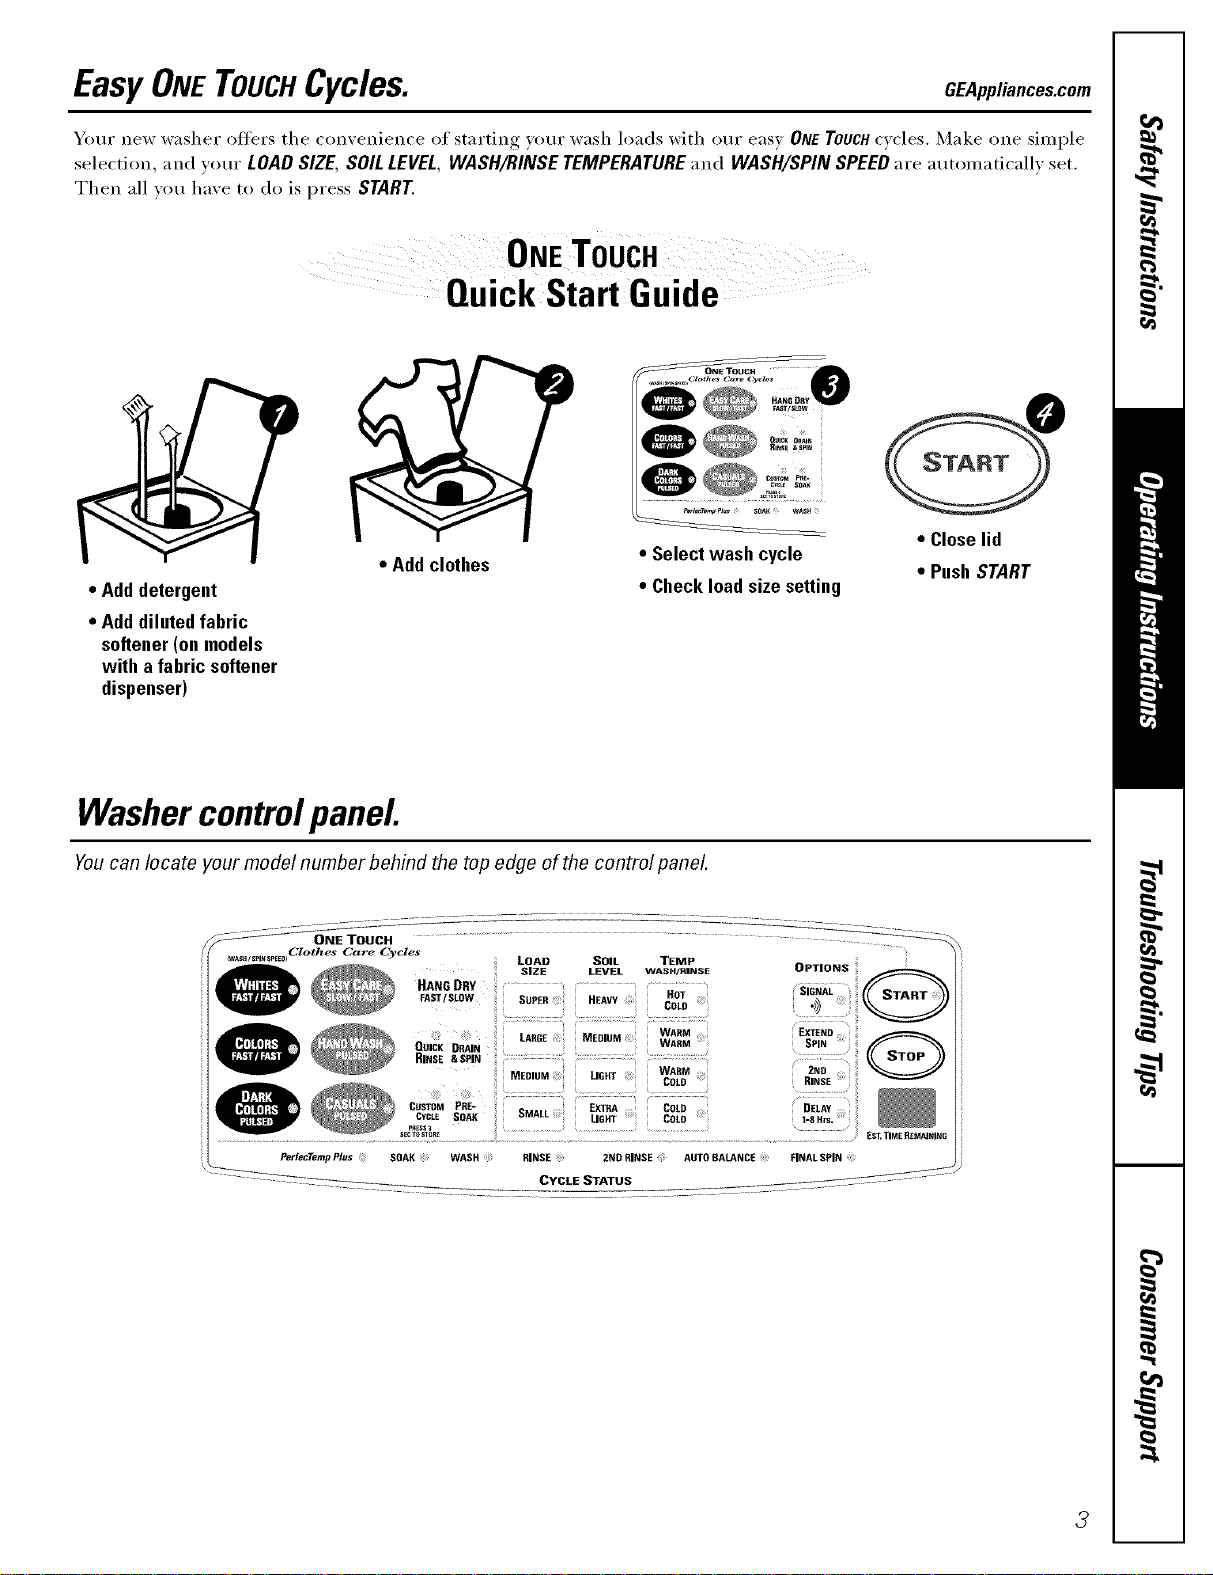
Your new washer offers the convenience of starting _our wash loads with our eas_ ONETOUCHcycles. Make one simple
selection, and _'OllI" LOAD SIZE SOIL LEVEL, WASH/RINSE TEMPERATURE and WASH/SPIN SPEED aye alltoinaticall_ set.
Then all _ou ]Ea'_e to do is press START
ONE TOUCH
O_E TOUCH
s_
• Addclothes
• Add detergent
• Select wash cycle
• Checkloadsizesetting
• Add dilutedfabric
softener(on models
with afabric softener
dispenser)
Washercontrolpanel
Youcan locate your model number behind the top edge of the control panel.
QUICK DRAIN ............
RINSE &SPIN
MEDIUM
LADDE :
MEDIUM WArM EXTENDWAKM SPIN
UGHT WARM 2NO
COLD RINSE
• Closelid
• PushSTART
PerlecTemp Plus SOAK WASH RINSE 2NO RINSE AUTO BALANCE FINAL SPIN
CYCLE STATUS
ES_TIME _MAINING
3
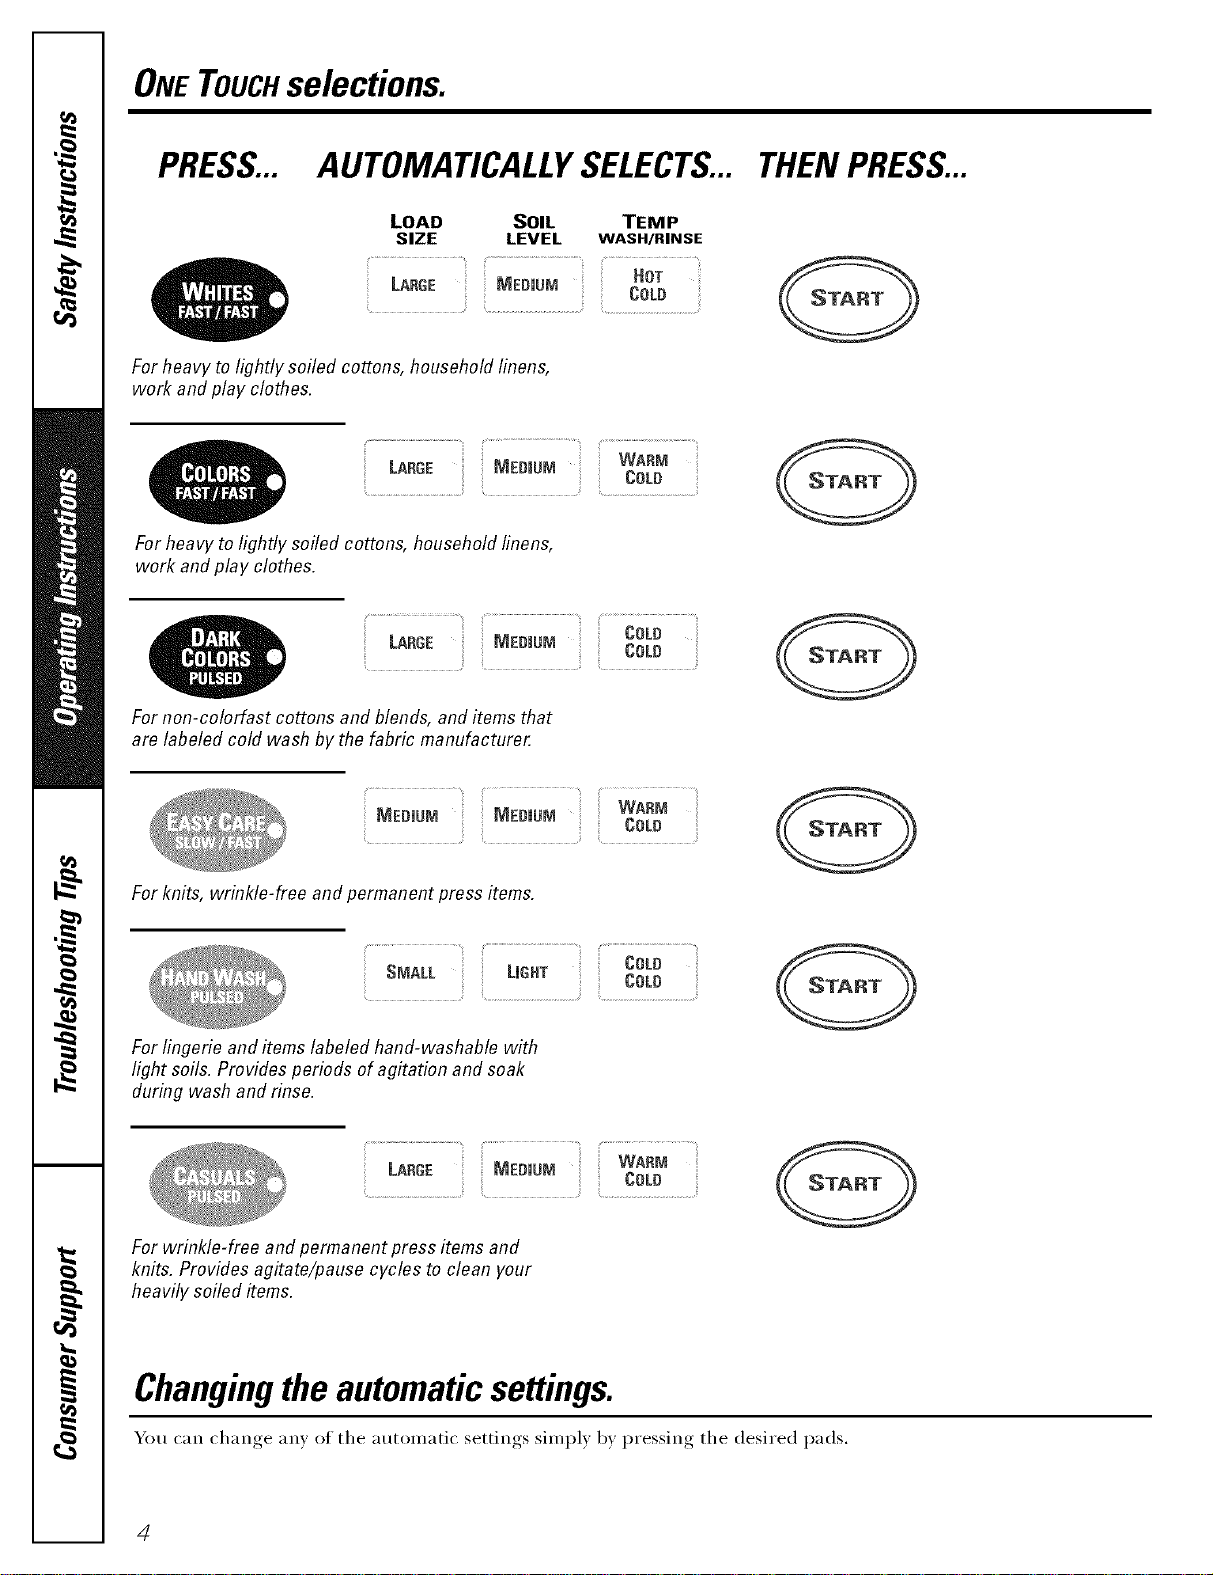
ONE TOUCHselections.
PRESS... AUTOMATICALLYSELECTS...
LOAD SOIL TEM P
SIZE LEVEL WASH/RINSE
..............................................HOT
LARGE ) )NEDiUM COLD
For heavy to lightly soiled cottons, household linens,
work andplay clothes.
Forheavy to lightly soiled cottons, household finens,
work and play clothes.
For non-colorfast cottons and blends, and items that
are labeled cold wash by the fabric manufacturer.
THENPRESS...
MED(UM MED(UM WARM
For knits, wrinkle-free and permanent pressitems.
For lingerie and items labeled hand-washable with
light soils. Provides periods of agitation and soak
during wash and rinse.
For wrinkle-free and permanent press items and
knits. Provides agitate/pause cycles to clean your
heavily soiled #ems.
..... COLD
Changingtheautomaticsettings.
You can chanoe_ anx, of the automatic settings, simplx, 1)x, I)ressin°" _ the desired pads.
4
AboutClothesCare Cycles. GEAppliances.com
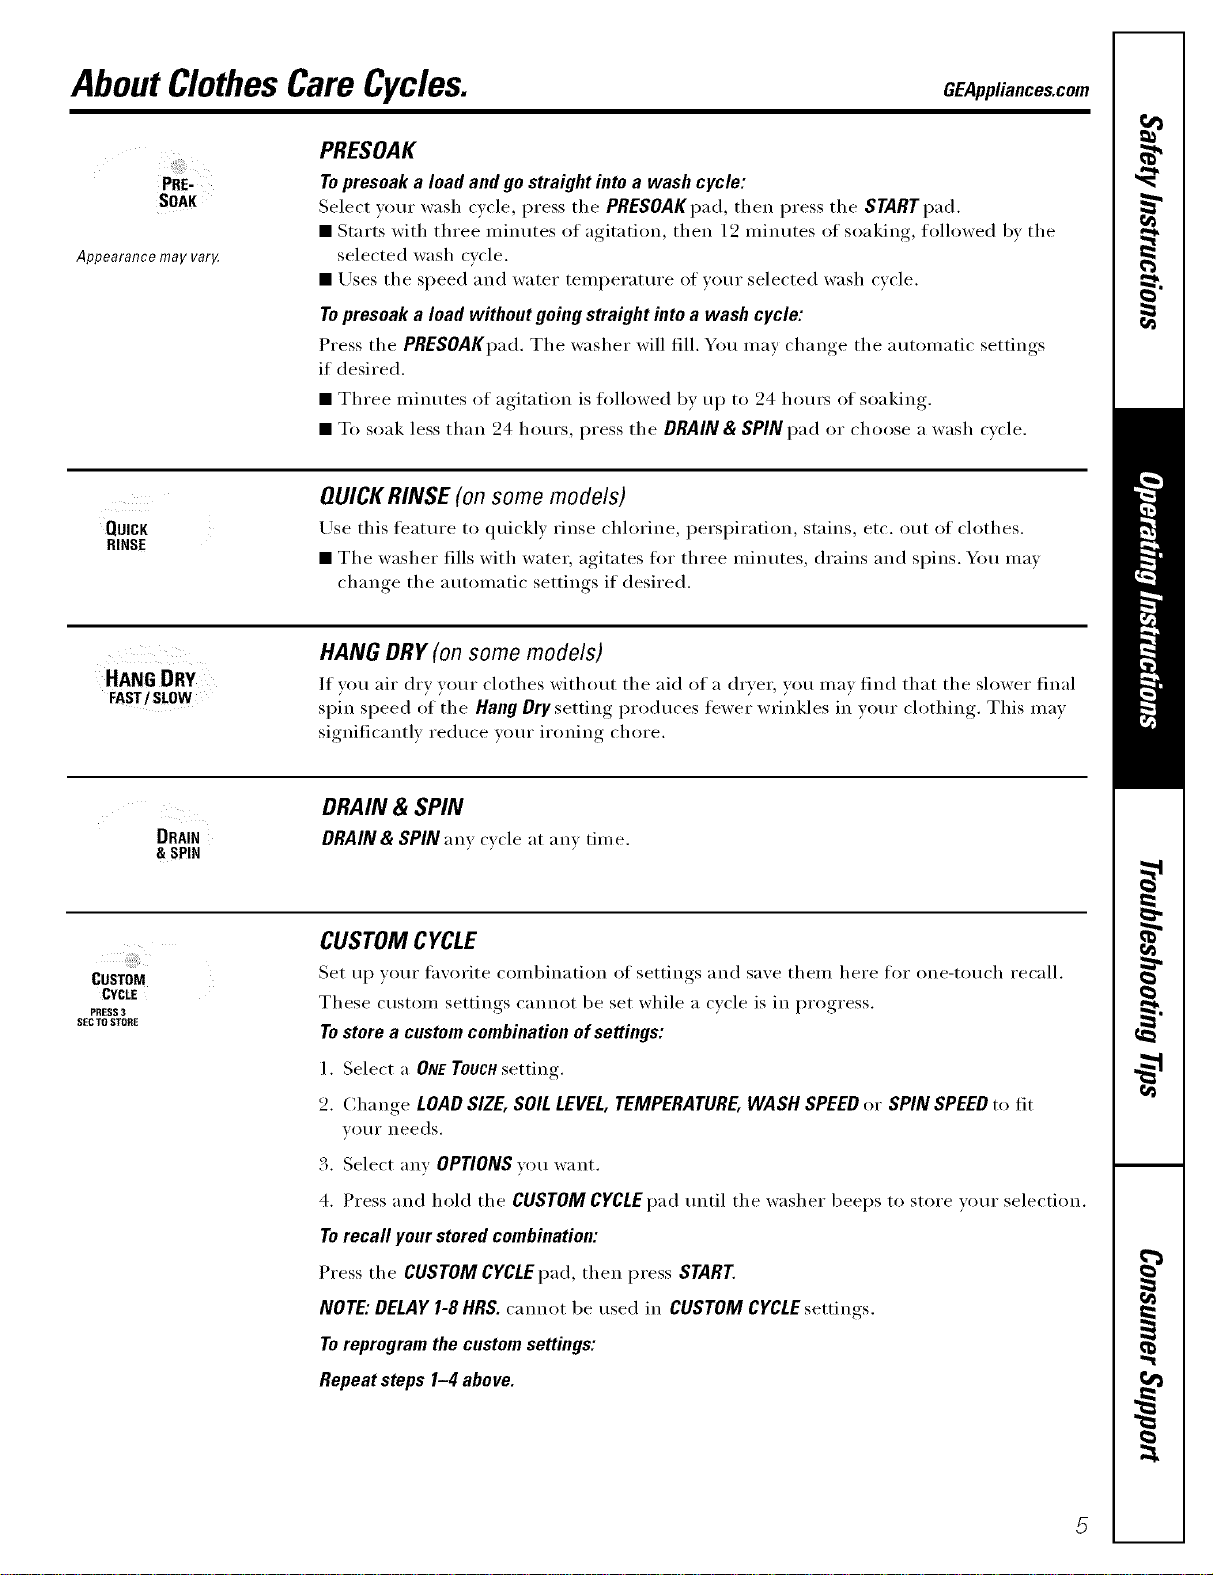
PRESOAK
PRE-
SOAK
Appearance may var,¢
QUICK
RINSE
HANG DRY
FAST/ SLOW
Topresoak a load and go straight into a wash cycle:
Select v(:,ur wash cycle, press the PRESOAK pad, then press the START pad.
• Starts with three ininutes of agitation, then 12 ininutes of soaking, followed bv the
selected wash cycle.
• Uses the speed and water temperatm'e of your selected wash cycle.
Topresoak a load without going straight into a wash cycle:
Press the PRESOAKpad. The washer will till. You may change the automatic settings
if desired.
• Three minutes of agitation is ti)llowed by up to 94 horus of soaking.
• To soak less than 24 hours, press the DRAIN & SPIN pad or choose a wash cycle.
QUICKRINSE (on some models)
Use this featm'e to qtfickly rinse chlorine, perspiration, stains, etc. out of clothes.
• The washer flls with water; agitates ti)r three minutes, drains and spins. You may
change the automatic settings if desired.
HANG DRY (on some models)
It you air dry your clothes without the aid of a dryer, you may fad that the slower fnal
spin speed of the Hang Dry setting produces fewer wrinkles in your clothing. This may
significantly reduce your ironing chore.
CUSTOM
CYCLE
PRESS 3
SECTO STOItE
DRAIN
& SPIN
DRAIN & SPIN
DRAIN & SPIN any c_cle at am tim e.
CUSTOM CYCLE
Set up yore" favorite combination of settings and save them here tot one-touch recall.
These custom settings cannot be set while a cycle is in progress.
Tostore a custom combination of settings:
l. Select a ONETOUCHsetting.
2. Change LOAD SIZE, SOIL LEVEL, TEMPERATURE, WASH SPEED or SPIN SPEED t(>fit
VOIII" needs.
3. Select any OPTIONSyou want.
4. Press and hold the CUSTOM CYCLEpad tmtil the washer beeps to store vom" selection.
Torecall your stored combination:
Press the CUSTOM CYCLEpad, then press START.
NOTE: DELAY I-8 HRS. cannot be used in CUSTOM CYCLEsettings.
Toreprogram the custom settings:
Repeat steps I-4 above.
 Loading...