

GE DCVH515GF2WW, DCVH515GF1WW, DCVH515GF1GG, DCVH515EF0WW, DCVH515EF0GG Owner’s Manual
ge.com
Safety instructions ............ 2-5
Operating Instructions
Control Panels ..................... 6-8
Cycle Options ..................... 9, !0
Dryer Features ...................... !!
Loading and Using
the Dryer ......................... 17, 18
Reversing the Door Swing ........ 12-16
Venting the Dryer ................... 19
Stacking ........................ 20-23
Troubleshooting Tips ........ 24-26
Consumer Support
Consumer Support ......... Back Cover
Warranty .......................... 27
DCVH515
DHDVH52
DBVH512
Write the model and serial
numbers here:
Model #
Serial #
They are on the label on
the front of the drger behind
the door.
175D1807P579 49-90311 09-06 JR
iMPORTANTSAFETYiNFORMATiON.
READALLiNSTRUCTiONSBEFOREUSING.
WARNING!
Foryoursafety,the informationinthis manualmustbe followed to minimize therisk of fire
or explosion,electric shock, ortopreventproperty damage,personalinjury,or death.
• Do notstoreorusegasoline orother
flammable vaporsand liquids in the
vicinityof thisor any other appliance.
• Installationand service mustbeperformed
bya qualified installer,service agency or
the gas supplier.
WHATTODOIF YOUSMELLGAS:
[] Do not try tolight a match,or cigarette, or
turnonanygas or electrical appliance.
[] Do not touch any electrical switch; do not
useanyphone in yourbuilding.
[] Clear theroom,buildingorarea ofall
occupants.
Cafifomia Safe Drinking Water and ToxicEnforcement Act
This act requires the governor of Califimfia to publish a list of substances kno\sn to tile state to catlse cancel;
birth detb'cts or other reproductix e hm'm and requires businesses to warn customel_ of potential exl)osm'e
to StlC]l stlbsti/llCeS.
Gas appliances call cause minor exposure to fl_ur of these substances, namely benzene, carbon mono_ide,
fimnaldehyde and soot, caused primarily b_' tile incomplete combustion of natural gas or LP fl/els,
Pxoperly ac!iusted drye_ will minimize incomplete combustion, EN)osm'e to these substances can be
minimized fllrther by properly venting tile dryer to tile ot/tdoo_,
[]Immediately call,yourgassupplier
froma neighborsphone. Follow the
gassupplier'sinstructionscarefully.
[] ff youcannot reach yourgassupplier,
call the fire department.
2
PROPERINSTALLAtiON
This dryer must be properly installed and located in accordance with the Installation Instructions
%
before it is used. If you did not receive an Installation Instructions sheet, you can receive one by
visiting ge.com, or by calling 800.GECARE$ (800.432.2737).
ge.com
[] Properly ground dryer to confi}nn with all
governing codes and ordinances. Follow details
in Installation Instructions.
[] Install or store where it will not be exposed to
temperatures below fi'eezing or exposed to
the weather:
[] Connect to a properly rated, protected and sized
power supply circuit to a_)id electrical overload.
[] Remove tile colored protective film l/"om both
tile control panel and tile doo,:
[] Remo\v all shaq) packing items and dispose
ot all shipping materials properly.
[] DO Ilot FeIllove tile vent protector ,q'om tile
back of the (hwel:
[] Pull the pxotector out and down to its lowest
position and connect the exhaust duct to the
(h'vel: Tile lowered protector will prevent tile
duct i]'om getting crushed.
Exhaust/Ducting:
_] Drvel_ MUSTbe exhausted to tile outside to
prevent l'u'oe,_ amounts of moisture and lint
fl'om being blown into the room.
] * . . it
[_ t_se ()Ill) ngld metal or flexable metal 4
diameter duct\_ork inside tile (h'_er cabinet or
fkw exha usting to tile (_utside. USE OF PLASTIC
OROTHERCOMBUSTIBLEOUCTWORKCAN
CAUSEA FIREPUNCTUREDBUCTWORKCAN
CAUSEA FIREIFIT COLLAPSESORBECOMES
OTHERWISERESTRICTEDIN USEOROURING
iNSTALLATION.
For complete details, fbllow tile Installation
Instructions.
iMPORTANTSAFETYiNFORMATiON.
READALLiNSTRUCTIONSBEFOREUSING.
k, WARNING!
YOURIAUNDflYAflEA
• Keep the area underneath and around ",'our
appliances fl'ee of combustible materials
(lint, paper; rags, etc.), gasoline, chemicals
and other flammable wq)o_ and liquids.
• Keep the floor around your appliances clean
and dry to reduce the possibility of slipping.
• Close supervision is necessm T if this appliance
is used bv or near children. Do not allow children
to play on, with or inside this or any other
appliance.
WHENUSINGYOURDRYER
• Never reach into the dt_'er while the drum is
moving. Before loading, mfloading or adding
clothes, wait until the drum has completely
stopped.
• Clean the lint filter befin'e each load to prevent
lint accumulation inside the dryer or in the
room. DO NOT OPERATETHE DRYERWITHOUT
THELINT FILTERIN PLACE.
• Do not wash or dr)" articles that have been
cleaned in, washed in, soaked in or spotted
with combustible or explosive substances (such as
wax, oil, paint, gasoline, degreasers, dry-cleaning
solvents, kerosene, etc.) which may ignite or
explode. Do not add these substances to the
wash water Do not use or place these substances
around your washer or dryer during operation.
• Do not place items eN)osed to cooking oils in
wmr (hTe_: Items contaminated with cooking oils
may contribute to a chemical reaction that could
cause a clothes load to catch fire.
• Anv article on which wm have used a cleaning
solvent or that contains flammable materials
(such as cleaning cloths, mops, towels used in
beaut)' salons, restaurants or barber shops, etc.)
m ust not be placed in or near the d_wer until
solvents or flammable materials have been
removed. There are many highly flammable
items used in homes such as acetone, denatured
alcohol, gasoline, kerosene, some household
cleanei_, SOllle spot i'ell/overs, ttli])entines,
WaXes, WaX i'eillovers and pi'o(hlctS containing
petroleum distillates.
• Keep all lmlnd_w aids (such as detergents,
bleaches, etc.) out (ff the reach of chikh'en,
preli_rably in a locked cabinet. Observe all
warnings on container labels to avoid injury.
• Never climb on or stand on the dryer top.
• The laundry process can reduce the flame
retardanc_ of rid)tics. To axoid such a result,
careflllE fi)llow the gmment manufacturer's
eai'e instlllctions.
• Do not dry articles containing rubbe_; plastic,
foam or si_nilar materials such as padded bras,
temfis shoes, galoshes, bath mats, rugs, bibs, baby
pants, plastic bags, pillows, etc., that may melt or
burn. Some rubber materials, when heated, can
under certain drcumstances produce fire by
spont;i neo/is COil/b/istion.
• Do not store plastic, paper or clothing that may
bm_ or melt on top (ff tile dryer during
opei_ltion.
• (;mments labeled OryAway from Heat or Do Not
Tumble Dry (such as life jackets containing kapok)
lit liSt not be put in your (h'vet:
• Do not (h T fiberglass articles in your dryer:
Skin irritation could result fl'om the remaining
particles that may be picked up by clothing
dulJng subsequent dryer rises.
• To minimize the possibility of electric shock,
unphlg this appliance fl'om the power supply
or disccmnect the dryer at the building's
distribution panel b)' removing the fllse or
switching off the circuit breaker befi)re
attempting any maintenance or cleaning
(except the removal and cleaning of the lint
filter). NOTE:Pressing START, STOP or POWER
does NOTdisconnect the appliance fi'om the
power supply.
4
C
WHENUSINGYOURDRYER(cont.)
• Never attempt to operate this appliance if it is
damaged, nmlflmcdoning, partially disassembled,
or has missing or broken parts, including a
damaged cord or plug.
• The interior of the machine and the exhaust
duct connection inside the chyer should be
cleaned at least once a year by a qualified
technidan. See the loadingand Using the Dryor
section.
• If vom_ is a gas (hTe_, it is equipped with an
automatic electric ignition and does not have
a pilot light. DONOTATTEMPT TOLIGHT WITHA
MATCH. Burns may result fr(>m having y(>ur hand
in the vicinity of the burner when the automatic
ignition ttlrns on.
WHENNOTUSINGYOURDRYER
• Grasp the plug firefly when disconnecting this
appliance to avoid damage to the cord while
pulling. Place the cord away from traffic areas
so it will not be stepped on, tripped over or
subjected to damage.
ge.com
• Ybu may Msh to soften your laundered lid)tics
or reduce the static electridtv in them by using
a (hTe_=ai)i)lied rid)tic softener or an anti-static
condifione_; _'e recommend you use either a
lid)tic softener in the wash cycle, according to
the manufi_cturer's instructions for those
products, or t_?' a drye>added product fin.
which the manuemmrer gives written assurance
on the package that their product can be saflqv
used in your (h_'e_: Service or i)erfimnance
problelns caused bv use of these products are
the responsibili D' of the manulhcture_ (ff those
products and are not covered under the warranty
to this appliance.
• Before discarding a (hTe_; or removing it fl'om
se_Mce, remove the (hTer door to prevent
children fi'om hiding inside.
• Do not tamper with controls.
• Do not attempt to repair or replace any part of
this appliance or attempt any se_Mcing unless
specifically recommended in this Owner's Manual
or in i)ublished use>repair instructions that you
understand and have the skills to car_ T out.
READANDFOLLOWTHISSAFETYINFORMATIONCAREFULLY.
SAVETHESEINSTRUCTIONS
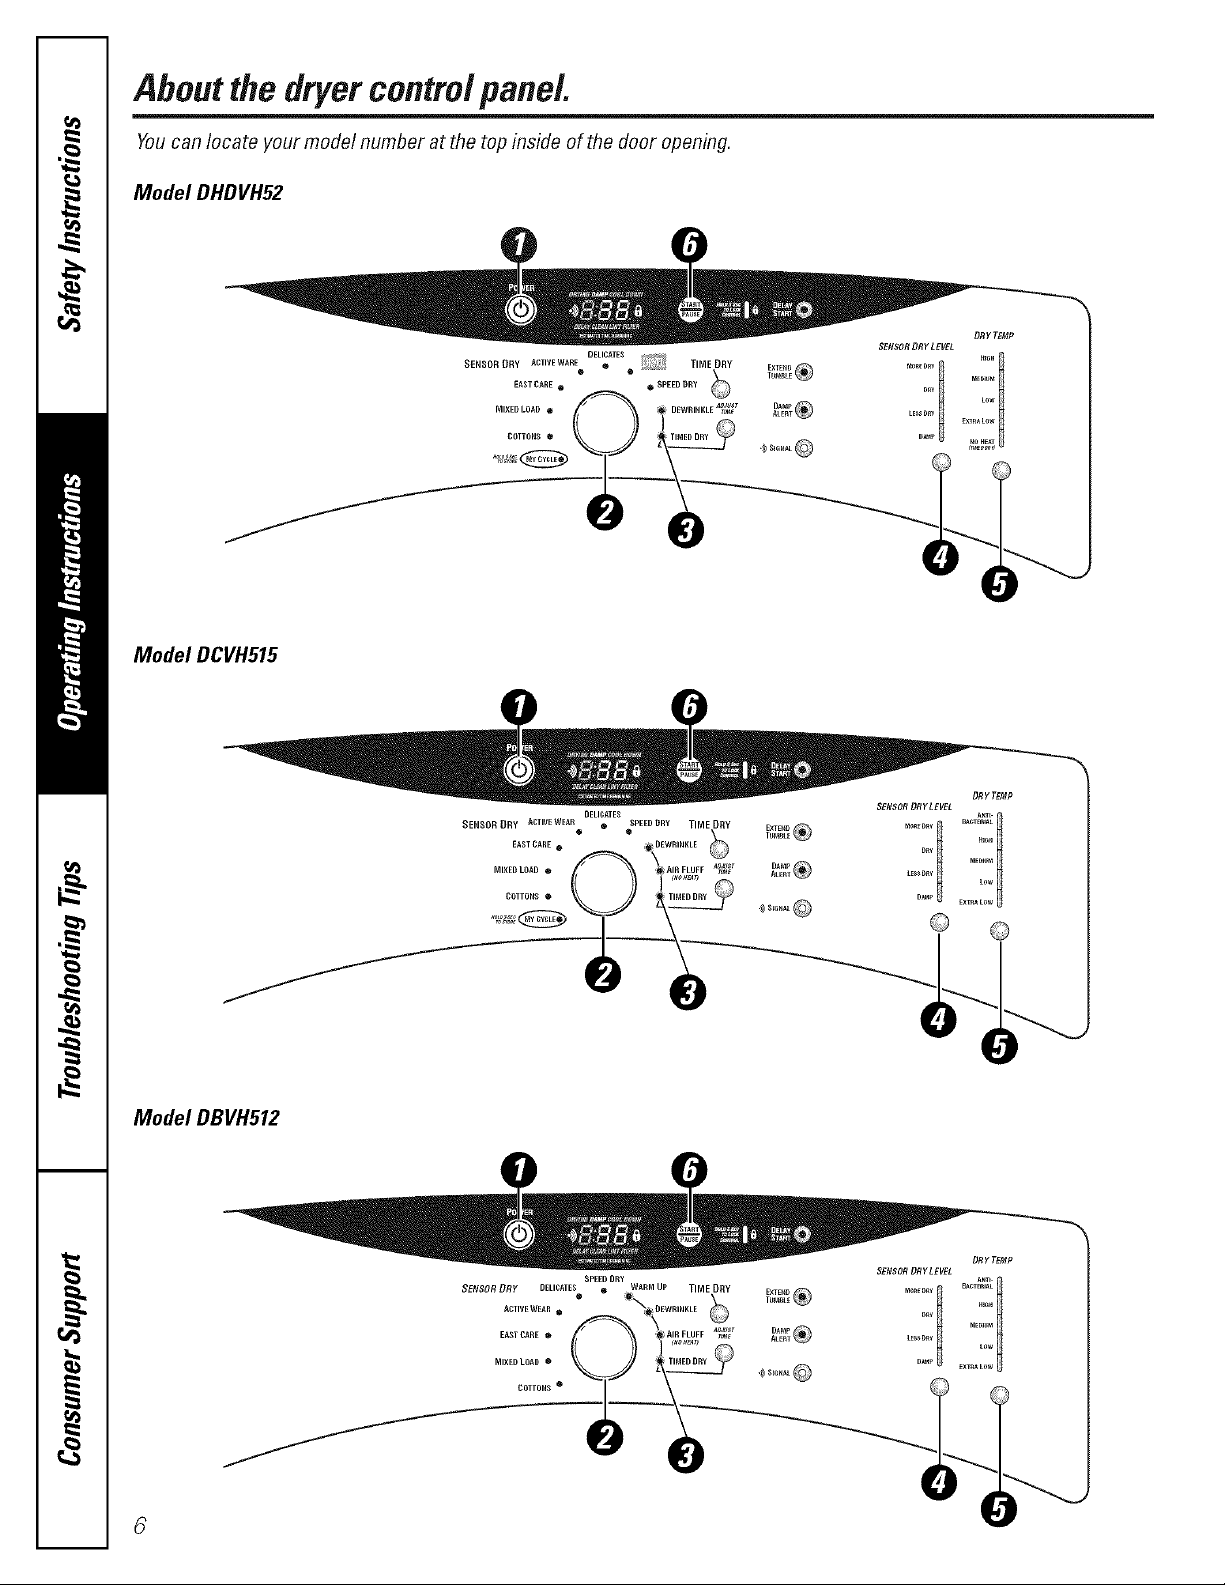
About the dryercontrolpanel.
Youcan locate your model number at the top inside of the door opening.
Model DHDVH52
Model DCVH515
Model DBVH512
COTTOH_ ®
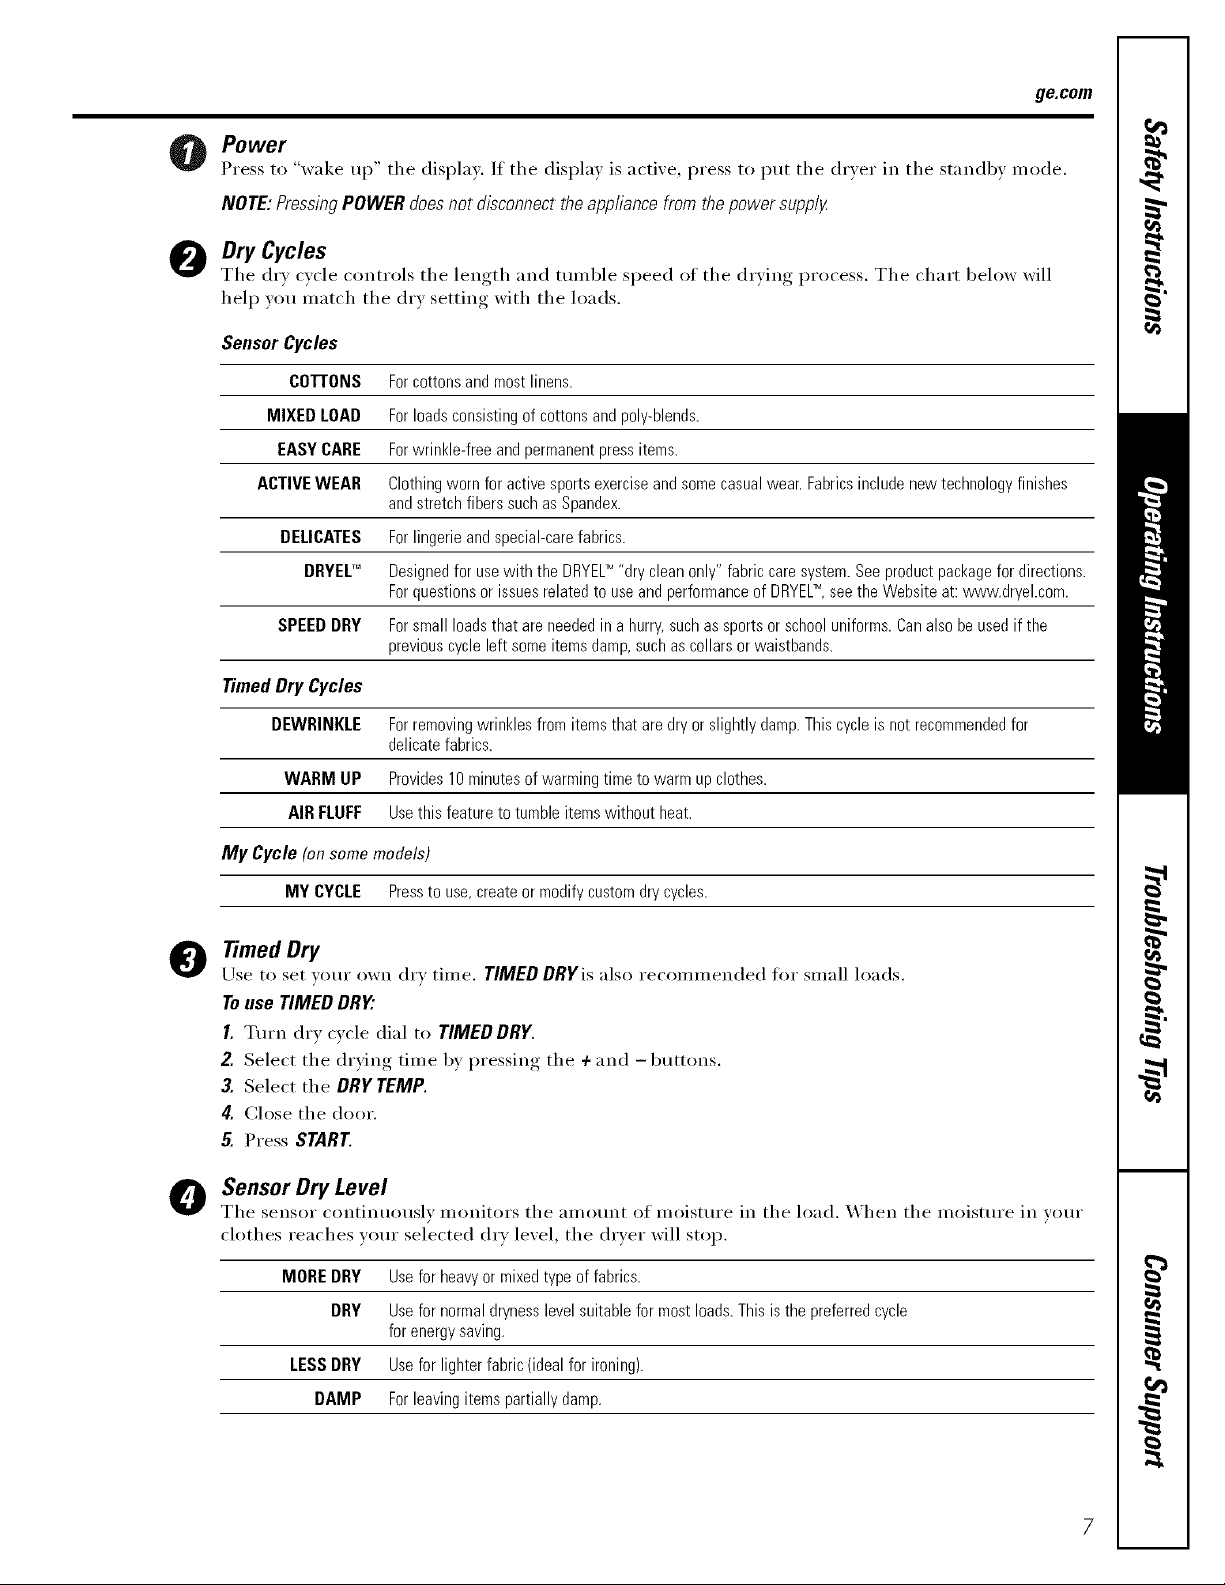
Power
Press to "wake up" the displa). If the displa) is actixe, press to put the drxer in the standby mode.
/VOTE: Pressing POWER does not disconnect the appliance from the power supply
O Dry Cycles
The (h'_ cwle controls the length and tumble speed of the drying process. The chart below will
help )ou match the dr_ setting with the loads.
Sensor Cycles
co'r]'oNs Forcottons and most linens.
MIXED LOAD For loads consisting of cottons and poly-blends.
EASY CARE For wrinkle-free and permanent press items.
ACTIVE WEAR Clothing worn for active sports exercise and some casual wear. Fabrics include new technology finishes
and stretch fibers such as Spandex.
DELICATES For lingerie and special-care fabrics.
DRYELTM Designed for use with the DRYEL_ "dry clean only" fabric care system. See product package for directions.
For questions or issues related to use and performance of DRYEL_, see the Website at: www.dryel.com.
SPEED DRY Forsmall loads that are needed in a hurry, such as sports or school uniforms. Canalso be used if the
previous cycle left some items damp, such as collars or waistbands.
ge.com
Timed Dry Cycles
DEWRINKLE For removing wrinkles from items that are dry or slightly damp. This cycle is not recommended for
WARM UP Provides 10 minutes of warming time to warm up clothes.
AIR FLUFF Use this feature to tumble items without heat.
delicate fabrics.
My Cycle(on some models)
MY CYCLE Press to use, create or modify custom dry cycles.
Timed Dry
0
Use to set your own dry time. TIMED DRYis also recoininended for small loads.
To use TIMED DRY."
I. Turn dry cycle dial t(> TIMED DRY..
2. Select the drying time by pressing the ÷and -buttons,
3. Select the DRY.TEMP,
4. Close the door,
5. Press START
Sensor Dry Level
0
The sensor contintu)usl)' monitors the amount of moisture in the load, When the moisture in your
clothes reaches your selected dry level, the dryer will stop.
MORE DRY Use for heavy or mixed type of fabrics.
DRY Use for normal dryness level suitable for most loads. This is the preferred cycle
for energy saving.
LESS DRY Use for lighter fabric (ideal for ironing).
DAMP For leaving items partially damp.
7
About the dryercontrolpanel.
O Dry Temp
YOu cm_ (h'm-e, _ the temper_mu'e ot }our dr} c_(le.
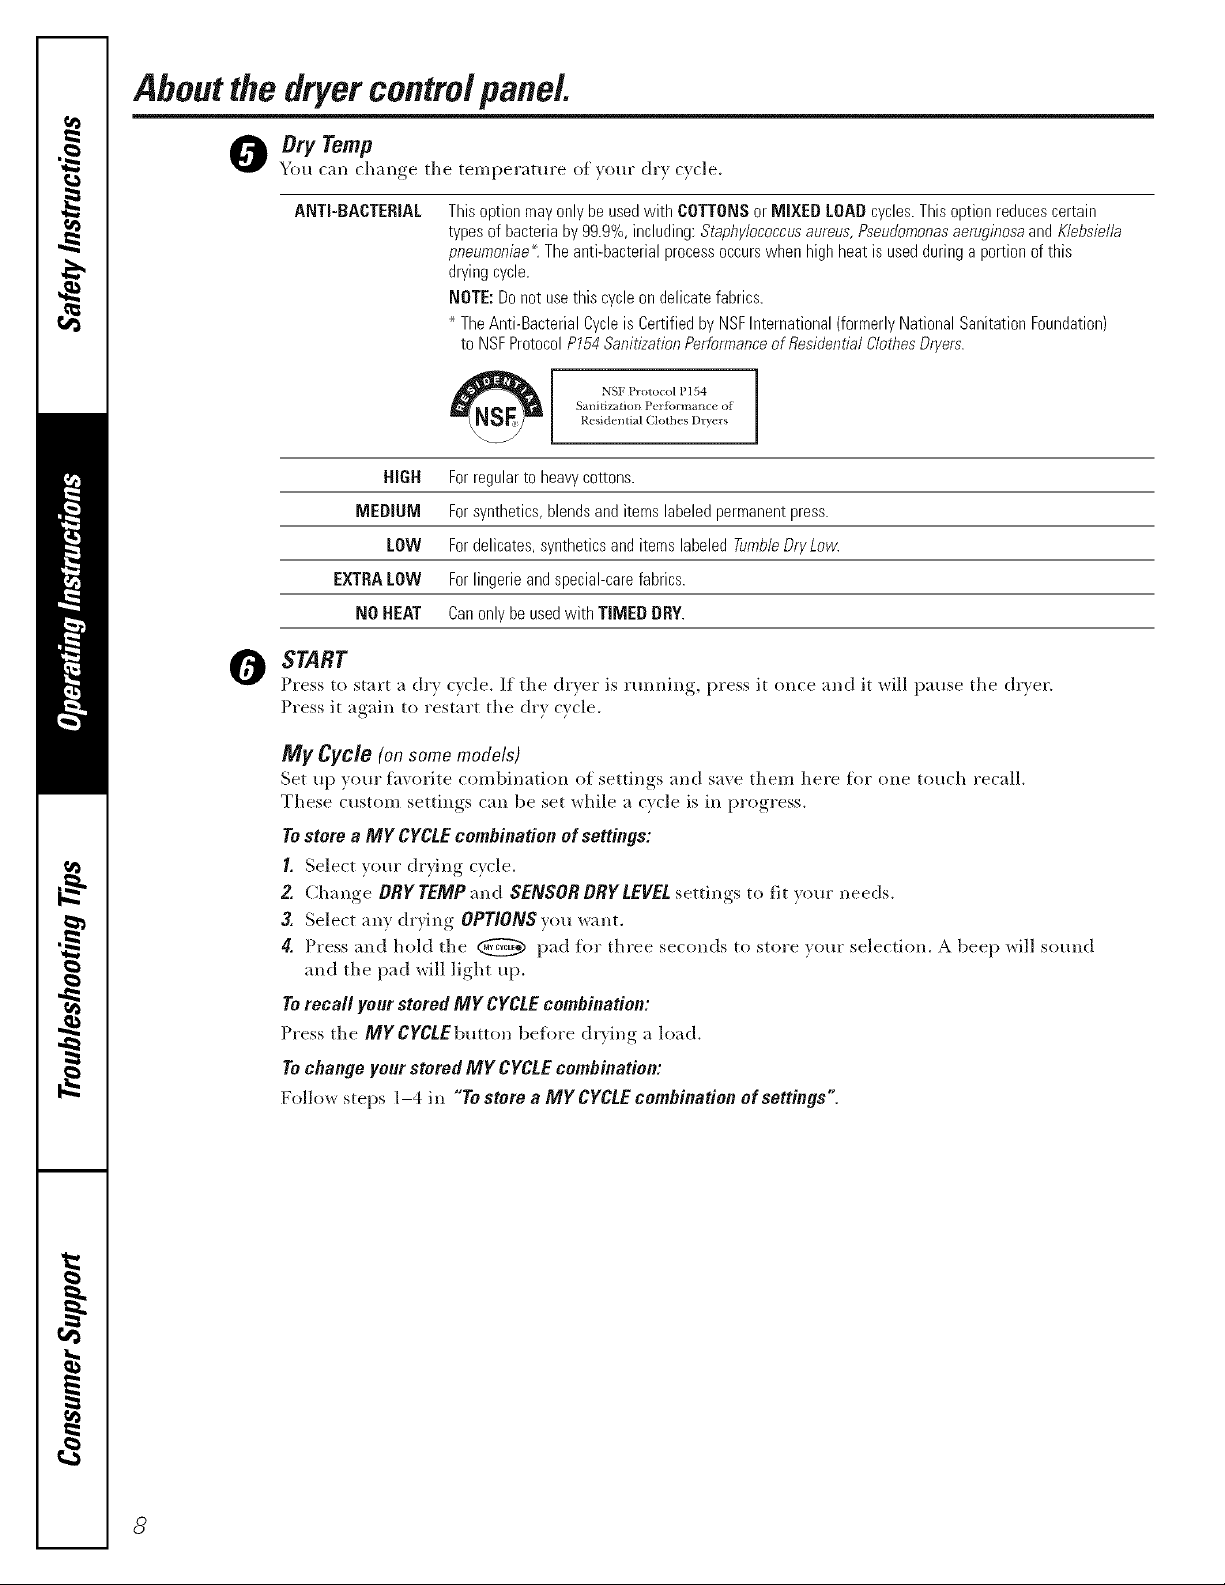
ANTI-BACTERIAL
NIGH Forregularto heavycottons.
MEDIUM Forsynthetics,blendsanditems labeledpermanentpress.
LOW Fordelicates,syntheticsanditems labeledTumbleDryLow.
EXTRALOW Forlingerieandspecial-carefabrics.
NO BEAT Canonlybeusedwith TIMED DRY.
_ START
Pless to start _ (h_ c?(le. If tile dr?er is rumlhlg, press it once and it will pause tlle dr_er.
Press it again to restart tile oh'} cycle.
MJf Cyc/e (on some models)
Set up your fhvorite combination of settings and s;lve them here flw one touch recall.
These custom settings call be set while a cycle is ill progress,
Tostore a MY CYCLEcombination of settings:
1. Select your drying cycle.
2. Change ORY TEMP and SENSOR ORYLEVEL settings to fit your needs.
3. Select ally drying OPTIONS y(m want.
4. Press and hold tile _ pad for three seconds to store ?our selection. A beep will sound
and tile pad will light up.
Torecall your stored MY CYCLEcombination:
Press tile MYCYCLEbutton beflwe dr)ing a load.
Tochange your stored MY CYCLEcombination:
Follow steps 1-4 in "To store a MY CYCLEcombination of settings".
Thisoptionmayonlybeusedwith COTTONSor MIXED LOADcycles.Thisoptionreducescertain
typesof bacteriaby 99.9%,including:Staphylococcusaureus,PseudomonasaeruginosaandK/ebsie//a
pneumoniae"_.Theanti-bacterialprocessoccurswhenhigh heatis usedduringa portionofthis
dryingcycle.
NOTE:Donot usethiscycleondelicatefabrics.
TheAnti-BacterialCycleis Certifiedby NSFInternational(formerlyNationalSanitationFoundation)
to NSFProtocolP154SanitizationPerformanceofResidentialClothesDryers.
S midza0on Perfbrmailce ol
Residendal Clothes I)ryers
NSF Protocol P 154 ]
8
Aboutcycle options.
NOTE." Not all features are available on all dryer models, ge.com
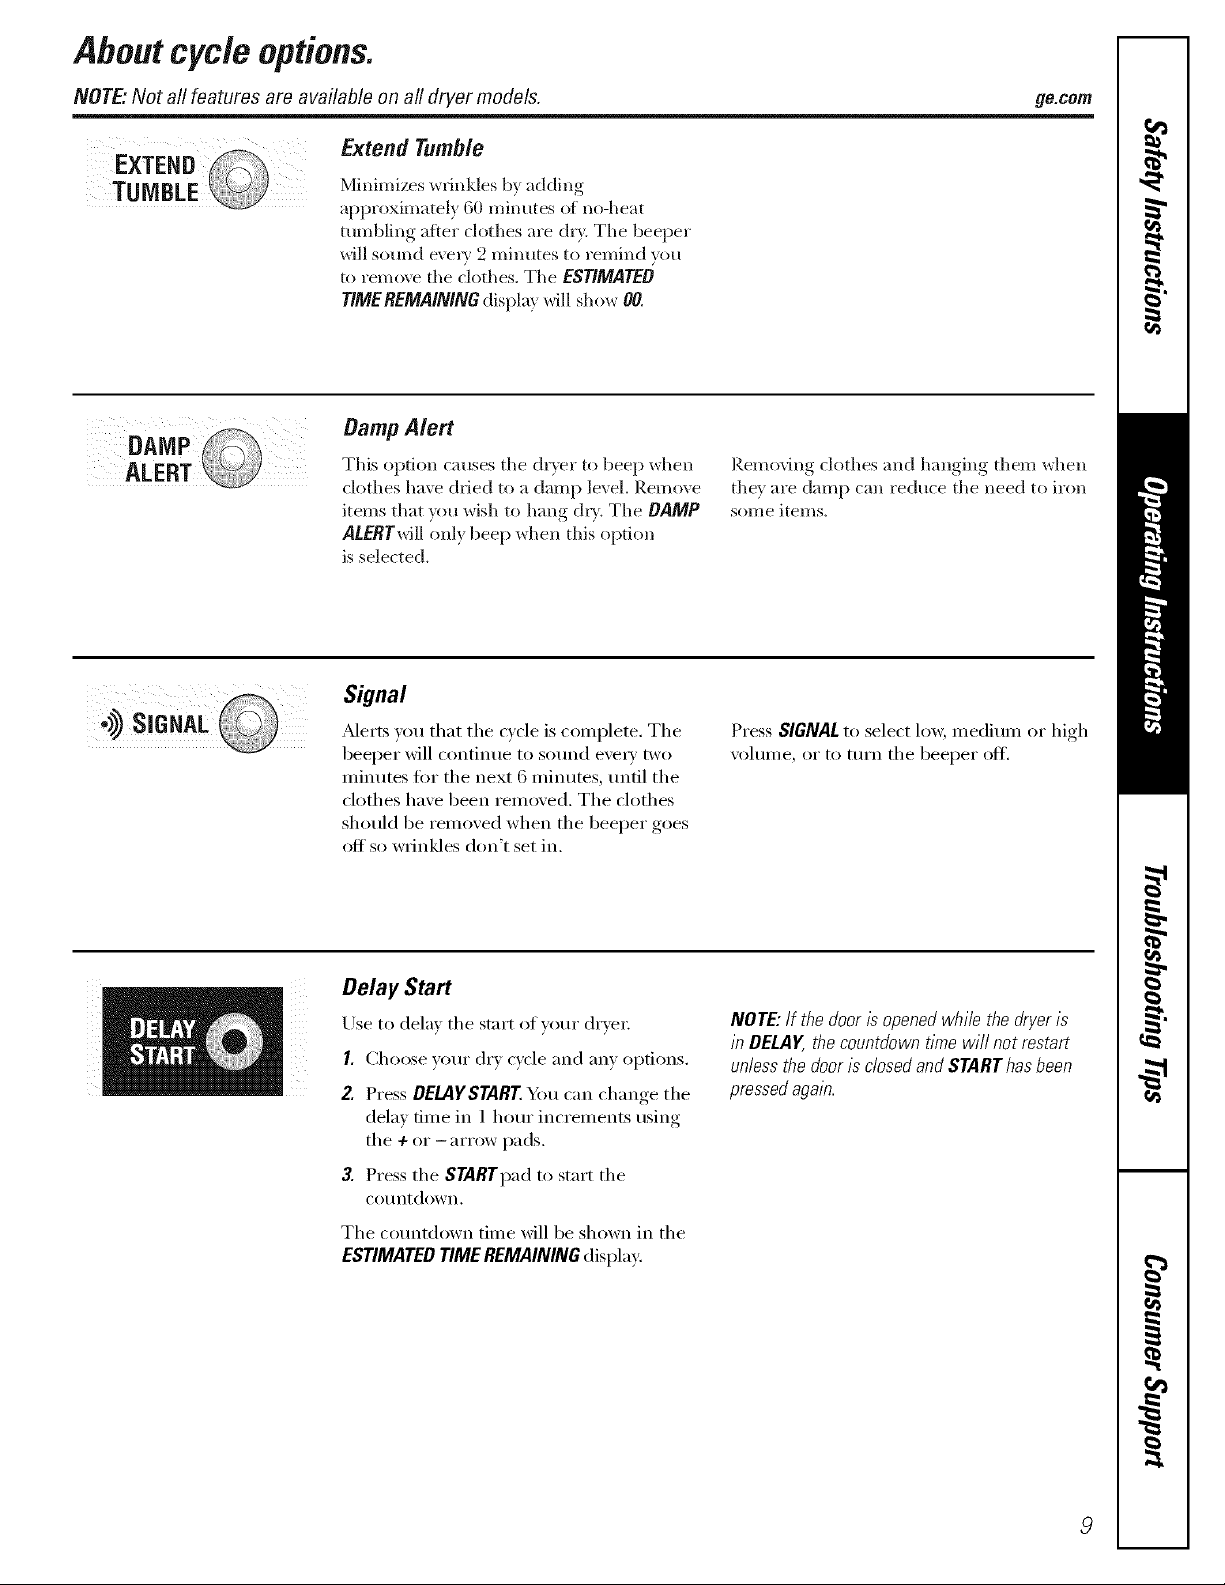
Extend Tumble
Minimizes wrinkles by adding
approximately 60 minutes cff no-heat
tumbling after clothes are dry. Tile beeper
will sound e\ e U 2 minutes to remind you
to remo\v tile clothes. Tile ESTIMATED
TIMEREMAiNING display will show 00.
Damp Alert
This option causes tile dr_vr to beep when
clothes have dried to a dalnp level. Remove
items that you wish to hang <hT. Tile DAMP
ALERTwill only beep when this option
is selected.
Signal
?derts you that tile cycle is complete. Tile
beeper will continue to sound evex_'two
minutes for tile next 6 minutes, until tile
clothes have been removed. Tile clothes
should be removed when tile beeper goes
off so wrinkles don't set in.
Delay Start
Use to delay tile start ot your dryer;
I. Choose vour (hy cycle and any options.
iiii
2. Press DELAYSTART You can change tile
delay time in ] hour increments using
tile + or - arrow pads.
Removing clothes and hanging them when
tile) are damp can reduce tile need to iron
sore e item s.
Press SIGNALto select low, medium or high
xolume, or to turn tile beeper ott.
NOTE:If the dooris openedwhile thedryeris
in DELAy thecountdowntimewill notrestart
uniessthedooris dosedandSTARThasbeen
pressedagain.
3. Press tile STARTpad to start tile
co/intdown.
The countdown time will be shown in the
ESTIMATED TIME REMAINING display:
 Loading...