

GE Built-In Refrigerators Use and Care Manual

Monogram.
Use and Care Guide
for 36, 42, 48
Built-In
Refrigerators

2
Introduction
Your new Monogram refrigerator makes an eloquent statement of style,
convenience and kitchen planning flexibility. Whether you chose it for its
purity of design, practical storage arrangements or assiduous attention to
detail—or for all of these reasons—you’ll find that your Monogram
refrigerator’s superior blend of form and function will delight you for
years to come.
The Monogram refrigerator was designed to provide the flexibility to blend
in with your kitchen cabinetry. Decorative door insert panels allow it to
match your kitchen cabinets or blend with your kitchen decor. Custom
handles are also available to further personalize your refrigerator. Through a
series of product and trim kit choices, the Monogram refrigerator can be
beautifully integrated into the kitchen.
Since this is designed to be a built-in product, custom panels are required
on the front of the Monogram refrigerator. Consult your kitchen designer or
cabinetmaker for your customized look.
The information on the following pages will help you operate and maintain
your refrigerator properly.
If you have any questions, call the GE Answer Center
®
800.626.2000.
Contents
Appliance Registration .................3
Automatic Icemaker .....................6
Care and Cleaning.................11–13
Condenser ............................11
Drawer Removal..................13
Light Bulb Replacement......12
Vacation Tips .......................13
Consumer Services .....................18
Energy Saver Switch.....................5
Ice and Water Dispenser...............7
Installation .................................14
Adapter Plug........................14
Clearances............................14
Electrical Requirements.......14
Grounding............................14
Leveling...............................14
Model and Serial Numbers...........3
Problem Solver.....................15–17
Safety Instructions........................4
Shelves....................................9, 10
Storage Drawers ...........................8
Temperature Controls ...................5
Water Filter Accessory .................6
Warranty .....................................19

3
Read this guide carefully.
It is intended to help you operate and maintain your new refrigerator properly.
Keep it handy for answers to your questions.
If you don’t understand something or need more help, call:
GE Answer Center
®
800.626.2000
24 hours a day, 7 days a week
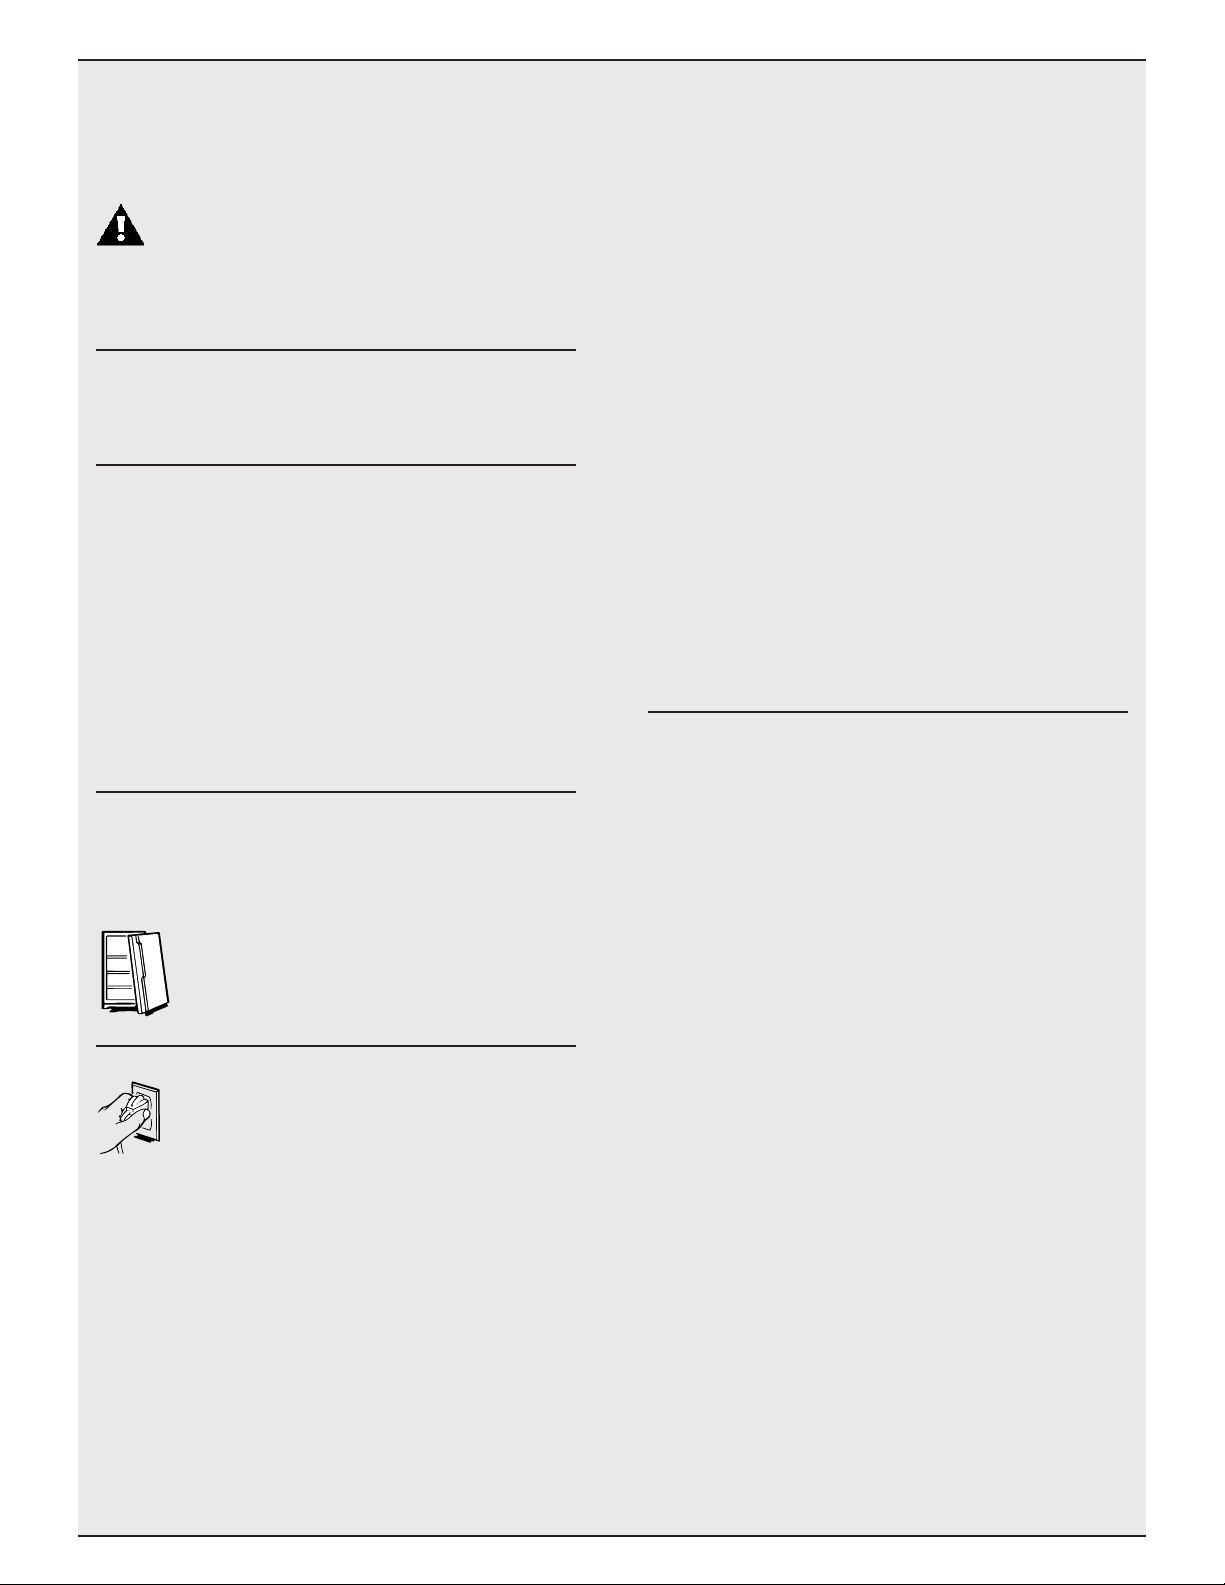
Write down the model and serial numbers.
You’ll see them on a label above the freezer compartment behind the
top panel.
These numbers are also on the Consumer Product Ownership Registration
Card that came with your refrigerator. Before sending in this card, please
write these numbers here:
If you received a damaged refrigerator…
Immediately contact the dealer (or builder) that sold you the refrigerator.
Save time and money. Before you request service…
Check the Problem Solver in the back of this guide. It lists causes of minor
operating problems that you can correct yourself.
Model Number
Serial Number
Use these numbers in any
correspondence or service calls
concerning your refrigerator.
If you need service…
T o obtain service, see the
Consumer Services page in the
back of this guide.
We’re proud of our service and
want you to be pleased. If for some
reason you are not happy with the
service you receive, here are 3
steps to follow for further help.
FIRST, contact the people who
serviced your appliance. Explain
why you are not pleased. In most
cases, this will solve the problem.
NEXT, if you are still not pleased,
write all the details—including
your phone number—to:
Manager, Consumer Relations
GE Appliances
Appliance Park
Louisville, KY 40225
FINALLY, if your problem is still
not resolved, write:
Major Appliance Consumer
Action Program
20 North Wacker Drive
Chicago, IL 60606
WARNING—When using this appliance,
always exercise basic safety precautions,
including the following:
• Use this appliance only for its intended purpose
as described in this Use and Care Guide.
• This refrigerator must be properly installed in
accordance with the Installation Instructions
before it is used. See the Grounding Instructions.
• After your refrigerator is in operation,
do not touch the cold surfaces in the freezer
compartment, particularly when hands are
damp or wet. Skin may adhere to these extremely
cold surfaces.
• Do not place fingers or hands on the automatic
icemaking mechanism while the refrigerator is
plugged in. This will help protect you from
possible injury. It will also prevent interference
with the moving parts of the ejector mechanism, or
with the heating element that releases the cubes.
• Do not allow children to climb, stand or hang
on the shelves in the refrigerator. They could
damage the refrigerator and seriously injure
themselves.
• If your old refrigerator is still around
the house but not in use, be sure to
remove the doors. This will reduce the
possibility of danger to children.
• Unplug your refrigerator before
cleaning and making repairs.
NOTE: We strongly recommend
that any servicing be performed
by a qualified individual.
• Before replacing a burned-out light bulb,
unplug the refrigerator or turn off power at the
circuit breaker or fuse box in order to avoid
contact with a live wire filament. (A burned-out
light bulb may break when being replaced.)
NOTE: Turning freezer compartment temperature
control to OFF position does not remove power to
the light circuit.
• Don’t refreeze frozen foods which have
thawed completely. The United States
Department of Agriculture in Home and
Garden Bulletin No. 69 says:
“…You may safely refreeze frozen foods that have
thawed if they still contain ice crystals or if they are
still cold—below 40°F.
“…Thawed ground meats, poultry or fish that have
any off-odor or off-color should not be refrozen and
should not be eaten. Thawed ice cream should be
discarded. If the odor or color of any food is poor
or questionable, get rid of it. The food may be
dangerous to eat.
“…Even partial thawing and refreezing reduce the
eating quality of foods, particularly fruits,
vegetables and prepared foods. The eating quality
of red meats is affected less than that of many other
foods. Use refrozen foods as soon as possible to
save as much of their eating quality as you can.”
• Do not operate your refrigerator in the
presence of explosive fumes.
• Do not store or use gasoline or other flammable
vapors and liquids in the vicinity of this or any
other appliance.
SAVE THESE
INSTRUCTIONS
4
IMPOR TANT SAFETY INSTRUCTIONS
Read All Instructions Before Using This Appliance.

5
OPERATING YOUR REFRIGERATOR
Set Temperature Contr ols
Your refrigerator has two controls
that let you regulate the temperature
in the fresh food and freezer
compartments.
They have settings from 1 through
9, and are located at the top of the
fresh food compartment.
The freezer control also has
an OFF setting.
9 is the coldest setting, 1 is the warmest.
WHEN YOU FIRST TURN THE REFRIGERATOR
ON, SET BOTH CONTROLS AT 5.
For colder or warmer temperatures, adjust the desired
compartment control 1 number at a time.
IMPORTANT: When first setting controls, or
adjusting them, allow 24 hours for the refrigerator
to get cold.
NOTE: Turning the freezer control to the OFF
position stops cooling in BOTH compartments—
fresh food AND freezer—but does not shut off
power to the refrigerator.
5
FREEZER
5 IS NORMAL
9 IS COLDEST
5
FRESH FOOD
5 IS NORMAL
9 IS COLDEST
How to Test Temperatur es
Use the milk test for the fresh food compartment.
Place a container of milk on the top shelf in the fresh
food compartment. Check it a day later. If the milk is
too warm or too cold, adjust the temperature controls.
Use the ice cream test for the freezer compartment.
Place a container of ice cream in the center of the
freezer compartment. Check it after a day. If it’s too
hard or too soft, adjust the temperature controls.
Always allow 24 hours for the refrigerator to reach
the temperature you set.
Energy Saver Switch
The energy saver switch is located on the temperature
control panel.
To reduce the amount of electricity required
to operate your refrigerator, push switch to
ENERGY SAVER setting.
This turns off the heater in your refrigerator that
prevents moisture from forming on the outside of the
refrigerator.
With the heater turned off, there is a chance that
moisture may form on the outside of your refrigerator,
especially when the weather is humid.
The humidity is most likely to be high in the summer,
in the early morning hours, and in homes which are
not air conditioned.
Over an extended period of time, moisture that forms
on the refrigerator surface may cause deterioration of
the paint finish. It will be important to protect the
finish by using appliance polish wax as described in
the Care and Cleaning section.
Move the energy saver switch from the ENERGY
SAVER setting and electricity flows through the low
wattage heater which warms the outside of the
refrigerator. Under most conditions, this prevents the
forming of moisture or water droplets.
No Defrosting
It is not necessary to defrost the freezer or fresh food
compartments. Although your refrigerator is designed
and equipped to defrost itself automatically, some
frost on packages is normal.
6
AUTOMATIC ICEMAKER
(on some models)
The icemaker will produce eight cubes per
cycle—approximately 100 cubes in a 24-hour period,
depending on freezer compartment temperature, room
temperature, number of door openings and other use
conditions.
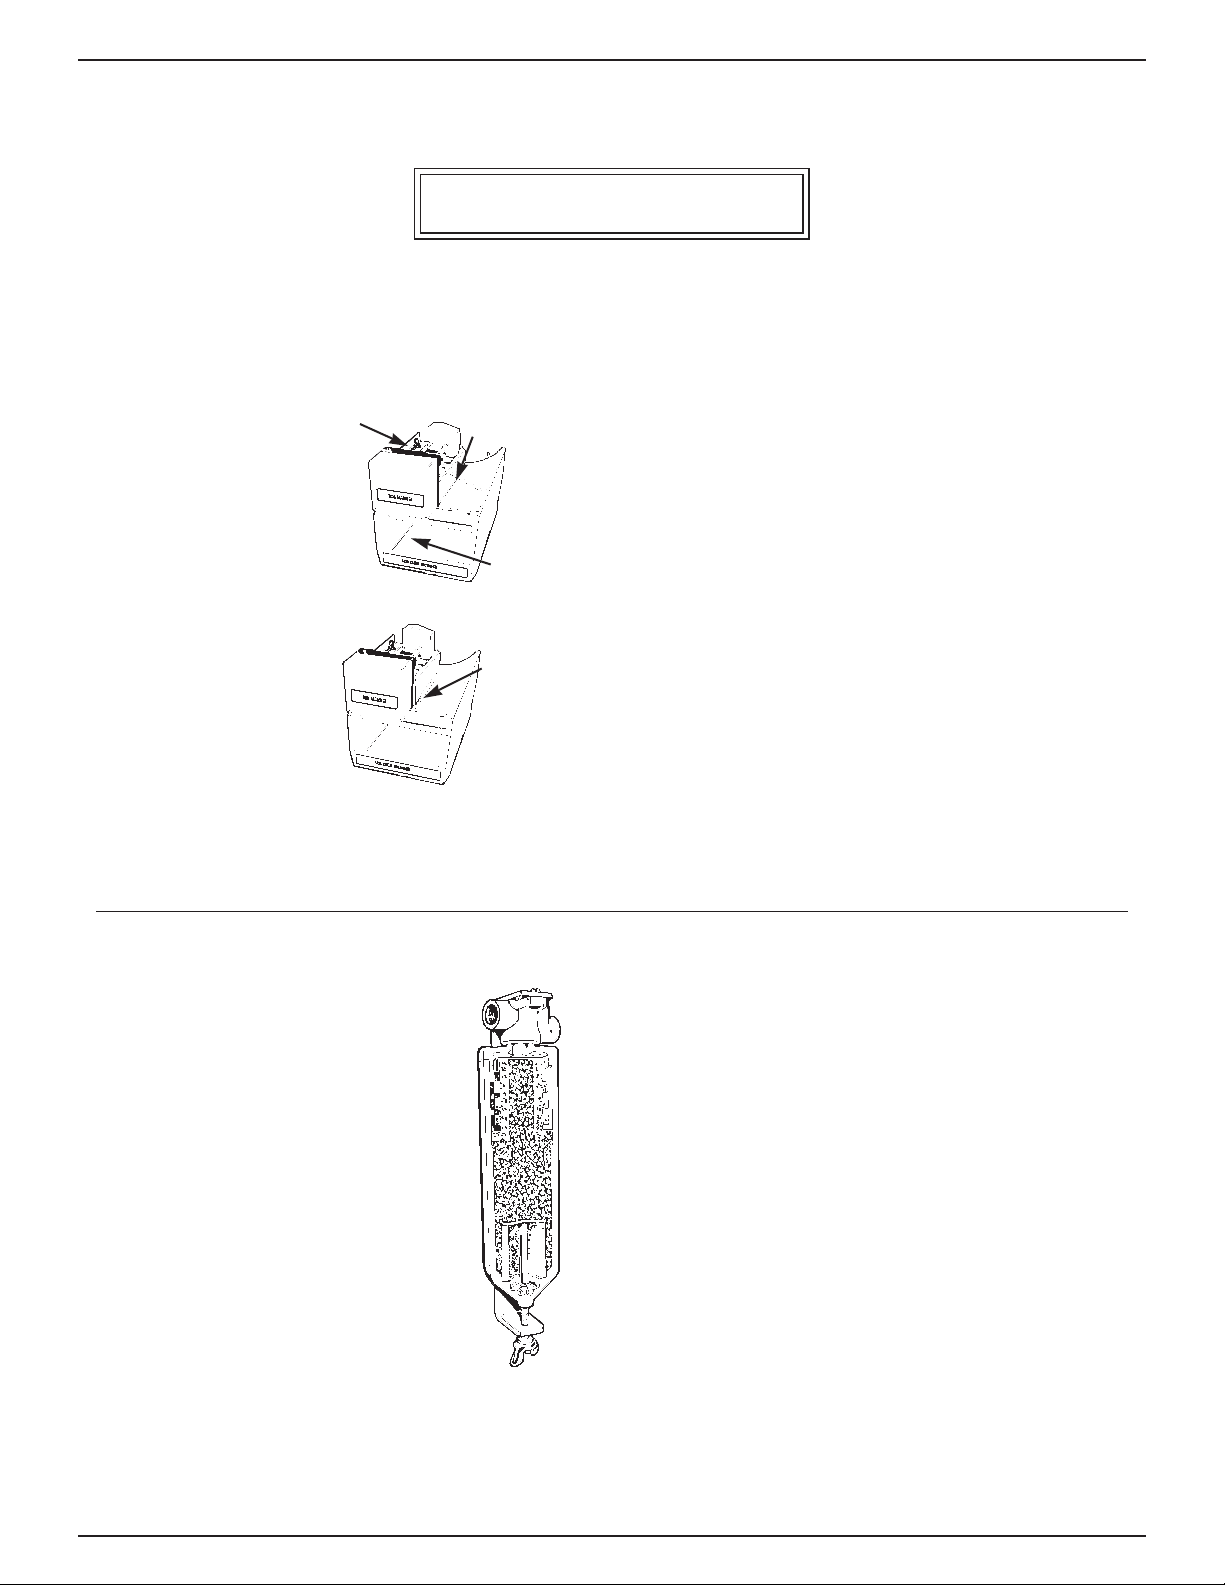
If your refrigerator
is operated before
the water connection
is made to the
icemaker, keep the
feeler arm in the
STOP (up) position.
When the refrigerator
has been connected to
the water supply,
move the feeler arm to
the ON (down) position.
The ice maker will fill
with water when it
cools to freezing.
A newly-installed
refrigerator may take
8 to 12 hours to begin making ice cubes.
Throw away the first few batches of ice.
This flushes away impurities in the water line.
Icemaking will continue until the feeler arm senses
enough ice cubes in the storage bin. For maximum ice
production, level the stored cubes with your hand
occasionally. Be sure nothing interferes with the
swing of the feeler arm.
The icemaker ejects cubes in groups of eight and it is
normal for several cubes to be joined together.
Move the icemaker feeler arm to the STOP (up)
position when:
• home water supply is to be off for several hours.
• ice storage bin is to be removed for a period of time.
• going away on vacation, at which time you should
also turn off the valve in the water supply line to
your refrigerator.
• turning the freezer control to the OFF position.
If ice is not used frequently, old ice cubes will
become cloudy and taste stale. Empty the ice storage
bin periodically and wash it in lukewarm water. Be
sure to allow the storage bin to dry before replacing
it—otherwise ice cubes may stick to other parts of
the icemaker.
If this is your first icemaker, you’ll hear occasional
sounds that may be unfamiliar. They are normal
icemaking sounds and are not a cause for concern.
Water Filter Accessory
The water filter is an option at extra
cost and is available from your dealer.
Specify WR97X0214. It has complete
installation instructions and installs on
1/4
″ O.D. copper water line.
Icemaker
Ice
Storage
Bin
Feeler arm in
STOP (up) position
Feeler arm in
ON (down)
position
A newly-installed refrigerator may take
8 to 12 hours to begin making ice.
 Loading...