

Garmin NUVI 255W quick start manual
quick start manual
nüvi® 200W Series
personal travel assistant
GettinG Started
What Is in the Box?
nüvi unit
•
Suction cup mount to mount the nüvi to your windshield.
•
Vehicle power cable to charge/power your nüvi using a vehicle power outlet.
•
Dashboard disk to mount the suction cup mount on your dashboard instead.
•
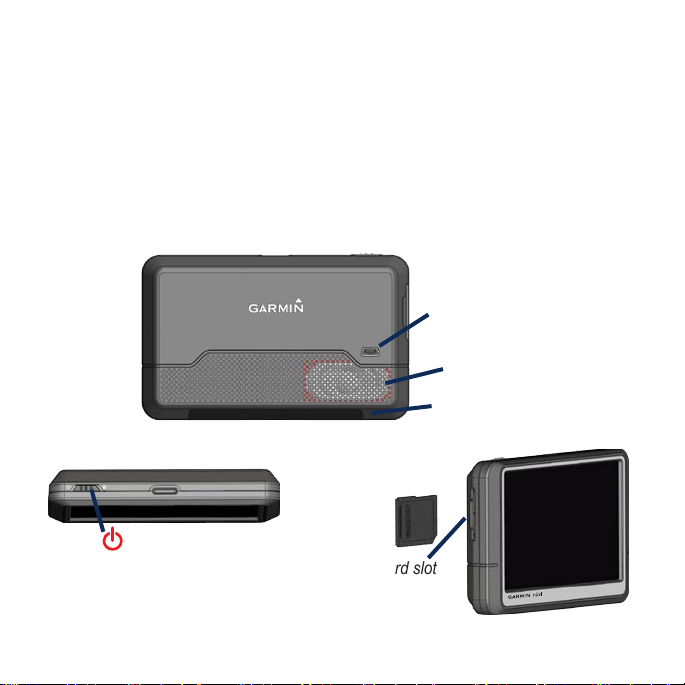
Power and mini-
USB connector
Speaker
Reset button
Power key:
Slide to the left to turn the
unit on/off; slide to the
right to lock the screen
2 nüvi 200W Series quick start manual
SD card slot
Check your state and local trafc laws before mounting. Currently, state laws in California and Minnesota
prohibit drivers from using suction mounts on their windshields while operating motor vehicles. Other
Garmin dashboard or friction mounting options should be used. See page 12 for more details.
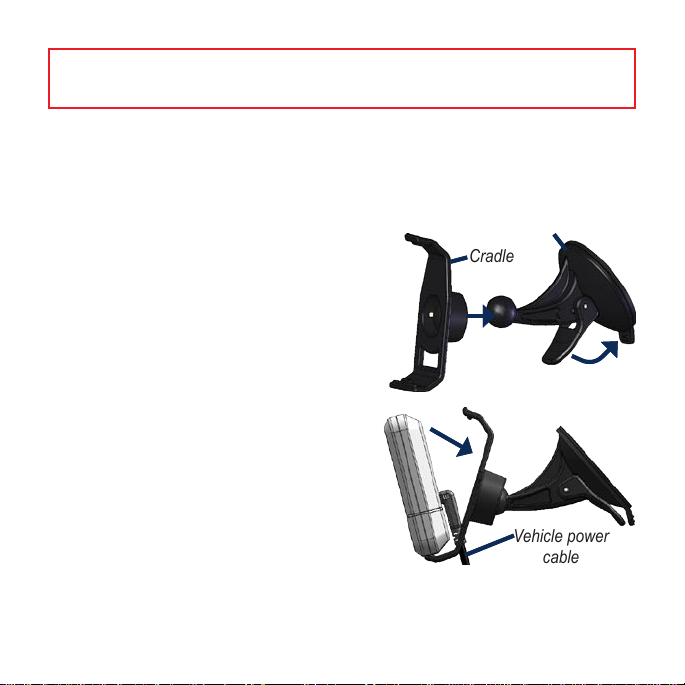
Step 1: Mount the nüvi
Select a suitable location to mount the nüvi on your windshield. Clean and dry the
suction cup and the selected area of your windshield.
1. Plug the power cable into the back of the nüvi.
2. Fit the ball on the end of the mount into the
round socket on the cradle and press rmly
until it snaps together.
3. Place the suction cup on the windshield, and
ip the lever back toward the windshield.
4. Press the bottom of the nüvi into the cradle,
and snap the top of the nüvi into place.
5. Plug the power cable into a power outlet
in your vehicle. Your unit should turn on
automatically if it is plugged in and your
vehicle key is turned to ON/ACC.
Suction cup mount
Suction cup mount
Cradle
Cradle
Ways to Charge the nüvi
Connect the vehicle power cable to the nüvi
•
and to a power outlet in your vehicle.
Connect an AC adapter (optional accessory)
•
to the nüvi and a wall outlet.
nüvi 200W Series quick start manual 3
Vehicle power
Vehicle power
cable
cable

Step 2: Congure the nüvi
To turn on your nüvi, slide the
Power key to the left. Follow the
on-screen instructions.
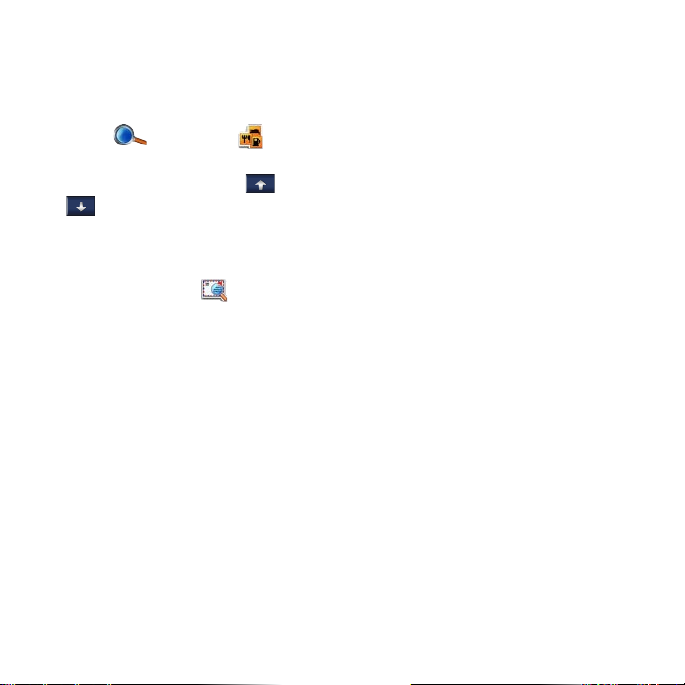
Step 4: Use the nüvi
Touch to nd a
destination.
Touch to view
the map.
To turn off your nüvi, slide the
Power key to the left.
Step 3: Acquire Satellites
Before the nüvi can nd your current
location and navigate a route, you must
do the following:
1. Go outdoors to an open area, away
from tall buildings and trees.
2. Turn on the nüvi. Acquiring satellite
signals can take a few minutes.
The bars indicate satellite strength.
When at least one of the bars are green,
the nüvi has acquired satellite signals.
Now you can select a destination and
navigate to it.
NOTE: Software on your nüvi
could differ from the screen shots
in this manual.
4 nüvi 200W Series quick start manual
Touch to open
the Tool Kit.
Touch to adjust
the volume.
Help When You Need It
To get more information when and
where you need it, use the nüvi’s built-
in Help system. Touch > Help.
Touch a topic to view information
about it.
For help about the nüvi’s settings,
touch > Settings. Select a setting
category, and then touch .
FindinG a deStination
Finding a Restaurant
1. Touch Where to > Points
of Interest > Food.
2. Select a category. Touch
to see more choices.
3. Select a destination, and touch
and
Finding an Address
1. Touch Where to > Address.
2. Select a country and state/province,
if necessary.
3. Touch
4. Enter the number of the address,
5. Enter the street name, touch
6. Touch the address, if necessary.
nüvi 200W Series quick start manual 5
Spell City. Enter the city/
postal code, touch
the city/postal code in the list.
and touch
and select the street in the list.
Done.
Done, and select
Done,
Go Page Options
Touch an item in the search results list
to view the Go page.
Touch Go to create a turn-by-turn route
to this location.
Go.
Touch Show Map to view this location
on the map.
Touch Save to save this location
in
Favorites.
Expanding Your Search
Your nüvi automatically searches for
places near your current location. To
search in a different area, touch
to > Near. Select an option. Touch OK.
Where
 Loading...