

Page 1
DGB
F
NLS
I
EP
DKFIN
300 C Art. 4021
380 C Art. 4024
GARDENA
®
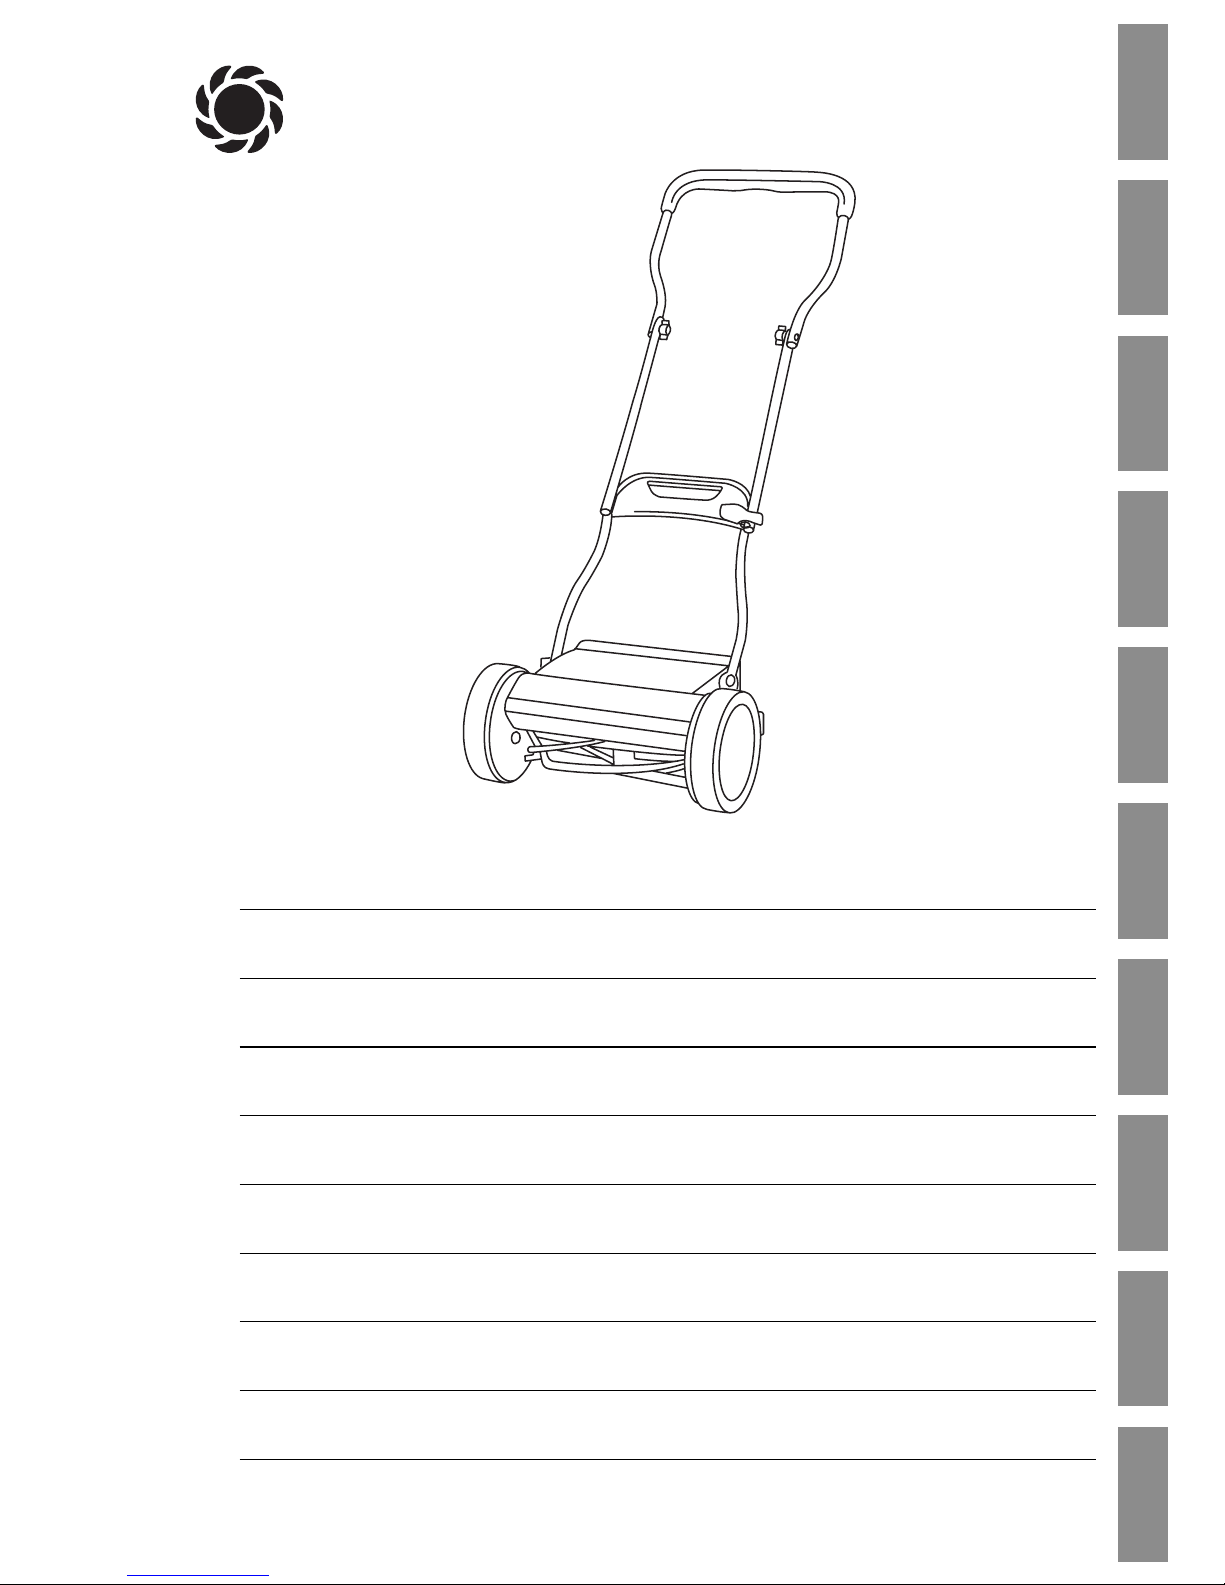
D Betriebsanleitung
Spindelmäher
GB Operating Instructions
Cylinder Lawnmower
F Mode d’emploi
Tondeuse hélicoïdale
NL Instructies voor gebruik
Kooimesmaaier
S Bruksanvisning
Handgräsklippare
I Istruzioni per l’uso
Rasaprato a mano
E Manual de instrucciones
Cortacésped helicoidal
P Instruções de utilização
Cortador de relva cilíndrico
DK Brugsanvisning
Håndplæneklipper
FIN Käyttöohje
Työnnettävä ruohonleikkuri
Page 2
8
2. For Your Safety
Checks before each operation:
Before use, an inspection is always to be
performed In order to determine that all
nuts, bolts and working tools are not worn
down or damaged. Worn down or damaged
blades are to be replaced in sets.
Inspect the surface on which the lawn mower
is to be used be-forehand. Stones, pieces of
wood and wires as well as other solid matter
are to be removed.
Objects, which are contacted by the cutting
tools, could be thrown out uncontrollably.
Proper use / Responsibility
WARNING!
Take note that the rotating blade
cylinder could cause injuries.
VV
Never place your hands or feet
on or under moving parts.
Correct use:
Please note
GARDENA Cylinder Lawnmower 300 C / 380 C
Welcome to the Garden of GARDENA...
Translation of the original instructions from German.
Please read these operating instructions carefully and observe the
notes given. Use these instructions to familiarise yourself with the
cylinder lawnmower, its correct use and the notes on safety.
For safety reasons, children under the age of 16 as well as
persons not familiar with these operating instructions should
not use this cylinder lawnmower.
v Please keep these operating instructions in a safe place.
1. Where to Use Your GARDENA Cylinder Lawnmower
. . . . . . . . . 8
2. For Your Safety
. . . . . . . . . . . . . . . . . . . . . . . . . . . . . . . . . . . . . . . . . . . . . . . . . 8
3. Assembly
. . . . . . . . . . . . . . . . . . . . . . . . . . . . . . . . . . . . . . . . . . . . . . . . . . . . . . . 9
4. Operation
. . . . . . . . . . . . . . . . . . . . . . . . . . . . . . . . . . . . . . . . . . . . . . . . . . . . . . . 9
5. Putting into Storage
. . . . . . . . . . . . . . . . . . . . . . . . . . . . . . . . . . . . . . . . . . . 10
6. Maintenance
. . . . . . . . . . . . . . . . . . . . . . . . . . . . . . . . . . . . . . . . . . . . . . . . . . 10
7. Troubleshooting
. . . . . . . . . . . . . . . . . . . . . . . . . . . . . . . . . . . . . . . . . . . . . . . 10
8. Accessories
. . . . . . . . . . . . . . . . . . . . . . . . . . . . . . . . . . . . . . . . . . . . . . . . . . . 12
9. Technical Data
. . . . . . . . . . . . . . . . . . . . . . . . . . . . . . . . . . . . . . . . . . . . . . . . 12
10. Service
. . . . . . . . . . . . . . . . . . . . . . . . . . . . . . . . . . . . . . . . . . . . . . . . . . . . . . . . 12
1. Where to Use Your GARDENA Cylinder Lawnmower
The GARDENA Cylinder Lawnmower has been designed
for cutting lawn and grass areas of private houses.
Compliance with these instructions provided by GARDENA
is a prerequisite for using the cylinder lawnmower correctly.
The cylinder lawnmower may not be used for cutting
climbing plants or grass on roofs, due to the danger
of bodily harm.
Contents
GB
Page 3

9
Do not use the lawnmower while people,
especially children, or animals are nearby.
The operator is liable for damages.
The safety distance between the blade
cylinder and the operator that is created
by the guiding spar is to be always
maintained.
When mowing embankments and slopes,
special care must be taken:
v Make sure you always keep a safe
distance and wear shoes with a nonslip sole.
Always cut diagonally to the slope.
Take special care when moving backwards
and when pulling the lawn mower. Danger
of stumbling!
If the cutting tools or the lawnmower run into
an obstruction and / or solid objects, the lawn
mower should be properly and thoroughly
inspected.
v Only work when visibility is good.
Never leave the lawnmower unattended.
If your work is interrupted, store the mower
in a safe place.
3. Assembly
1. Insert lower part of bottom upright
1
into upright holders aup to stop and
secure with the screws
z
s
.
2. Push connector
2
from underneath
into upper part of bottom upright 1.
3. Insert threaded rod
4
from left
through lower parts of central
upright 3, upper part of bottom
upright 1and connector 2right
up to the stop.
4. Slide threaded bearing
7
into
clamping lever 5.
5. Screw clamping lever
5
onto
threaded rod 4approx. 4 turns.
6. Move clamping lever
5
onto
connector 2and check whether
clamping lever 5locks.
7. If clamping lever
5
does not yet lock,
screw another turn onto threaded rod
4
. Repeat procedure until clamping
lever 5locks on connector 2.
8 Firmly attach bottom part of top
upright
6
to upper parts of central
upright3using 2 wing nuts
z
m
.
4. Operation
To produce a well-maintained lawn we recommend cutting the
lawn regularly once a week if possible. The lawn becomes thicker
if cut frequently.
Relatively long cut grass (> 1 cm) must be removed so that the
lawn does not become yellow and matted.
Mowing correctly:
6
5
7
5
2
3
4
1
z
m
1
a
z
S
4
5
5
2
GB
Page 4

Storage:
10
GB
Adjusting the cutting height:
Cleaning the mower:
After relatively long intervals between mowing (e.g.holiday), first of
all cut in one direction with the cutting height as high as possible
(42 mm), then cut in the crosswise direction at the cutting height
required. The blades of grass should not be more than 12 cm
long if they are to be cut with a cylinder mower.
If possible only cut the grass when it is dry. If the grass is damp,
the cutting pattern will be uneven.
The cutting height can be set to any
position between 12 mm and 42 mm.
1. Stand behind the cylinder mower
with one foot on the roller
8
.
2. Slacken the two locking screws
9
and set to the height required on
the scale0.
3. Tighten the two locking screws
9
on both sides to the same height.
The locking screws
9
must always be set to the same height on
both sides.
The mower may only be adjusted to a depth in which the lower
blade does not touch the ground when it is uneven.
5. Putting into Storage
v Clean cylinder mower before storage (see 6. Maintenance) and
store in a dry place.
To save space the cylinder mower can be collapsed by opening
up the clamping nuts.
6. Maintenance
DANGER ! Cutting mechanism can cause injuries!
V Wear suitable work gloves when undertaking
maintenance.
WARNING! Damage to cylinder lawnmower.
A
V Never clean your cylinder lawnmower with running
water, in particular with water under high pressure.
Always keep the lawnmower clean and remove grass deposits.
Deposits affect the cutting result as well as discharge of grass
clippings. Residual dirt and grass is easily removed immediately
after mowing.
1. Remove grass deposits with a brush and a cloth.
2. Oil the red cutting mechanism lightly with thin oil (e.g. sprayed
oil).
8
9
9
0
Page 5

11
GB
7. Troubleshooting
DANGER ! Cutting tool can cause injuries!
V Wear suitable work gloves when rectifying faults.
Fault Possible Cause Rectification
Abnormal Noises Screws / components loose. v Tighten screws.
Foreign bodies on the blade. v Remove foreign bodies.
Notch in the blade. v Remove notches with
grindstone.
Blades are striking each other v Adjust cutting mechanism.
too hard.
Lawn is not cleanly cut Blade adjustment incorrect. v Adjust cutting mechanism.
Blade blunt. v Regrind or replace blade.
Grass too long (e.g. after a v Cut lawn shorter with a
relatively long absence). sickle.
The cutting gear of your lawn mower was optimally adjusted before leaving our company. If, after longer use, a clean cut of the
grass is no longer possible or the blade roller contacts the lower
blade, then the lower blade should be adjusted as follows:
1. Unhook upright and clean cylinder mower.
2. Check cylinder
B
and lower blade Cfor notches and remove
these with a grindstone if necessary.
3. Unscrew internal hexagon screws
D
with an internal hexagon
wrench (5 mm) anticlockwise until the cylinder Bturns freely.
4. Push the feeler gauge supplied (thin strip of metal)
A
between one blade Bon the cylinder and the lower blade C.
5. Tighten left internal hexagon screw
D
with an internal hexa-
gon wrench (5 mm) until the feeler gauge Ais held gently.
6. Continue turning the cylinder until the blade
B
, already
adjusted on the left side, is exactly above the lower blade
C
on the right side.
7. Tighten the right internal hexagon screw
D
with an internal
hexagon wrench (5 mm) until the feeler gauge Ais held
gently.
8. Rotate cylinder
B
. If a banging noise is produced during this,
open up the internal hexagon screw Dslightly on the side
affected.
When the cylinder and the lower blade can hardly be heard
touching each other, the cutting mechanism has been adjusted
correctly.
9. Cutting test:
Place a strip of paper
E
in such a way on the lower blade
C
that it points towards the spindle of the cylinder B.
10. Turn cylinder
B
carefully.
If the lower blade is set correctly Cthe paper will be cut off
as if with scissors.
11. Repeat the cutting test on the other blades B.
Adjusting the cutting
mechanism:
B
A
C
D
B
E
C
Page 6

12
GB
Regrinding / repairs:
On safety grounds, only original GARDENA spares
A may be used.
Please contact GARDENA Service if it is necessary to replace
the cutting tool, which will only become blunt after several years
use if well-maintained. Repairs to the cylinder mower and the
installation of the blades can be undertaken by suitable specialist workshops.
Have the cylinder mower checked over in the autumn if possible
so that it is ready for use immediately when the next lawn-mowing
season starts.
If you have any problem with your cylinder mower, please contact
our Customer Service.
8. Accessories
GARDENA Grass Saves raking up the cut grass. Art. No. 4029
collecting bag
9. Technical Data
300 C (Art. No. 4021) 380 C (Art. No. 4024)
Cutting width / Cutting height 30 cm / 12-42 mm 38 cm / 12-42 mm
Cutting height adjustment infinitely variable infinitely variable
Weight 9.5 kg 10 kg
10. Warranty
GARDENA guarantees this product for 2 years (starting from the
date of purchase). This guarantee covers all serious defects of
the unit that can be proved to be material or manufacturing faults.
Under warranty we will either replace the unit or repair it free of
charge if the following conditions apply:
• The unit must have been handled properly and in keeping
with the requirements of the operating instructions.
• Neither the purchaser or a non-authorised third party have
attempted to repair the unit.
The wearing parts blade cylinder (complete) and lower blade are
excluded from the warranty.
This manufacturer’s guarantee does not affect the user’s existing
warranty claims against the dealer/seller.
If a fault occurs with your Cylinder Lawn Mower, please
return the faulty unit together with a copy of the receipt and
a description of the fault, with postage paid to one of the
GARDENA Service Centres listed on the back of these
operating instructions.
Page 7

53
FIN
D
Produkthaftung
Wir weisen ausdrücklich darauf hin, dass wir nach dem Produkthaftungsgesetz nicht für durch unsere Geräte hervorgerufene Schäden einzustehen haben, sofern diese durch unsachgemäße Reparatur verursacht
oder bei einem Teileaustausch nicht unsere Original GARDENA Teile oder
von uns freigegebene Teile verwendet werden und die Reparatur nicht
vom GARDENA Service oder dem autorisierten Fachmann durchgeführt
wird. Entsprechendes gilt für Ergänzungsteile und Zubehör.
G
Product Liability
We expressly point out that, in accordance with the product liability law,
we are not liable for any damage caused by our units if it is due to improper repair or if parts exchanged are not original GARDENA parts
or parts approved by us, and, if the repairs were not carried out by a
GARDENA Service Centre or an authorised specialist. The same applies
to spare parts and accessories.
F
Responsabilité
Nous vous signalons expressément que GARDENA n’est pas responsable des dommages causés par ses appareils, dans la mesure où ces
dommages seraient causés suite à une réparation non conforme, dans la
mesure où, lors d’un échange de pièces, les pièces d’origine GARDENA
n’auraient pas été utilisées, ou si la réparation n’a pas été effectuée par
le Service Après-Vente GARDENA ou l’un des Centres SAV agréés
GARDENA. Ceci est également valable pour tout ajout de pièces et d’accessoires autres que ceux préconisés par GARDENA.
N
Productaansprakelijkheid
Wij wijzen er nadrukkelijk op, dat wij op grond van de wet aansprakelijkheid voor producten niet aansprakelijk zijn voor schade ontstaan door onze
apparaten, indien deze door onvakkundige reparatie veroorzaakt zijn, of er
bij het uitwisselen van onderdelen geen gebruik gemaakt werd van onze
originele GARDENA onderdelen of door ons vrijgegeven onderdelen en de
reparatie niet door de GARDENA technische dienst of de bevoegde vakman uitgevoerd werd. Ditzelfde geldt voor extra-onderdelen en accessoires.
S
Produktansvar
Tillverkaren är inte ansvarig för skada som orsakats av produkten om
skadan beror på att produkten har reparerats felaktigt eller om, vid reparation eller utbyte, andra än Original GARDENA reservdelar har använts.
Samma sak gäller för kompletteringsdelar och tillbehör.
I
Responsabilità
Si rende espressamente noto che, conformemente alla legislazione sulla
del prodotto
responsabilità del prodotto, non si risponde di danni causati da nostri articoli se originati da riparazioni eseguite non correttamente o da sostituzioni
di parti effettuate con materiale non originale GARDENA o comunque da
noi non approvato e, in ogni caso, qualora l’intervento non venga eseguito
da un centro assistenza GARDENA o da personale specializzato autorizzato. Lo stesso vale per le parti complementari e gli accessori.
E
Responsabilidad
Advertimos que conforme a la ley de responsabilidad de productos no nos
de productos
responsabilizamos de daños causados por nuestros aparatos, siempre
y cuando dichos daños hayan sido originados por arreglos o reparaciones
indebidas, por recambios con piezas que no sean piezas originales
GARDENA o bien piezas autorizadas por nosotros, así como en aquellos
casos en que la reparación no haya sido efectuada por un Servicio Técnico GARDENA o por un técnico autorizado. Lo mismo es aplicable para
las piezas complementarias y accesorios.
P
Responsabilidade
Queremos salientar que segundo a lei da responsabilidade do fabricante,
sobre o produto
nós não nos responsabilizaremos por danos causados pelo nosso equipamento, quando estes ocorram em decorrência de reparações inadequadas
ou da substituição de peças por peças não originais da GARDENA, ou peças não autorizadas. A responsabilidade tornar-se-à nula também depois
de reparações realizadas por oficinas não autorizadas pela GARDENA.
Esta restrição valerá também para peças adicionais e acessórios.
K
Produktansvar
Vi gør udtrykkeligt opmærksom på at i henhold til produktansvarsloven
er vi ikke ansvarlige for skader forårsaget af vores udstyr, hvis det skyldes
uautoriserede reparationer eller hvis dele er skiftet ud og der ikke er anvendt originale GARDENA dele eller dele godkendt af os, eller hvis reparationerne ikke er udført af GARDENA-service eller en autoriseret fagmand.
Det samme gælder for ekstra udstyr og tilbehør.
Page 8

56
Deutschland /Germany
GARDENA
Manufacturing GmbH
Central Service
Hans-Lorenser-Straße 40
D-89079 Ulm
Produktfragen:
(+49) 731 490- 123
Reparaturen:
(+49) 731 490- 290
service
@gardena.com
Argentina
Husqvarna Argentina S.A.
Vera 745
(C1414AOO) Buenos Aires
Phone: (+54) 11 4858-5000
diego.poggi
@ar.husqvarna.com
Australia
Husqvarna Australia Pty. Ltd.
Locked Bag 18
Gosford NSW 2250
Phone: (+61) (0) 2 4372 1500
customer.service
@
husqvarna.com.au
Austria /Österreich
Husqvarna Austria GmbH
Consumer Products
Industriezeile 36
4010 Linz
Tel. : (+43) 732 77 01 01
-
90
consumer.service
@
husqvarna.at
Belgium
GARDENA Belgium NV/SA
Sterrebeekstraat 163
1930 Zaventem
Phone: (+32) 2 720 9212
Mail: info
@gardena.be
Brazil
Palash Comércio e
Importação Ltda.
Rua São João do Araguaia, 338
– Jardim Califórnia –
Barueri – SP - Brasil –
CEP 06409-060
Phone: (+ 55) 11 4198- 9777
eduardo
@palash.com.br
Bulgaria
Хускварна България ЕООД
1799 София
Бул. „Андрей Ляпчев” Nº 72
Тел.: (+359)28099424
www.husqvarna.bg
Canada
GARDENA Canada Ltd.
100 Summerlea Road
Brampton, Ontario L6T 4X3
Phone: (+1) 905 79293 30
info
@gardenacanada.com
Chile
Antonio Martinic y Cia Ltda.
Cassillas 272
Centro de Cassillas
Santiago de Chile
Phone: (+56) 2 2010 708
garfar_cl
@yahoo.com
Costa Rica
Compania Exim
Euroiberoamericana S.A.
Los Colegios, Moravia,
200 metros al Sur del Colegio
Saint Francis - San José
Phone: (+506) 297 6883
exim_euro
@racsa.co.cr
Croatia
KLIS d.o.o.
Stanciceva 79
10419 Vukovina
Phone: (+ 385) 1 622777 0
gardena
@klis-trgovina.hr
Cyprus
FARMOKIPIKI LTD
P.O. Box 7098
74, Digeni Akrita Ave.
1641 Nicosia
Phone: (+357) 22 7547 62
condam
@spidernet.com.cy
Czech Republic
GARDENA spol. s r.o.
Tuшanka 115
627 00 Brno
Phone: (+ 420) 548 217 777
gardena
@gardenabrno.cz
Denmark
GARDENA
Husqvarna Consumer Outdoor
Products
Salgsafdelning Danmark
Box 9003
S-200 39 Malmö
info
@gardena.dk
Estonia
Husqvarna Eesti OÜ
Consumer Outdoor Products
Kesk tee 10, Aaviku küla
Rae vald, Harju maakond
75305
kontakt.etj
@husqvarna.ee
Finland
Oy Husqvarna Ab
Consumer Outdoor Products
Lautatarhankatu 8 B /PL 3
00581 HELSINKI
info
@gardena.fi
France
GARDENA France
Immeuble Exposial
9
-
11 allée des Pierres Mayettes
ZAC des Barbanniers, B.P. 99
-F-
92232 GENNEVILLIERS
cedex
Tél. (+33) 01 40 85 30 40
service.consommateurs
@
gardena.fr
Great Britain
Husqvarna UK Ltd
Preston Road
Aycliffe Industrial Park
Newton Aycliffe
County Durham
DL5 6UP
info.gardena
@
husqvarna.co.uk
Greece
HUSQVARNA GREECE S.A.
Branch of Koropi
Ifestou 33A
Industrial Area Koropi
194 00 Athens – Greece
V.A.T. EL094094640
Phone: (+30) 210 66 20 225
info
@husqvarna-consumer.gr
Hungary
Husqvarna
Magyarország Kft.
Ezred u. 1
-
3
1044 Budapest
Phone: (+36) 80 2040 33
gardena
@gardena.hu
Iceland
Ó. Johnson & Kaaber
Tunguhalsi 1
110 Reykjavik
ooj
@ojk.is
Ireland
Michael McLoughlin & Sons
Hardware Limited
Long Mile Road
Dublin 12
Italy
GARDENA Italia S.p.A.
Via Donizetti 22
20020 Lainate (Mi)
Phone: (+39) 02.93.94.79.1
info
@gardenaitalia.it
Japan
KAKUICHI Co. Ltd.
Sumitomo Realty &
Development Kojimachi
BLDG., 8F, 5
-
1 Nibanncyo,
Chiyoda-ku, Tokyo 102-0084
Phone: (+81) 33 264 4721
m_ishihara
@kaku-ichi.co.jp
Latvia
SIA „Husqvarna Latvija”
Consumer Outdoor Products
Bakužu iela 6, Riga, LV-1024
info
@husqvarna.lv
Lithuania
UAB Husqvarna Lietuva
Consumer Outdoor Products
Ateities pl. 77C
LT-52104 Kaunas
centras
@husqvarna.lt
Luxembourg
Magasins Jules Neuberg
39, rue Jacques Stas
Luxembourg-Gasperich 2549
Case Postale No. 12
Luxembourg 2010
Phone: (+352) 40 1401
api
@neuberg.lu
Netherlands
GARDENA Nederland B.V.
Postbus 50176
1305 AD ALMERE
Phone: (+31) 36 52100 00
info
@gardena.nl
Neth. Antilles
Jonka Enterprises N.V.
Sta. Rosa Weg 196
P.O. Box 8200, Curaçao
Phone: (+599) 9 76766 55
pgm
@jonka.com
New Zealand
Husqvarna New Zealand Ltd.
PO Box 76437
Manukau City 2241
Phone: (+64) (09) 9 202410
Norway
GARDENA
Husqvarna Consumer Outdoor
Products
Salgskontor Norge
Kleverveien 6
1540 Vestby
info
@gardena.no
Poland
Husqvarna Poland Spółka z o.o.
Oddział w Szymanowie
Szymanów 9 d
05-532 Baniocha
Phone: (+ 48) 22727 5690
gardena
@gardena.pl
Portugal
GARDENA Portugal Lda.
Sintra Business Park
Edifício 1, Fracção 0-G
2710-089 Sintra
Phone: (+351) 21 922 85 30
info
@gardena.pt
Romania
MADEX INTERNATIONAL SRL
Soseaua Odaii 117-123,
Sector 1,
Bucureєti, RO 013603
Phone: (+ 40) 21 352 76 03
madex
@ines.ro
Russia
ООО ГАРДЕНА РУС
123007, г. Москва
Хорошевское шоссе, д. 32А
Тел.: (+ 7) 495 380 31 92
info
@gardena-rus.ru
Singapore
Hy
-
Ray PRIVATE LIMITED
40 Jalan Pemimpin
#02-08 Tat Ann Building
Singapore 577185
Phone: (+65) 6253 2277
shiying
@hyray.com.sg
Slovak Republic
GARDENA spol. s r.o.
Tuшanka 115
627 00 Brno
Phone: (+ 420) 548 217 777
gardena
@gardenabrno.cz
Slovenia
GARDENA d.o.o.
Brodiљиe 15
1236 Trzin
Phone: (+ 386) 1 580 93 32
servis
@gardena.si
South Africa
GARDENA
South Africa (Pty.) Ltd.
P.O. Box 11534
Vorna Valley 1686
Phone: (+27) 11 315 02 23
sales
@gardena.co.za
Spain
GARDENA IBÉRICA S.L.U.
C/ Basauri, nº 6
La Florida
28023 Madrid
Phone: (+34) 91 70805 00
atencioncliente
@gardena.es
Sweden
GARDENA
Husqvarna Consumer Outdoor
Products
Försäljningskontor Sverige
Box 9003
200 39 Malmö
info
@gardena.se
Switzerland /Schweiz
Husqvarna Schweiz AG
Consumer Products
Industriestrasse 10
5506 Mägenwil
Phone: (+41) (0) 848800 464
info
@gardena.ch
Turkey
GARDENA / Dost Diþ Ticaret
Mümessillik A.Þ. Sanayi
Çad. Adil Sokak No.1
Kartal - Ýstanbul
Phone: (+90) 216 3893 939
info
@gardena-dost.com.tr
Ukraine /Україна
ТОВ «ГАРДЕНА УКРАЇНА»
Васильківська, 34, 204-Г
03022, Київ
Тел. (+38 044) 498 39 02
info
@gardena.ua
4021- 20.960.06/ 0908
©
GARDENA
Manufacturing GmbH
D-89070 Ulm
http: //www.gardena.com
 Loading...