

Page 1
®
®
FUSION
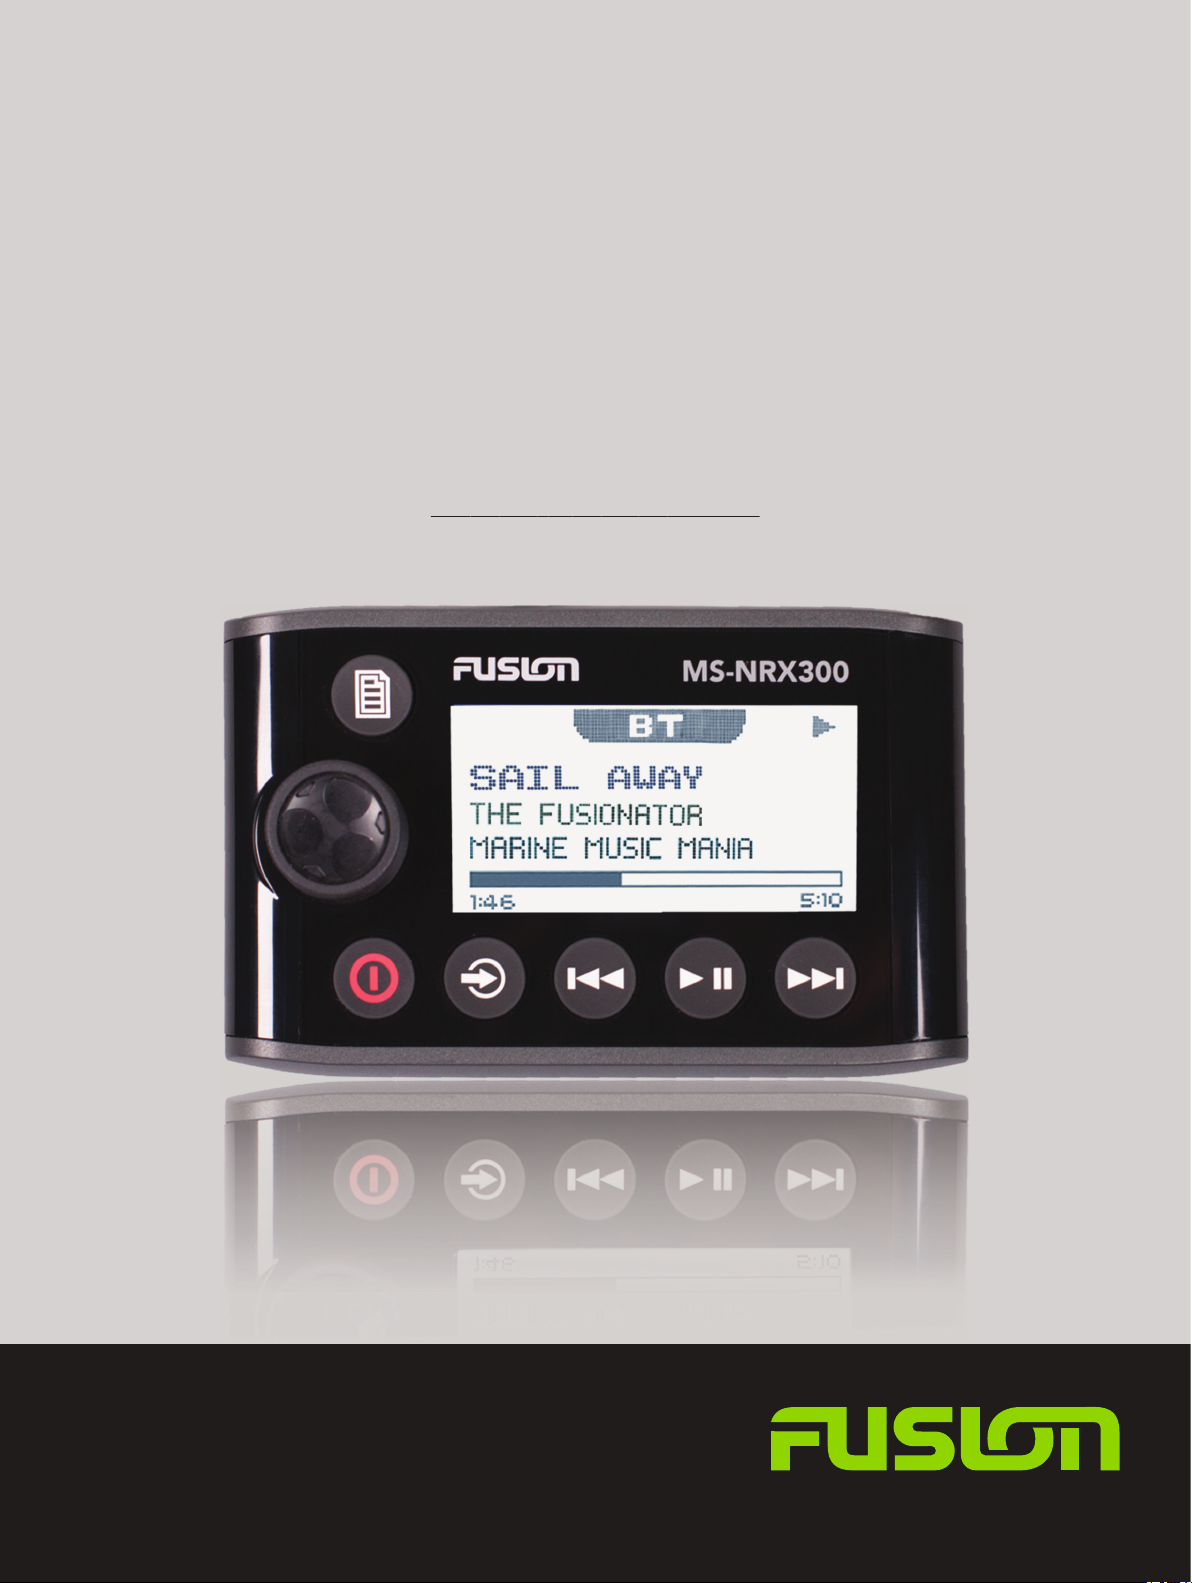
MS-NRX300
M A R I N E W I R E D R E M O T E
OWNER’S MANUAL
ENGLISH
FUSIONENTERTAINMENT.COM
Page 2

All rights reserved. Under the copyright laws, this manual may not be copied, in whole or in part, without the written consent of Garmin. Garmin reserves the
right to change or improve its products and to make changes in the content of this manual without obligation to notify any person or organization of such
changes or improvements. Go to www.garmin.com for current updates and supplemental information concerning the use of this product.
Garmin®, the Garmin logo, FUSION®, and the Fusion logo are trademarks of Garmin Ltd. or its subsidiaries, registered in the USA and other countries.
FUSION-Link™ is a trademark of Garmin Ltd. or its subsidiaries. These trademarks may not be used without the express permission of Garmin.
Apple® is a trademark of Apple Inc., registered in the U.S. and other countries. Android™ is a trademark of Google Inc. Bluetooth® word mark and logos are
owned by the Bluetooth SIG, Inc. and any use of such marks by Garmin is under license. NMEA®, NMEA 2000®, and the NMEA 2000 logo are registered
trademarks of the National Marine Electronics Association. All rights reserved. Other trademarks and trade names are those of their respective owners.
Page 3

Table of Contents
Getting Started 1
Device Controls 1
Using the Dial to Select Items 1
Entering Text 1
Adjusting the Backlight Brightness and Contrast 1
Disabling the Power Save Feature 1
Assigning the Remote to a FUSION Stereo 1
Adjusting the Volume 1
Adjusting the Tones 1
Speaker Zones 1
Assigning the Remote to a Zone 2
Switching Between Remote Control Mode and NMEA 2000
Repeater Mode 2
Selecting NMEA 2000 Information to View 2
Cycling NMEA 2000 Information Automatically 2
Selecting Units of Measure 2
Bluetooth® Device Playback 2
Controlling Music Playback on a Bluetooth Device 2
Selecting a Different Bluetooth Source 2
Bluetooth Source Settings 2
USB Device Playback 3
Controlling Music Playback on a USB Flash Drive 3
Shuffling Songs 3
Setting a Song to Repeat 3
Controlling Music Playback on an Apple or Android Device 3
Radio 3
Setting the Tuner Region 3
Changing the Radio Station 3
Presets 3
Saving a Channel as a Preset 3
Removing Presets 3
General Settings 3
More Information 4
Registering Your FUSION MS-NRX300 4
Software Updates 4
Index 5
Table of Contents i
Page 4
Getting Started
WARNING
See the Important Safety and Product Information guide in the
product box for product warnings and other important
information.
The FUSION® MS-NRX300 wired remote control is an optional
accessory for compatible FUSION stereos.
To help you understand how the FUSION MS-NRX300 remote
control works, this manual contains instructions for using the
FUSION MS-NRX300 remote control with the FUSION MSBB100 stereo. The available features and functions of the
FUSION MS-NRX300 remote control may vary based on the
stereo being controlled. For specific information about your
stereo, see the stereo owner's manual.
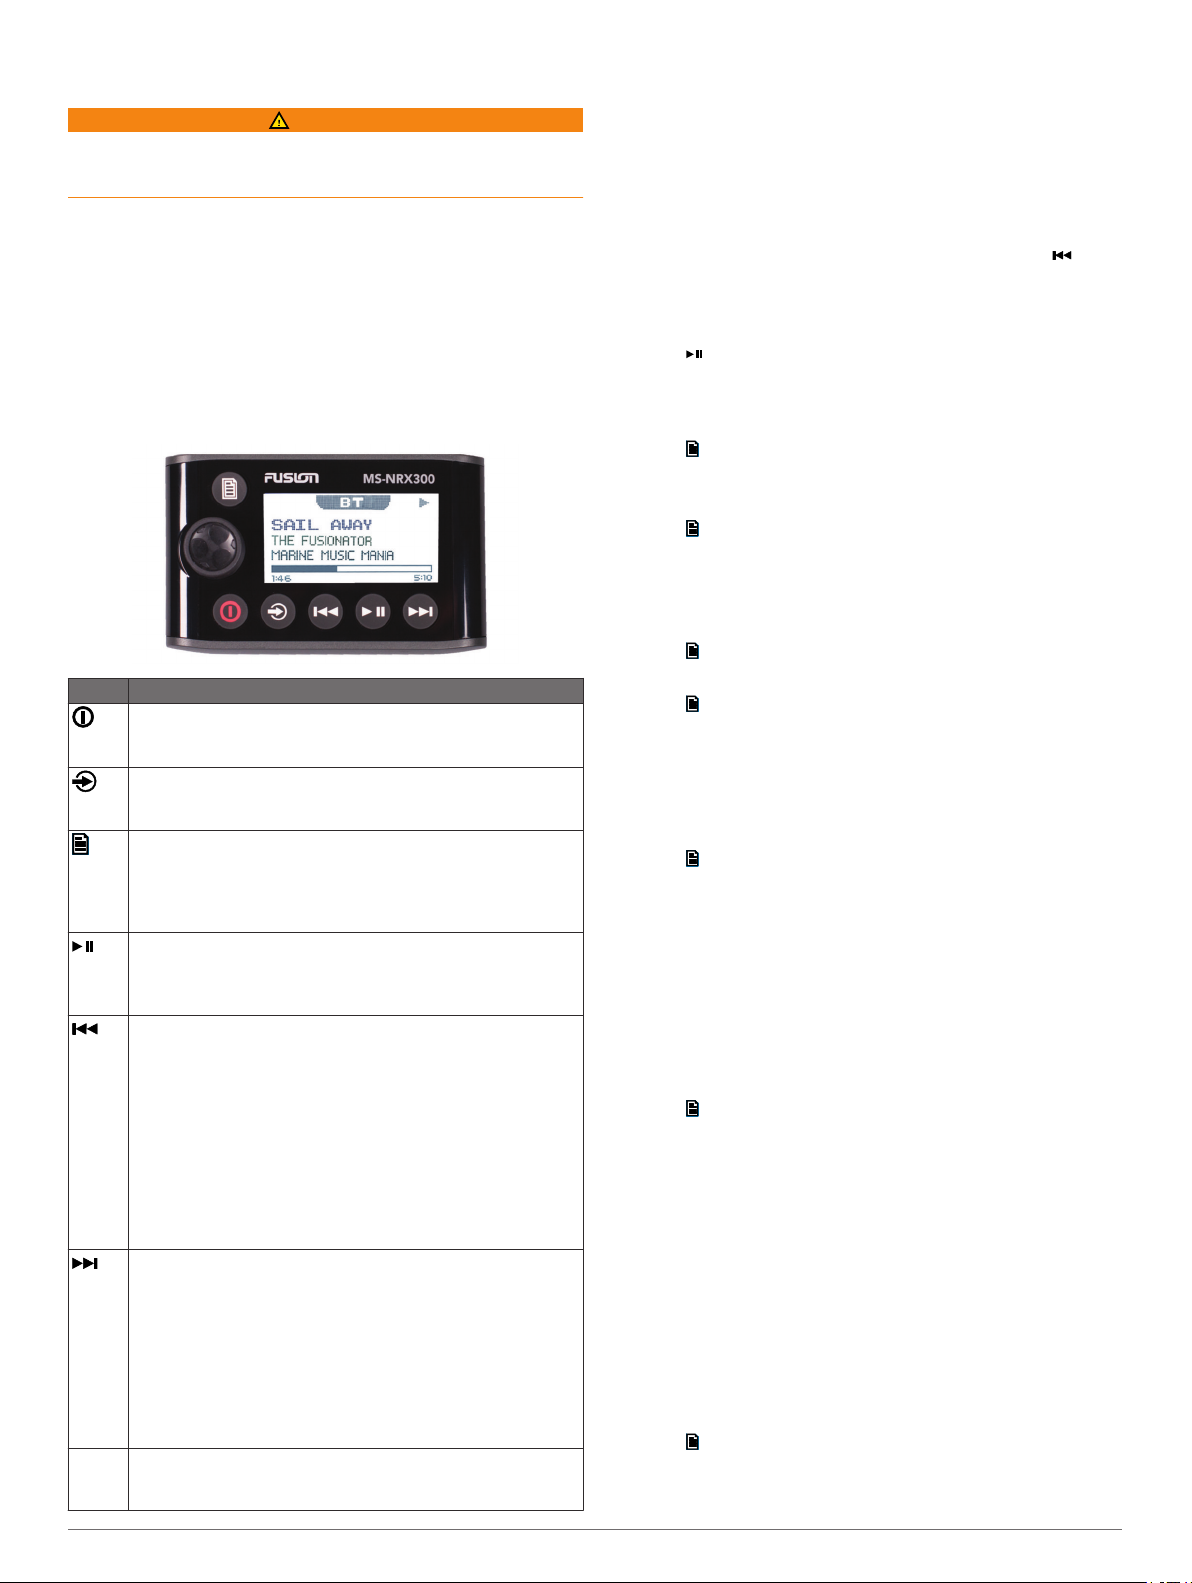
Device Controls
Button Function
• Select to turn on the device.
• Select to mute and un-mute the audio.
• Hold to turn off the device.
• Select to cycle the available sources.
• Hold to switch from remote control mode to NMEA 2000
mode.
• Select to open the menu.
• Select to return to the previous screen from the menu.
• Hold to exit the menu.
• Select to switch from NMEA 2000 mode to remote control
mode.
• BT or USB: Select to pause or resume the current track.
• AM/FM: Select to cycle through the tuning modes (auto,
manual, and presets).
• DAB: Select to scan for DAB stations.
• BT or USB: Select to skip to the beginning of the track or to
the previous track.
• AM/FM:
◦ Auto or manual tuning: Select to tune to the previous
station.
◦ Hold for faster station skipping.
◦ Presets: Select to change to the previous preset.
• AUX: Select to decrease the gain for the connected source.
• DAB: Select to return to the previous DAB station in the
ensemble. When you reach the beginning of the current
ensemble, the stereo automatically changes to the last
available station in the previous ensemble.
• Media player or USB: Select to skip to the next track.
• AM/FM:
◦ Auto or manual tuning: Select to tune to the next station.
◦ Hold for faster station skipping.
◦ Presets: Select to change to the next preset.
• AUX: Select to increase the gain for the connected source.
• DAB: Select to advance to the next DAB station in the
ensemble. When you reach the end of the current
ensemble, the stereo automatically changes to the first
available station in the next ensemble.
Dial • Turn to adjust the volume, move through the menus, or
adjust a setting.
• Press to select an option or a setting.
®
Using the Dial to Select Items
You can use the dial to highlight and select items on the screen.
• Turn the dial to select an item on the screen.
• Press the dial to select the highlighted option.
Entering Text
You can enter text to change some settings field values on this
device.
In a settings field that allows you to enter text, select to
1
erase the existing characters.
Use the dial to choose a letter, and press the dial to select it.
2
Add additional letters to finish entering the text.
3
Select to save the new text.
4
Adjusting the Backlight Brightness and Contrast
Select > SETTINGS > LCD.
1
Press the dial to select brightness or contrast.
2
Adjust the brightness or contrast.
3
Select to exit the menu.
4
Disabling the Power Save Feature
After you manually adjust the backlight, it turns off automatically
after a period of time to save power. You can disable this
feature.
Select > SETTINGS > POWER SAVE.
1
Press the dial to enable or disable the feature.
2
Select to exit the menu.
3
Assigning the Remote to a FUSION Stereo
You must assign the remote control to the stereo after installing
the remote control. When multiple FUSION stereos are installed
on the NMEA 2000 network, you can assign a remote control to
a specific stereo.
Select > SETTINGS > STEREO.
1
Select a FUSION stereo.
2
Press the dial to save and exit the menu.
3
Adjusting the Volume
Use the dial to adjust the volume.
1
If necessary, press the dial to switch between zones.
2
TIP: To control all zones at the same time, press the dial until
all zones are highlighted.
Adjusting the Tones
Select > SETTINGS > TONE.
1
Use the dial to adjust the level.
2
Press the dial to switch to a different tone.
3
Speaker Zones
You can group speakers in one area into speaker zones. This
enables you to control the audio level of the zones individually.
For example, you could make the audio quieter in the cabin and
louder on deck.
Zones 1 and 2 are powered by the on-board, Class AB amplifier.
To use the two line outputs and the two subwoofer outputs, you
must connect external amplifiers.
You can set the balance, volume limit, and name for each zone.
You can set the subwoofer level for zone 1.
Setting up Speaker Zones
Select > SETTINGS > ZONE.
1
Select a zone.
2
Select one or more options:
3
Getting Started 1
Page 5

NOTE: Not all options are available for all zones.
• To link zones 1 and 2, select LINK TO ZONE 1 to fill the
option button (zone 2 only).
• To adjust the right and left speaker balance of this zone,
select BALANCE, and use the dial to set the balance.
• To limit the maximum volume output of this zone, select
VOLUME LIMIT, and use the dial to set the limit.
• To set the subwoofer filter, select SUB FILTER, and use
the dial to set the filter (zone 1 only).
• To set the subwoofer level, select SUB LEVEL, and use
the dial to set the level (zone 1 only).
TIP: To open the subwoofer level from any screen, press
and hold the dial for three seconds.
• To give the zone a specific name, select SET ZONE
NAME (Entering Text, page 1).
Linking Zones
Select > SETTINGS > ZONE > ZONE 2.
1
Select LINK TO ZONE 1 to fill the button.
2
When zones 1 and 2 are linked, appears between zones 1
and 2 on the volume screen.
Assigning the Remote to a Zone
Select > SETTINGS > ZONE > ASSIGN.
1
Select a zone or all zones.
2
Select to exit the menu.
3
Adjusting the Subwoofer Filter
You can use the subwoofer filter setting to control the subwoofer
cutoff frequency, which can enhance the blend of the sound
produced by the speakers and the subwoofer. Audio signals
above the selected frequency are not passed to the subwoofer.
The setting applies to both subwoofer outputs.
Select > SETTINGS > ZONE > ZONE 1 > SUB FILTER.
1
Select a frequency.
2
Press the dial to save the selection.
3
Assigning the Remote to a Zone
Select > SETTINGS > ZONE > ASSIGN.
1
Select a zone or all zones.
2
Select to exit the menu.
3
Switching Between Remote Control Mode and NMEA 2000 Repeater Mode
By default, the remote control is in remote control mode when
you power it on, allowing you to control a connected FUSION
device. You can switch to NMEA 2000 repeater mode to view
supported data sentences from connected NMEA 2000 devices.
Hold to switch from remote control mode to NMEA 2000
1
repeater mode.
While in NMEA 2000 repeater mode, you can control the
volume and playback of the current source.
Select to switch from NMEA 2000 repeater mode to remote
2
control mode.
Selecting NMEA 2000 Information to View
Before you can view NMEA 2000 information, you must set the
remote control to NMEA 2000 repeater mode.
Select > SETTINGS > NMEA MONITOR.
1
Select the NMEA 2000 supported data sentences to view.
2
You can view information only from sensors connected to the
same NMEA 2000 network as the remote control.
Select to exit the menu.
3
Cycling NMEA 2000 Information Automatically
By default, when in NMEA 2000 repeater mode, the remote
shows one type of information. You can cycle through all
available NMEA 2000 information by pressing repeatedly or by
setting up automatic cycling.
Select > SETTINGS > NMEA MONITOR > CYCLE
1
SCREENS.
Select the time between cycles.
2
Select to exit the menu.
3
Selecting Units of Measure
Select > SETTINGS > NMEA MONITOR > SET UNITS.
1
Select the units of measure for distance, speed, and depth.
2
Select to exit the menu.
3
Bluetooth® Device Playback
You can pair the stereo to up to eight Bluetooth media devices.
You can control the playback using the keys, but you cannot
browse the music collection. You should select the song or
playlist on the media device.
The availability of song information such as song title, artist
name, and track duration depends on the capability of the media
player and music application. The shuffle and repeat status
icons are not supported over Bluetooth wireless technology.
Controlling Music Playback on a Bluetooth Device
You can use the remote to connect and control the music
playback of a compatible Bluetooth smartphone or media player
to the connected stereo.
Select the Bluetooth source.
1
Select > DISCOVERABLE to make the stereo visible to
2
your compatible Bluetooth device.
NOTE: The stereo is discoverable for only two minutes to
prevent interruption to audio streaming over Bluetooth
wireless. If more than two minutes pass before you connect a
compatible device, you must repeat this step.
Enable Bluetooth on your compatible Bluetooth device.
3
Bring the compatible Bluetooth device within 10 m (33 ft.) of
4
the stereo.
On your compatible Bluetooth device, search for Bluetooth
5
devices.
Select the stereo from the list of detected devices.
6
Follow the on-screen directions to connect to the discovered
7
stereo.
When pairing, your compatible Bluetooth device may ask you
to confirm a code on the remote control. The remote control
does not display a code, but it connects correctly when you
confirm the message on the compatible Bluetooth device.
Use the controls on the remote control to control the music
8
playback.
Selecting a Different Bluetooth Source
When you have more than one Bluetooth device paired to the
stereo, you can select a different source when needed. You can
connect the stereo to up to eight Bluetooth devices.
With the BT source selected, select .
1
Select a Bluetooth device.
2
Bluetooth Source Settings
With the BT source selected, select .
DISCOVERABLE: Allows the stereo to be visible to Bluetooth
devices. This setting turns off automatically after two minutes
2 Bluetooth® Device Playback
Page 6

to prevent possible interruption to audio after pairing a
Bluetooth device to the stereo.
REMOVE DEVICE: Removes the Bluetooth device from the
stereo. To listen to audio from this Bluetooth device again,
you must pair the device again.
USB Device Playback
You can connect various USB media players and smartphones
to the stereo. For example, you can connect an Android
smartphone, a USB flash drive, or a compatible Apple® device.
For information about compatible devices, see the owner's
manual for the stereo.
Controlling Music Playback on a USB Flash Drive
Connect a compatible USB flash drive or media player to the
1
stereo.
Select the USB source.
2
Select .
3
Select the name of the USB drive to view the file structure of
4
the USB flash drive or media player.
Select a song to begin music playback.
5
Shuffling Songs
The shuffle feature is available on the USB source only.
NOTE: The shuffle feature is controlled by the music application
on connected Apple and Android devices, if supported by the
application.
From the USB source, select .
1
Select SHUFFLE.
2
Setting a Song to Repeat
The repeat feature is available on the USB source only.
NOTE: The repeat feature is controlled by the music application
on connected Apple and Android devices, if supported by the
application.
From the USB source, select .
1
Select REPEAT.
2
Controlling Music Playback on an Apple or Android Device
Connect a compatible Apple or Android device to the stereo
1
using USB or Bluetooth.
Select the appropriate source.
2
Launch a music application on the connected Apple or
3
Android device and begin playback.
You can use the stereo controls to play, pause, and skip tracks.
™
Radio
To listen to AM or FM radio, you must have a suitable marine
AM/FM antenna properly connected to the stereo and be within
range of a broadcasting station. For instructions on connecting
an AM/FM antenna, see the stereo installation instructions.
Setting the Tuner Region
You must select the region you are in to receive AM and FM
stations properly.
Select > SETTINGS > TUNER REGION.
1
Select the region you are in.
2
Changing the Radio Station
Select an applicable source, such as FM.
1
Select repeatedly to move through the tuning modes:
2
• Select AUTO to scan and stop on the next available
station.
• Select MANUAL to select a station manually.
• Select PRESETS to select a saved station preset.
Select or to tune to the station.
3
Presets
You can save your favorite AM or FM stations as presets for
easy access. You can save up to 15 presets for each radio
band.
Saving a Channel as a Preset
With an applicable source selected, tune the stereo to a
1
channel.
Select > PRESETS.
2
Select SAVE CURRENT or ADD PRESET.
3
TIP: You can quickly save the selected channel as a preset by
holding .
Removing Presets
With an applicable source selected, select > PRESETS >
1
REMOVE PRESET.
Select an option:
2
• To remove one preset, select the preset.
• To remote all presets, select REMOVE ALL PRESETS.
General Settings
Select > SETTINGS.
NOTE: When an option button is filled, the option is on. When
the button is clear, the option is off.
NOTE: Not all options and settings are available for all stereos.
See the stereo owner's manual for more details.
ZONE: Enables you to configure the speaker zones.
ZONE > TONE: Adjusts the bass, middle, and treble tones.
LCD: Sets the brightness and contrast.
POWER SAVE: Enables and disables the backlight power-save
feature.
KEY SOUND: Enables and disables the sound.
WAKE WITH STEREO: Turns on the remote when the stereo is
turned on.
NMEA MONITOR: Sets the data to view, the data display cycle,
and the units of measure for NMEA 2000 data.
LANGUAGE: Sets the language used on the remote.
SEARCHING: Enables FUSION Alpha Search Technology
(FAST), which allows you to quickly search for tracks by letter
or number. You can select a number to enable the FAST
menu if your music device contains more than the selected
number of items.
TUNER REGION: Sets the region used by the FM or AM source.
TEL/MUTE: Sets the behavior of the mute wire. The device can
either mute the audio or switch to the AUX input when the
optional mute wire is activated.
SET DEVICE NAME: Assigns a name to a connected stereo.
STEREO: Assigns the remote control to a connected stereo.
UPDATE: Updates the connected stereo, remote control, or
accessory.
UPDATE > FACTORY RESET: Resets the connected stereo
settings to factory default values.
USB Device Playback 3
Page 7

ABOUT: Shows the installed software version.
More Information
Registering Your FUSION MS-NRX300
Help us better support you by completing our online registration
today.
• Go to www.fusionentertainment.com.
• Keep the original sales receipt, or a photocopy, in a safe
place.
Software Updates
For best results, you should update the software in all FUSION
devices at the time of installation to ensure compatibility.
Go to www.fusionentertainment.com/marine to download the
latest software. Software updates and instructions are available
on your device product page.
4 More Information
Page 8

Index
A
AM 3
Android device 3
Apple device 3
B
bass 1
Bluetooth devices 2
D
device, registration 4
F
FM 3
K
keys 1, 3
L
language 3
P
presets 3
product registration 4
R
radio
AM 3
FM 3
registering the device 4
repeat 3
S
speaker zones 1, 2
subwoofer 2
T
tone 1, 3
treble 1
U
USB 3
flash drive 3
V
volume 2
adjusting 1
Index 5
Page 9

®
FUSION SUPPORT
New Zealand 09 369 2900
Australia 1300 736 012
Europe +44 (0) 870 8501242
USA 623 580 9000
Pacific +64 9 369 2900
FUSIONENTERTAINMENT.COM
May 2016 Printed in Taiwan 190-02022-00_0A
 Loading...