

Page 1
INSTALLATION GUIDE
r
BBWX3
SATELLITE RECEIVER
Please place the ESN sticker provided in the box below
Sirius Weather Receive
P/N: BBWX3
S/N: 12345MMDDYYNNNN
Made in China
This ESN number is required to activate SiriusXM weather and audio services
(audio services available on NavNet 3D only).
U.S.A
.
ESN: 012345678912
U.S.A
.
www.furunousa.com
Page 2
U.S.A
U.S.A
.
BBWX3 INSTALLATION GUIDE
U.S.A
.
BBWX3 INSTALLATION GUIDE
Switch LEDs - 100 Status Action
GREEN enoN T-ESAB 001 no dilos –
OFF
enoN T-ESAB 01
Switch LEDs – Link/Act Status Action
YELLOW enoN detcennoC no dilos –
YELLOW – enoN ytivitca ataD gniknilb
OFF
enoN detcennoc toN
5.4 General Maintenance
.
BBWX3 INSTALLATION GUIDE
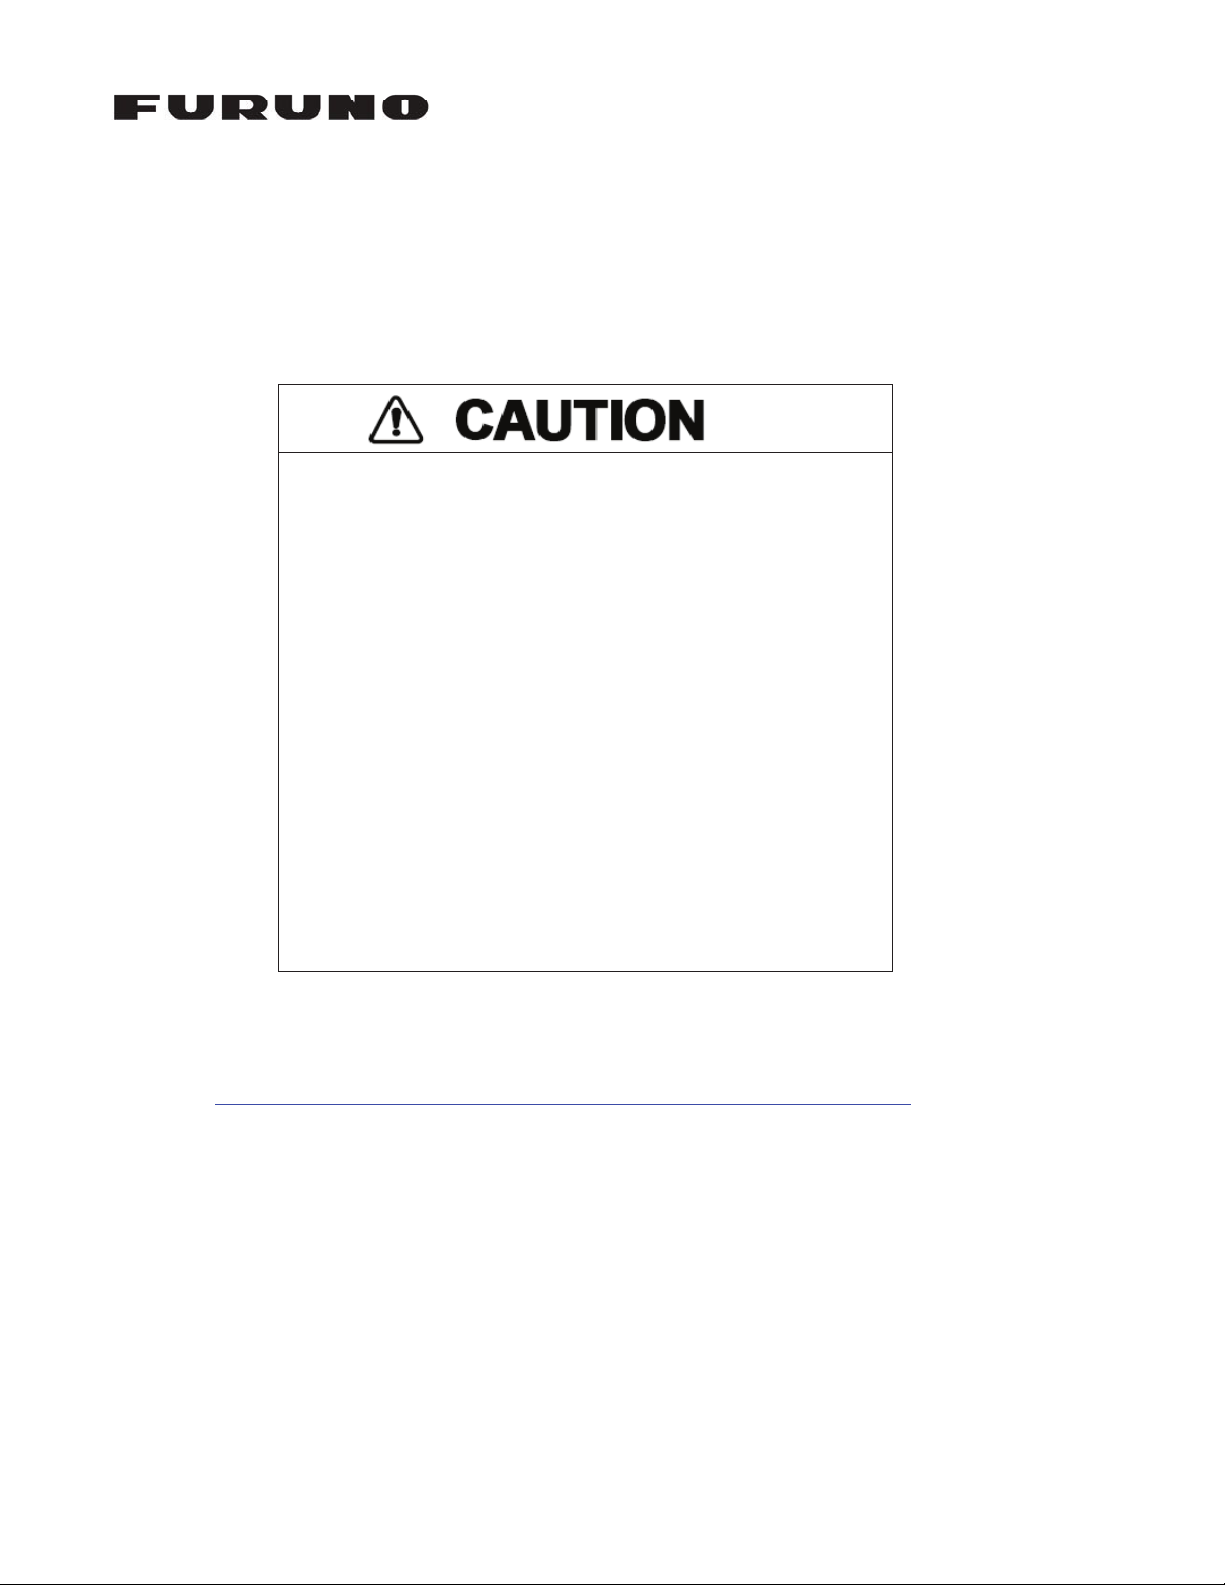
Always turn your Receiver OFF before carrying
out routine maintenance.
The following routine maintenance checks should be made:
Examine all cables for signs of wear and/or damage
Check that all cables are supported and are not stressing the connectors
Check that all connectors are fully inserted and supported
Wipe the unit with a clean damp cloth
Your Receiver is a sealed unit. DO NOT
SEPARATE the unit. There are no serviceable
parts or adjustments inside.
Any internal adjustments must be carried out by an
approved and qualified technician.
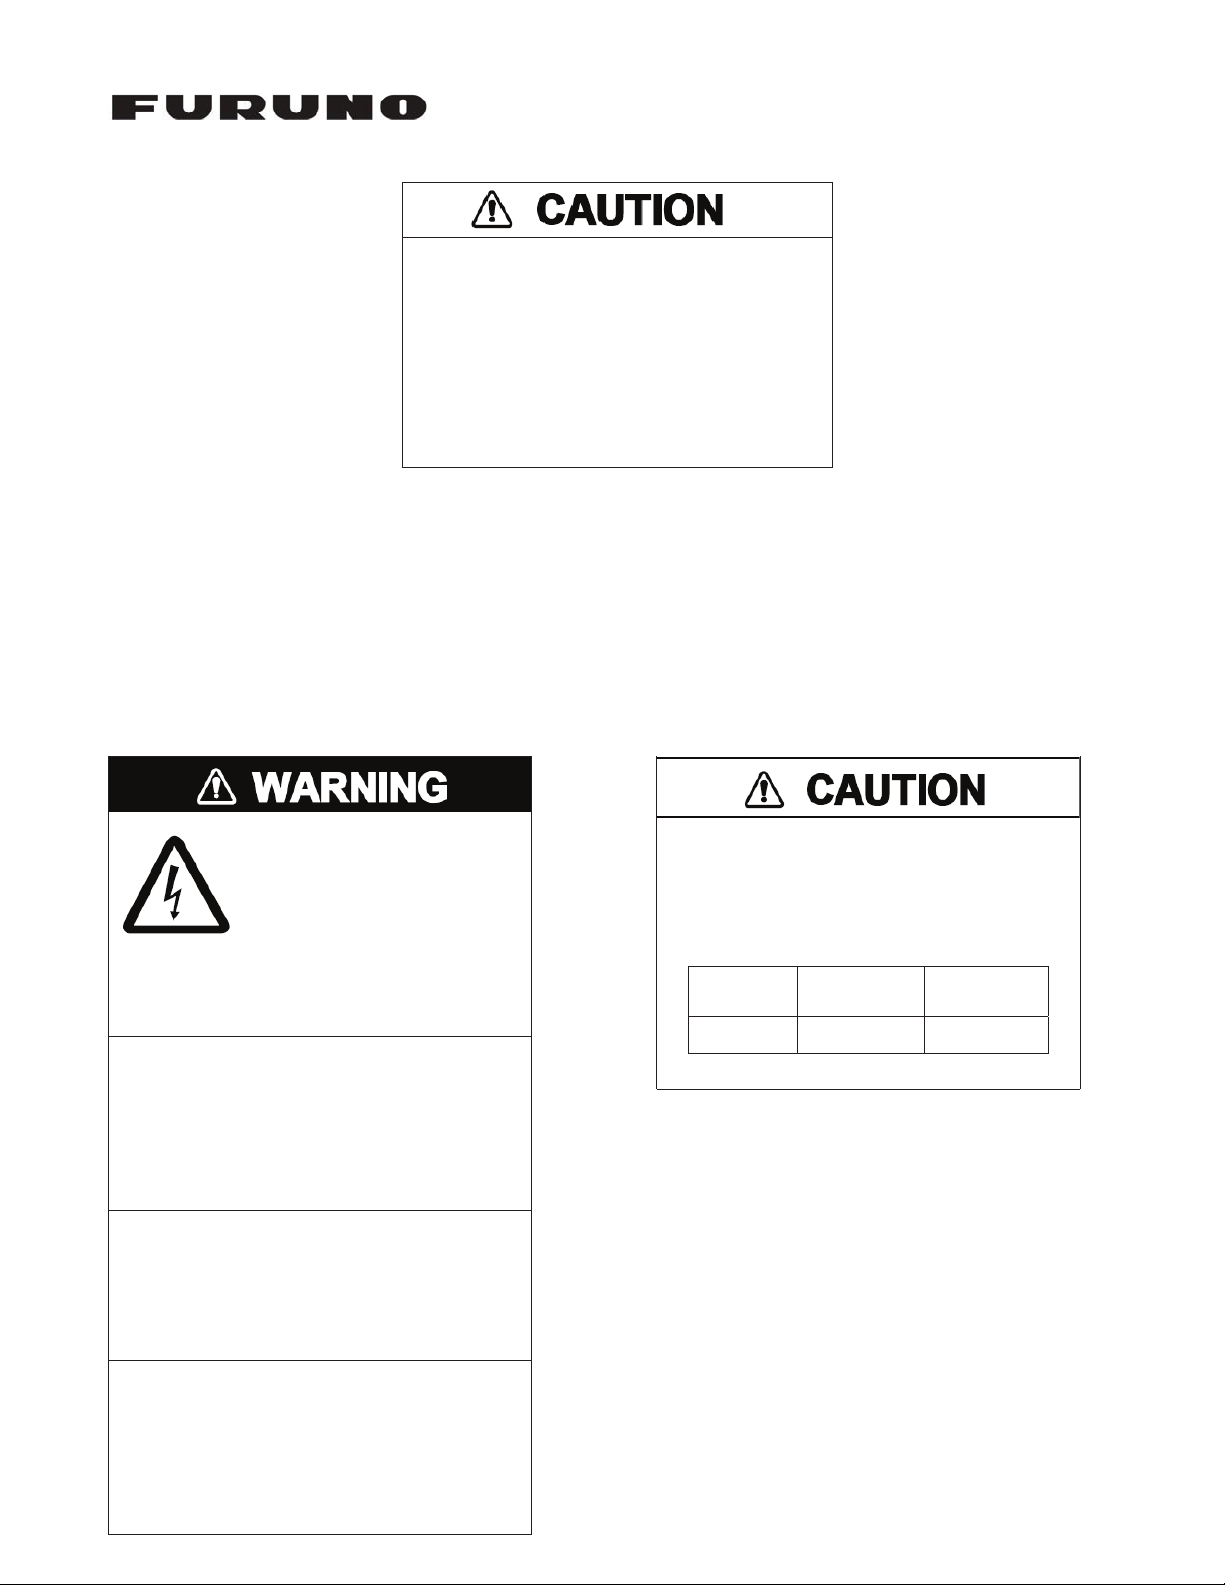
Do not open the enclosure
unless totally familiar
with electrical circuits.
Only qualified personnel
should work inside the
equipment.
Do not install the unit where it may get
wet from rain or water splash.
Water in the unit can result in fire,
electrical shock or damage the equipment.
Use only the specific power cable.
Fire or damage to the equipment can
result if a different cable is used.
Do not disassemble or modify the
equipment.
Observe the following compass safe
distances to prevent interference to a
magnetic compass:
BBWX3 0.8m 0.5m
Standard
Compass
Steering
Compass
Fire, electrical shock or serious injury can
result.
Page 3

U.S.A
.
BBWX3 INSTALLATION GUIDE
Table of Contents
1.0 Preface ....................................................................................................... 2
1.1 Disclaimer ................................................................................................ 2
2.0 Introduction ............................................................................................... 3
2.1 System Configuration ............................................................................. 3
2.2 Receiver/Switch Specifications ............................................................... 4
2.3 Equipment List ........................................................................................ 4
3.0 BBWX3 Installation ................................................................................... 5
3.1 Mounting Considerations ......................................................................... 5
3.2 Mounting the Antenna .............................................................................6
3.3 Cabling .................................................................................................... 6
3.4 Turning Power ON, LED function ............................................................ 7
4.0 SiriusXM Activation
.................................................................................
5.0 BBWX3 Operation
...................................................................................
5.1 Connecting to and configuring the NavNet 3D MFD (display)
...............
.......
8
9
9
9 5.2 Connecting to and configuring the NavNet TZtouch MFD (display)
18
Page 4
1.0 Preface
1.1 Disclaimer
Advisory – the weather information is subject to service
interruptions and may contain errors or inaccuracies and
consequently should not be relied upon exclusively. The
service is provided as is. You are urged to check
alternate weather information sources prior to making
safety related decisions.
You acknowledge and agree that you shall be solely
responsible for use of the information and all decisions
taken with respect thereto.
By using this service, you release and waive any claims
against SiriusXM Satellite Radio Inc., WSI, Navcast Inc.
and
This Installation Guide represents the product at the time
of printing. Furuno reserves the right to make changes to
the specification without notice.
U.S.A
.
Furuno with regard to this service.
BBWX3 INSTALLATION GUIDE
If you do not have a SiriusXM Subscription Agreement, you will find a copy at:
http://www.siriusxm.com/pdf/siriusxm_customeragreement_eng.pdf
Or call 1-800-869-5480 to have a copy sent to you.
2
Page 5

U.S.A
.
BBWX3 INSTALLATION GUIDE
2.0 Introduction
The BBWX3 unit is a SiriusXM Satellite Receiver with an Ethernet Interface (similar to the
BBWX1).
The BBWX3 Receiver provides SiriusXM Satellite weather services and Sirius RadioXM via a
audio connector. Audio control is only supported when connected to a compatible Furuno
7 pin
NavNet 3D MFD.
2.1 System Configuration
(no audio control)
3
Page 6

U.S.A
.
BBWX3 INSTALLATION GUIDE
2.2 Receiver/Switch Specifications
SiriusXM Weather Marine Inland, Marine Coastal, Marine Offshore
SiriusXM Radio Analog Output: 0 dBm into 600 Ω (0 dBv)
Transmission speed Half-duplex/Full-duplex; 10 Mbps/100 Mbps
I/O Ports 1 Port (Shielded RJ45)
Ambient Temperature -15 to 55 °C
Environmental Conditions
Relative Humidity 95%, 66°C, 18 hours
EMC IEC 60945 Rev 4, Sections 9.2 & 9.3
Water Ingress IPX7 (IEC 60529)
Power Supply 12 – 24 VDC, 0.4 A(<3.0 Watts)
Body Color Matte Black
2.3 Equipment List
Name Type Code No. Qty Remarks
BBWX3
Installation
Materials
XXXXXX BBWX3
- -
- -
- -
- -
1 Receiver
1 Power cable
1 Audio Cable
1 Ethernet Cable
1
SMA to SMB
Adaptor Cable
Ethernet
Cables
(not
included)
- -
Not provided
4 Pair LAN Cable Assy 001-167-880-10
4 Pair LAN Cable Assy 001-167-890-10
4 Pair LAN Cable Assy 001-167-900-10
4 Pair LAN Cable Assy 000-164-609-10
1 set Mounting Bracket/screws
2m For Navnet 3D
5m For Navnet 3D
10m For Navnet 3D
3m
Cable with waterproof
Connector for MFD8/12
4
Page 7

U.S.A
.
BBWX3 INSTALLATION GUIDE
3.0 BBWX3 Installation
The BBWX3 does not come standard with a SiriusXM satellite antenna or antenna cable. These
must be purchased separately. The BBWX3 is compatible with two Shakespeare antenna models:
SRA-40
SRA 25
Furuno USA carries the following:
WX1-005-003 Shakespeare SRA-40 antenna
WX1-005-004 25' BBWX3 Antenna Cable
For installations that require longer cable lengths you may contact your local Shakespeare
outlet for options.
3.1 Mounting Considerations
The BBWX3 can be mounted on a desktop or a bulkhead. When choosing a mounting
location, keep in mind the following points:
Locate the unit well away from areas subject
to intense splashing, rain and direct sunlight
Locate the unit away from the vessel engines
or where fuel vapor may be present
Locate the unit in an environment inside the
operating and storage temperature ranges
The power cable supplied is 3.0 meters,
however it can be extended up to 20 meters
If bulkhead mounting, the cables should
protrude out the bottom, not the top. This will
prevent any possible water (moisture) from
wicking into the unit from the cables
Note: The Antenna and Receiver should be mounted away from electromagnetic interference
(e.g. >1.5 meters away from an AIS or radio transmitter, >2.0 meters away from Radar,
>1.8 meters from a compass).
Fix the unit to the mounting location with the two self-tapping screws provided.
5
Page 8

U.S.A
.
BBWX3 INSTALLATION GUIDE
3.2 Mounting the Antenna
• Do not install antenna where it can be damaged by being kicked or trampled.
• The antenna beam is required to have an unrestricted view of the skies; this
constitutes 5 ft [1.5 meters] out from the antenna and 1 ft [0.3 meter] above and below
the antenna.
• The antenna is to be installed on a flat horizontal surface.
• The antenna can be installed as a standard “pedestal” mounting or “surface”
mounting [non metallic surface only].
• Depending on the method of mounting and thickness of mounting substrate, the
hardware screws supplied may not be suitable.
• The antenna must not be installed in the path of a radar beam.
• The antenna cable should not be cut or altered.
3.3 Cabling
Avoid running cables through bilges or doorways or
close to moving or hot objects. Don’t make sharp
bends in cables.
Be careful when pulling cables and/or connectors
through bulkheads as damage can occur. Don’t run
cables in a way that allows water to flow down into
connectors.
Where a cable passes through an exposed bulkhead
or deck head, a watertight gland or “swan neck”
should be used.
Don’t run the Ethernet cables in areas adjacent to
radar transmitter, or large current carrying cables.
The power cable provided is 3 meters long. However, it may be extended to a maximum of
20 meters using a suitable 16 AWG multi-stranded cable. Red is positive, black is negative.
The audio cable provided is 3 meters long. It has two RCA male stereo connectors.
Note that only certain MFDs provide audio control with the BBWX3.
The antenna cable for the BBWX3 is not standard supply and must be purchased
separately.
The Ethernet cables used with the BBWX3 must be shielded.
6
Page 9

U.S.A
.
BBWX3 INSTALLATION GUIDE
3.4 Turning Power ON, LED Indications/Functionality
Power ON
No operation is required for the user. Simply turn on the BBWX3’s DC power source to
power it.
BBWX3 LEDs
The LEDs are displayed near the connectors on the BBWX3 unit as shown below.
Audio LED
There is a single, green LED that provides the audio status of the BBWX3 receiver.
Generally, the Audio LED is solid green for normal operation; when off, the audio channel is
muted. When it is blinking, there is a receiver failure.
Antenna LED
The Antenna LED provides antenna status information. If the LED is off or flashing green
while power to the BBWX3 Receiver is applied, there is no antenna connection recognized by
the BBWX3.
If the Antenna LED is solid green, a normal antenna connection has been detected by the
BBWX3. If the Antenna LED is fast flashing (x2), an antenna short circuit has been detected.
Network LED
The Network LED indicates network status information. If the Network LED is off, no network
connection is recognized. If the Network LED is solid green or flashing green, the network
connection is normal.
Power LED
The Power LED is amber and indicates whether the receiver has power.
7
Page 10

U.S.A
.
BBWX3 INSTALLATION GUIDE
4.0 Activating your SiriusXM receiver
To enable the weather services and/or the radio services, you must first have a SiriusXM
subscription to these services. Individual and combination weather and audio subscriptions
are available.
For more information, please visit www.siriusxm.com/marineweather
www.siriusxm.com/radio/packages
.
Before calling SiriusXM, make sure that…
The installation is complete and the unit is powered on
There are no LED Error Indications and you are within the North American
SiriusXM Service Area
You have the ESN number of your BBWX3 Satellite Receiver from the label
shown below (this label is on the retail box, on the back of the unit itself or on the
inside cover of this Installation Guide)
or
You have the billing information to arrange payment of the subscription
You have a major credit card available (that has a US billing address)
U.S.A
.
Sirius Weather Receiver
P/N: BBWX2
S/N: 12345MMDDYYNNNN
Made in China
ESN: 012345678912
To activate a SiriusXM subscription, contact SiriusXM by calling 1-800-869-5480
NOTE: Activation of your BBWX3 SiriusXM receiver is undertaken with a third party
(SiriusXM). Furuno has no involvement in or responsibility for the actual activation process.
Page 11

U.S.A
.
BBWX3 INSTALLATION GUIDE
5.0 BBWX3 Operation
5.1 Connecting to and configuring the NavNet 3D MFD (display)
5.2 Connecting to and configuring the NavNet TZtouch (display)
9
Page 12

r
 Loading...