

Fukuda FRE-203XR, FRE-203XG, FRE-301R, FRE-301G Instructions Manual
FRE-203XR
1
INSTRUCTIONS
Supplied by Laser Levels Online – The Laser Level Specialists
www.laser-level.co.uk Tel: 08000 869 769
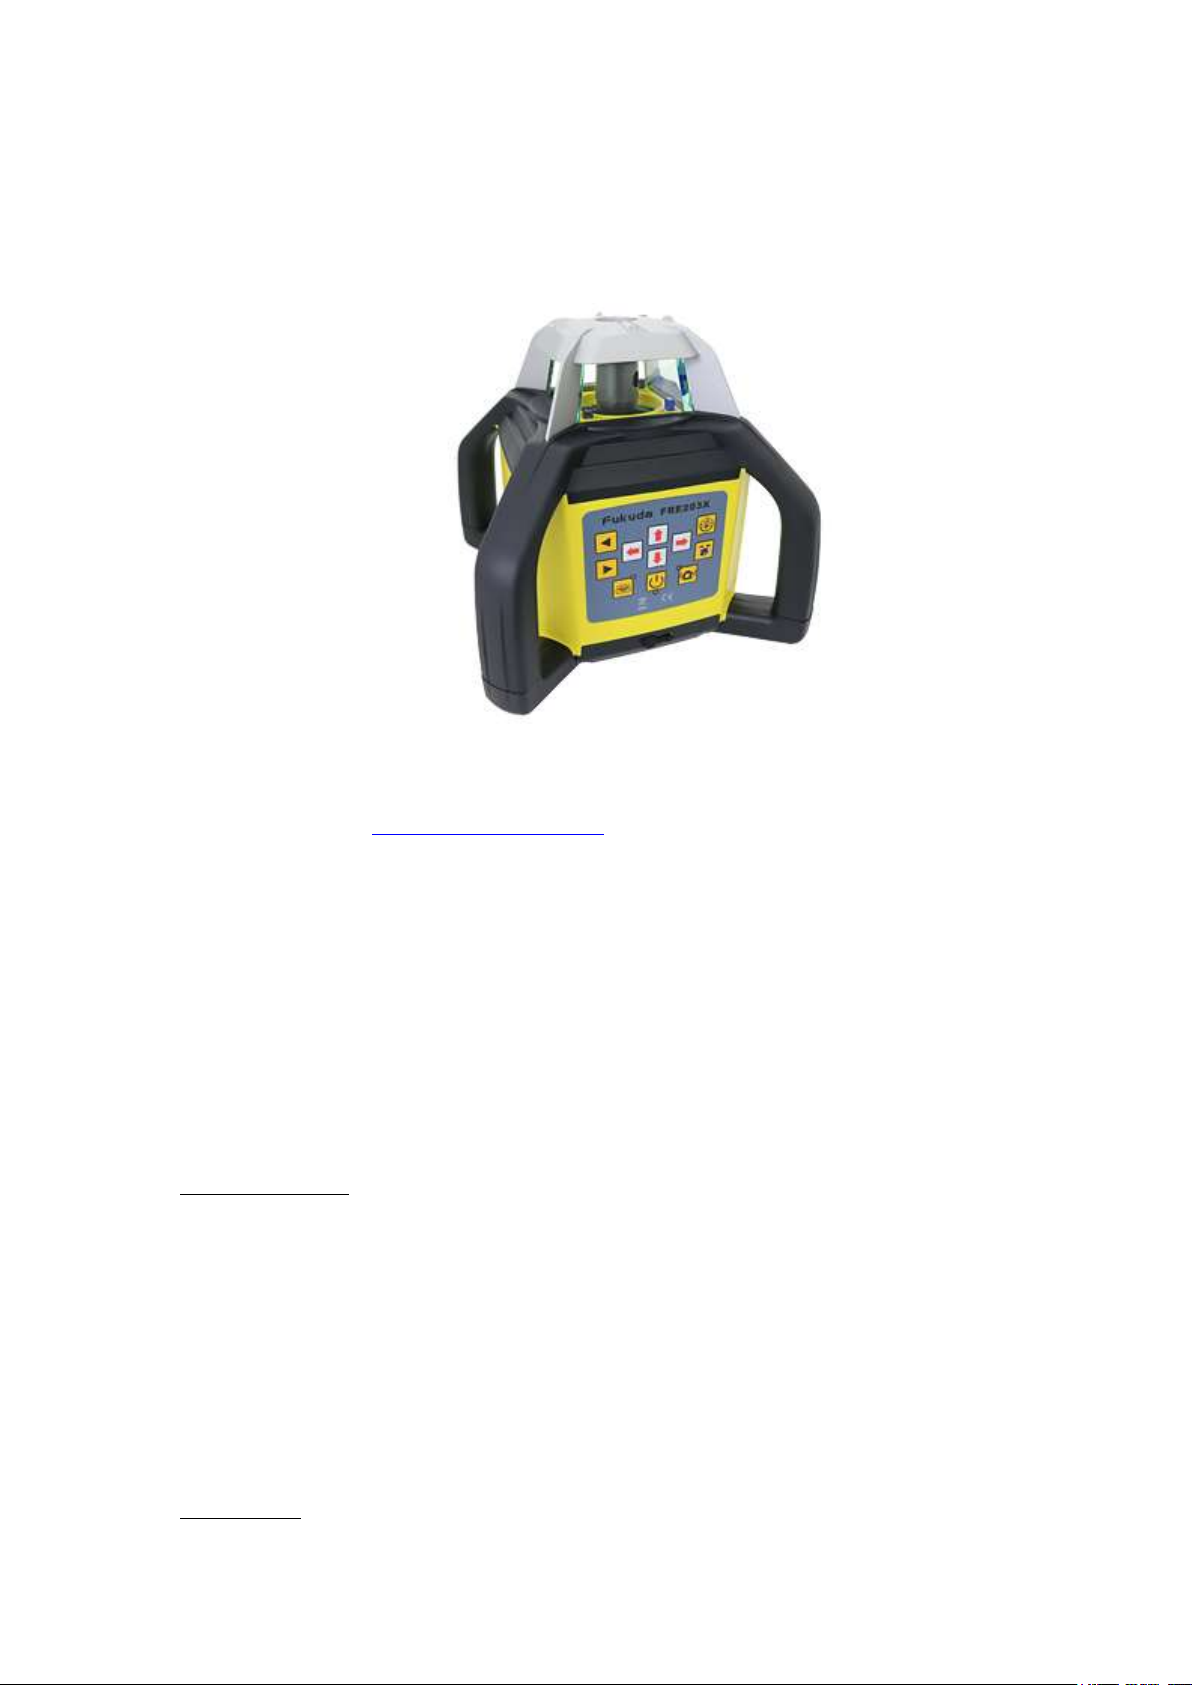
Thank you for purchasing the Fukuda FRE-203XR RED beam rotary laser kit.
These instructions are intended to explain the general basics to operating
this equipment. Please read them carefully.
For any more information, or if the laser requires calibration or repair; then
please contact our Service Department on Tel. 01246 260 007.
Email: sales@laser-level.co.uk We are here to help.
Power source:
This is a special battery pack located in the base of the laser. Remove & refit
via a central screw - finger tight (no tools are required).
It contains 4pc x "sealed for life" Ni-MH type C, 4000mAh, 1.2V cells. Please
note that this battery pack can be charged either in or outside of the laser.
The Mains Charger (supplied) will charge most batteries in around 7 hours to
give around 50 hrs of continuous use. It takes 4 to 5 charge/discharge cycles
for these battery packs to reach their maximum capacity.
Important: Do NOT allow battery to go completely dead before recharging.
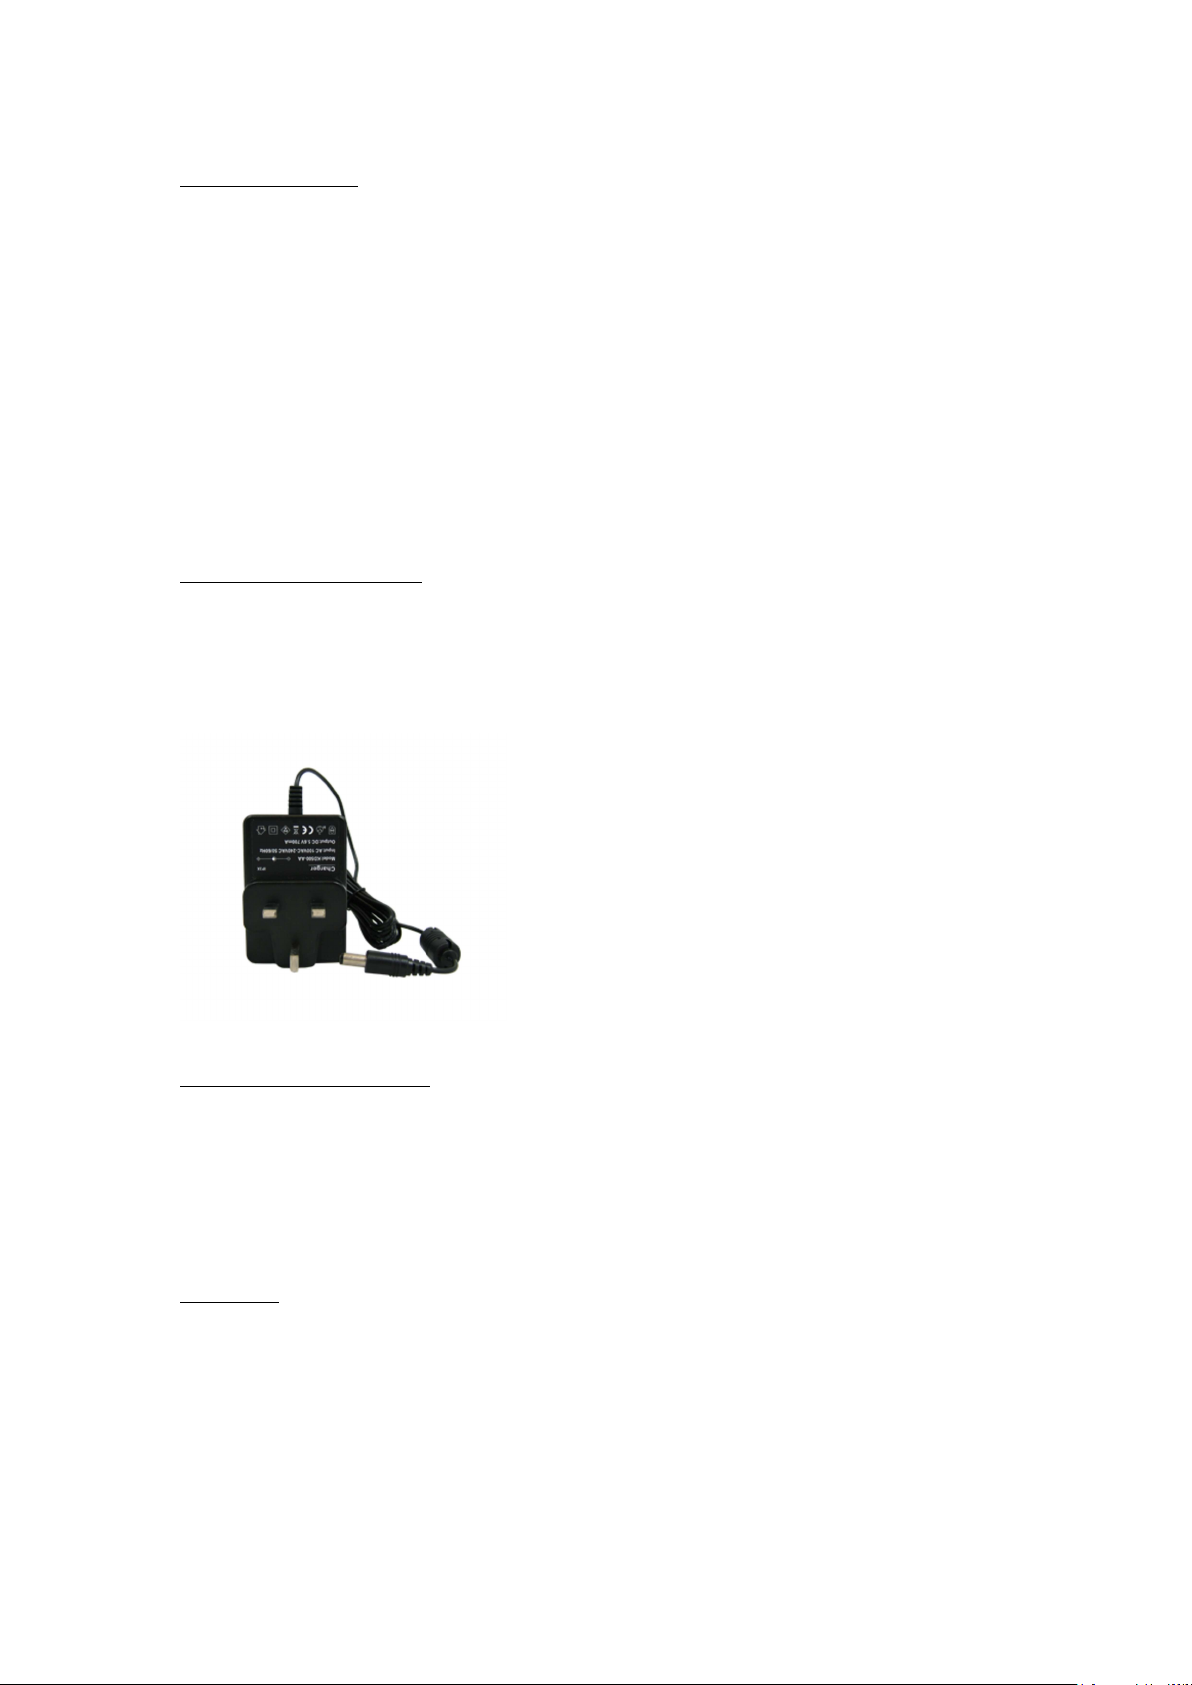
Mains Charger:
2
The general procedure to adopt is use the laser during the day & charge-up
overnight. You cannot damage the system by "over-charging" the batteries.
When plugged into a 230V mains supply, the red LED flashes every 1 sec.
Connect to the rubber protected socket (located in the corner / base of the
battery pack) & this LED should be ON continuously:
ie. Red LED = charging; Green LED = sufficient charge to operate.
Even though the Green light is ON, we still recommend a full charge.
The FRE-203XR can be operated with the charger connected to the mains
supply, if required and is approved on site. On receipt of your new laser, we
suggest charging the batteries fully for 5 - 6 hours.
A Spare Battery holder is included in the kit and can be used as a back-up
power source.
Four type C, 1.5V Alkaline batteries can be used instead or in an emergency;
but do NOT attempt to recharge them, otherwise serious damage will occur.
Positioning the Laser:
Mount the FRE-203XR on a generally level, firm surface or 5/8” threaded
surveying tripod.
To operate correctly, this surface must be within +/-5 deg of true horizontal.
The laser can be used Indoors or Outdoors, where it is waterproof to IP55.
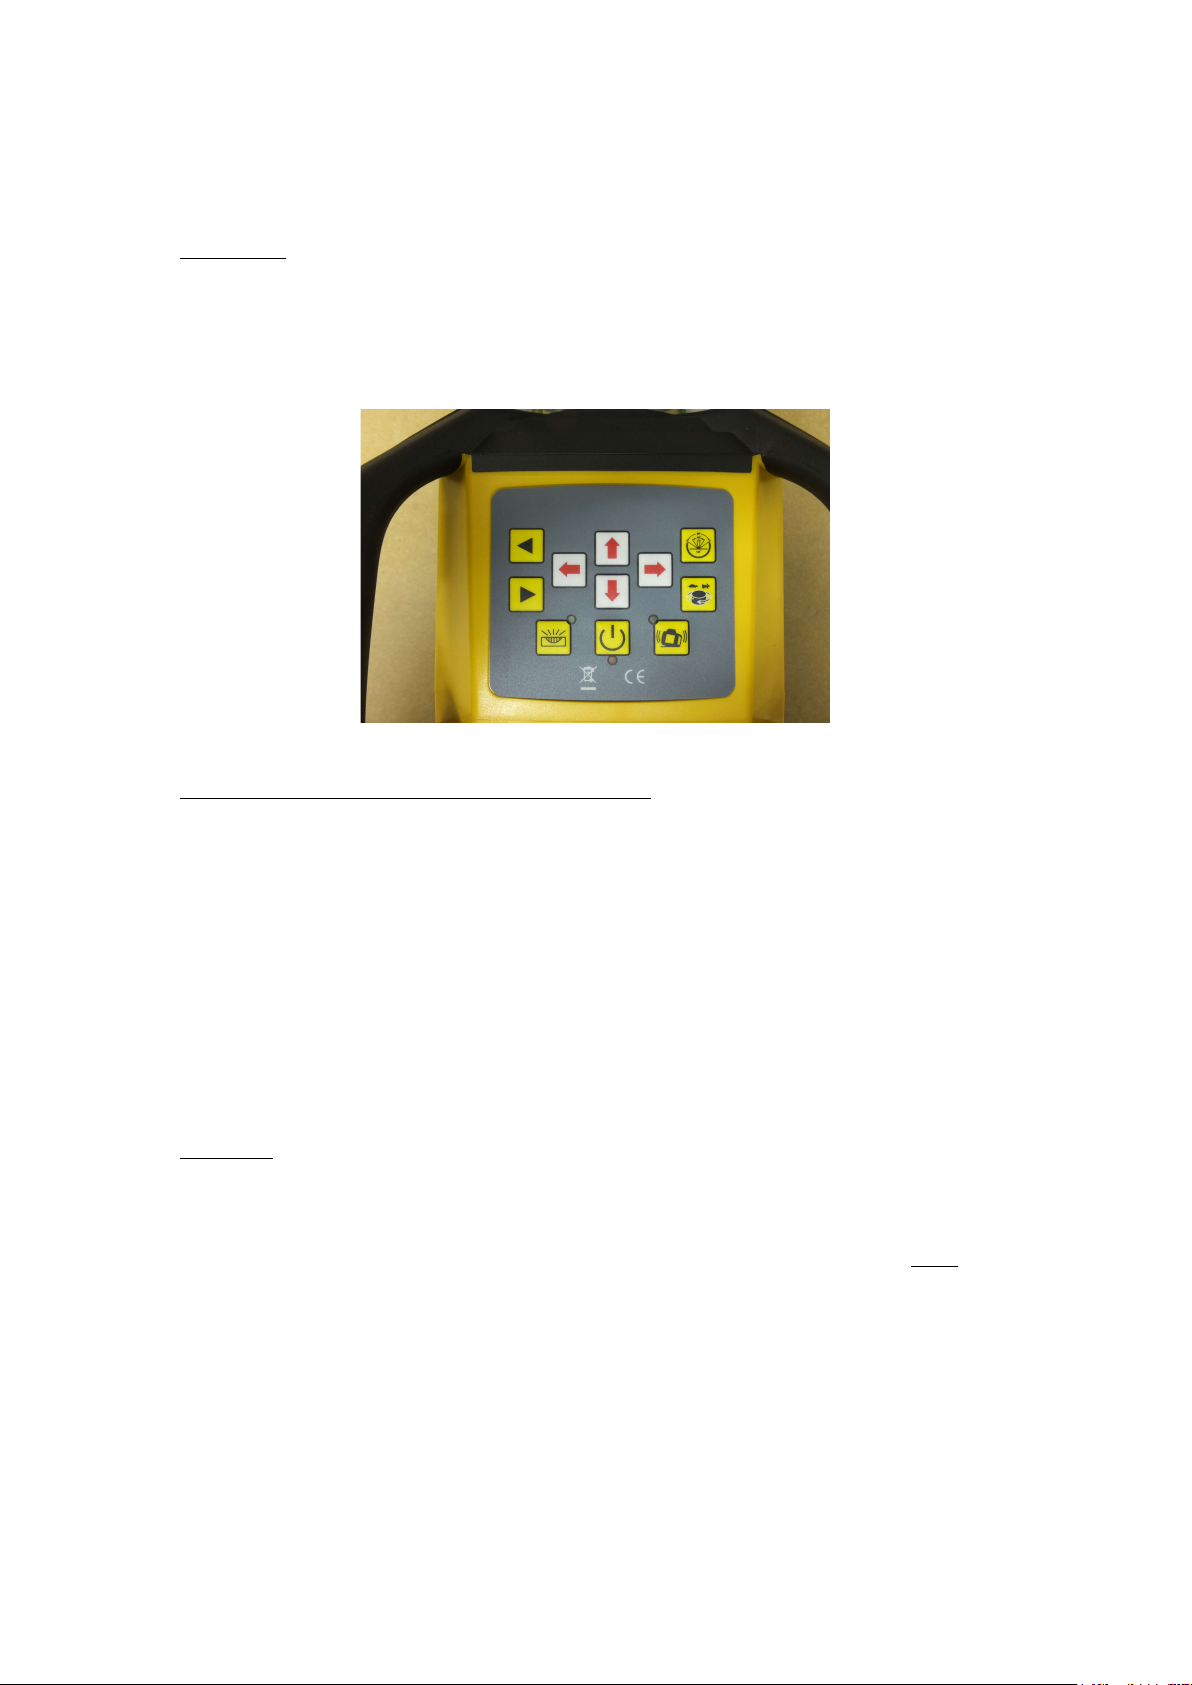
Controls:
Power ON/OFF is via central lower button. The laser takes approx. 20 secs to
auto level (possibly fine setting again) & then the head rotates continuously
to project a visible, red laser beam. The rotational speed is variable in four
increments. Adjust head speed using the “Tortoise/Hare” button (right hand
side in centre) & when pressed, it stops the red dot then increases the head's
rotational speed in four steps up to a maximum speed of 600rpm.
For Interior work, we suggest using slower speeds, where the laser beam is
3
easier to see by eye; but for Exterior Groundworks – run the FRE-203XR at its
maximum speed of 600rpm; which gives the best working range when used
with the supplied Laser Detector.
Even with its bright red laser beam, a detector will still be required for most
outdoor work.
SCAN function - for Indoors setting out:
The top button on the right of the keypad is the Scan function. The User can
set a Dot, or 10, 45, 90, 180 degree lines as required & use the two buttons
(top, left hand side of the keypad) to move these "laser lines" around the
room.
AS THIS LASER AUTO LEVELS BOTH HORIZONTALLY & VERTICALLY,
all the control settings above operate in either mode. (Vertical leveling,
with the laser positioned on its side, is often referred to as "Laydown")
Grading:
This is a DUAL GRADE facility laser level. This means that the FRE-203XR
can be switched to "Manual" (to over-ride the level sensors) and then the
User can set a grade (incline/slope) in the X axis only, Y axis only or both
together. The maximum settable slope is an approx. fall of 1m over 10m.
For X & Y alignment, please see the case markings on the TOP of the laser
body where sights point in the direction of the axis being set.
Setting a single axis slope:
This sets a grade in the X axis.
Procedure – switch ON; the FRE-203XR then auto levels.

Press the "Manual" button on laser's keypad (bottom left hand side) & the
4
green LED illuminates. Using the left & right red Arrow buttons, set the %
slope (fall) required - as measured on your staff. The same buttons can be
found on the Remote Control.
To return to Auto level, switch the Manual button to OFF (green LED turns
off). The Laser will wait to find true level, then automatically restart, self-
levelled again.
Setting Y axis slope:
This sets a grade in the Y axis.
Procedure – switch ON; the FRE-203XR then auto levels. Press the "Manual"
button on laser's keypad (bottom left hand side) & the green LED illuminates.
Using the up & down red Arrow buttons, set the % slope (fall) required - as
measured on your staff. The same buttons can be found on the Remote
Control.
To return to Auto level, switch the Manual button to OFF (green LED turns
off). The Laser will wait to find true level, then automatically restart, self-
levelled again.
Setting both X & Y axis slopes (dual grade):
Proceed as above, but use all four red Arrow buttons - as required.
Automatic Drift System (ADS):
Operated via bottom, right-hand yellow button, showing a "picture of a tilted
instrument".
Once the FRE-203XR is ON and rotating in the auto (self) levelled mode, the
automatic drift system can be activated. Press the button & the green LED will
flash slowly. ADS is now ON.
If the Laser is knocked or caught by a gust of wind for example, the laser
head will stop rotating and the green ADS LED will flash quickly to show an
alarm condition. Check all is OK; press the ADS button again & the laser will
reset to AUTO level.
IMPORTANT NOTE: The ADS function cannot be set when Grading.
 Loading...