

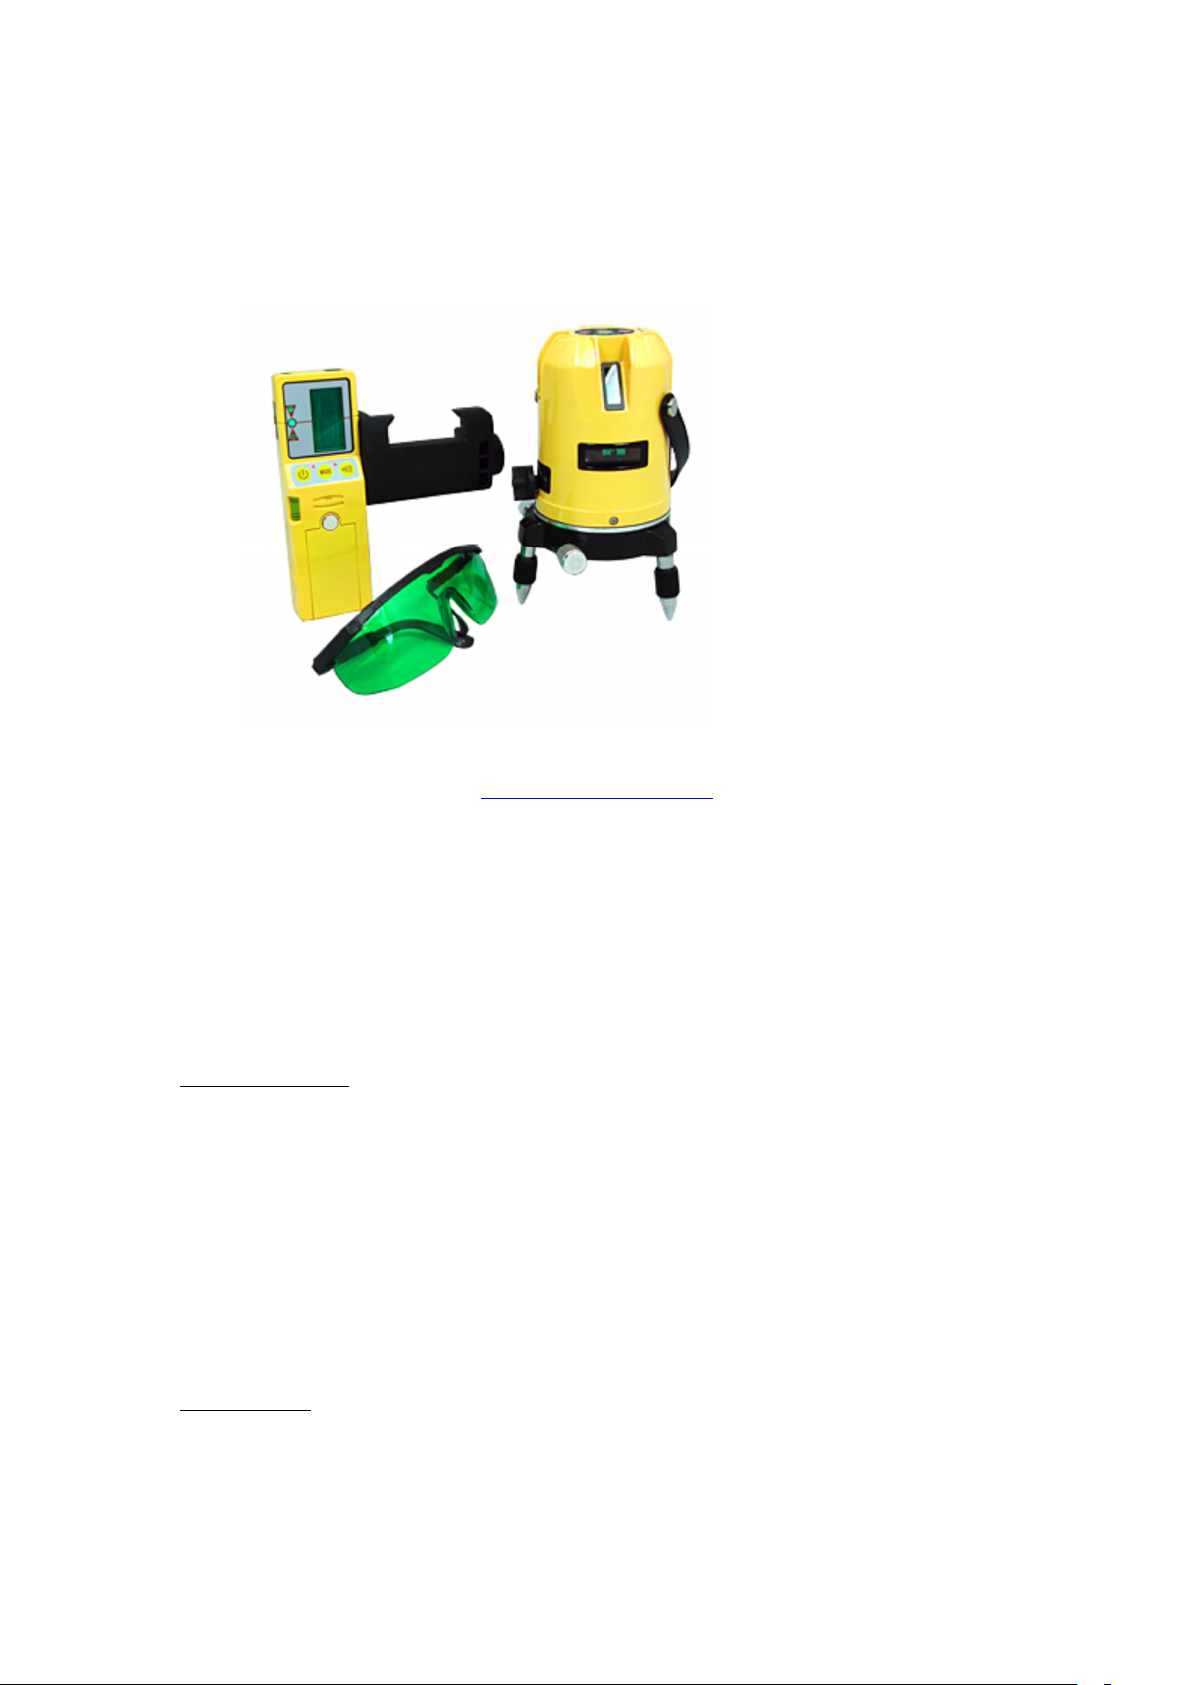
Fukuda EK-268G, FLG-411QG Instructions Manual
EK-268G
INSTRUCTIONS
from Laser Levels Online www.laser-level.co.uk Tel: 01246 269 777
Thank you for purchasing the EK-268G automatic Cross Line Laser Level kit.
These instructions are intended to explain the quick basics to operating this
equipment. If you need any more information, or the unit requires calibration
or repair, then please contact our Service Dept on tel 01246 269 777 or
fax 01246 260 007. Email: sales@laser-level.co.uk We are here to help.
Power source:
The EK-268G is fitted with a high powered 1800mAh Lithium-ion (Li-ion)
battery, type FL-1B. Ensure it is located securely behind the battery cover and
NEVER substitute it for a different rated Li-ion battery.
Only use the supplied Mains Charger (AC/5V-1A DC) to charge the battery in
ambient temperatures above 5 deg C. The Charger itself has no LED indicator.
Plug the Charger into a 230V socket and connect DC plug into laser body.
Push & twist it firmly into the laser's socket to operate the charging LED:
RED indicator denotes the battery is CHARGING.
GREEN indicator denotes battery is partially CHARGED. Further charging to
reach full capacity is recommended, taking approx. 4 hrs.
1

The laser can be operated without a battery by simply plugging in the Charger
and the available power is denoted by a GREEN indicator.
Important
However, we would recommend that a spare Li-ion battery is kept in the carry
case as a back-up, where Mains operated equipment is prohibited on-site.
Positioning the Laser:
Mount the EK-268G on a generally level, firm surface or a 5/8” threaded laser
accessory eg. a Floor to Ceiling Pillar or Tripod. You may need to use the
adapter. To operate correctly, this surface must be within +/-2.5 deg of true
horizontal. Use the top bubble level as a "guide".
If the laser alarms (ie. beeps every second), then it is outside its levelling
range.
Centralise the bubble level via the adjusting feet.
Principle of Operation:
It is important to note that this bubble level does NOT set the accuracy of the
level. The instrument has a fully automatic pendulum system to set true level.
IF THE EK-268G EMITS CONTINUOUS GREEN LASER LINES, THEN
THEY WILL ALL BE TRUE LEVEL & PLUMB.
This laser can be used Indoors or Outdoors, where it is waterproof to IP33.
Controls:
A simple ON/OFF switch combined with a black transit latch is located on the
side of the case. Position laser & centralise the bubble level, as described
above. Switch ON - the top bubble level & "H" LED will illuminate green & the
horizontal green laser line will project onto the wall opposite. To switch OFF,
press button "H" again.
A second button marked "V" is used to switch both of the vertical laser plumb
lines ON or OFF, either together or independently. Note also, the red down
dot.
*Outdoor button - see details below in the "How to use the Detector"
section.
Working Range:
2
 Loading...