

Page 1
This guide describes the workow required to proceed from installation to
operation of the (iSCSI type).
disk storage system
P3AM-2552-02EN
Setup Guide (iSCSI type)
Read and understand the "Safety Precautions"
before use.
The following items need to be prepared in advance:
IP addresses and subnet mask
(for the ETERNUS2000 and maintenance engineer PC)
Network equipment such as a switching hub
Web browser
(Microsoft® Internet Explorer 6.0 or later, Mozilla Firefox™ 1.5.0.10 or later, or Netscape 7.1 or later)
Java Runtime Environment 5.0
(Update 11 or later) or Java Runtime Environment 6.0 (Update 3 or later)
Make sure that all of the following manuals (supplied with the ETERNUS2000 on paper or CD) are handy:
"ETERNUS2000 disk storage system User Guide for models 100 and 200"
"ETERNUS2000 models 100 and 200 disk storage system Safety Precautions"
"ETERNUS2000 models 100 and 200 disk storage system Package Contents"
"ETERNUS8000, ETERNUS4000, ETERNUS2000 disk storage system Server Connection Guide (iSCSI)"
"ETERNUS8000, ETERNUS4000, ETERNUS2000, ETERNUS6000, ETERNUS3000 ETERNUSmgr Install Guide"
"ETERNUSmgr User Guide -Introduction-"
"ETERNUS2000 ETERNUSmgr User Guide -Settings/Maintenance- For models 100 and 200"
Installation space
Check that the installation area meets the space requirements
of the rack in which the ETERNUS2000 is to be installed.
Installation requirements
Check that the installation area satises all the requirements
described in the "Setting" section of the " ETERNUS2000
models 100 and 200 disk storage system Safety Precautions"
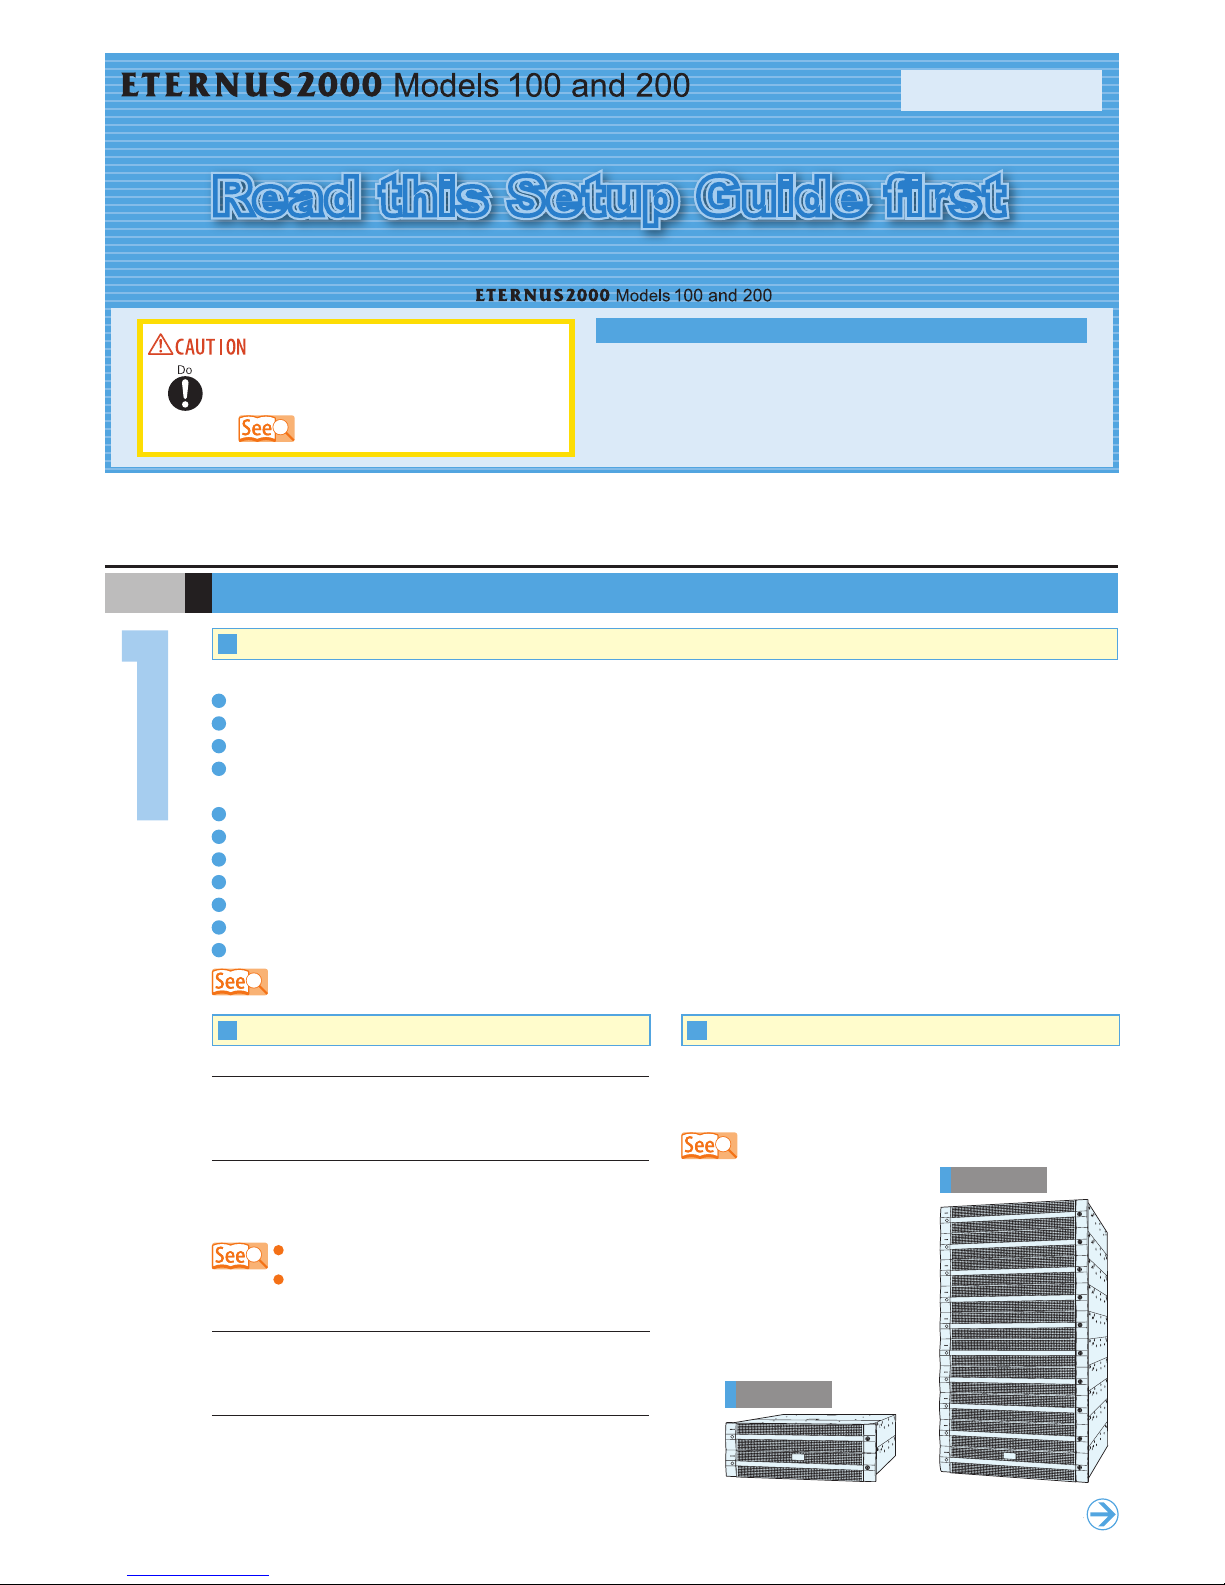
Preparation, Installation Area & Package Contents
S T E P
"Safet y Precau tions"
Environmental conditions
Temperature: 5 – 35°C
Humidity: 20 – 80%RH
model 100
model 20 0
Proceed to
next step
Prepare the following items
Ref er to the " E TERNU S20 0 0 models 100 and 20 0 dis k
storage system Package Contents" and check that there are
no missing items.
"ETER NUS20 00 mod els 100 and 2 00 disk storage sys tem Package
Contents"
Check the Package Contents Secure the Installation Area
Power outlets
Check that a sufficient number of suitable wall outlets are
available.
"3.1 Preparat ion" in the " ETERN US2000 disk st orage syst em User
Guide for m odels 100 and 200 "
"ETER NUS20 00 mod els 100 and 2 00 disk storage sys tem Safet y
Precaut ions"
"4.1 Prior Preparation" in the " ETERN US2000 disk storage syst em User Guide for models 100 and 2 00"
ETERNUS2000 Basic Setup
Various Settings
Server Connection
Operation and Maintenance
5
6
7
8
Preparation, Installation Area
& Package Contents
Installation
Cable Connection
Pre-Setup Preparation
1
2
3
4
Workow
Read this Setup Guide first
The latest version of this document and the latest information about the ETERNUS2000 is released in the following web-site. Access the following address i f needed.
http://w ww.fujitsu.com /global /services/computing/storage/system/eternus2000/
The company names, product names and ser vice names mentioned in this document are registered trademarks or trademarks of their respective companies.
Copyright 2009 FUJITSU LIMITED
Page 2

Installation
S T E P
LAN cable (twisted pair cable compatible with Category 5)
(for operation management)
Power inlets
miniSAS cable for drive enclosures IN connectors
miniSAS cable for drive enclosures OUT connectors
Controller enclosure
Drive enclosure 1
Drive enclosure 2
LAN cable
(twisted pair cable compatible with Enhanced Category 5) (for iSCSI)
"4.2.3 L AN Cable Connec tion (Twisted Pair Cabl e Compat ible
with Enhanc ed Category 5) (iSCSI Type)" in the "ETERNUS2000
disk storage system Us er Guide f or model s 100 and 20 0"
"4.2.1 LAN Cable Connection ( Twist Pair Cable Compatible with
Categor y 5) (for Op eration Managem ent)" in the " ETERN US200 0
disk storage system Us er Guide f or model s 100 and 20 0"
"4.2.5 Min iSAS Cab le Connection (fo r Drive Enc losure s)"
in the "E TERNUS2000 disk storage system Us er Guide f or
models 10 0 and 200 "
"4.2.6 Power C ord Con nectio n" in the"E TERNU S200 0 disk
storage sy stem User G uide for models 100 a nd 200 "
Cable Connection
S T E P
Pre-Setup Preparation
S T E P
"4.3 ETERNUS200 0 Setup" in t he "ETE RNUS2000 disk storage system User
Guide for m odels 10 0 and 200 "
1. Adjust the bracket size to t the rack.
2. A t t a c h th e bracke t s to the r ac k. Th e size of the
ETERNUS2000 is 2U.
3. Mount the ETERNUS2000 in the rack.
4. Fasten the ETERNUS2000 to the rack.
The rack mount kit needs to be at tached to the rack and
the ETERNUS2000 mounted.
Controller enclosure
Drive enclosure 1
Drive enclosure 2
Drive enclosure 3
Drive enclosure 4
Drive enclosure 5
Power switch
Drive enclosure 6
Drive enclosure 7
Drive enclosure 8
Drive enclosure 9
The following steps need to be per formed before star ting the ETERNUS2000 setup procedure:
1. Fill in the IP address and subnet mask elds on the Network Setting label.
2. Attach it to the rear upper central label plate.
3. Connect the PC and the ETERNUS2000 using a LAN cable
(twisted pair cable compatible with Category 5) (for operation management).
4. Give the PC the following network settings:
IP address: 192.168.1.2
Subnet mask: 255.255.255.0
5. Set the web browser to not use a proxy server or web caching.
6. Turn on the ETERNUS2000 component enclosures.
Rear view
Multiple drive enclosures must be connected
to the controller enclosure following the order
of the "DE_ No. label" num bers attac hed to
each d riv e enclo sur e. T he p osi tio n of t he
labels are in the positions shown below.
IMPORTANT
Always contact yo ur sales repre sentative o r
maintenanc e engi ne er b ef or e inst alling t he
ETERNUS2000 in or removing it from the rack.
IMPORTANT
DE_No. label
Front: right-hand side of
the drive enclosure
Rear: under the PSU#0
DE_No. label
miniSAS cables for drive enclosures are used to connect the ETERNUS2000 enclosures. Connect the controller
enclosure to drive enclosure 1, drive enclosure 1 to drive enclosure 2, drive enclosure 2 to drive enclosure 3, etc.
The cables should never be bent, twisted or pulled.
IMPORTANT
The f irst time the power is turned on, volume formatting
may star t according to the factory default settings. This
does no af fect the setup operation, which may be started
immediately.
IMPORTANT
"3.2 I nstalla tion to Rac ks" in the " ETERN US200 0 disk sto rage
system User Guide for m odels 10 0 and 200 "
Various cables need to be connected to the rear of the ETERNUS2000.
miniSAS cab les fo r drive encl osures are directional too - check
the IN and OUT orientation
Use cable ties to hold the power cords
in place.
To help with cable management and prevent incorrect connection, attach labels to the cables and note where each
cable is connected to and from.
Point
Page 3

ETERNUS2000 Basic Setup
S T E P
The ETERNUS2000 needs to be setup to allow network
communication. Enter the IP address, subnet mask and
other necessary information from the Network Setting label
attached in Step 4 "Pre-Setup Preparation".
Lo goff afte r t h e s etup com p let es, then d etac h t h e d irec t
co nn ect ion L A N c ab le (t wisted pair c abl e compatible w ith
Category 5) (for operation management) from the setup PC and
connect it to the normal network. Then try logging on again via
the normal network, using the IP address that has just been set.
Various settings (such as the date and time) are required for correct ETERNUS2000 operation.
Date and time
Date and time are preset in the factory. Adjust them if they are incorrect.
Port settings
Set the IP address, subnet mask, and iSCSI name.
Register hot spare disks for use in case a regular disk drive fails.
Combine groups of ETERNUS2000 disk drives into RAID congurations.
The number of disks and R AID level used will need to be set.
Assign volumes (virtual disk drive areas) to the RAID groups.
Se tup Hos t Af fin i t y G r o ups , al l ocat i ng E T ERNU S 200 0 v olum e s t o
correspond to the LUNs (Logical Unit Numbers) recognized by the server.
1. T h e co n n e c te d PC ma y be us ed to se t u p th e
ETERNUS2000. Start the Web browser and enter either
of the following URLs in the address bar:
http://192.168.1.1/
https://192.168.1.1/
2. Click the "ETERNUS" symbol on the title screen.
3. Enter the following user name and password, and click
the [OK] button to logon to the ETERNUS2000.
User name: root
(Default) Password: root
4. The Tutorial wizard's [GUIDE] screen appears.
Creating Volumes
Creating Host Affinity Groups
Creating RAID Groups
Registering Hot Spare Disks
Setting up the ETERNUS2000
Setting up the Network
Proceed to
next step
"4.3.1 Basic setup" in the "ETERNUS20 00 dis k storage
system User Guide for m odels 10 0 and 200 "
The ETERNUS2000 now needs to be setup using the embedded setting/maintenance program.
Basic settings can be per formed using the Tutorial wizard.
Default hot spare disks, RAID
gr o u ps, volu m e s a n d h o s t
affinit y groups are preset in
the factor y.
Refer to "E T E R NU S 2 0 0 0
ET E R NUS m g r User Gui d e
- S et t in g s/ Ma i nt en an c e-
For mo de ls 10 0 and 200" if
the p re set values are to b e
changed.
Point
Page 4

All necessary settings are complete, and the ETERNUS2000 is now ready for normal operation.
Various tasks need to be performed before the ETERNUS2000 can be connected to the server. These include the installation
of the appropriate drivers and the setup of switching hubs.
Check which server OS, LAN cards / iSCSI HBAs, and switching hubs are to be connected to before starting this step.
"4.6 Setting up the Ser ver Connectio n" in the "E TERNU S200 0 disk stor age system User Guide f or model s 100 and 20 0"
"ETER NUS8 000, E TERNU S4000, ETER NUS20 00 disk storage sy stem Ser ver Connectio n Guide (iS CSI)" in th e document CD
Various Settings
S T E P
ETERNUS m g r is u s ed to monitor the status of th e
ETERNUS2000. Install E TERNUSmgr, then check it is
running correctly and perform any necessary settings.
"4.4 Installing and Set ting up ETERN USmgr" in the " ETERNU S2000
disk storage system Us er Guide f or model s 100 and 20 0"
Installation of ETERNUSmgr is not mandator y.
Ho weve r, if E T ER N US mgr i s not use d, t he
status of the ETERNUS2000 will still need to be
monitored by some other method (for example,
using ETERNUS SF Storage Cruiser).
IMPORTANT
Status check
Regularly chec k the status of the ETER NUS20 00 using
the status LEDs and status display function of the setting/
maintenance program.
Data backup
Important data should be regularly backed up to a tape drive
or similar device as a precaution against system failures.
Maintenance support period
The maintenance suppor t period for the ETERNUS2000 is
5 years from the date of purchase.
Periodical component replacement
To en s ure the fu l l n ormal ba t ter y lif e, avoid using the
ETERNUS2000 in a high temperature environment.
Average bat tery life is about 3 years for a 25°C ambient
environment. However, with the operating temperature just
10°C higher, the battery life is approximately halved (to 18
months).
The following periodic maintenance items must be performed after starting operation.
ETERNUS200 0 models 100 and 20 0 disk stor age system S etup Guide
(iSCSI t ype)
P3AM -2552- 02EN
Date of issu ance: January 20 09
Issuanc e responsibilit y: FUJITSU LIMITED
Printed in Japan
This manual uses recyc led paper.
The conte nts of this m anual may be u pdated wi thout notice.
W hile the contents of this m anual are the p roduc t of all due care and
dilige nce, no responsibilit y can be acc epted for operati onal problems
ari si ng from any error s or m is sing infor ma tion, or other us e of the
information co ntained i n this manu al.
Fujit su assumes no liabil ity for damages to third par ty c opyr igh ts or
other rights arising from t he use of any in format ion in this manual.
C onten ts of thi s manual a re not to be rep roduc ed without per miss ion
from Fujit su.
Manuals with missin g or wrongly collate d pages will be replaced f ree of
charge.
Installing and Setting up ETERNUSmgr
Setting up the ETERNUS2000 to Support Maintenance
Remote support allows prompt detection and
resolution of trouble.
Various settings are needed to make certain post-operation
maintenance tasks easier.
If the ETERNUS2000 is to be connected to a PRIMERGY
server and "ServerView" used to monitor the server, the
ETERNUS2000 needs to be set to send SNMP traps to the
server.
If the remote support is to be used, the ETERNUS2000
needs to be set to notify the remote support center of
failures.
"4.5 Maintena nce Setu p" in the "E TERNUS200 0 disk stor age
system User Guide for m odels 10 0 and 200 "
Operation and Maintenance
S T E P
Server Connection
S T E P
Point
 Loading...