

Franke FRE60M5B, FRE60M9B User Manual
You’re about to begin a very happy and delicious
relationship. Let’s get started.
This is no ordinary oven.
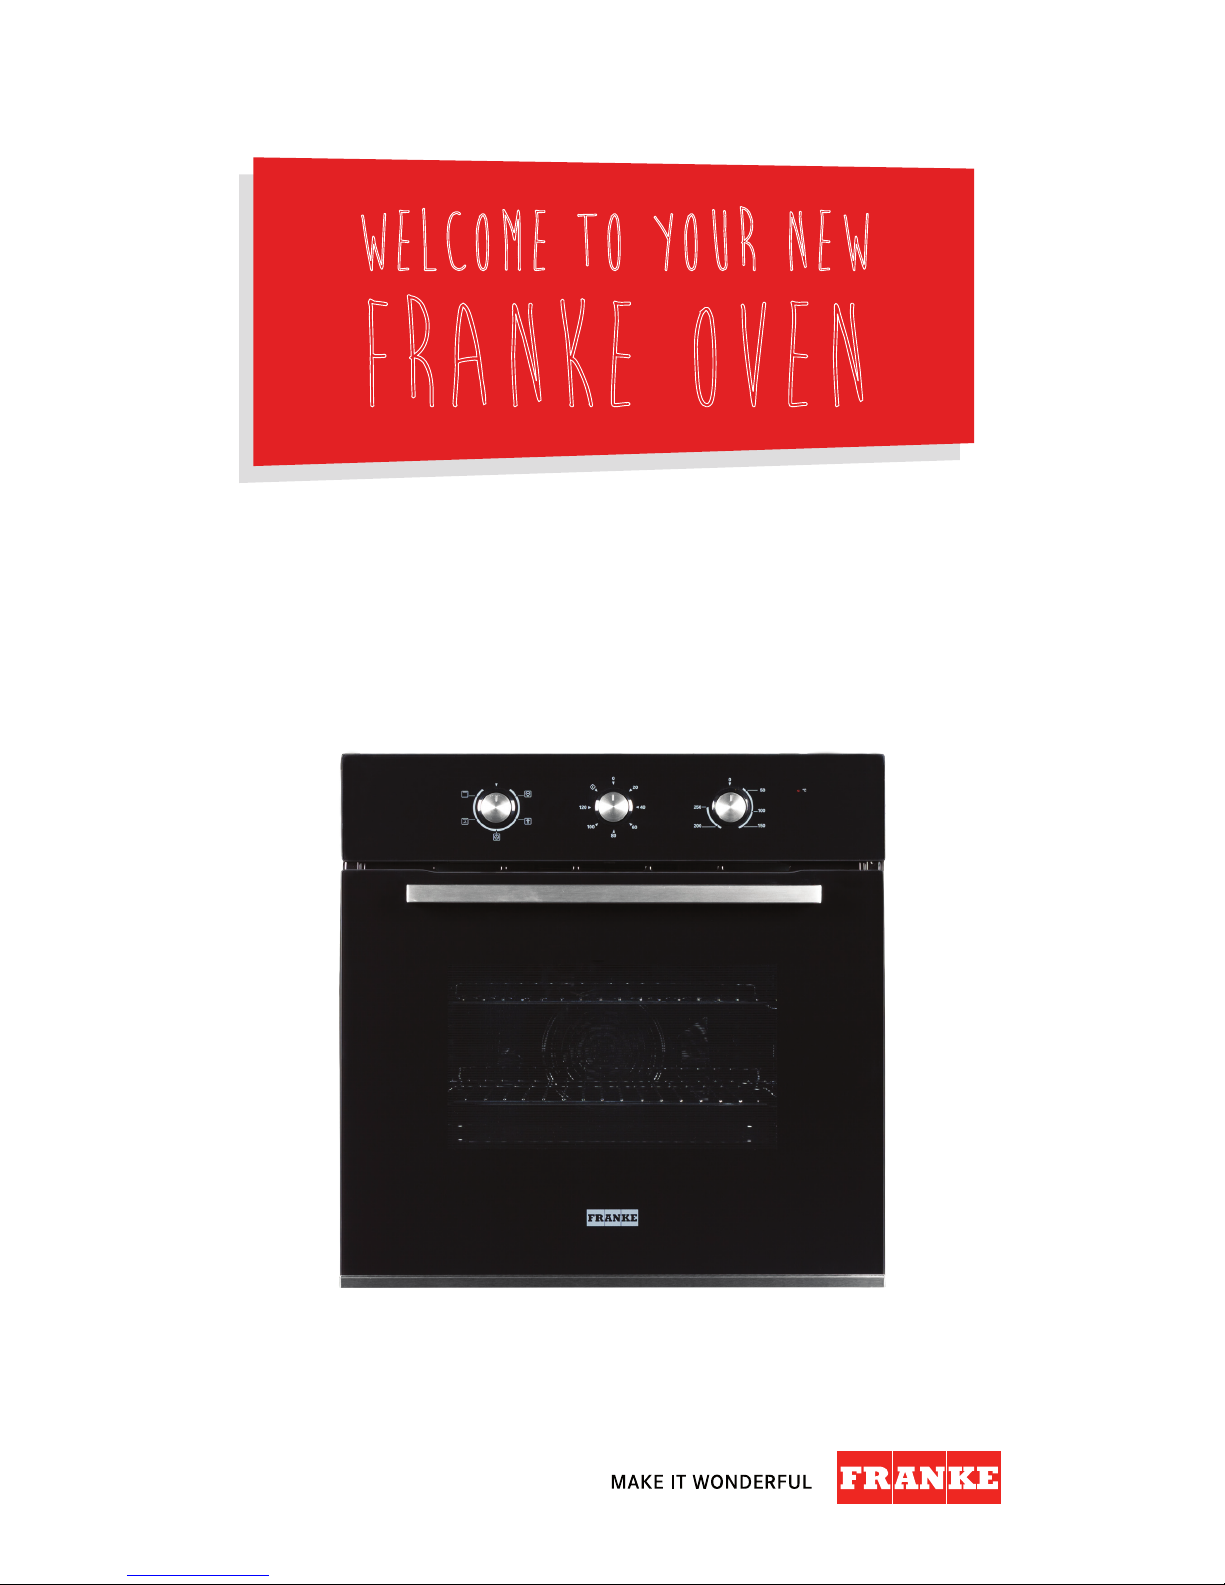
Welcome to your new
Franke Oven
FRE60M5B - 60CM 5 FUNCTION OVEN
2
AN IMPORTANT NOTE
Please read this document and the safety information carefully before you first use
your oven.
SUPPORT
Speak to our customer service representatives.
Australia: 03 9700 9100 | info@prks.com.au
New Zealand: 09 964 0400 | info@prks.co.nz
WARRANTY
Your Franke product is protected by a 2-year warranty. Should you ever need to make a
warranty enquiry, simply contact our service department.
Australia: 03 9700 9100 | service@prks.com.au
New Zealand: 09 964 0400 | service@prks.co.nz
GET SOCIAL
Keep up to date on all things Franke by following us on Facebook and Instagram.
@FrankeAUS
#makeitwonderful
“Let’s let everyone else be ordinary,
while we make it wonderful”
Contents 3
Chapter 1: Ready, set up, go
5 Introducing your new Franke oven
6 What’s in the box?
6 First time use
6 Warnings and safety
6 Installation instructions
9 Environmental information
9 Disposal
Chapter 2: Life with your Franke Oven
11 Functions
12 Operating your oven
12 Timer function
Chapter 3: Getting the most out of your Franke Oven
14 Cleaning and care
14 Interior lighting
Chapter 4: Problem, meet solution
16 Trouble shooting
Chapter 5: Last, but not least
18 Warnings, hazards, risks and legal
Looking for something?
20 Glossary
CONTENTS

Chapter 1 Ready, set up, go
4
READY, SET UP, GO
CHAPTER 1
Your Franke oven is designed to be set up
quickly and easily - so you can start creating delicious
masterpieces even sooner.
5Introducing: Your new Franke oven
INTRODUCING: YOUR NEW FRANKE OVEN
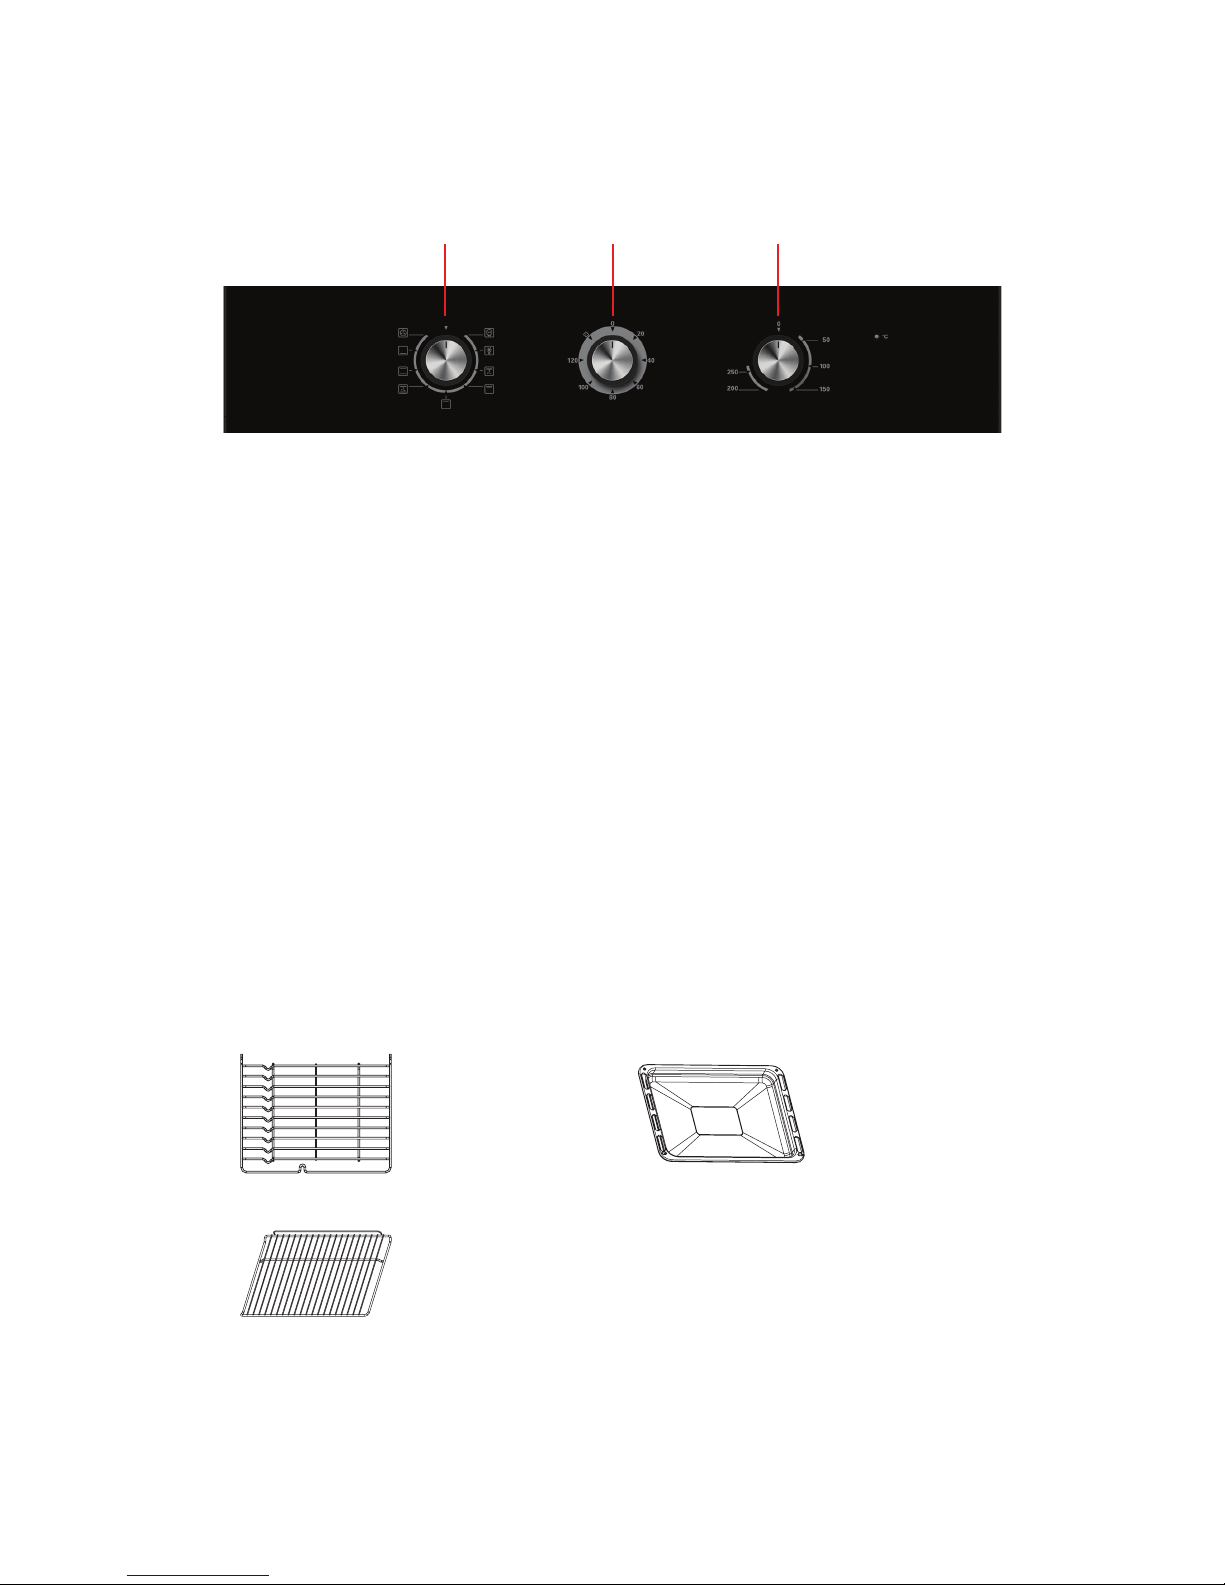
ACCESSORIES
Left knob Middle knob Right knob
LEFT KNOB
Used to select the cooking function.
RIGHT KNOB
Used to select the cooking temperature.
MIDDLE KNOB
Used to select operation time, or to turn oven on/off
Slider bracket
Support the rails on
the left and right of
the oven.
Universal pan
For cooking large
quantities of food
including cakes or
frozen foods
Wire shelf
For grilling, roasting
or baking dishes.

Chapter 1 Ready, set up, go
6
WHAT’S IN THE BOX?
1 x Franke Oven
1 x Wire shelf
1 x Slider bracket
1 x Universal pan
1 x Power cable
FIRST TIME USE
When the oven is first switched on, it may give off an unpleasant smell. This is due to the bonding
agent used for the insulation panels within the oven.
Run the oven using the conventional cooking function, 250 degrees Celsius, for 90 minutes to clean all
the impurities and to disregard the smell. Ensure that all packaging is removed.
Please note that the oven may emit a puff of white smoke upon first use.
WARNINGS & SAFETY
• The appliance will become hot during use and directly after use, care should be taken to avoid
touching heating elements.
• This appliance is not intended for use by persons (including children) with reduced physical,
sensory or mental capabilities, or lack of experience and knowledge, unless they have been given
supervision or instruction concerning use of the appliance by a person responsible for their safety.
• Children should be supervised to ensure that they do not play with the appliance.
• CAUTION: Accessible parts may become hot when used with cooking appliances.
• If any parts become damaged, they must be replaced by the manufacturer only.
• Do not use abrasive cleaners or sharp metal scrapers during cleaning.
INSTALLATION INSTRUCTIONS
Check the appliance for damage after unpacking it, and don’t connect the appliance if it has been
damaged in transport.
Only a licensed professional may connect the appliance – damage caused by incorrect installation
is not covered under the warranty.Ensure that the panels of the cabinetry around the oven are heat
resistant, and the glues and materials can withstand temperatures of at least 120 degrees Celsius.
Ensure there is adequate air flow around the rear of the oven and there is a gap between the oven and
kitchen unit.
Chapter 1 Ready, set up, go
7
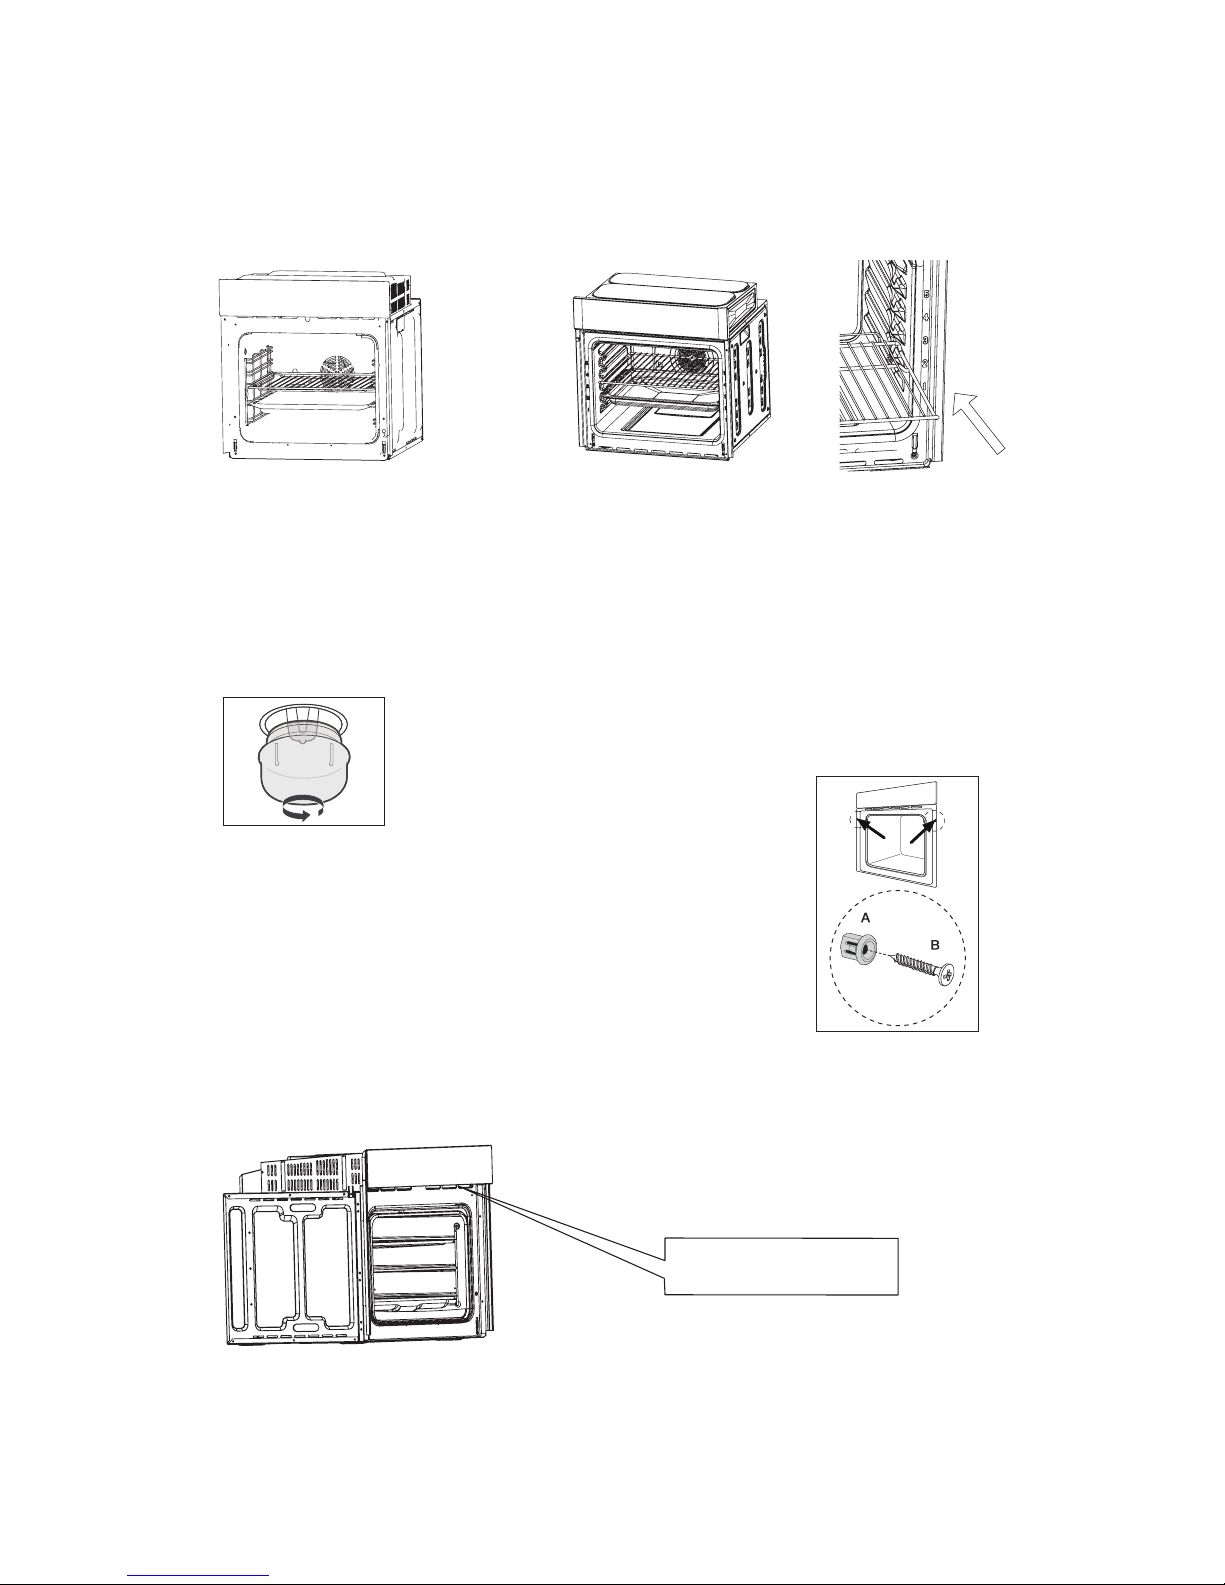
Shelf placement and warning
To ensure the oven shelves operate safely, correct placement of the shelves between the side rail is
imperative. Shelves and the pan only can be used between the first and fifth layers.
Placement of the shelves should follow the installation instructions accurately and in the right direction
to ensure no items will fall when removing the shelf or tray.
Bulb replacement
For replacement, process as follows:
1. Disconnect power from the mains outlet or switch off the circuit breaker of the unit’s mains outlet.
2. Unscrew the glass lamp cover by turning it counter clockwise (note, it may be stiff) and replace the
bulb
with a new one of the same type.
3. Screw the glass lamp cover back in place.
NOTE: Only use 25-40W/220V-240V, T300°C halogen lamps.
Securing the oven to the cabinet
1. Fit oven into the cabinet recess.
2. Open the oven door.
3. Secure the oven to the kitchen cabinet with two “A” distance holders which fit the
holes in the oven frame and fit the two “B” screws.
OR
Ventilating openings
Ventilating openings
When cooking is finished or in pause state or in waiting state, if the oven’s center temperature is over
75 degree, the cooling fan will continue working for 15 minutes. Or when the oven’s center temperature
becomes lower than 75 degree, the cooling fan will stop in advance.
 Loading...