

Franke FRDW60FS, FRDW60SI User Manual
You’re about to begin a very happy and delicious
relationship. Let’s get started.
This is no ordinary dishwasher.
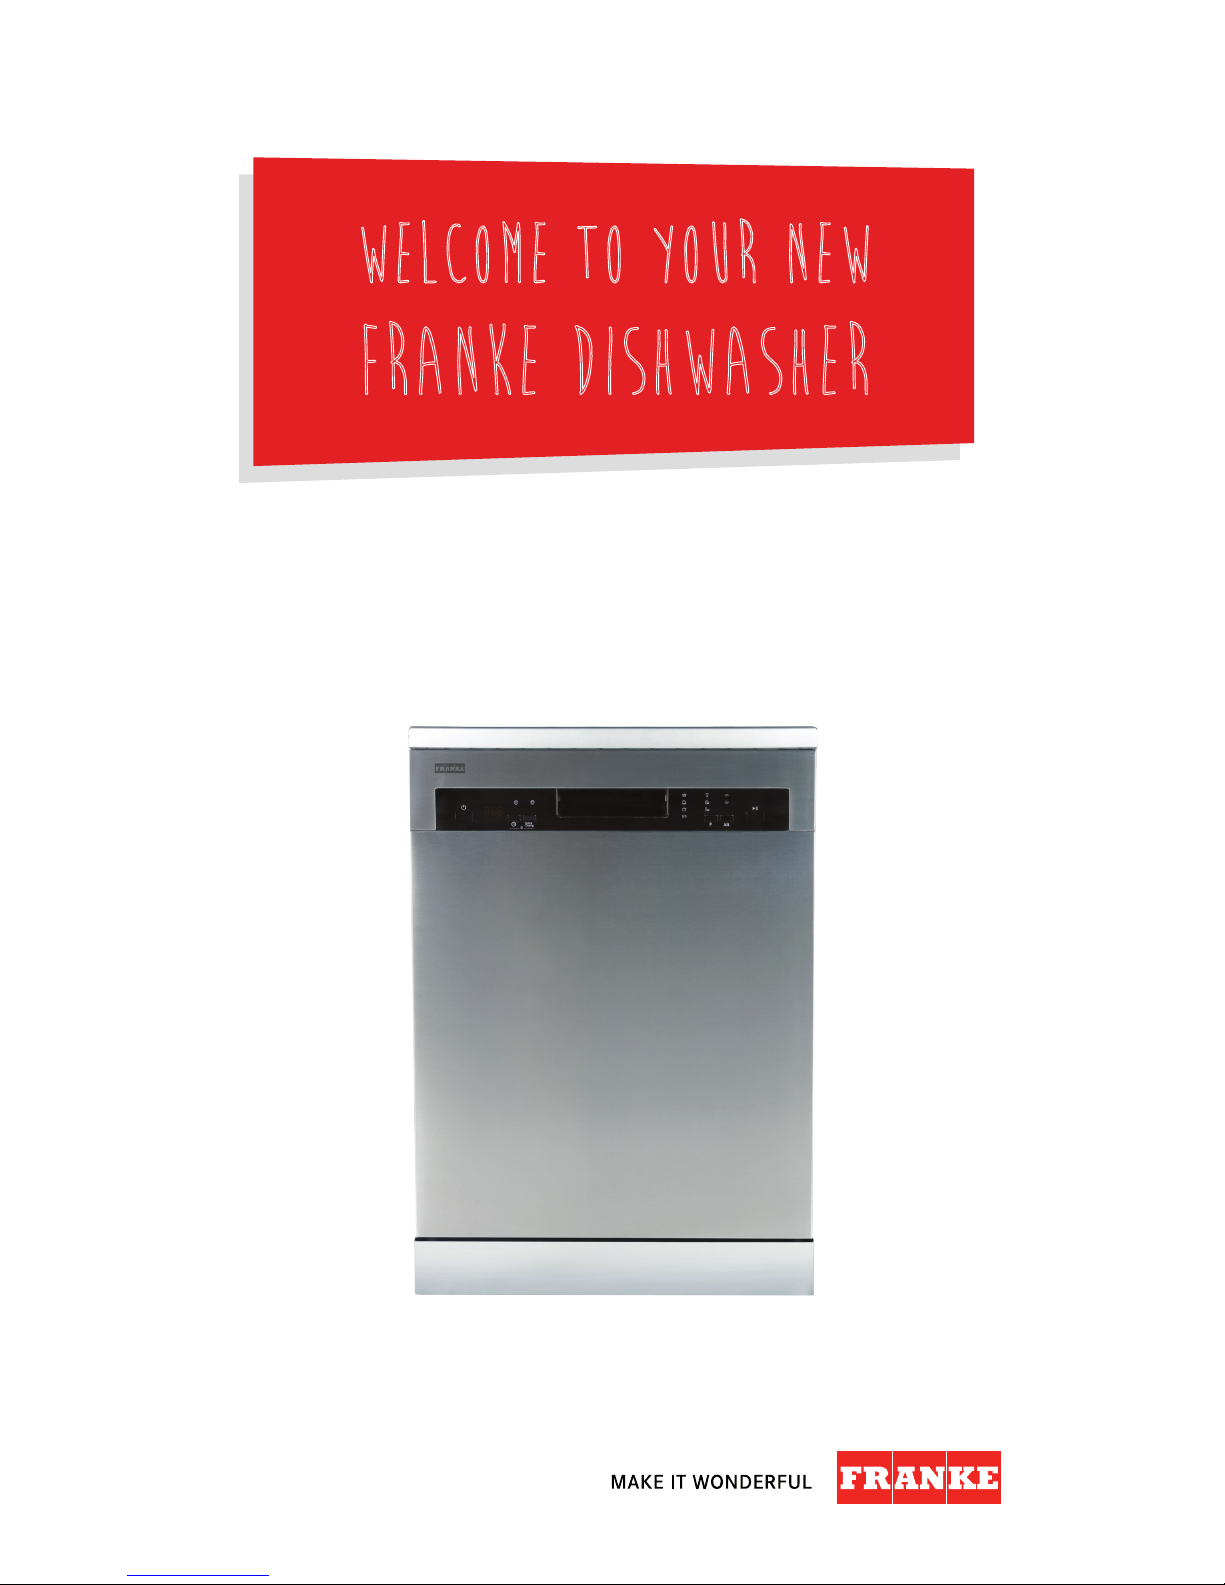
Welcome to your new
Franke Dishwasher
FRDW60FS - FREESTANDING DISHWASHER

2
AN IMPORTANT NOTE
Please read this document and the safety information carefully before you first use
your dishwasher.
SUPPORT
Speak to our customer service representatives.
Australia: 03 9700 9100 | info@prks.com.au
New Zealand: 09 964 0400 | info@prks.co.nz
WARRANTY
Your Franke product is protected by a 2-year warranty. Should you ever need to make a
warranty enquiry, simply contact our service department.
Australia: 03 9700 9100 | service@prks.com.au
New Zealand: 09 964 0400 | service@prks.co.nz
GET SOCIAL
Keep up to date on all things Franke by following us on Facebook and Instagram.
@FrankeAUS
#makeitwonderful
“Let’s let everyone else be ordinary,
while we make it wonderful”

3
READ THIS MANUAL
Dear Customer,
This appliance is intended to be used in household and similar applications such as:
- staff kitchen areas in shops, offices and other working environments;
- farm hourses;
- by clients in hotels, motels and other residential type environments;
- bed and breakfast type environments.
• Please carefully read this manual before using the dishwasher, it will help you to use and maintain the
dishwasher properly.
• Keep it for reference in future.
• Pass it on to any subsequent owner of the appliance.
This manual contains sections on safety instructions, operating instructions, installation instructions and
toubleshooting tips etc.
BEFORE CALLING FOR SERVICE
• To review the section on troubleshooting, tips will help you to solve some common problems
by yourself.
• If you can not solve the problems by yourself, please ask for help from professional technicians.
NOTE:
The manufacturer, following a policy of constant development and updating of the product, may make
modifications without giving prior notice.
CONTENTS
Chapter 1: Ready, set up, go
5 Imporant safety information
6 Quick operation guide
7 Operational instructions and features
8 Prior to using for the first time
8 Rinse aid dispenser
11 Loading the dishwasher basket
13 Starting a washing program
15 Maintenance and cleaning
17 Installation instructions
Chapter 2: Problem, meet solution
21 Trouble shooting
22 Error codes
Chapter 3: Last, but not least
24 Technical information

Chapter 1 Ready, set up, go
4
READY, SET UP, GO
CHAPTER 1
Your Franke dishwasher is designed to be set up
quickly and easily - so you can start creating delicious
masterpieces even sooner.

Chapter 1 Ready, set up, go
5
IMPORTANT SAFETY INFORMATION READ ALL OF THE INSTRUCTIONS BEFORE USING
GROUNDING INSTRUCTIONS
• This appliance must be grounded. In the event of a malfunction or breakdown, grounding will reduce the risk
of anelectric shock by providing a path of least resistance of electric current. This appliance is equipped with a
cord having an equipmentgrounding conductor and a grounding plug.
• The plug must be plugged into an appropriate outlet that is installed and grounded in accordance with all local
codes and ordinances.
WARNING!
• Improper connection of the equipment-grounding conductor can result in the risk of
an electric shock.
• Check with a qualified electrician or service representative if you are in doubt whether the appliance is
properly grounded. Do not modify the plug provided with the appliance; If it does not fit the outlet. Have a
proper outlet installed by a qualified electrician.
WARNING! PROPER USE
• Do not abuse, sit on, or stand on the door or dish rack of the dishwasher.
• Do not touch the heating element during or immediately after use.
(This instruction is only applicable to machines with a visual heating element).
• Do not operate your dishwasher unless all enclosure panels are properly in place. Open the door very carefully
if the dishwasher is operating, there is a risk of water squirting out.
• Do not plac e any heavy objects on or stand on the door when it is open.
The appliance could tip forward.
• When loading items to be washed:
1) Locate sharp items so that they are not likely to damage the door seal;
2) Warning: Knives and other utensils with sharp points must be loaded in the basket with their points down or
placed in a horizontal position.
• When using your dishwasher, you should prevent plastic items from coming into contact with the heating
element. (This instruction is only applicable to machines with a visual heating element).
• Check that the detergent comparment is empty after completion of the wash cycle.
• Do not wash plastic items unless they are marked dishwasher safe or the equivalent. For plastic items not so
marked, check the manufacturer’s recommendations.
• Use only detergent and rinse additives designed for an automatic dishwasher.
• Never use soap, laundry detergent, or hand washing detergent in your dishwasher.
Keep these products out of the reach of children.
• Keep children away from detergent and rinse aid, keep children away from the open door of the dishwasher,
there could still be some detergent left inside.
• This appliance is not intended for use by persons (including children) with reduced physical, sensory or mental
capabilities, or lack of experience and knowledge unless they have been given supervision or instruction
conerning use of the appliance by a person responsible for their safety.
• Children should be supervised to ensure that they do not play with the appliance.
• Dishwasher detergents are strongle alkaline, they can be extremely dangerous if swallowed. Avoide contact
with skin and eyes and keep children away from the dishwasher when the door is open.
• The door should not be left open, since this could increase the risk of tripping.
• If the supply cord is damaged, it must be replaced by the manufacturer or its service agent or a dimilarly
qualified person in order to avoid a hazard.
• Remove the door to the washing compartment when removing an old dishwasher from service or discarding it.
• Please dispose of packing materials properly.
• Use the dishwasher only for its intended function.
• During installation, the power supply must not be excessively or dangerously bent or flattened.
Do not tamper with controls.
• The appliance is to be connected to the water mains using new hose sets and that old hose-sets should
not be reused.
• The maximum number of place settings to be washed is 14.
• The maximum permissible inlet water pressure is 1Mpa.
• The minimum permissible inlet water pressure is 0.04Mpa.
Chapter 1 Ready, set up, go
6
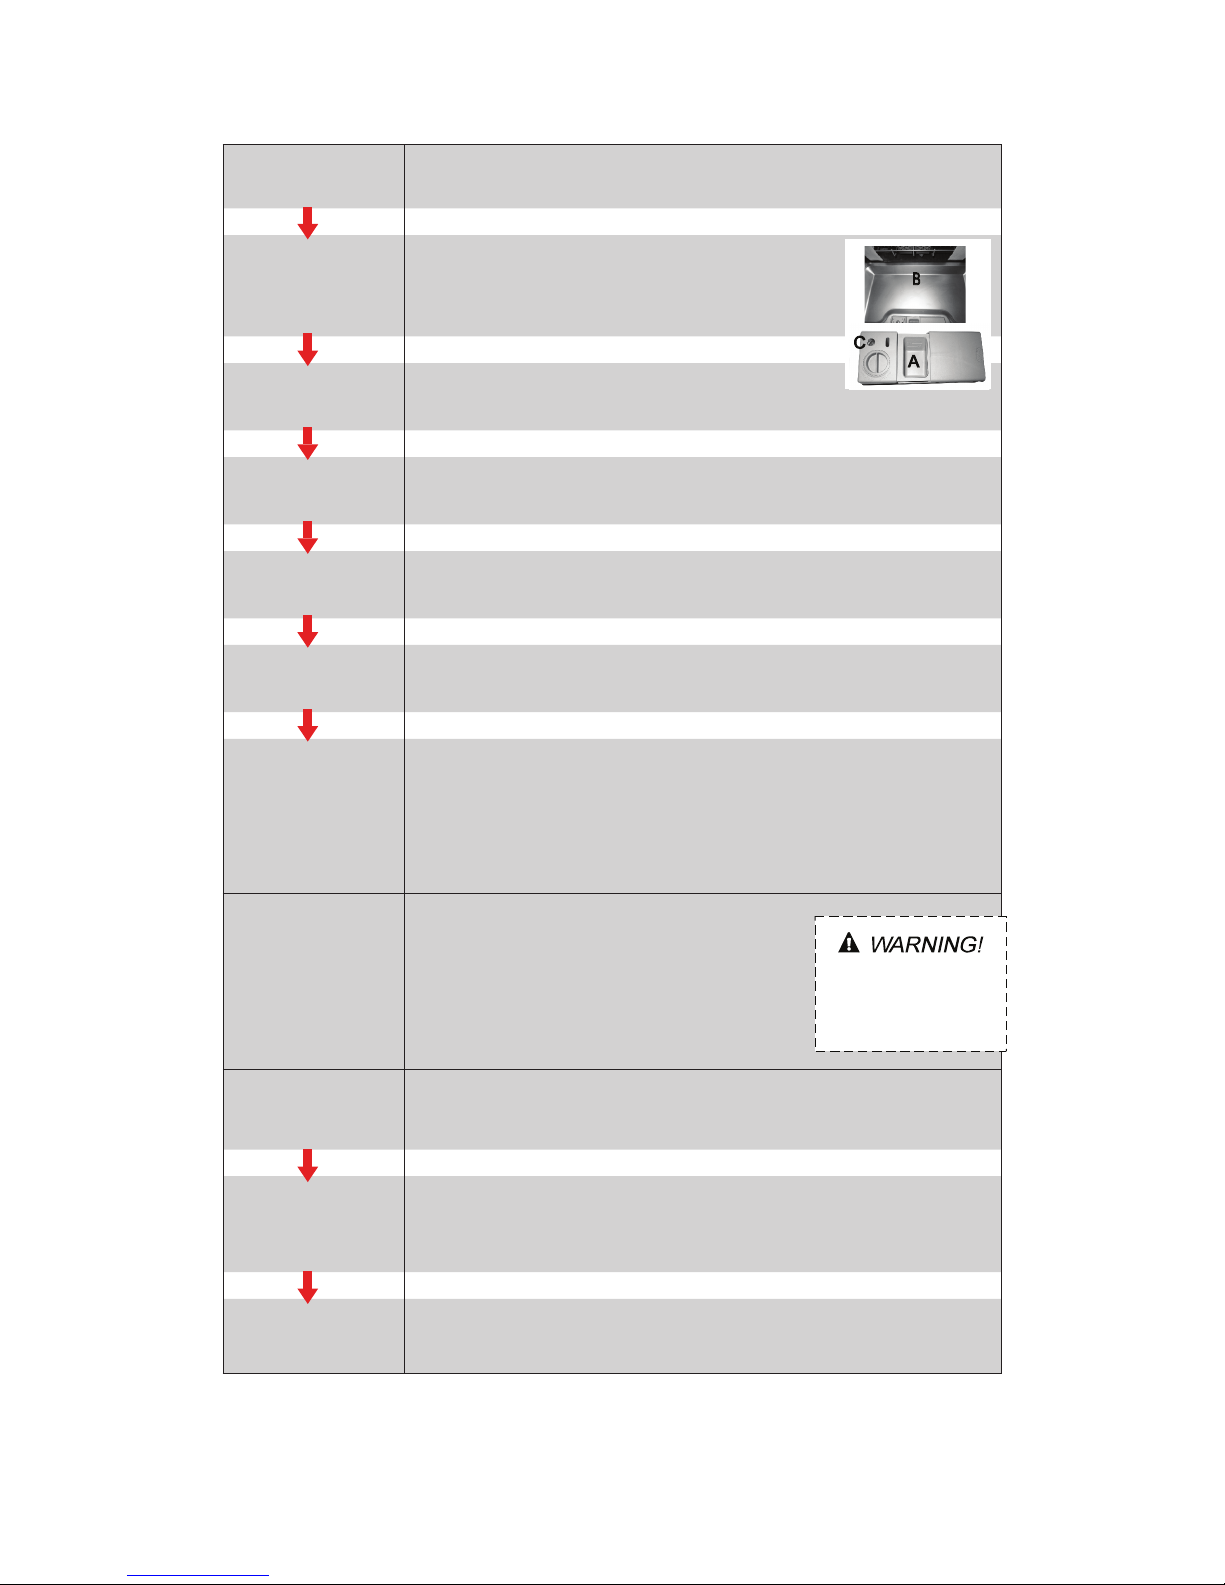
QUICK OPERATION GUIDE
Switch on the appliance Open the door, press the On/Off button to switch on the appliance.
Fill the detergent
dispenser
Compartment A:
For each wash cycle..
Compartment B:
For prorams with pre-wash only. (Follow the user instructions).
Check the rinse aid level
Mechanical indicator C.
Electric indicator on control panel (if provided).
Load the baskets
Scrape off any large food particles. Soften remnants of burnt food in pans, then load
the baskets. Refer to the dishwasher loading instructions.
Select a programme
Close the door,press the Program Button until the selected program lights up. ( See
the section entitled“Operation instruction”)
Running the dishwasher
T urn on the water tap and press the . The machine will start working
at once.
Changing the
programme
1. A running cycle can only be modified if it has been running for a short time.
Otherwise the detergent may have already been released and the water already
drained. If in this case, the detergent dispenser must be refilled.
2. Press the Start/Pause button, the machine will be in standby state, press the
program button more than 3 seconds then you can change the program to the
desired cycle setting.
3. Press the Start/Pause Button, the dishwasher will will start running again .
Add forgotten dishes in
the dishwasher
1.Press the Start/Pause Button to stop the washing.
2.Open the door a little.
3.After the spray arms stop working, you can open the
door completely.
4.Add forgotten dishes.
5.Close the door.
6.Press the Start/Pause Button, the dishwasher will start
running again
If the appliance is
switched off during a
was cycle
If the appliance is switched off during a wash cycle, when switched on again, please
re-select the washing cycle and operate the dishwasher according to the original
Power-on state ).
Switch off the appliance
When the working cycle is finished, the buzzer of the dishwasher will sound 8 times,
then stop. Turn off the appliance using the On/Off Button. If the appiance was
under standby mode, it will be power off automaticly after 30 minutes without any
operation
Turn off the water tap,
unload the baskets.
Warning: wait a few minutes (about 15 minutes) before unloading the dishwasher to
avoid scald,as the dishes and utensils are still hot and more susceptible to break.
They could also dry better.Unload the appliance, starting from the lower basket.
Open th ed oo rc ar eful ly.
Ho ts t eam ma ye sc ape
wh en th ed oo ri so pe ne d!
Chapter 1 Ready, set up, go
7
OPERATION INSTRUCTION
IMPORTANT:
To get the best performance from your dishwasher, read all operating instructions before using it for the first time.
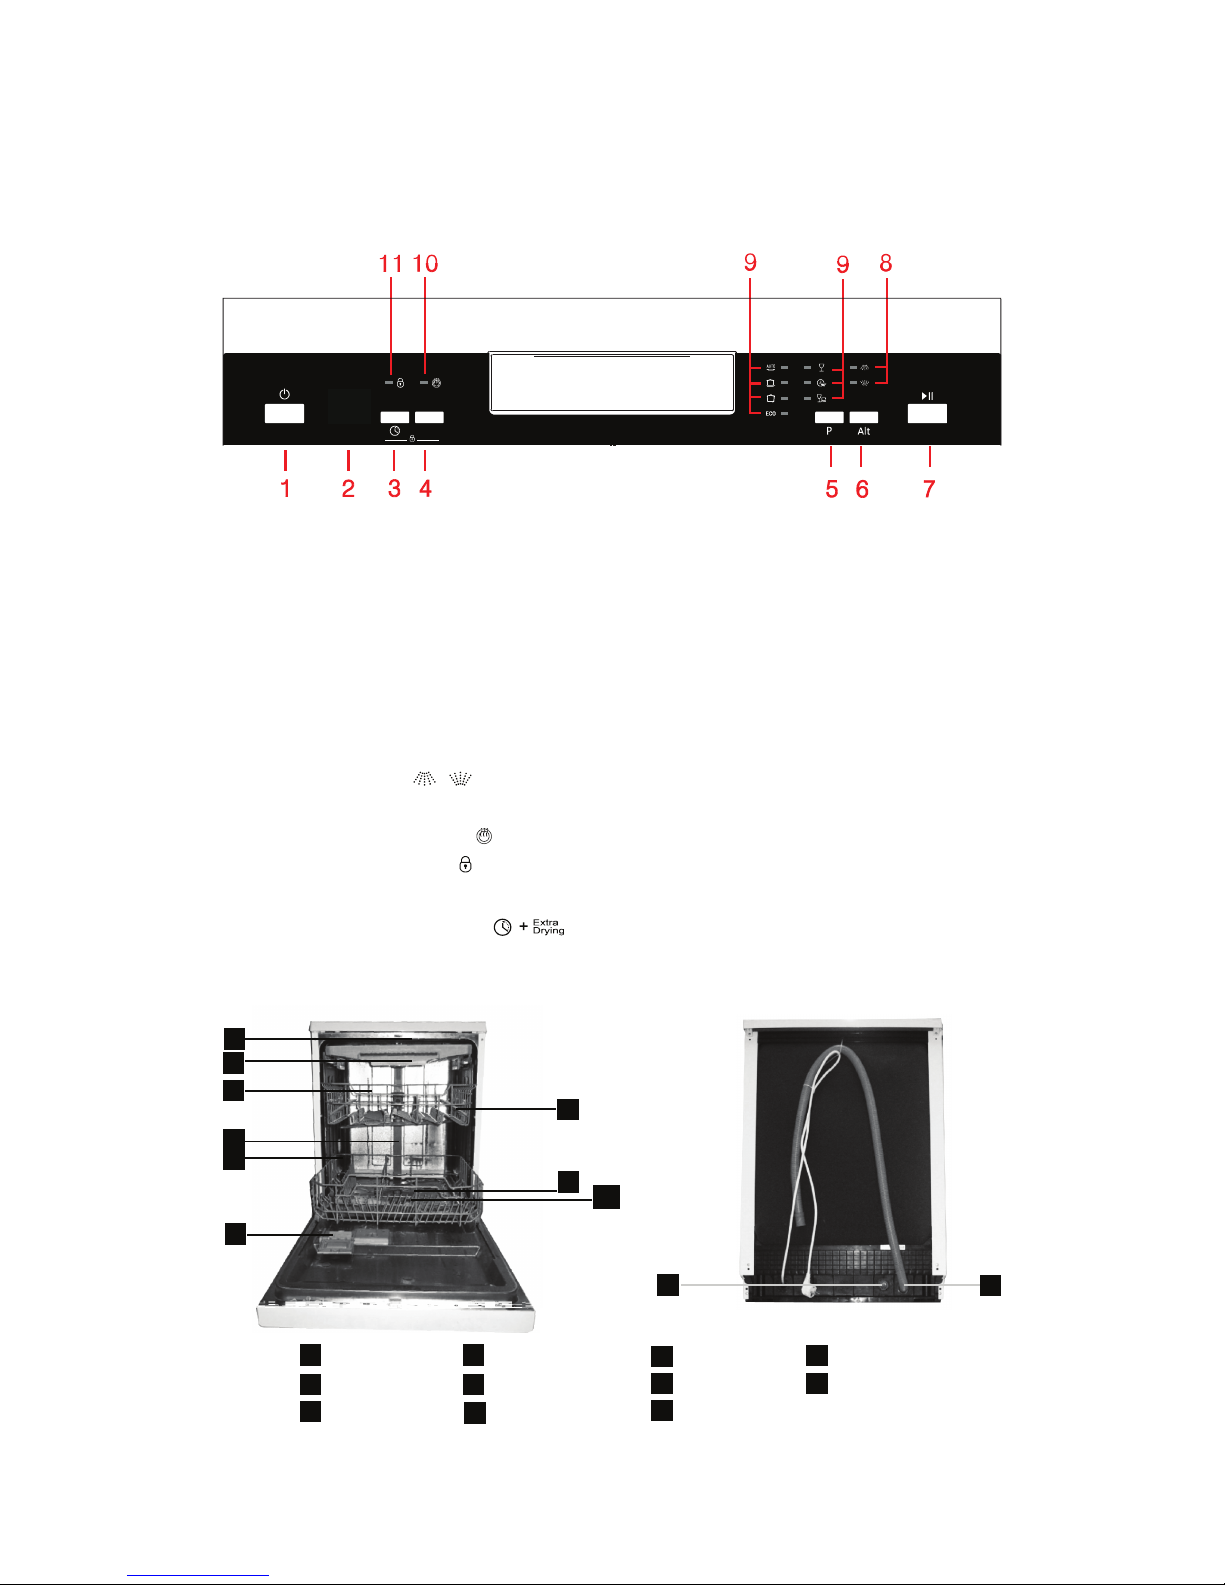
CONTROL PANEL
Extra
Drying
1. On/Off button: to switch on/off the appliances.
2. Display screen: to show the remaining time and the state (running state, delay time, error codes etc)
3. Delay button: press the button to add the delay time.
4. Extra drying button: press the button to select extra drying function (does not apply to auto and rapid).
5. Program button: press the button to select appropriate program.
6. Alt button: dual zone wash function, press the button to select either upper basket or lower basketr loaded,
and the response indicators will light on.
7. Start/Pause button: to start the selected washing programe or pause the washing program when the
machine is working.
8. Alt function indicator:
9. Program indicators: to show which program you have chosen.
10. Extra drying function indicator:
11. Child lock function indicator:
Attention:
Child lock function: press two buttons ( ) simultaneously to lock the program.
DISHWASHER FEATURES
10
11
1
2
3
4
5
6
7
8
9
1
5
6
7
8
9
11
10
3
2
4
Front view
Top spray arm Inner pipe Cup shelf Inlet pipe connector
Cutlery rack Lower basket Spray arms Drain pipe
Upper basket Dispenser Filter assembly
Back view
Chapter 1 Ready, set up, go
8
PRIOR TO USING FOR THE FIRST TIME
Before using your dishwasher for the first time:
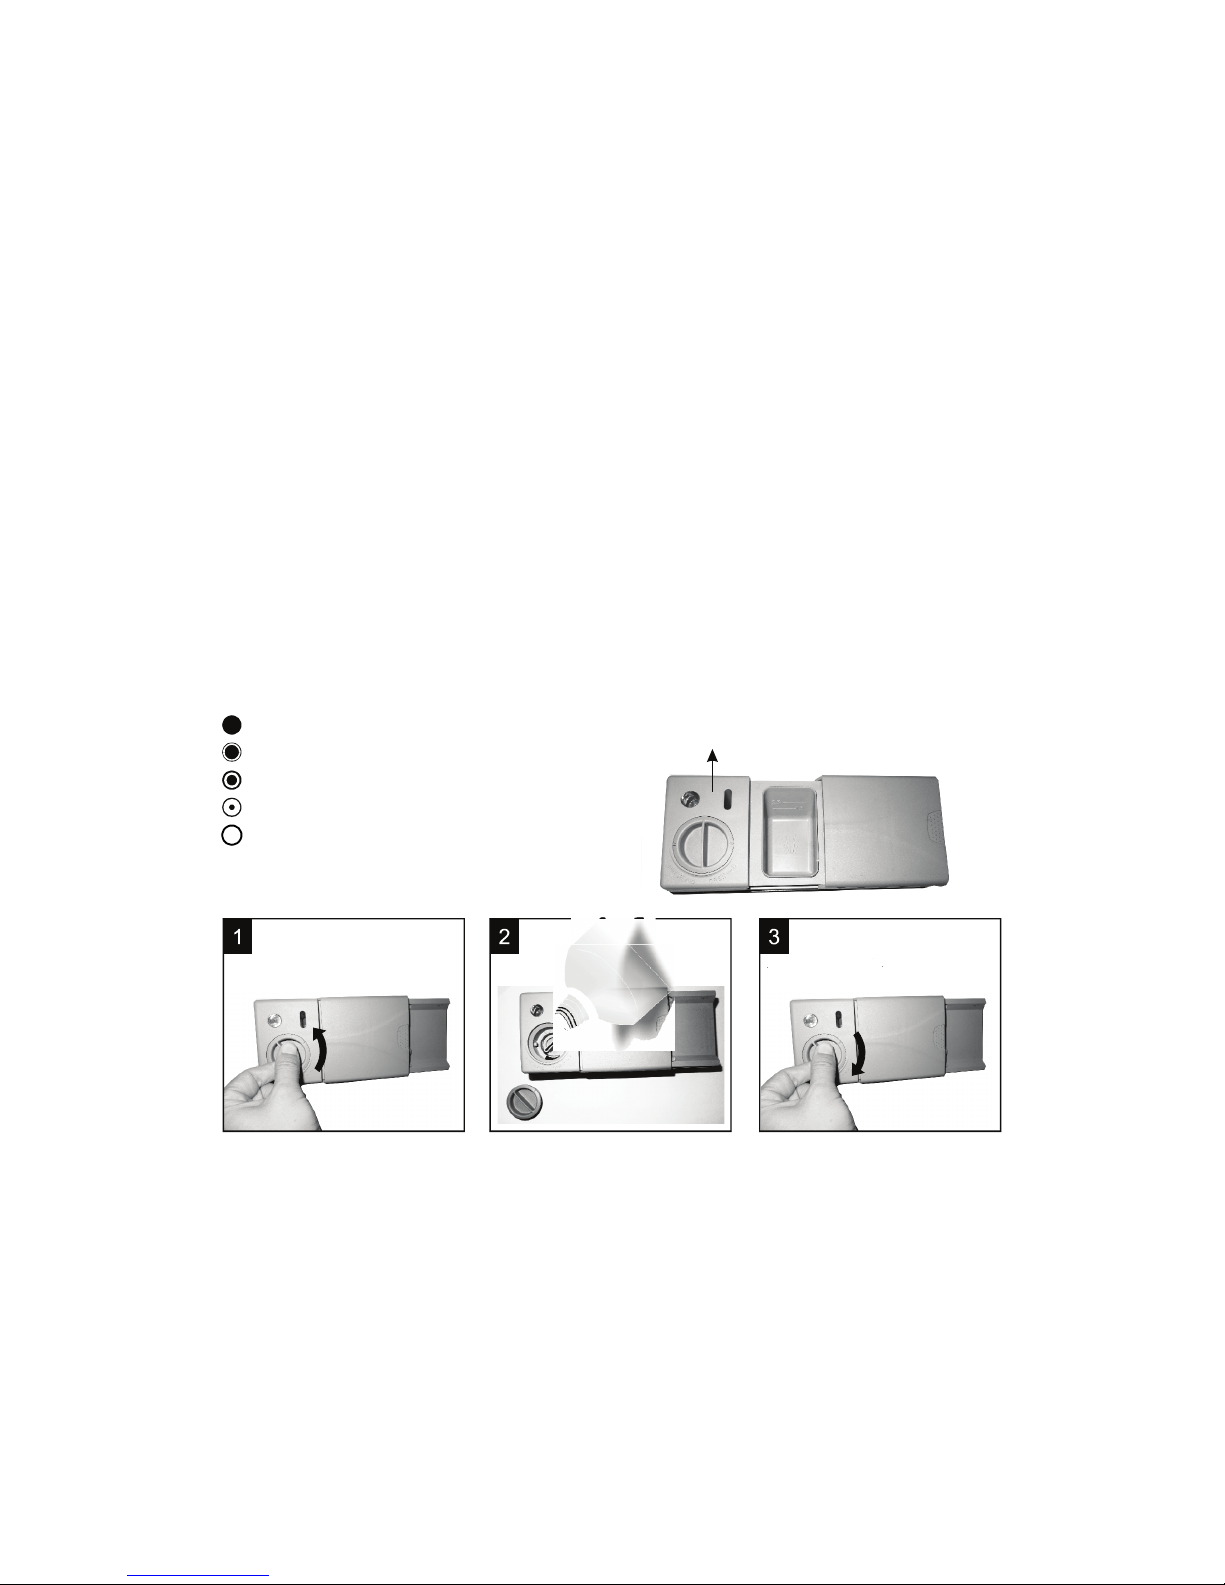
A) Fill the rinse aid dispenser
B) Fill in detergent
RINSE AID DISPENSER
RINSE AID DISPENSER
The rinse aid is released during the final rinse to prevent water from forming droplets on your dishes, which
can leave spots and streaks. It also improves drying by allowing water to roll off the dishes. Your dishwasher
is designed to use liquid rinse aids. The rinse aid dispenser is located inside the door next to the detergent
dispenser. To fill the dispenser, open the cap and pour the rinse aid into the dispenser until the level indicator
turns completely black. The volume of the rinse aid container is about 110ml.
FUNCTION OF RINSE AID
Rinse aid is automatically added during the last rinse, ensuring thorough rinsing, and spot and streak free drying.
ATTENTION!
Only use branded rinse aid for dishwasher. Never fill the rinse aid dispenser with any other substances
(e.g. Dishwasher cleaning agent, liquid detergent). This would damage the appliance.
WHEN TO REFILL THE RINSE AID DISPENSER
If there is no rinse-aid warning light in the control panel, you can judge the amount of rinse-aid by the color
of the optical level indicator “C” located next to the cap. When the rinse-aid container is full, the whole
indicator will be dark. As the rinse-aid diminishes, the size of the dark dot decreases. You should never let the
rinse aid get below 1/4 full.
As the rinse aid diminishes, the size of the black dot on the rinse aid level indicator changes, as illustrated below.
Full
3 / 4 full
1 / 2 full
1 / 4 full - Should refill to eliminate spotting
Empty
C (Rinse-Aid indicator)
Be careful not to overfill the dispenser, because this could cause over sudsing. Wipe away any spills with a damp
cloth. Don't forget to replace the cap before you close dishwasher door.
Attention!
Clean up any rinse aid spill during filling with an absorbent cloth to avoid excess foaming during the next wash.
1. To open the dispenser, turn the cap to the “open” (left) arrow and lift it out.
2. Pour the rinse aid into the dispenser, being careful not to overfill.
3. Replace the cap by inserting it aligned with “open” arrow and turning it to the closed (right) arrow.
 Loading...