

Franke AQUAMIX AQRM175, AQUAMIX AQRM311, AQUAMIX AQRM312 Installation And Operating Instructions Manual

Installation and operating instructions Montaż i instrukcja obsługi
EA-Nr.: 7612982003028
FAR-Best.-Nr.: 2000100917
AQRM175
EA-Nr.: 7612982000515
FAR-Best.-Nr.: 2000100070
AQRM311
EA-Nr.: 7612982000522
FAR-Best.-Nr.: 2000100069
AQRM312
Franke Aquarotter GmbH, Germany
ZMI_001_2000100069-AQRM312_#SALL_#AQU_#V3.fm/24.02.12

................................................................ 3
Please refer to the graphics in the German
Installation and Operating Instructions.
................................................................ 11
Prosimy przyjąć grafikę z niemieckiej instrukcji
montażu i obsługi.
Inhaltsverzeichnis11.fm
2

0English
AQUAMIX Self-closing Single Mixer
7612982003028 ......... Vertical-mounted mixer tap
7612982000515 ......... Single clamp-on tap
7612982000522 ......... Dual clamp-on tap
Please refer to the graphics in the German Installation and Operating Instructions.
0 Table of Contents
1. Abbreviations and Units . . . . . . . . . . . . . . . . . . . . . . . . . . . . . . . . 4
2. Key . . . . . . . . . . . . . . . . . . . . . . . . . . . . . . . . . . . . . . . . . . . . . . . . 4
3. Warranty . . . . . . . . . . . . . . . . . . . . . . . . . . . . . . . . . . . . . . . . . . . . 4
4. Important Notes . . . . . . . . . . . . . . . . . . . . . . . . . . . . . . . . . . . . . . 4
Description of Product
5. Application . . . . . . . . . . . . . . . . . . . . . . . . . . . . . . . . . . . . . . . . . . 4
6. Technical Specifications . . . . . . . . . . . . . . . . . . . . . . . . . . . . . . . . 5
7. Scope of Delivery . . . . . . . . . . . . . . . . . . . . . . . . . . . . . . . . . . . . . 5
9. Installation Example . . . . . . . . . . . . . . . . . . . . . . . . . . . . . . . . . . . 5
Installation, Function and Commissioning
10. Installation (FAR Order No. AQRM175) . . . . . . . . . . . . . . . . . . . . 5
11. Installation (FAR Order No. AQRM311) . . . . . . . . . . . . . . . . . . . . 6
12. Installation (FAR Order No. AQRM312) . . . . . . . . . . . . . . . . . . . . 6
13. Function . . . . . . . . . . . . . . . . . . . . . . . . . . . . . . . . . . . . . . . . . . . . 7
14. Adjusting the Flow Duration . . . . . . . . . . . . . . . . . . . . . . . . . . . . . 7
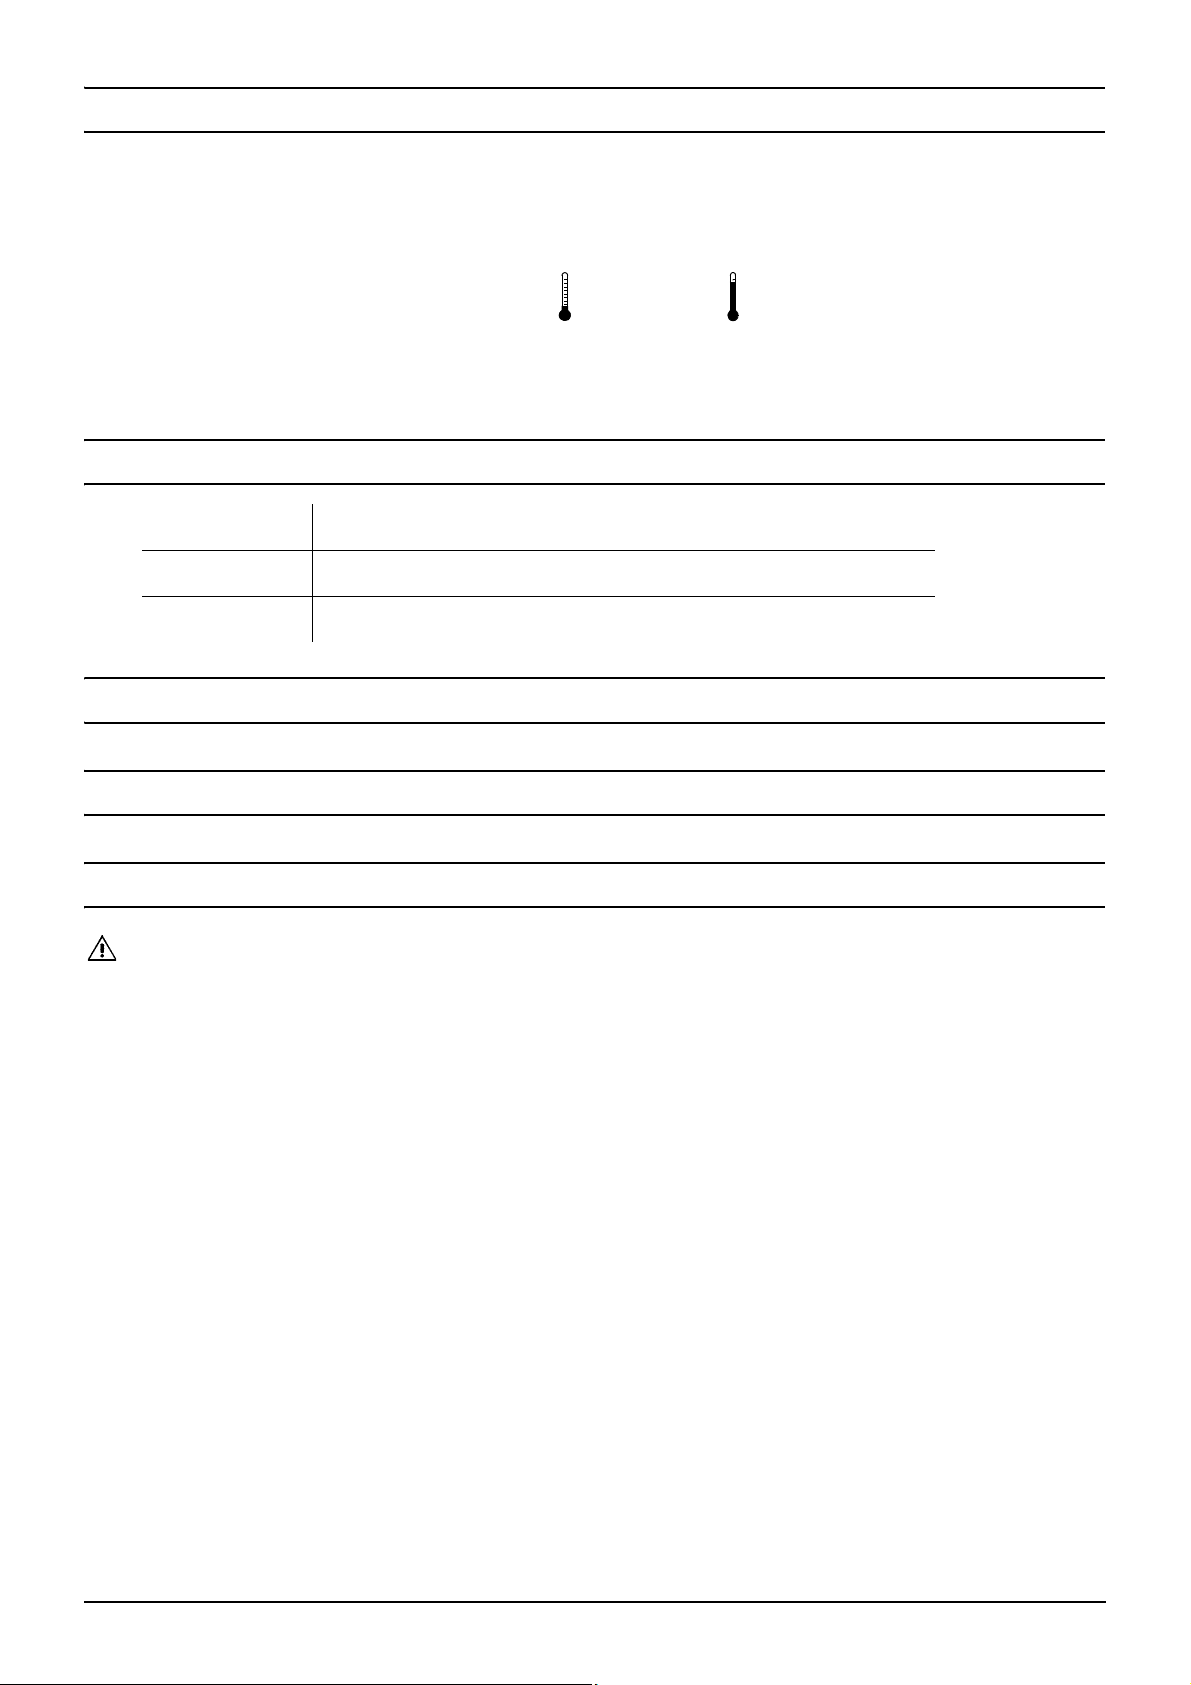
15. Setting the Temperature Limiter . . . . . . . . . . . . . . . . . . . . . . . . . . 8
Maintenance
16. Maintenance and Servicing . . . . . . . . . . . . . . . . . . . . . . . . . . . . . 8
17. Replacing an Aerator . . . . . . . . . . . . . . . . . . . . . . . . . . . . . . . . . . 9
ZMI_001_2000100069-AQRM312_#SEN_#AQU_#V3
18. Replacing the Grit Filters . . . . . . . . . . . . . . . . . . . . . . . . . . . . . . . 9
19. Replacing the Non-return Valve . . . . . . . . . . . . . . . . . . . . . . . . . . 9
20. Replacing the Functional Part . . . . . . . . . . . . . . . . . . . . . . . . . . . 9
21. Fault Correction . . . . . . . . . . . . . . . . . . . . . . . . . . . . . . . . . . . . . . 10
22. Replacement Parts . . . . . . . . . . . . . . . . . . . . . . . . . . . . . . . . . . . . 10
3

1. Abbreviations and Units
SW Width A/F
EA-Nr. European Article Number
FAR-Best.-Nr. Franke Aquarotter Order Number
Conversion 1 mm = 0.03937 inches
1 inch = 25.4 mm
All length specifications in the graphics are in mm.
2. Key
Warning!
Failure to observe can result in injury or even death.
Caution!
Failure to observe can result in material damage.
☞ Important!
Failure to observe can cause the product to malfunction.
☞ Useful information for optimally handling the product.
3. Warranty
Liability is accepted according to the General Terms and Conditions of Business and
Supply.
Use original replacement parts only!
4. Important Notes
• Installation, commissioning and maintenance are to be performed only by a
qualified technician according to the instructions provided and in accordance with
legal requirements and acknowledged rules of technology.
• All technical connection regulations specified by the local water and electricity
supply utility companies must be complied with.
• All rights reserved to make technical alterations.
5. Application
AQUAMIX self-closing single mixer DN 15 with angled outlet, for connection to hot
and cold water. Adjustable flow duration.
4
ZMI_001_2000100069-AQRM312_#SEN_#AQU_#V3
6. Technical Specifications
Minimum flow pressure: 1.0 bar
Recommended flow pressure: 1-5 bar
Maximum operating pressure: 10 bar
Calculation flow rate: 0,07 l/s 0,07 l/s
Volumetric flow: 0.10 l/s at a flow pressure of 3 bar
Flow duration at 38 °C: 1-15 s adjustable
7. Scope of Delivery
Quantity Description
1 AQUAMIX self-closing single mixer
1 Installation and Operating Instructions
8. Dimensions
9. Installation Example
10. Installation (FAR Order No. AQRM175)
Warning!
Use the fitting only with the non-return valves and the grit filters specified.
Failure to observe can result in an increased bacterial load in drinking water and
cause a health risk or even risk of death.
☞ Important!
Before installing, flush the pipes in compliance with DIN 1988.
10.1
Apply sealing material to the S-connectors (a) and screw them in.
☞ Apply grease to the O-rings on the S-connectors!
10.2
Place the wall plate (b) over the S-connectors, align it, and then secure it with the
nuts (c).
10.3
Slide the flange (d) on to the wall plate and secure it with the washer (e) and the
screw (f).
10.4
Insert the grit filters (g).
10.5
Screw in the faucet screw (h) until it protrudes 16 mm and the borehole is vertical.
☞ Apply grease to the O-rings on the guide bushing!
10.6
Insert the guide bushings (i).
ZMI_001_2000100069-AQRM312_#SEN_#AQU_#V3
5

10.7
Attach the fitting (k).
10.8
Secure the fitting with the grub screw (l).
10.9
Turn on the water supply.
10.10
Check the connections for leaks.
11. Installation (FAR Order No. AQRM311)
Warning!
Use the fitting only with the non-return valves and the grit filters specified.
Failure to observe can result in an increased bacterial load in drinking water and
cause a health risk or even risk of death.
☞ Important!
Before installing, flush the pipes in compliance with DIN 1988.
☞ Important!
When installing the distribution pipes, ensure that a gap of 45 mm is maintained. Drill
the boreholes so that they are exactly in line vertically. The correct distances of the
pipes as well as the positions of the boreholes must not be forced with the mixer
body and the cover.
11.1
Drill 14 mm holes into the distribution pipes (b).
11.2
Place the clamper (c) and seals on the pipes, and then screw-fasten from the rear
with the clamp cover (a).
☞ Apply grease to the O-rings on the guide bushing!
11.3
Insert the grit filters (d) and the guide bushings (e) into the clamper (c).
11.4
Slide the fitting (g) on to the guide bushings.
11.5
Secure the fitting with the grub screw (f).
11.6
Turn on the water supply.
11.7
Check the connections for leaks.
12. Installation (FAR Order No. AQRM312)
Warning!
Use the fitting only with the non-return valves and the grit filters specified.
Failure to observe can result in an increased bacterial load in drinking water and
cause a health risk or even risk of death.
☞ Important!
Before installing, flush the pipes in compliance with DIN 1988.
☞ Important!
When installing the distribution pipes, ensure that a gap of 45 mm is maintained. Drill
the boreholes so that they are exactly in line vertically. The correct distances of the
pipes as well as the positions of the boreholes must not be forced with the mixer
body and the cover.
6
ZMI_001_2000100069-AQRM312_#SEN_#AQU_#V3
 Loading...