

Ford 2016 F-150 Quick Reference Manual
WARNING
Driving while distracted can result in loss of vehicle control, crash and injury. We strongly recommend that you use extreme caution
when using any device that may take your focus o the road. Your primary responsibility is the safe operation of your vehicle. We
recommend against the use of any hand-held device while driving and encourage the use of voice-operated systems when possible.
Make sure you are aware of all applicable local laws that may aect the use of electronic devices while driving.
August 2015
First Printing
Quick Reference Guide
F-150
Litho in U.S.A.
GL3J 19G217 AA
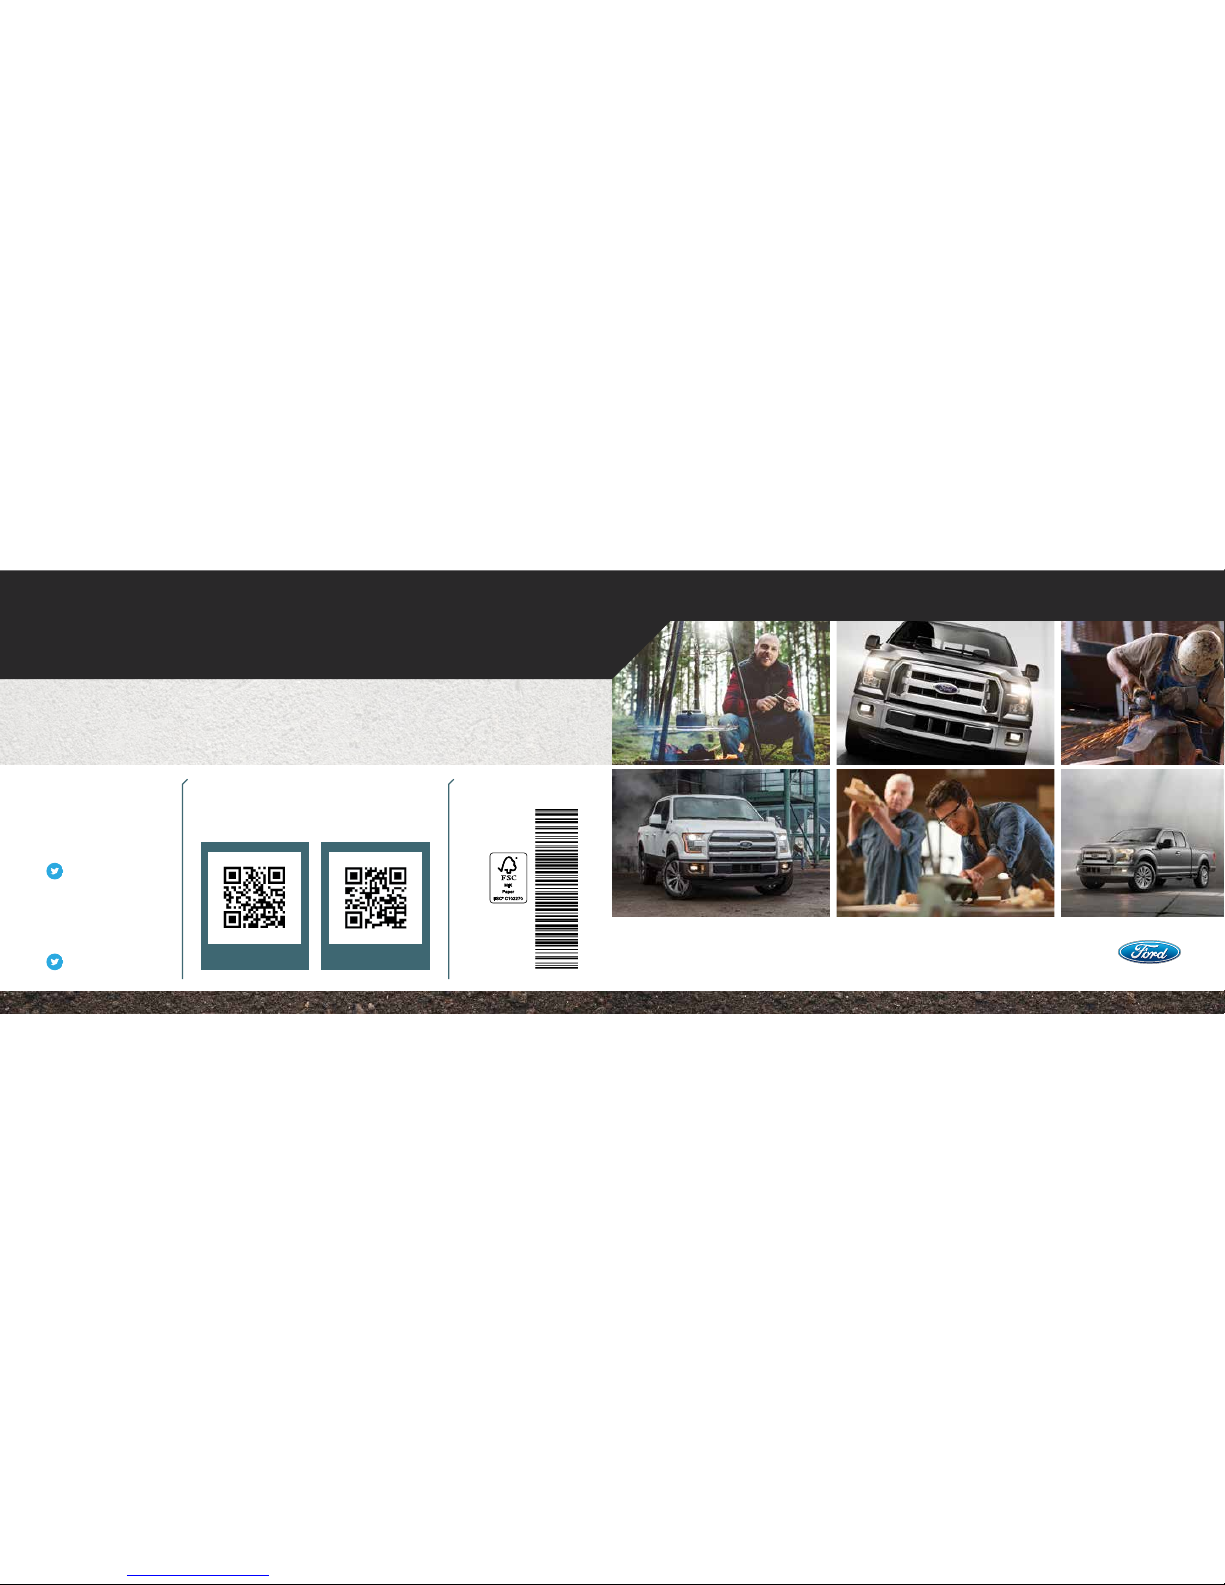
LEARN MORE ABOUT
YOUR NEW VEHICLE
Scan the country-appropriate QR code with your smartphone (make
sure you have a scanner app installed) and you can access even more
information about your vehicle.
Ford.caowner.ford.com
This Quick Reference Guide is not intended to replace your vehicle Owner’s Manual which contains more detailed information concerning the features of your
vehicle, as well as important safety warnings designed to help reduce the risk of injury to you and your passengers. Please read your entire Owner’s Manual
carefully as you begin learning about your new vehicle and refer to the appropriate chapters when questions arise. All information contained in this Quick
Reference Guide was accurate at the time of duplication. We reserve the right to change features, operation and/or functionality of any vehicle specification at any
time. Your Ford dealer is the best source for the most current information. For detailed operating and safety information, please consult your Owner’s Manual.
2016 F-150 QUICK REFERENCE GUIDE
United States
Ford Customer
Relationship Center
1-800-392-3673 (FORD)
(TDD for the hearing
impaired: 1-800-232-5952)
owner.ford.com
@FordService
Canada
Ford Customer
Relationship Centre
1-800-565-3673 (FORD)
ford.ca
@FordServiceCA
Table of Contents
Commonly Used SYNC® 3* Voice Commands
SYNC. Say the Word. Press the voice button and then say:
4 – 9 INSTRUMENT PANEL
10 – 11 SYNC
12 – 16 SYNC 3
17 CONVENIENCE
18 COMFORT
19 – 21 FUNCTION
22 – 23 ESSENTIAL INFORMATION
Some services may not be available in your area. Refer to your Owner’s Manual, visit the website
or call the toll-free number.
FOR U.S. CUSTOMERS:
Visit owner.ford.com or call 1-800-392-3673 (select Option 1 or 2 for language, then Option 3).
FOR CANADIAN CUSTOMERS:
Visit SyncMyRide.ca or call 1-800-565-3673 (select Option 1 or 2 for language, then Option 3).
*if equipped
BASIC COMMANDS
• Main menu
• Go back
• Cancel
• List of commands
• Next page
• Previous page
• Help
AUDIO
• AM <530-1710>
• FM <87.9-107.9>
• CD
• USB
• Bluetooth audio
• Sirius <0-233>
• <Sirius channel name>
APPS
• List mobile apps
• Find new apps
PHONE
• Phone list of commands
• Pair phone
• Call <name>
• Call <name> <on cell/at home/
at work>
• Dial <number>
• Listen to message
CLIMATE*
• Climate list of commands
• Climate set temperature
<# degrees>
NAVIGATION*
• Navigation list of commands
• Destination <home/
previous destination>
• Find <an address/POI/intersection>
• Show route
• Where am I?
• SiriusXM Trac and Travel Link list
of commands
- Show <trac/weather map/5 day
forecast/fuel prices>
- Help
7
5 6 6
8
423
1
1
3
5
6
7
8
4
*if equipped
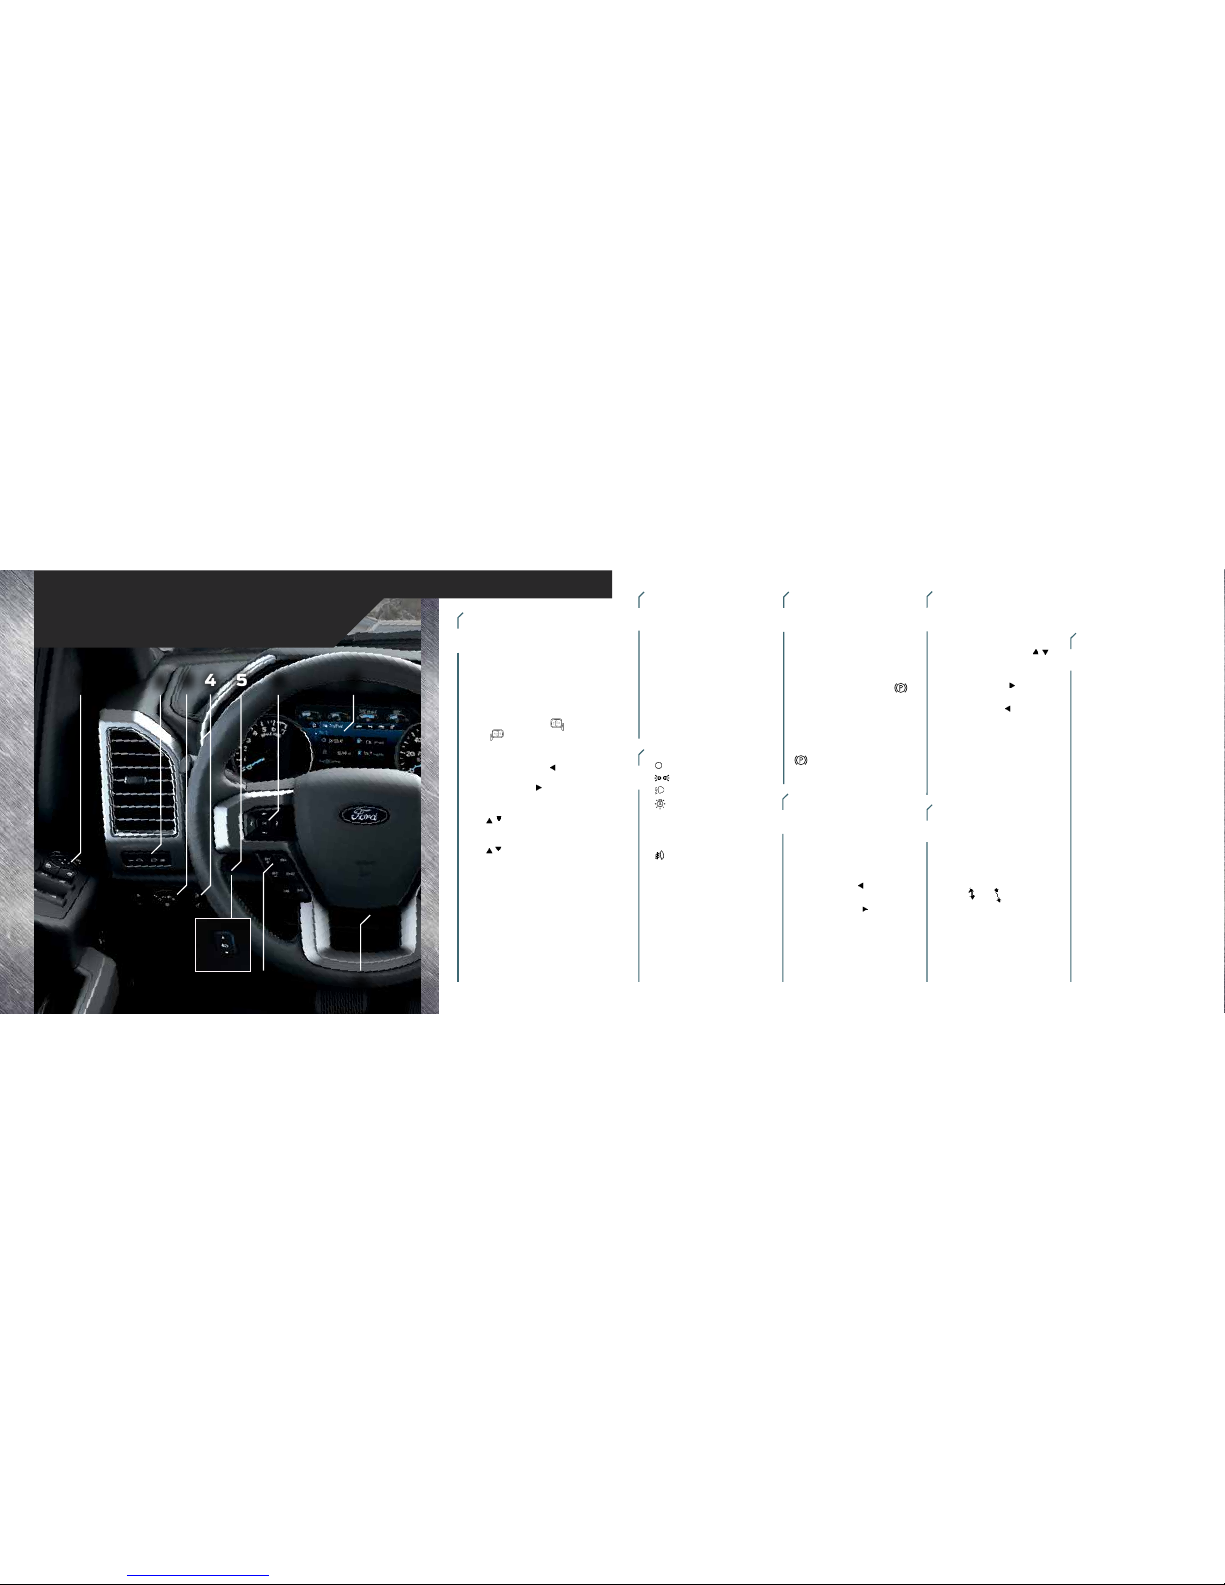
LED SIDE-MIRROR SPOT
LAMPS CONTROL*
The spot lamps are on the forwardfacing side of the exterior mirrors.
With the lighting control switch in
the parking lamps, headlamps or
autolamps position, press the buttons
located above the lighting control
switch to activate the le-hand or
right-hand side spot lamps. Once
switched on, the spot lamps light the
area in front of and to the side of your
vehicle. Adjust the aim of the spot
lamps by moving the exterior
mirrors' positions.
LIGHTING CONTROL
Headlamps o.
Parking lamps on.
Headlamps on.
Autolamps* on.
Automatically switches
the exterior lamps on
or o based on
available daylight.
Fog lamps on. Press the
control to switch the fog
lamps on or o. You can
switch the fog lamps on when
the lighting control is in any
position except o and the
high beams are not on.
ELECTRIC
PARKING BRAKE*
On certain models, the electric parking
brake replaces the conventional foot
brake. The operating switch is on the
instrument panel, to the le of the
steering column.
To apply the electric parking brake,
make sure the transmission is locked
into park (P), and then pull the
switch up. The brake system warning
lamp then lights to confirm that the
parking brake is applied.
To release the electric parking brake,
switch the ignition on, press the brake
pedal, and then manually press the
switch down. The brake system
warning lamp then turns o to confirm
the parking brake is released.
ADJUSTABLE
FOOT PEDALS*
Move the brake and accelerator pedals
by using the control. The vertical
control is to the le of the steering
column and on the instrument panel.
The horizontal control is on the le
side of the steering column.
Press the le arrow
to move the
pedals away from you.
Press the right arrow to move the
pedals closer to you.
Adjust the pedals only aer stopping
your vehicle and placing it in park (P).
INFORMATION DISPLAY
PRODUCTIVITY SCREEN*
Monitor and control important vehicle
information and features through the
information display.
• Press the up or down arrows
to scroll through and highlight the
options within a menu.
• Press the right arrow
to enter into
a sub-menu.
• Press the le arrow to exit a menu.
• Press OK to choose and confirm a
setting or message.
You can even customize your views
using MyView.
Refer to the Information Displays
chapter in your Owner’s Manual for
more details.
ADAPTIVE
CRUISE CONTROL*
Automatically adjust your speed to
maintain a set distance between your
vehicle and the vehicle in front of you
in the same lane. Set the gap distance
between your vehicle and the vehicle
in front of you by pressing GAP+ or
GAP– or
and controls on the
steering wheel.
Note: Driving aids do not replace the
need to watch where the vehicle is
moving and brake where necessary.
Refer to the Cruise Control chapter in
your Owner’s Manual for more details.
4 – 5
POWER TILT-TELESCOPE
STEERING COLUMN*
Use the control on the side of the
steering column to adjust
the position.
To tilt: Press the top or bottom
of the control.
To telescope: Press the front or
rear of the control. The column
moves to the full up and away
position when you switch the
ignition o. It returns to your
previous setting when you switch
the ignition on. You can enable
or disable this feature in the
information display.
Instrument Panel
2
POWERSCOPE®
POWER-FOLDING,
POWER-ADJUSTABLE
TELESCOPING
MIRRORS*
To telescope both mirrors at the
same time, make sure you switch
your vehicle on (with the ignition
in accessory mode or the engine
running) and then:
1. Press and release the
or
control.
2. Press the adjustment control
to position the mirrors.
• Press the le arrow to
extend the mirrors out. Press
the right arrow
to retract
the mirrors in.
• Press the up or down arrow
to fold the mirrors
toward the window glass.
Press the up or down arrow
to fold the mirrors out.
Note: Moving the mirrors 10 or
more times within one minute, or
repeated folding and unfolding
of the mirrors while holding the
control down during full travel,
may disable the system to protect
the motors from overheating.
Wait approximately three minutes
with the vehicle running, and up
to 10 minutes with the vehicle
o, for the system to reset and
for function to return to normal.
*if equipped
10
13
12
11
14
9
10
11
12
13
14
9
*if equipped
ELECTRONIC SHIFT
4WD SYSTEM*
The electronic shi 4WD system
allows you to choose between 4x2,
4x4 AUTO*, 4x4 HIGH or 4x4 LOW.
2H (4x2) sends power to the rear
wheels only and should be used for
street and highway driving. Provides
optimal smoothness and fuel
economy at high speeds.
4A (4x4 AUTO)* provides electronic
control four-wheel drive with power
delivered to the front and rear wheels,
as required, for increased traction. This
is appropriate for all on-road driving
conditions, including dry road surfaces,
but is especially useful on wet
pavement, snow, dirt or gravel.
4H (4x4 HIGH) helps provide extra
traction while driving in snow or
on icy roads or o road situations.
This mode is not intended for use on
dry pavement.
4L (4x4 LOW) uses extra gearing to
provide maximum power to all four
wheels at reduced speeds. Intended
only for o-road applications such
as deep sand, steep grades or pulling
heavy objects. 4L (4x4 LOW) does not
engage while the vehicle is moving
above 3 mph (5 km/h); this is normal
and should be no reason for concern.
6 – 7
Refer to Shiing to or from 4L (4x4
LOW) in the Four-Wheel Drive chapter
of your Owner’s Manual for details.
ELECTRONIC LOCKING
DIFFERENTIAL*
When engaged, the system
temporarily locks the rear axle,
allowing both rear wheels to turn at
the same speed. This function helps
to provide additional traction
as needed.
Note: Do not use this feature on
dry pavement or hard-surfaced roads.
To use:
4X4: Pull the 4WD control.
4X2: Turn the
control to ON.
The indicator light
continuously
displays in the cluster when the
ELD is active.
PRO TRAILER
BACKUP ASSIST*
The Pro Trailer Backup Assist control
knob helps assist you in backing
up your trailer. Turn the knob in the
direction you want the trailer to go
and the system will take over the
steering to get it there.
This system will not work until you set
it up. See the Pro Trailer Backup Assist
Quick Start Guide in your Owner's
Manual portfolio for the complete set
up and operation details.
INTEGRATED TRAILER
BRAKE CONTROLLER*
The fully integrated trailer brake
controller assists in smooth and
eective trailer braking by powering
the trailer’s electric or electric-over
hydraulic brakes with a proportional
output based on the towing vehicle’s
brake pressure.
The Gain setting is used to set the
trailer brake controller for specific
towing conditions and should be
changed as towing conditions change.
Changes to towing conditions include
trailer load, vehicle load, road
conditions and weather.
Use the Gain + and – adjustment
buttons to increase or decrease the
braking feature’s power output to
the trailer in 0.5 increments.
Adjust the Gain by:
1. Pressing the Gain+ or Gain–
buttons to increase or decrease
the setting to the desired
starting point. For example, a
Gain setting of 6.0 is a good
starting point for heavier loads.
2. Test the adjusted Gain setting
again aer you make adjustments.
When testing:
A. In a trac-free environment,
tow the trailer on a dry,
level surface at a speed of
20-25 mph (30-40 km/h)
and squeeze the manual
control lever completely.
B. If the trailer wheels lock
up (the tires will squeal),
reduce the Gain setting. If
the trailer wheels turn freely,
increase the Gain setting.
C. The proper Gain setting will
be at the point just below
trailer wheel lock-up.
Note: If towing a heavier trailer,
trailer wheel lock-up may not be
attainable even with the maximum
Gain setting of 10.
360-DEGREE CAMERA*
See page 19 for details.
Instrument Panel
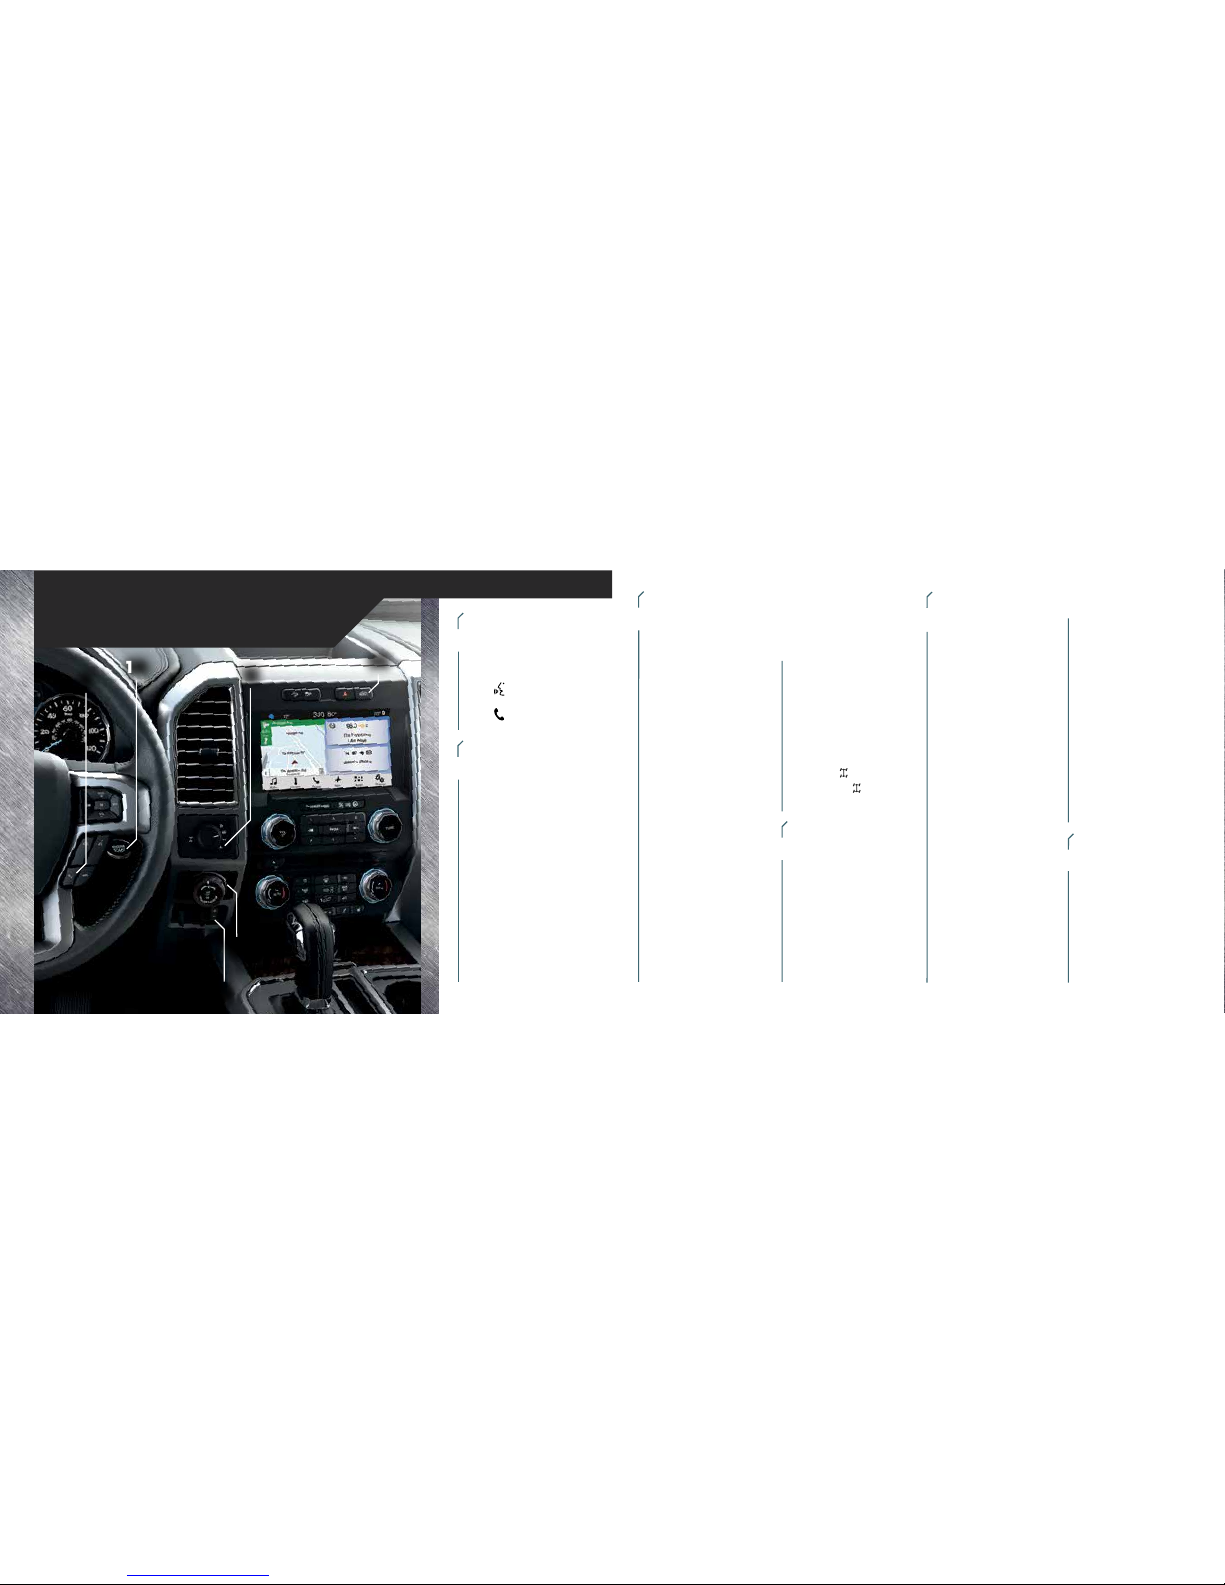
AUDIO AND MEDIA
CONTROLS
• Press VOL+ or VOL– to increase
or decrease your volume level.
• Press M repeatedly to access all
possible media sources.
• Press
to access voice
recognition*.
• Press
to access SYNC
®
phone features*.
PUSH-BUTTON START*
Press the brake pedal and then
press the START STOP button.
An indicator light comes on when
the ignition is on and when the
engine starts.
If you leave your vehicle idling for
an extended period of time, the
engine and ignition automatically
turn o.
Before the engine shuts down, a
message appears in the information
display allowing the driver time to
override the shuto feature.
Note: Your intelligent access
transmitter must be inside your
vehicle to switch the ignition on
and start the engine.
*if equipped
 Loading...