

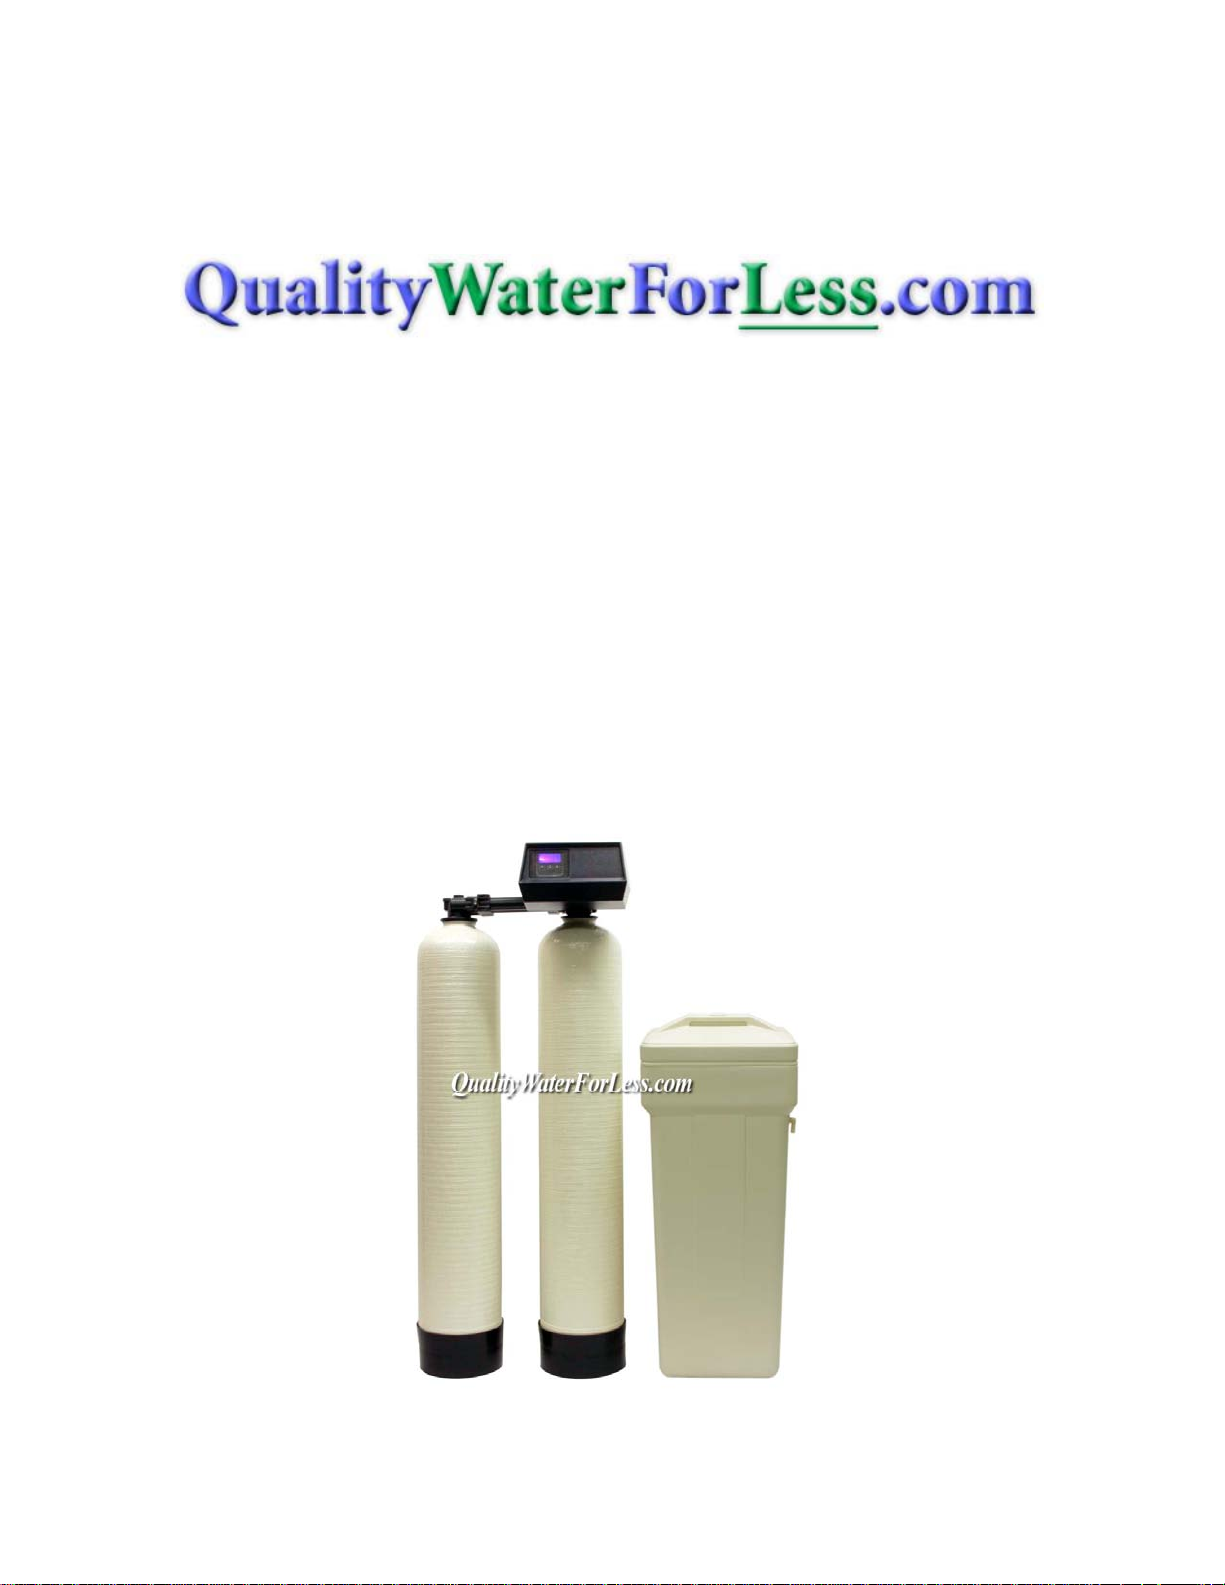
Fleck 9100SXT Meter Installation & Start-up Instructions
INSTALLATION & START -UP
INSTRUCTIONS
FLECK 9100SXT METER
TWIN ALTERNATING
WATER SOFTENER SYSTEMS
© 1999-2007 QualityWaterForLess.com - 1 - info@qualitywaterforless.com

Preface:
Thank you for your purchase of a new Water Softener with Fleck 9100SXT Meter from
QualityWaterForLess.com! We have put together these instructions as reference, and to
be used as general installation guidelines. It is always recommended that a licensed
plumber perform all installation work according to all local codes. We at
QualityWaterForLess.com cannot assume responsibility for improper installation,
application, injury, or damage as a result of improper installation.
Pre-Installation Guidelines:
Before assembly of your new system, be sure that the following conditions have been met
for placement of your system:
• Level, firm surface, such as concrete, on which to place the softener tank and salt
tank (as known as a ‘brine’ tank)
• Nearby floor drain or standpipe to connect to the softener for use during each
regeneration
• Un-switched power source, standard US plug, 120v 60hz (the softener system
includes a 5ft. power cord and plug)
• Access to the water main coming into your home. You will need to install the
softener at this point to assure that water for the home is going through the
system.
Placing and Filling the Tank:
• Choose the final location for your water softener tank, and place the tank upright
and level on the surface.
• Filling the tank may be necessary on some systems. Your tanks may have also
come prefilled, and in this case you only need to unscrew the protective cap as
shown below in Figure 1 and move on to the next section.
FIGURE 1
© 1999-2007 QualityWaterForLess.com - 2 - info@qualitywaterforless.com
• If your tank is not filled, please follow the additional instructions below.
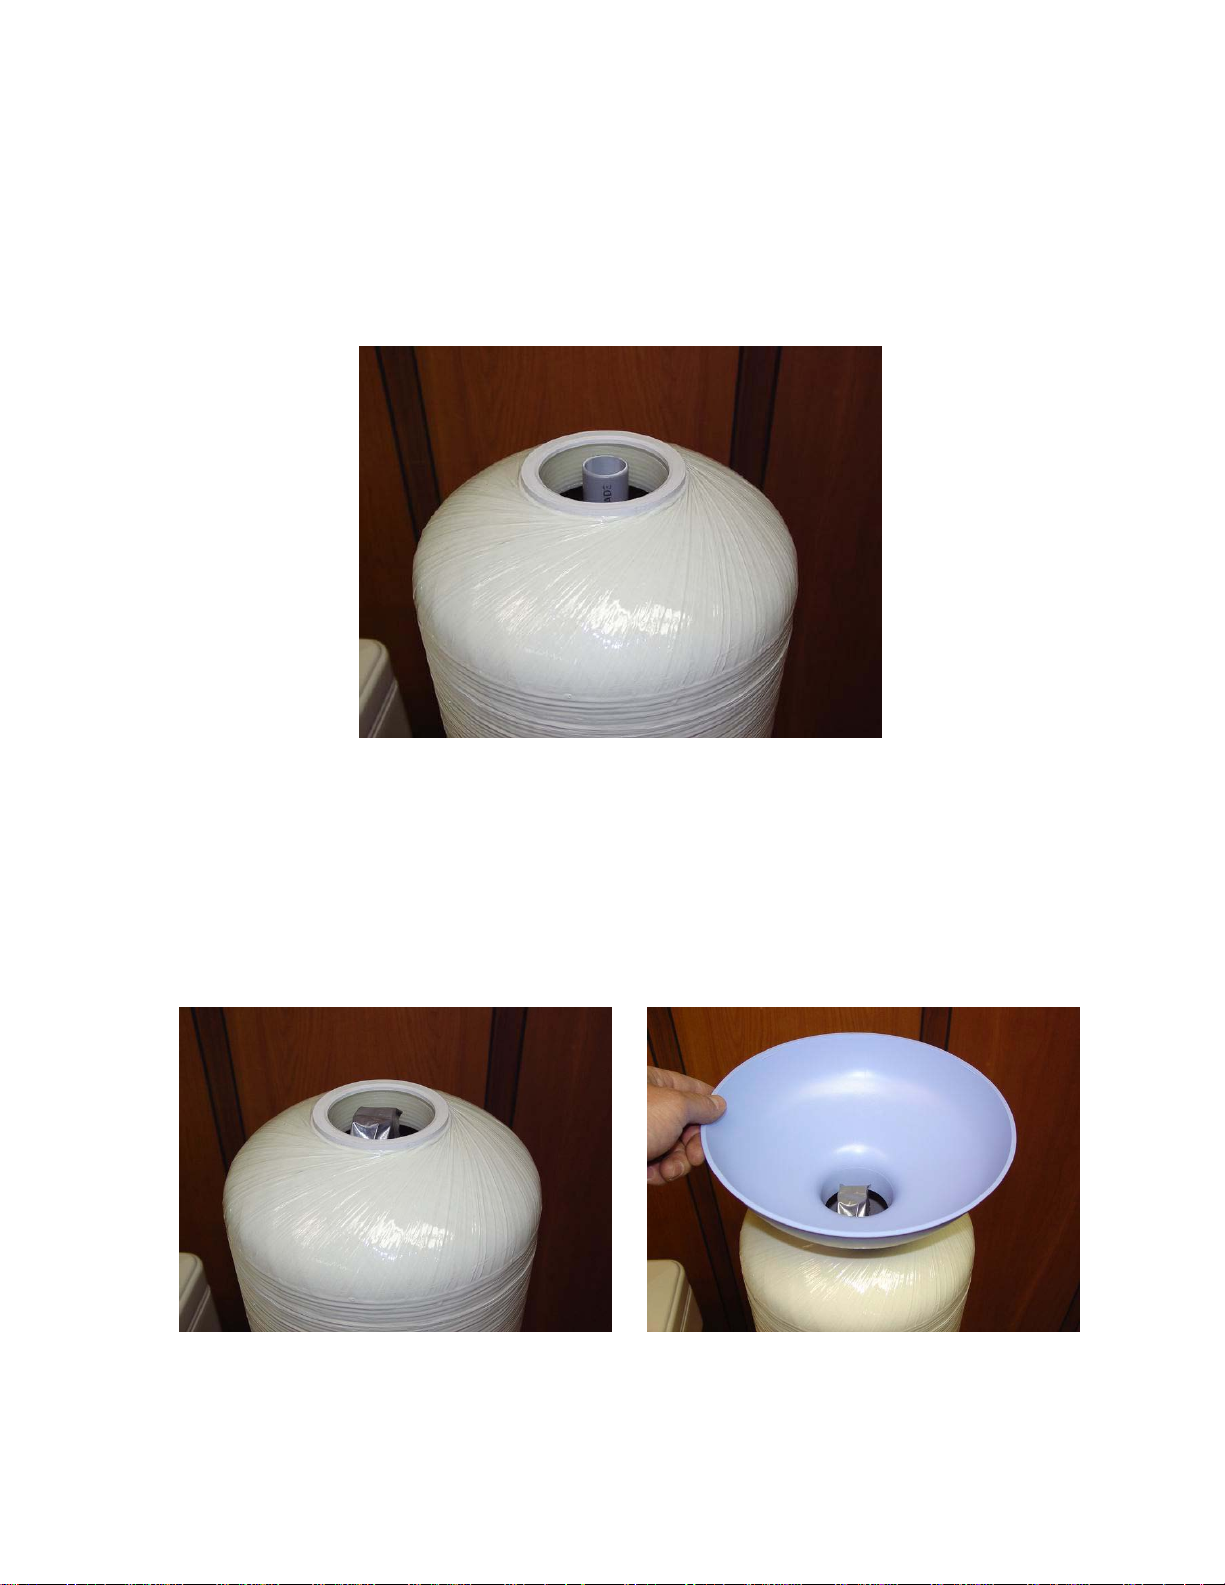
• First, place the riser tube into the tank as shown in Figure 2. NOTE: Please be
sure that the riser tube seats into the bottom of the tank, and that the top of
the riser tube is FLUSH with the top of the tank lip.
FIGURE 2
• Before filling the tank, place a piece of duct tape over the top of the riser to
prevent resin from dropping down inside the riser tube as shown in Figure 3.
• Place the included filling funnel over the top the tank as shown in Figure 4, and
prepare to fill the tank. Since the 9100SXT is a twin system, please be sure to fill
½ of the included resin for each tank. If your softener system came with
Gravel, please pour this amount into the tank FIRST, then pour in the
included resin media afterwards. Please note that you must split the amount of
supplied resin and gravel EQUALLY for EACH tank shipped!
FIGURE 3 FIGURE 4
© 1999-2007 QualityWaterForLess.com - 3 - info@qualitywaterforless.com
• Remove the filling funnel and duct tape and repeat for the second tank. After
the second tank is filled, go on to the next section
Installing the Fleck 9100SXT Meter Control Valve:
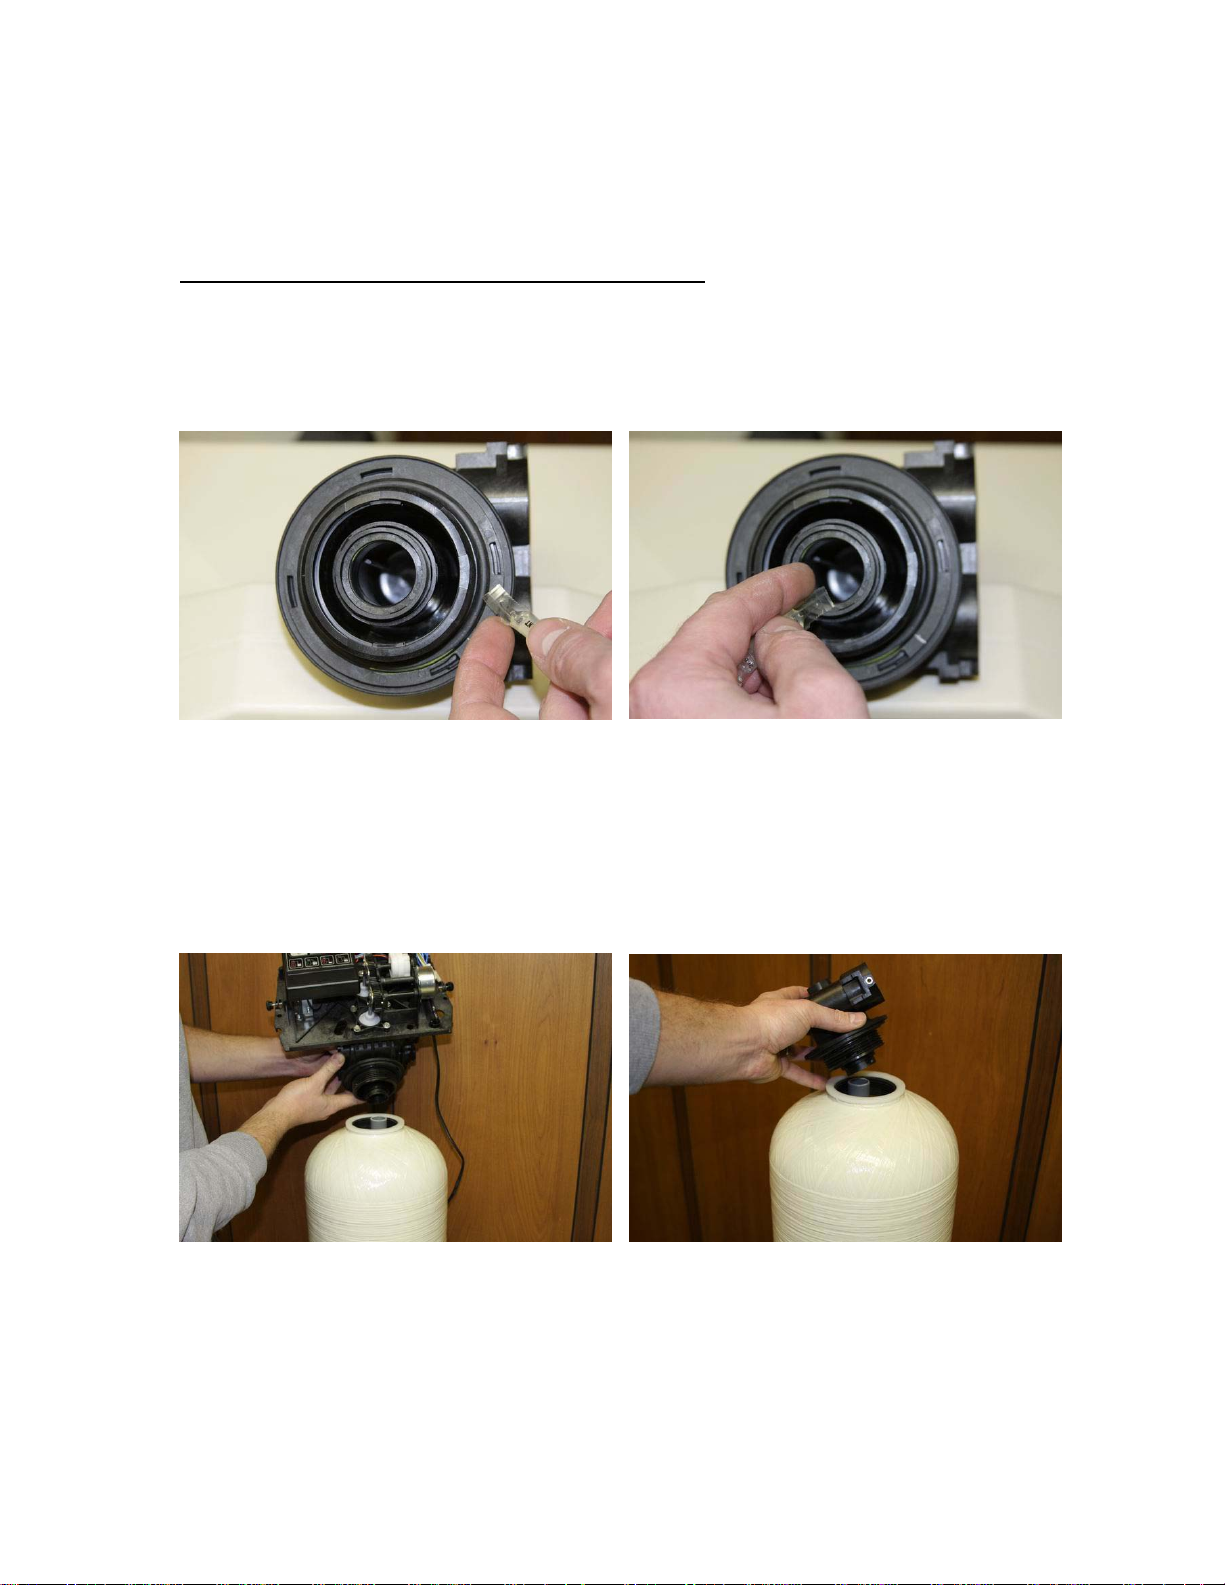
• Using the included silicone lubricant packet, lubricate the inner and outer o-
rings on the bottom of the Fleck 9100SXT Meter Valve as shown in Figures 5
& 6 below. Please repeat this for the main valve, and the secondary portion, as
shown below.
FIGURE 5 FIGURE 6
• Next, place the Fleck 9100SXT Meter Valve and secondary portion onto the
top of each tank, being sure that the riser tube fits into the central o-ring on
each, as shown in figures 7 & 8 below. Hand tighten each to the tank snugly
by hand only. NOTE: Do not use Teflon tape or pipe dope on the valve or
tank threads.
FIGURE 7 FIGURE 8
• Locate the yoke and/or bypass valve assembly that was shipped with your
system. Also, disassemble the plumbing adaptor clips as shown in Figures 8 &
9 on the following page.
© 1999-2007 QualityWaterForLess.com - 4 - info@qualitywaterforless.com
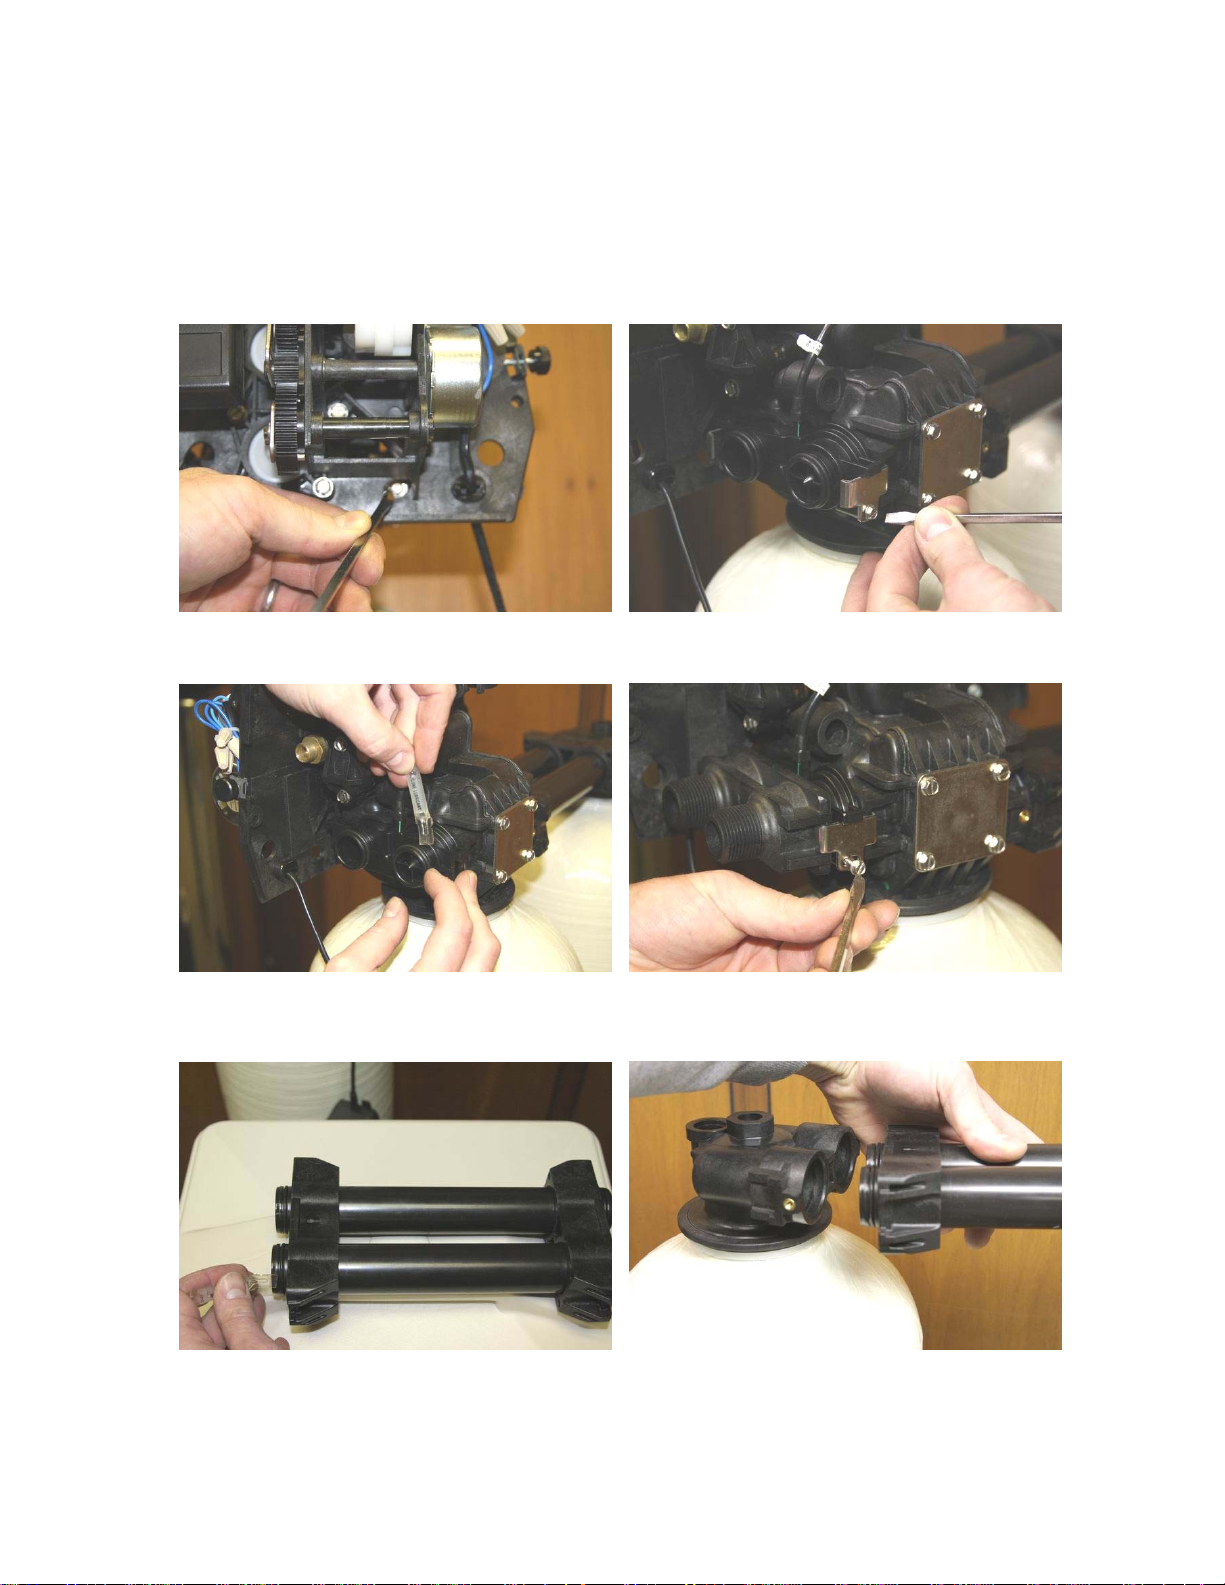
• Using the included silicone lubricant packet, lubricate the o-rings on the
9100SXT Valve meter assembly as shown in figure 10 below.
• Finally, push the yoke or bypass valve snugly to the back of the 9100SXT
valve. Use the clips & screws to secure each side of the yoke or bypass valve
as shown in Figure 11 below.
FIGURE 8 FIGURE 9
FIGURE 10 FIGURE 11
FIGURE 12 FIGURE 13
© 1999-2007 QualityWaterForLess.com - 5 - info@qualitywaterforless.com
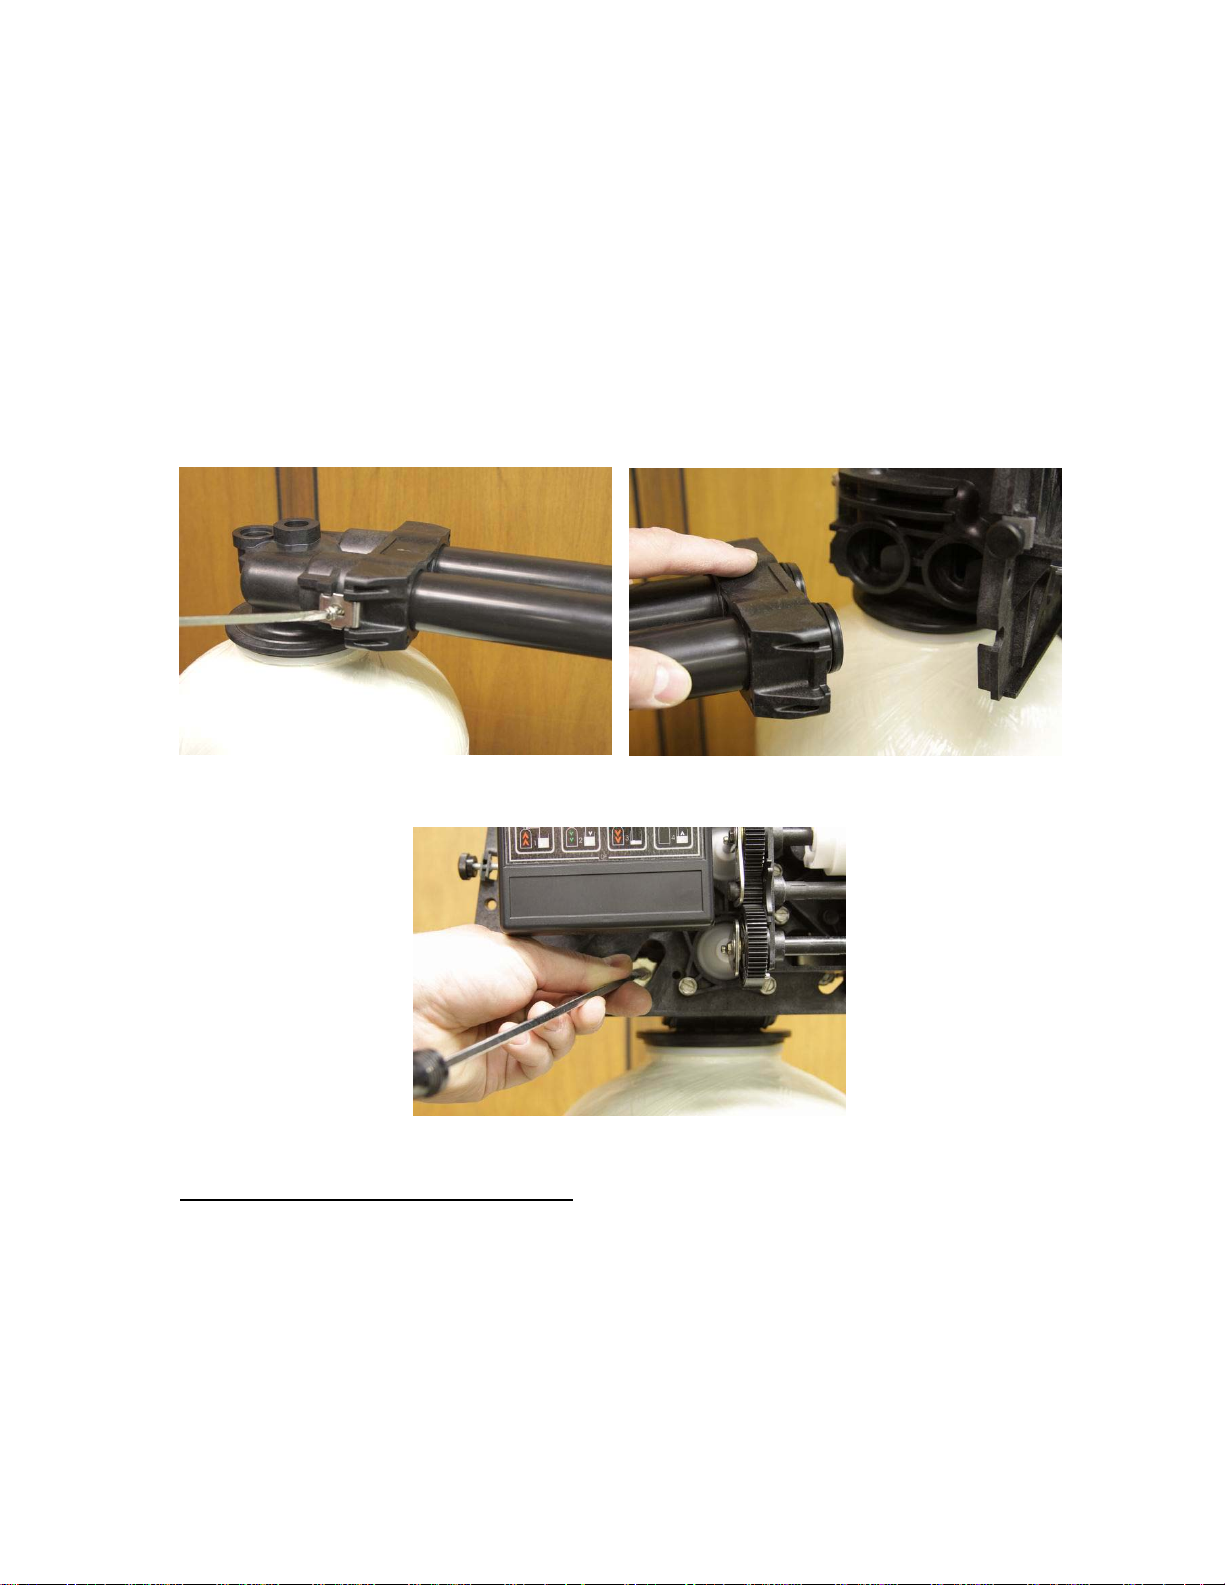
• Locate the included interconnect adaptor and lubricate all four o-rings as shown in
figure 12 on the preceding page.
• Push the interconnect assembly onto the secondary portion as shown in figure 13
on the preceding page.
• Use the included screws and clips to secure both sides of this connection as shown
in figure 14 below.
• Push the interconnect assembly onto the secondary portion as shown in figure 15
below.
• Use the included screws and clips to secure both sides of this connection as shown
in figure 16 below.
FIGURE 14 FIGURE 15
FIGURE 16
Plumbing your Fleck 9100SXT Meter:
• Before beginning your installation, please first familiarize yourself with the “IN”
and “OUT” on the Fleck 9100SXT Meter Valve. In order to prevent damage to
your home and to the softener system, install the softener according to the
“IN” and “OUT” arrows on the softener valve!
• Find the main shut-off valve for your house and turn it to the “OFF” position. If
you have a private well, this valve should be near your well pressure tank. If you
have a city water supply, your valve should be near your water meter.
© 1999-2007 QualityWaterForLess.com - 6 - info@qualitywaterforless.com
 Loading...