

INSTRUCTION MANUAL AND WARRANTY INFORMATION
1-YEAR LIMITED WARRANTY
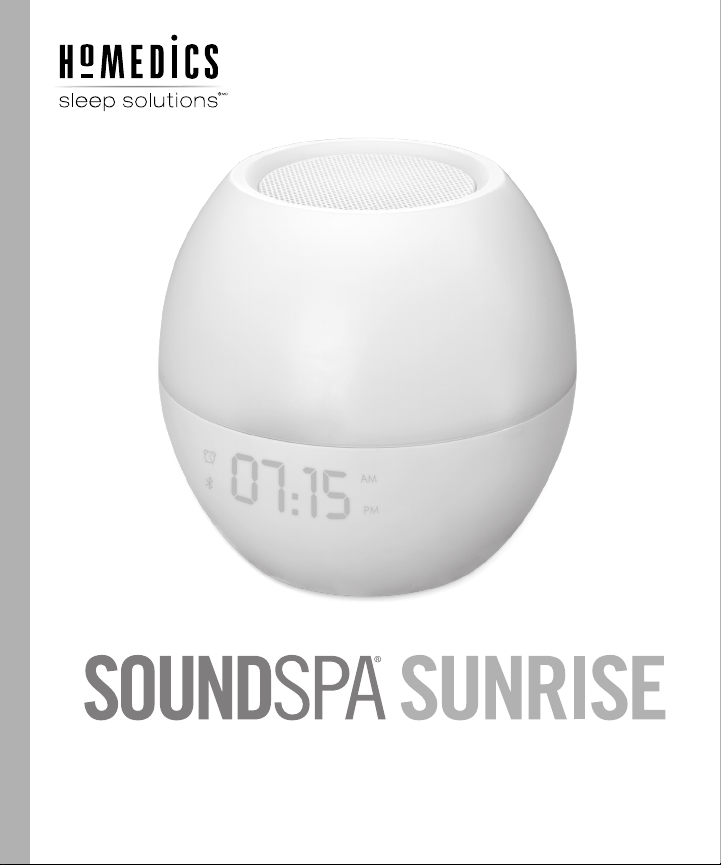
SS-WL100

IMPORTANT SAFEGUARDS:
WHEN USING AN ELECTRICAL PRODUCT, BASIC SAFETY PRECAUTIONS SHOULD ALWAYS BE
FOLLOWED, INCLUDING THE FOLLOWING:
READ ALL INSTRUCTIONS BEFORE USING.
WARNING –
TO EARDRUMS, ESPECIALLY IN YOUNG CHILDREN:
• Use this product only for its intended use as described in this manual. Do not use
attachments not recommended by HoMedics.
• DO NOT place or store this product where it can fall or be dropped into a tub or sink.
• DO NOT place or drop into water or any other liquid.
• Not for use by children. THIS IS NOT A TOY.
• NEVER operate this product if it has a damaged cord, plug, cable, or housing.
• Keep away from heated surfaces.
• Only set on dry surfaces. Do not place on surface wet from water or cleaning solvents.
• Always keep the product away from high temperatures and fire.
This product has an internal, nonreplaceable lithium battery. This battery is not user serviceable.
Please dispose in accordance with local, state, province, and country regulations.
DO NOT PLACE SPEAKER TOO CLOSE TO EARS. MAY CAUSE DAMAGE
2

ASSEMBLY AND INSTRUCTIONS FOR USE
Unpack the unit carefully. Remove all the accessories from the carton. Do not remove any labels
or stickers on the bottom of the unit or adapter. Before setting up the unit, verify that the following
contents are present:
• SoundSpa
• AC adapter
• Instruction Manual and Warranty Information
®
Sunrise simulation alarm clock with Bluetooth® speaker
POWER SOURCE
This unit is supplied with an AC adapter. Take the following steps to connect the adapter:
1. Unwind the power cord of the AC adapter to its full length.
2. Connect the AC adapter to the DC12V input on the back of the device.
3. Plug the other end of the AC adapter into an outlet (100V – 240VAC, 50/60 Hz).
NOTE: Connecting this system to any other power source may cause damage to the system.
3
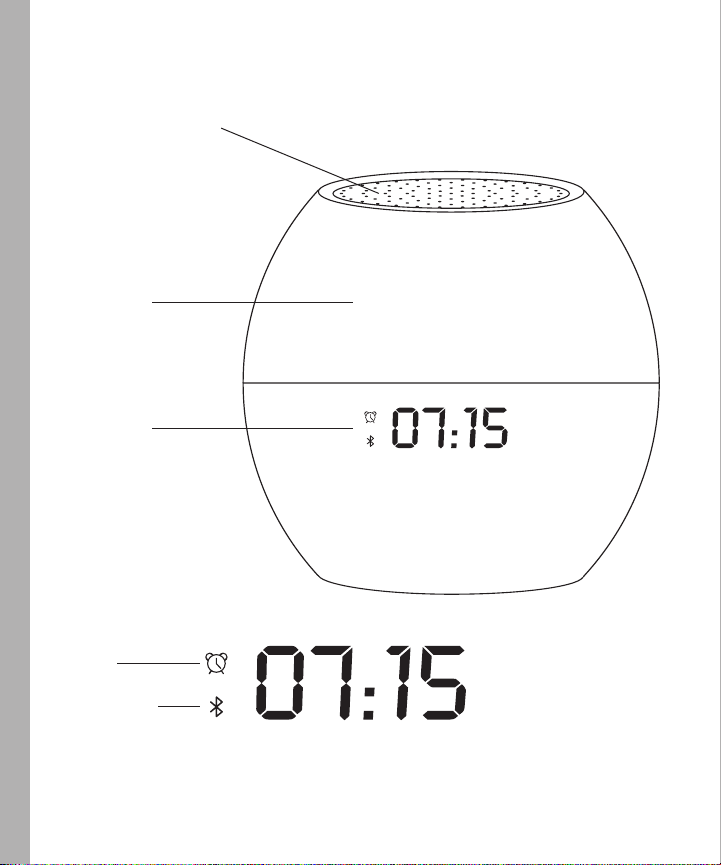
BUTTONS AND CONTROLS
NIGHT-LIGHT AND SLEEP
SOUND TOUCH KEY
Long touch for sleep
sounds, short touch for
night-light
NIGHT-LIGHT
LED DISPLAY
ALARM
BLUETOOTH
AM
PM
AM
®
4
PM
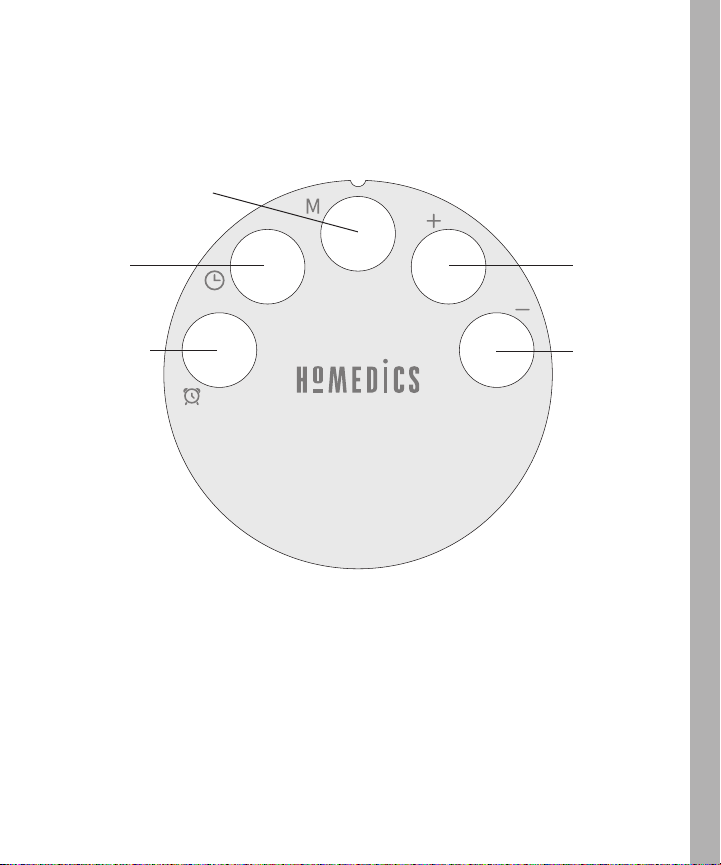
BUTTONS AND CONTROLS
SOUND AND LIGHT SETUP
MODE/BLUETOOTH
®
ON/OFF
SET CLOCK/
AUTO-OFF TIMER
ALARM ON/OFF/
ALARM SETUP
VOLUME/
BRIGHTNESS +
VOLUME/
BRIGHTNESS –
5
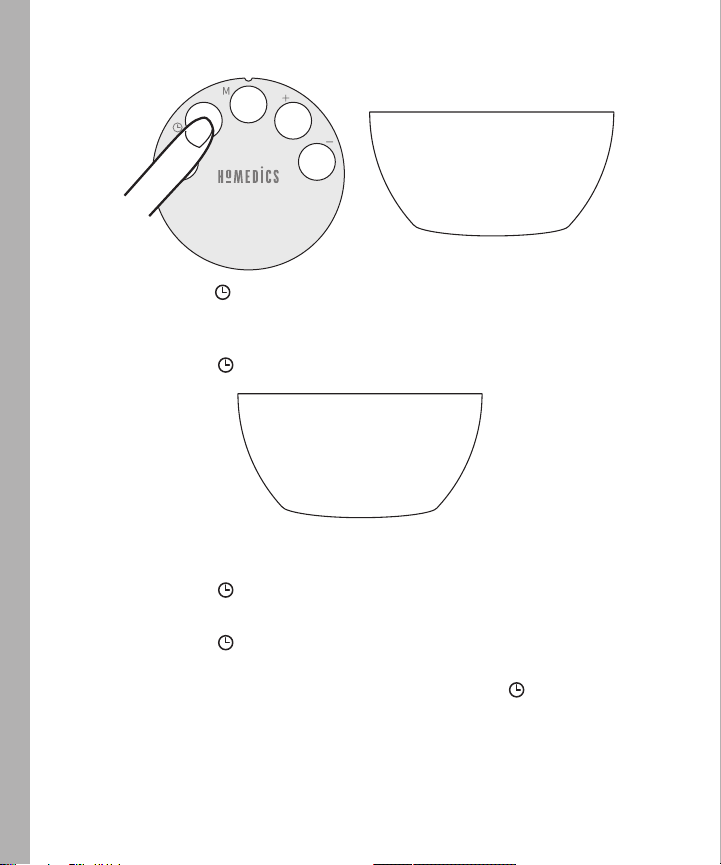
SETTING THE CLOCK
H
2
1
1. Long press the time button on the bottom of the unit to change 12/24 hour format.
The LED screen will show 12H or 24H.
2. Short press the + or – buttons to switch between 12- or 24-hour time format.
3. Short press the time
4. Press the + or – buttons to choose the hour. In the 12-hour format, continue cycling through
the hours to choose between AM or PM.
5. Short press the time
6. Press the + or – buttons to choose the minutes.
7. Short press the time
steady. The clock is now set.
NOTE: To exit time setting mode at any time, either long press the time
10 seconds.
NOTE: To adjust the LED screen brightness, press the + or – button when the night-light is off
and no sleep sounds are playing.
button to confirm. The hour will begin flashing.
AM
0
0
2
:
1
button to confirm. The minutes will begin flashing.
button to confirm. The entire time will flash 3 times and then remain
button or wait
6
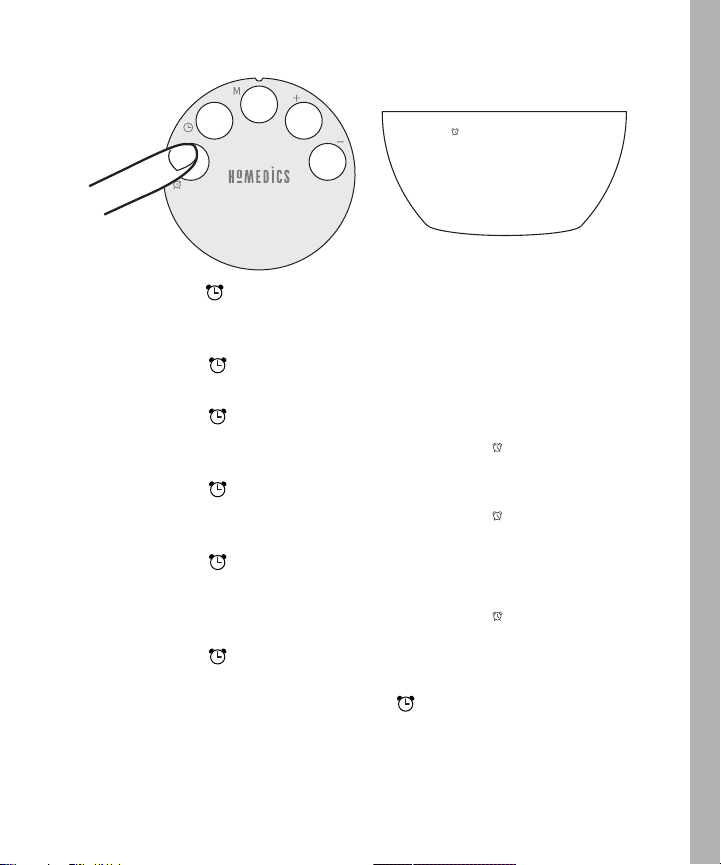
SETTING THE ALARM
AM
5
7
0
:
1
1. Long press the alarm button on the bottom of the unit to set the alarm. The alarm icon
will be displayed and the hour will begin flashing on the LED screen.
2. Press the + or – buttons to choose the hour.
3. Short press the alarm
4. Press the + or – buttons to choose the minutes.
5. Short press the alarm
display the music number.
6. Press the + or – buttons to select wake sound.
7. Short press the alarm
display the volume level.
8. Press the + or – buttons to select the volume level.
9. Short press the alarm
will display the sunrise brightness level and the lamp will glow with the corresponding level
of brightness.
10. Press the + or – buttons to select the brightness level.
11. Short press the alarm
LED display will show the clock time. The alarm is now set.
NOTE: To turn the alarm on or off, short press the alarm
If the alarm icon is shown on the LED display, it indicates that the alarm is on.
button to confirm. The minutes will begin flashing.
button to confirm and enter alarm music mode. The LED screen will
8
0
0
0
button to confirm and enter volume mode. The LED screen will
L
L
O
5
1
2
U
button to confirm and select sunrise brightness. The LED screen
button to confirm. The alarm time will flash 3 times and then the
button on the bottom of the unit.
7
SNOOZE AND ALARM RESET
AM
PM
5
7
0
:
1
When the alarm sounds, you may:
• SNOOZE: Short press the touch key on the top of the unit. Your sleep time will be extended
by 10 minutes. After the snooze has been activated 3 times, the alarm will turn off.
• RESET: Turn the alarm off by long pressing the touch key on the top of the unit. On the LED
display, the alarm icon
NOTE: If the alarm turns on and no action is taken, the alarm will shut off after 30 minutes.
will stop flashing and the alarm will turn off.
8

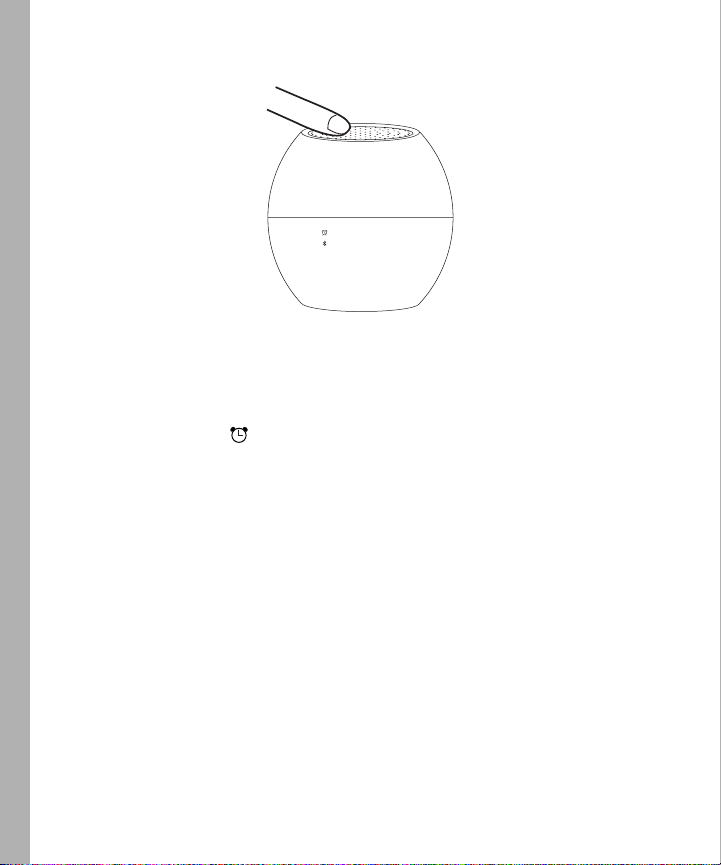
SETTING SLEEP SOUNDS
Choose from 8 digitally mastered sounds to help you fall asleep and stay asleep. Once you select
your preferred sleep sound, SoundSpa
you long press the touch key. Want to change to a new sleep sound? You can always select a new
sound through the setup process below.
0
1. To setup your sleep sound, first turn the sleep sounds on by long pressing the touch key on the
top of the unit.
2. To choose and set a sleep sound, long press the mode M button on the bottom of the unit
to enter the sleep sound menu. The LED screen will display the current sleep sound number.
Short press the mode M button until you reach the desired sound selection.
®
Sunrise will automatically play that sound every time
AM
PM
5
7
:
1
0
0
0
1
3. The chosen sleep sound is now set and will be maintained the next time the sleep sounds
are turned on.
4. When the sleep sound setup is complete, long press the touch key to turn sleep sounds off
and move to the light setup menu (found on the next page).
9
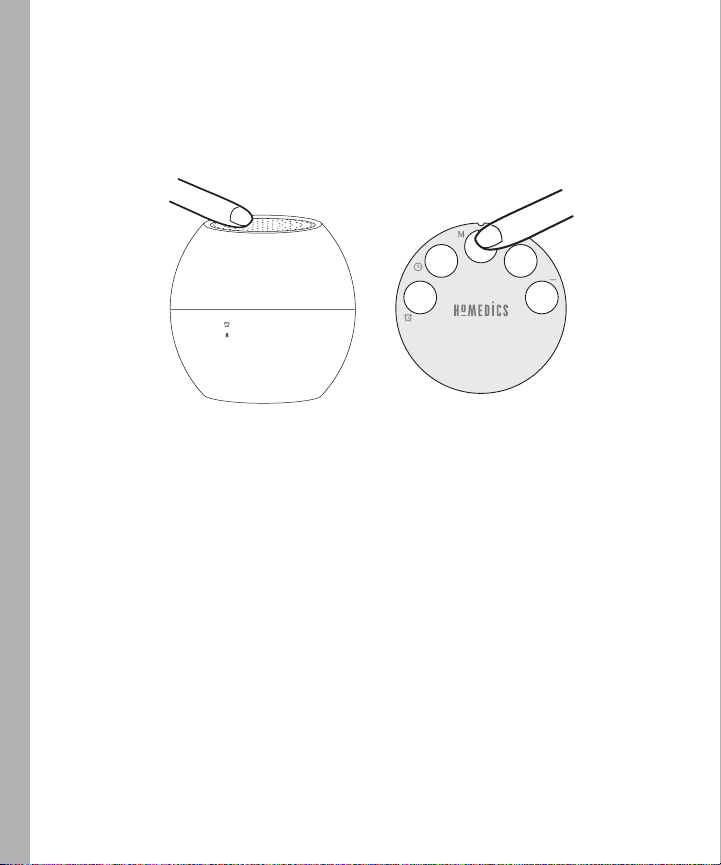
SETTING THE NIGHT-LIGHT
Customize your SoundSpa® Sunrise night-light by choosing from 9 different color options and
10 brightness levels. Once you select your preferred night-light color and brightness, SoundSpa
Sunrise will automatically return to your light setting every time you short press the touch key.
Want to change the color or brightness? You can always update your settings through the nightlight setup process below.
AM
PM
5
7
0
:
1
1. To set up the night-light, first make sure sleep sounds are turned off. If needed, long press
the touch key to turn them off.
2. Turn on the light by short pressing the touch key on the top of the unit.
3. Set the night-light color and brightness in the light mode menu. To enter the light mode
menu, long press the mode M button on the bottom of the unit. The LED screen will display the
light color number.
O
C
L
1
4. Short press the mode M button to change colors until you reach your desired color setting.
5. Once you have chosen the color setting, press the + or – buttons to increase or decrease the
brightness of the light. The LED screen will display the current brightness level.
O
L
1
6. The chosen light color and brightness is now set and will be maintained the next time the
night-light is turned on.
NOTE: The light menu can only be reached when the light is on and the sleep sounds are off.
The M button will not allow you to enter the light menu if the sleep sounds are also on, or if the
unit is off.
10

PLAY SLEEP SOUNDS
AM
PM
5
7
0
:
1
1. To turn the sleep sounds on, long press the touch key on the top of the unit. The sleep sound
that was selected during setup will begin to play.
2. While the music is playing, you may adjust the volume by pressing the + or – buttons.
The LED screen will display the current music volume level.
0
U
L
1
USING THE NIGHT-LIGHT
AM
PM
5
7
0
:
1
1. To turn the light on or off, short press the touch button on the top of the unit.
2. The light color and brightness that was selected during setup will appear when the light
is activated.
11
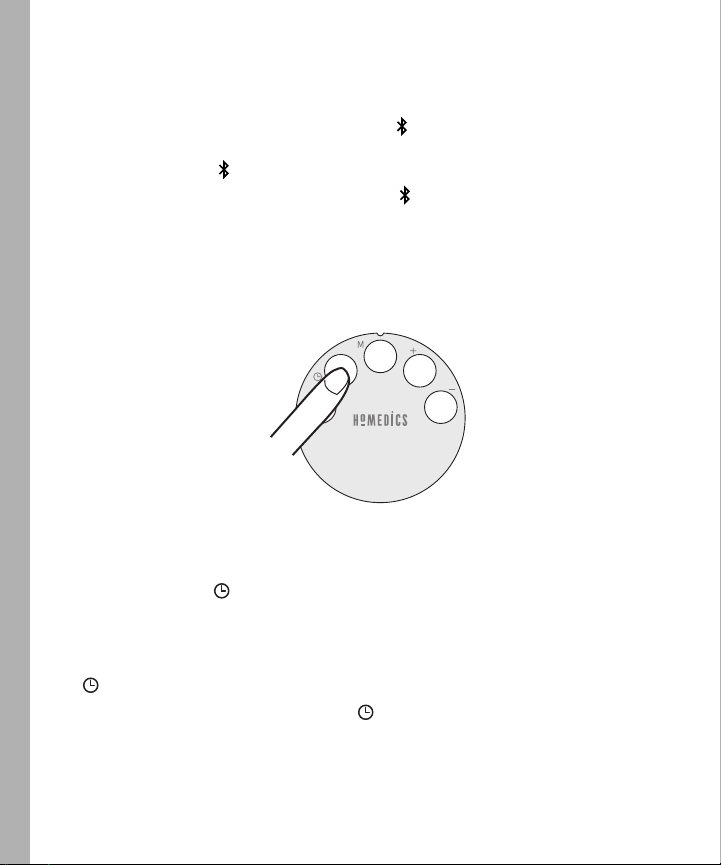
STREAM VIA BLUETOOTH
Connect to any smart device to stream your own music.
• PAIR: To connect your Bluetooth-enabled device with the SoundSpa
M button on the bottom of the unit. The Bluetooth
Then select “SunriseWL100” from the Bluetooth menu of your mobile device. If successfully
paired, the Bluetooth
• If the connection was unsuccessful, the Bluetooth
disappear from the LED screen.
• DISCONNECT: To disconnect from the SoundSpa
the M button on the bottom of the unit OR long press the touch button on the top of the unit.
• To reconnect your Bluetooth-enabled device with the SoundSpa
instructions listed above.
®
®
Sunrise, short press the
icon will begin flashing on the LED screen.
icon will stop flashing and remain steady on the LED display.
icon will flash for 30 seconds, then
®
Sunrise while music is streaming, short press
®
Sunrise, follow the PAIR
AUTO-OFF TIMER
When you’re listening to a nature sound, you may set a timer so the unit will automatically
turn off.
1. Short press the time
auto-off timer setting.
2. The settings will cycle from 30 minutes, 60 minutes, 90 minutes, OF--. Keep pressing the time
button until your reach the desired auto-off timer setting.
3. To cancel the auto-off timer, press the time button until the LED screen displays OF--.
button to set the auto-off timer. The LED screen will display the current
O
F
3
0
12

MAINTENANCE
TO STORE: You may leave the unit on display, or you can store it in a cool, dry place.
TO CLEAN: Use only a soft, dry cloth to clean the enclosure of the unit. NEVER use liquids or
abrasive cleaners to clean.
FCC STATEMENTS
This equipment has been tested and found to comply with the limits for a Class B digital device,
pursuant to part 15 of the FCC Rules. These limits are designed to provide reasonable
protection against harmful interference in a residential installation. This equipment generates
uses and can radiate radio frequency energy and, if not installed and used in accordance with
the instructions, may cause harmful interference to radio communications. However, there is
no guarantee that interference will not occur in a particular installation. If this equipment does
cause harmful interference to radio or television reception, which can be determined by
turning the equipment off and on, the user is encouraged to try to correct the interference by
one or more of the following measures:
—Reorient or relocate the receiving antenna.
—Increase the separation between the equipment and receiver.
—Connect the equipment into an outlet on a circuit different from that to which the
receiver is connected.
—Consult the dealer or an experienced radio/TV technician for help.
Any Changes or modifications not expressly approved by the party responsible for compliance
could void the user's authority to operate the equipment.
This device complies with part 15 of the FCC Rules. Operation is subject to the following two
conditions: (1) This device may not cause harmful interference, and (2) this device must accept any
interference received, including interference that may cause undesired operation.
This equipment complies with FCC radiation exposure limits set forth for an uncontrolled
environment. This equipment should be installed and operated with minimum distance 20cm
between the radiator and your body.
13
 Loading...