

Page 1

DRAWER MICROWAVE
PROFESSIONAL OMD24SPX1
MINIMAL/CONTEMPORARY OMD24SDB1
USER GUIDE
US CA
41252C/TINSEB620MRR0
08.2
Page 2

Page 3

CONTENTS
Safety and warnings 5
Before you begin 9
Control panel 10
First use 11
Setting the clock 12
Manual cook 13
Using sensor functions 15
Defrost 19
Extra functions 22
Settings 24
Key Lock 25
Multi-stage cooking 26
Care and cleaning 27
Troubleshooting 28
Warranty and service 29
Registration
To register your product visit our website: fisherpaykel.com/register
3
Page 4

Page 5
SAFETY AND WARNINGS
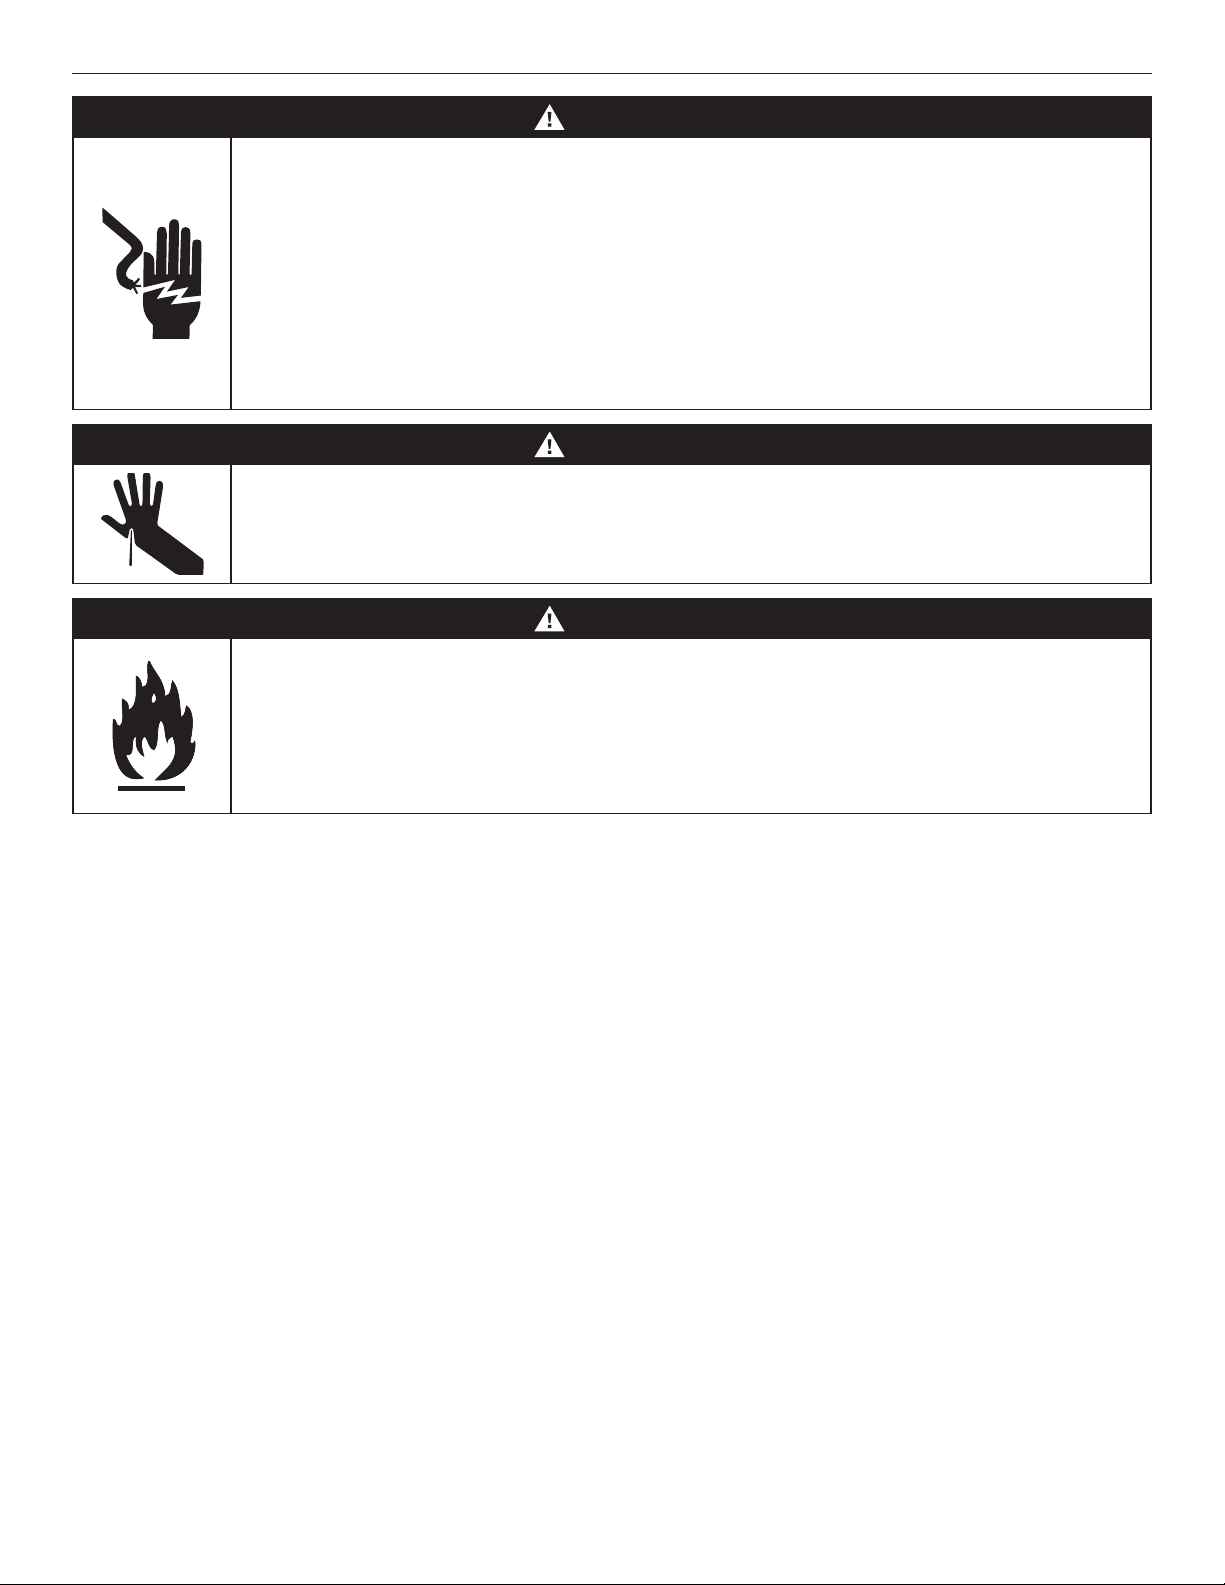
WARNING!
Electric Shock Hazard
Failure to follow this advice may result in electric shock or death.
• Before carrying out any work on the electrical section of the appliance, it
must be disconnected from the mains electricity supply.
• This appliance must be electrically grounded in accordance with local
codes.
• Alterations to the domestic wiring system must only be made by a
qualified electrician.
WARNING!
Cut Hazard
Failure to use caution could result in injury.
• Take care – some edges are sharp.
WARNING!
Fire Hazard
Failure to follow this advice may result in overheating, burning and
injury.
• Do not use adapters, reducers or branching devices to connect this
appliance to the mains power supply.
5
Page 6

SAFETY AND WARNINGS
PRECAUTIONS TO AVOID POSSIBLE EXPOSURE TO
EXCESSIVE MICROWAVE ENERGY
z
Do not attempt to operate this microwave with the door open. This can result in harmful exposure to microwave energy. It is
important not to defeat or tamper with the safety interlocks.
z
Do not place any object between the microwave oven and the door or allow soil or cleaner residue to accumulate.
z
Do not operate the microwave oven if it is damaged. It is particularly important that the drawer closes properly and that there is no
damage to the : (1) drawer (bent), (2) hinges and latches (broken or loosened), (3) drawer seals and sealing surfaces.
z
Do not repair or replace any part of the appliance unless specifically recommended in this guide. All other servicing should be done
by a Fisher & Paykel trained and supported service technician.
IMPORTANT SAFETY INSTRUCTIONS
WARNING!
To reduce the risk of burns, electric shock, fire, injury to persons, or exposure to excessive microwave energy:
z
Read all instructions before using the appliance.
z
Read and follow the specific PRECAUTIONS TO AVOID POSSIBLE EXPOSURE TO EXCESSIVE MICROWAVE ENERGY found on the
following page.
GROUNDING INSTRUCTIONS
This appliance must be grounded. In the event of an electrical short circuit, grounding reduces the risk of electric shock by
providing an escape wire for the electric current. This appliance is equipped with a cord having a grounding wire with a grounding
plug. The plug must be plugged into an outlet that is properly installed and grounded.
WARNING!
Improper use of the grounding plug can result in a risk of electric shock.
z
Consult a qualified electrician or service technician if the grounding instructions are not completely understood, or if doubt exists
as to whether the appliance is properly grounded.
z
Do not use an extension cord. If the power supply cord is too short, have a a Fisher & Paykel trained and supported service
technician or qualified person install an outlet near the appliance.
z
Install or locate this appliance only in accordance with the provided installation instructions.
z
Some products such as whole eggs and sealed containers – for example, closed glass jars – are able to explode and should not be
heated in this oven. Such use of the oven could result in injury.
z
Use this appliance only for its intended use as described in the manual. Do not use corrosive chemicals or vapors in this appliance.
This type of oven is specifically designed to heat, cook or dry food. It is not designed for industrial or laboratory use.
z
As with any appliance, close supervision is necessary when used by children.
z
Do not operate this appliance if it has a damaged cord or plug, if it is not working properly or if it has been damaged or dropped.
z
This appliance must only be serviced by a Fisher & Paykel trained and supported service technician.
z
Do not cover or block any openings on the appliance.
z
Do not store this appliance outdoors. Do not use this product near water – for example, near a kitchen sink, in a wet basement,
near a swimming pool, or similar locations.
z
Do not immerse cord or plug in water.
z
Keep cord away from heated surfaces.
z
Do not climb or sit on the appliance.
z
Be sure that fingers or other objects or materials are not around the appliance opening when the appliance is closed.
z
Be sure that the food and container are shorter than the drawer before closing it. You can refer to the height of the side walls of
the drawer.
z
Do not let cord hang over edge of table or counter.
z
When cleaning surfaces that come together on closing the drawer, use only mild, non-abrasive soaps or detergents applied with a
sponge or soft cloth.
z
To reduce the risk of fire in the oven cavity:
z
Do not overcook food. Carefully attend appliance when paper, plastic or other combustible materials are placed inside the oven
to facilitate cooking.
z
Remove wire twist-ties from paper or plastic bags before placing bag in oven.
z
If materials inside the oven ignite, keep the drawer closed, turn oven off and disconnect the power cord or shut off power at
the fuse or circuit breaker panel.
z
Do not use the cavity for storage purposes. Do not leave paper products, cooking utensils or food in the cavity when not in
use.
6
Page 7

SAFETY AND WARNINGS
z
Liquids, such as water, coffee or tea are able to be overheated beyond the boiling point without appearing to be boiling. Visible
bubbling or boiling when the container is removed from the microwave oven is not always present. THIS COULD RESULT IN VERY
HOT LIQUIDS SUDDENLY BOILING OVER WHEN THE CONTAINER IS DISTURBED OR A UTENSIL IS INSERTED INTO THE LIQUID.
z
Do not operate any heating or cooking appliance beneath this appliance.
z
Do not mount unit over or near any portion of a heating or cooking appliance.
z
Do not mount over a sink.
Do not store anything directly on top of the appliance surface when the appliance is in operation.
WARNING!
To reduce the risk of fire, electrical shock, injury to persons or damage when using the appliance, follow the important safety
instructions listed below. Read all the instructions before use. Use only for its intended purpose as described in these instructions.
WARNING!
PACEMAKERS USERS: Most pacemakers are shielded from interference from electronic products, including microwaves. However,
people with pacemakers may wish to consult their physicians if they have concerns.
Installation
z
This oven is to be installed and connected to the electricity supply only by a Fisher & Paykel trained and supported service
technician or qualified person.
z
If the installation requires alterations to the domestic electrical system, call a qualified electrician. The electrician should also
check that the socket cable section is suitable for the electricity drawn by the oven.
z
Be sure your appliance is properly installed and grounded by a qualified technician in accordance with the provided installation
instructions.
Servicing
z
Do not repair or replace any part of the appliance unless specifically recommended in this guide. All other servicing should be
done by a Fisher & Paykel trained and supported service technician or qualified person.
z
If the microwave oven light fails, contact a Fisher & Paykel trained and supported service technician or Customer Care.
General safety precautions
z
Make sure this oven is connected to a circuit which incorporates an isolating switch providing full disconnection from the power
supply.
z
Do not use corrosive chemicals or vapors in this appliance.
z
This oven is specifically designed to heat, dry or cook food and is not intended for laboratory or industrial use.
z
This oven is not approved or tested for marine use.
z
HOT CONTENTS CAN CAUSE SEVERE BURNS. DO NOT ALLOW CHILDREN TO USE THE MICROWAVE.
z
This appliance is not intended for use by persons (including children) with reduced physical, sensory or mental capabilities or lack
of experience and knowledge, unless they have been given supervision or instruction concerning use of the appliance by a person
responsible for their safety. Children should be supervised to ensure that they do not play with the appliance.
z
Utensils should be checked to ensure that they are suitable for use in microwave ovens.
z
When heating food in plastic or paper containers, check the oven frequently due to the possibility of ignition.
z
If smoke is observed, switch off or unplug the appliance and keep the drawer closed in order to stifle any flames.
z
Microwave heating of beverages can result in delayed eruptive boiling, therefore care has to be taken when handling the
container.
z
The contents of feeding bottles and baby food jars are to be stirred or shaken and the temperature is to be checked before
consumption, in order to avoid burns.
z
Eggs in their shell and whole hard-boiled eggs shall not be heated in microwave ovens since they may explode.
z
During use the appliance becomes hot. Care should be taken to avoid touching heating elements inside the oven.
z
The appliance must not be installed behind a decorative door in order to avoid overheating.
z
If the drawer or drawer seals are damaged, the oven must not be operated until it has been repaired by a Fisher & Paykel trained
and supported service technician.
z
It is hazardous for anyone other than a trained person to carry out any service or repair operation which involves the removal of
any cover which gives protection against exposure to microwave energy.
z
Liquids or other foods must not be heated in sealed containers since they are liable to explode.
z
Only allow children to use the oven without supervision when adequate instructions have been given so that the child is able to
use the oven in a safe way and understands the hazards of improper use.
z
Accessible parts may become hot during use. Young children should be kept away.
z
Ensure that the appliance is switched off before replacing the lamp to avoid the possibility of electric shock.
z
The oven must be cleaned periodically, and all food residues must be removed.
z
Failure to keep the oven clean could cause deterioration of the surfaces that could reduce the life of the appliance and cause
dangerous conditions.
z
Do not use rough abrasives or sharp metal scrapers to clean the glass door of the oven, because they could scratch the surface
and cause the glass to shatter.
z
Do not operate the oven without the turntable in place. The turntable must be unrestricted so it can turn.
z
During and after use, do not touch or let clothing or other flammable materials contact any interior area of the oven; allow
sufficient time for cooling first.
z
Do not use steam cleaners to clean the appliance.
7
Page 8

SAFETY AND WARNINGS
Arcing
z
Arcing is the microwave term for sparks in the oven.
z
Arcing is caused by: metal or foil touching the side of the oven, metal cookware or the wire oven rack used during either
speedcook or microwave cooking, metal, such as twist-ties, poultry pins, or gold-rimmed dishes, in the oven, or recycled paper
towels containing small metal pieces being used in the oven.
z
Arcing can occur during both speedcooking and microwave cooking. If you see arcing, press the CANCEL/OFF pad and correct
the problem.
SAVE THESE INSTRUCTIONS
8
Page 9

BEFORE YOU BEGIN
z
Ensure the installer has completed the ‘Final checklist’ in the Installation instructions.
z
Read this guide, taking special note of the 'Safety and warnings' section.
z
Remove all internal and external packaging and dispose of it responsibly. Recycle items that you can.
Dishware
Only use plates and crockery that are microwave safe.
Never turn microwave on without food in it unless testing dishware. Never heat food covered in tin foil.
9
Page 10
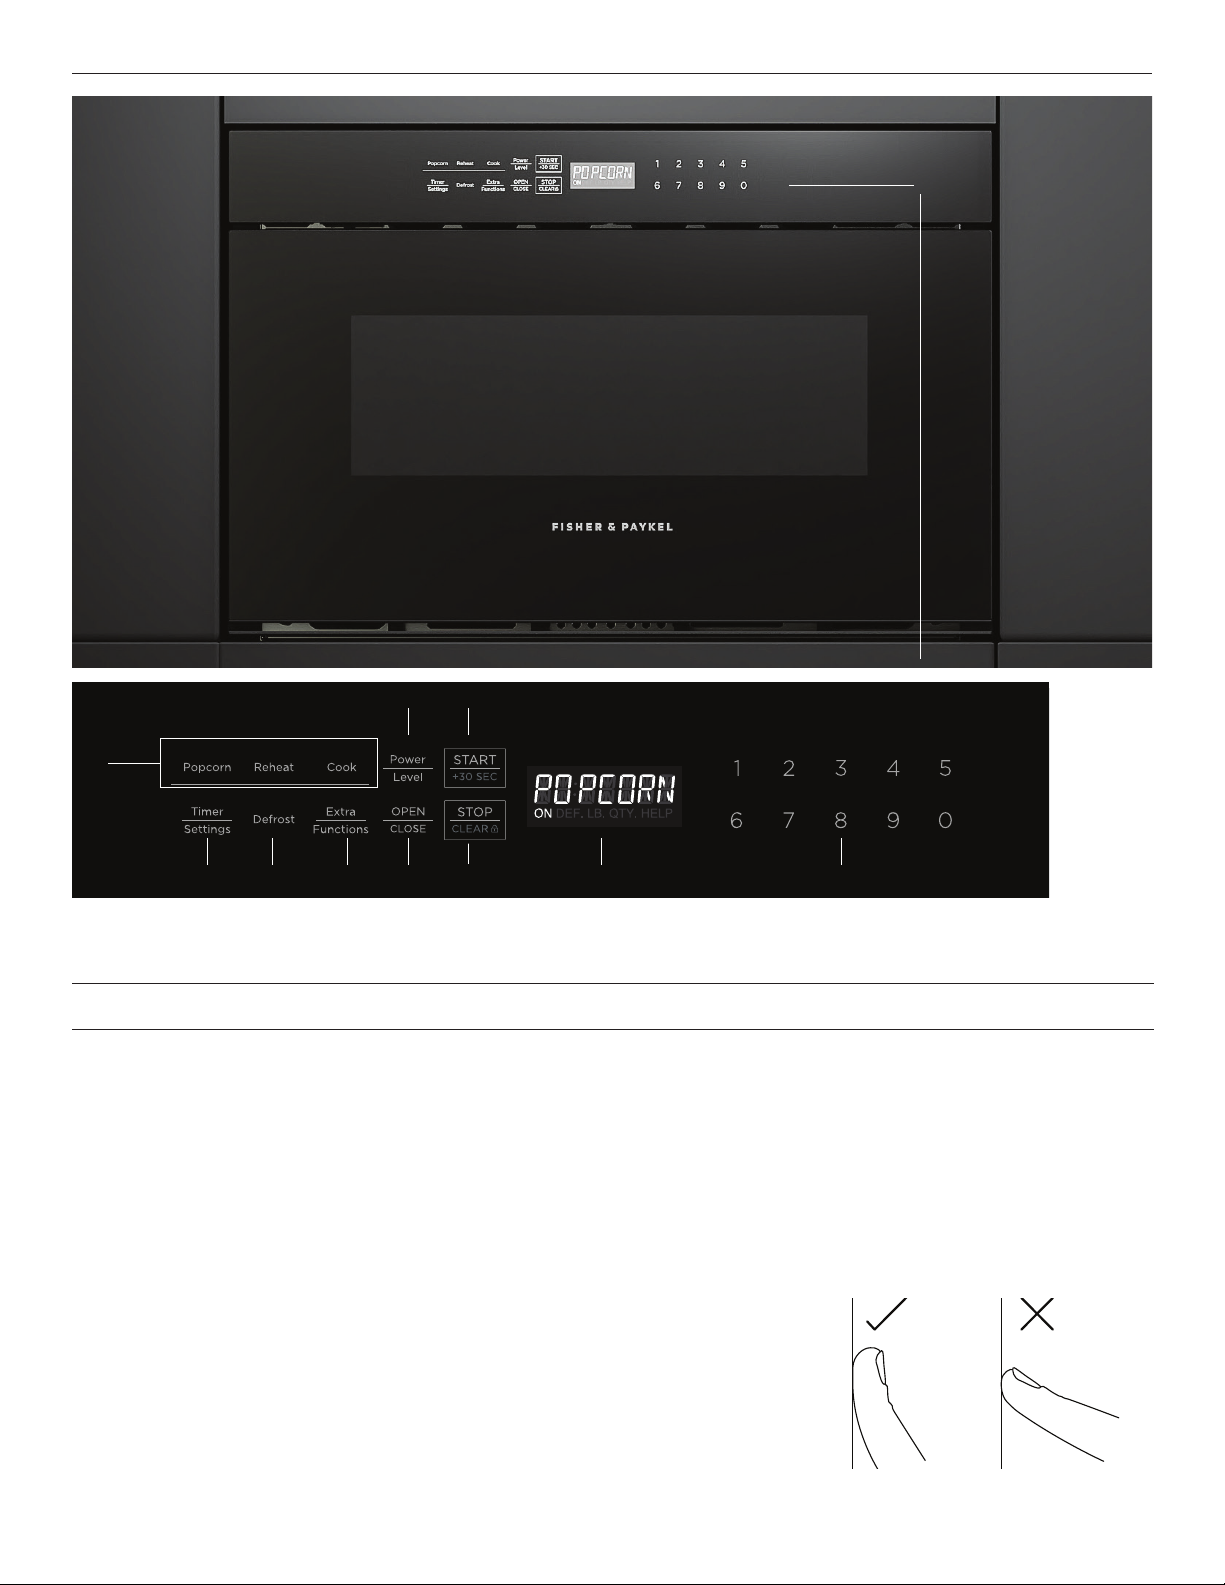
CONTROL PANEL
1
2
*Contemporary/Minimal model illustrated.
Features
1 Control panel
2 Sensor Functions
3 Power Level
4 START/+30 SEC
5 Timer Settings
6 Defrost
3
8765 !1!09
4
7 Extra Functions
8 OPEN/CLOSE
9 STOP/CLEAR
!0 Display
!1 Number pad
Using the touch controls
Your oven is operated using a touch keypad and display. To use the keypad to
navigate between functions and settings, use the ball of your finger, not its tip. The
controls respond to touch, so pressure is not needed.
10
Page 11

FIRST USE
STOP/CLEAR
The microwave displays a welcome message the first time it is powered on. Press
You can also press
z
Clear the settings if you make a mistake.
z
Cancel the timer.
z
Stop the microwave temporarily during timed cooking.
z
Clear the display so the clock shows again.
z
Cancel a program during cooking. Press twice for timed cooking. After pressing twice, you will need to open the drawer to clear the
STOP/CLEAR to:
display.
OPEN/CLOSE
Press
OPEN/CLOSE to open or close the drawer. You can also close the drawer by pushing gently on it.
Do not pull the drawer open, unless in an emergency such as a power failure. If necessary, push or pull slowly.
STOP/CLEAR to clear this message.
11
Page 12
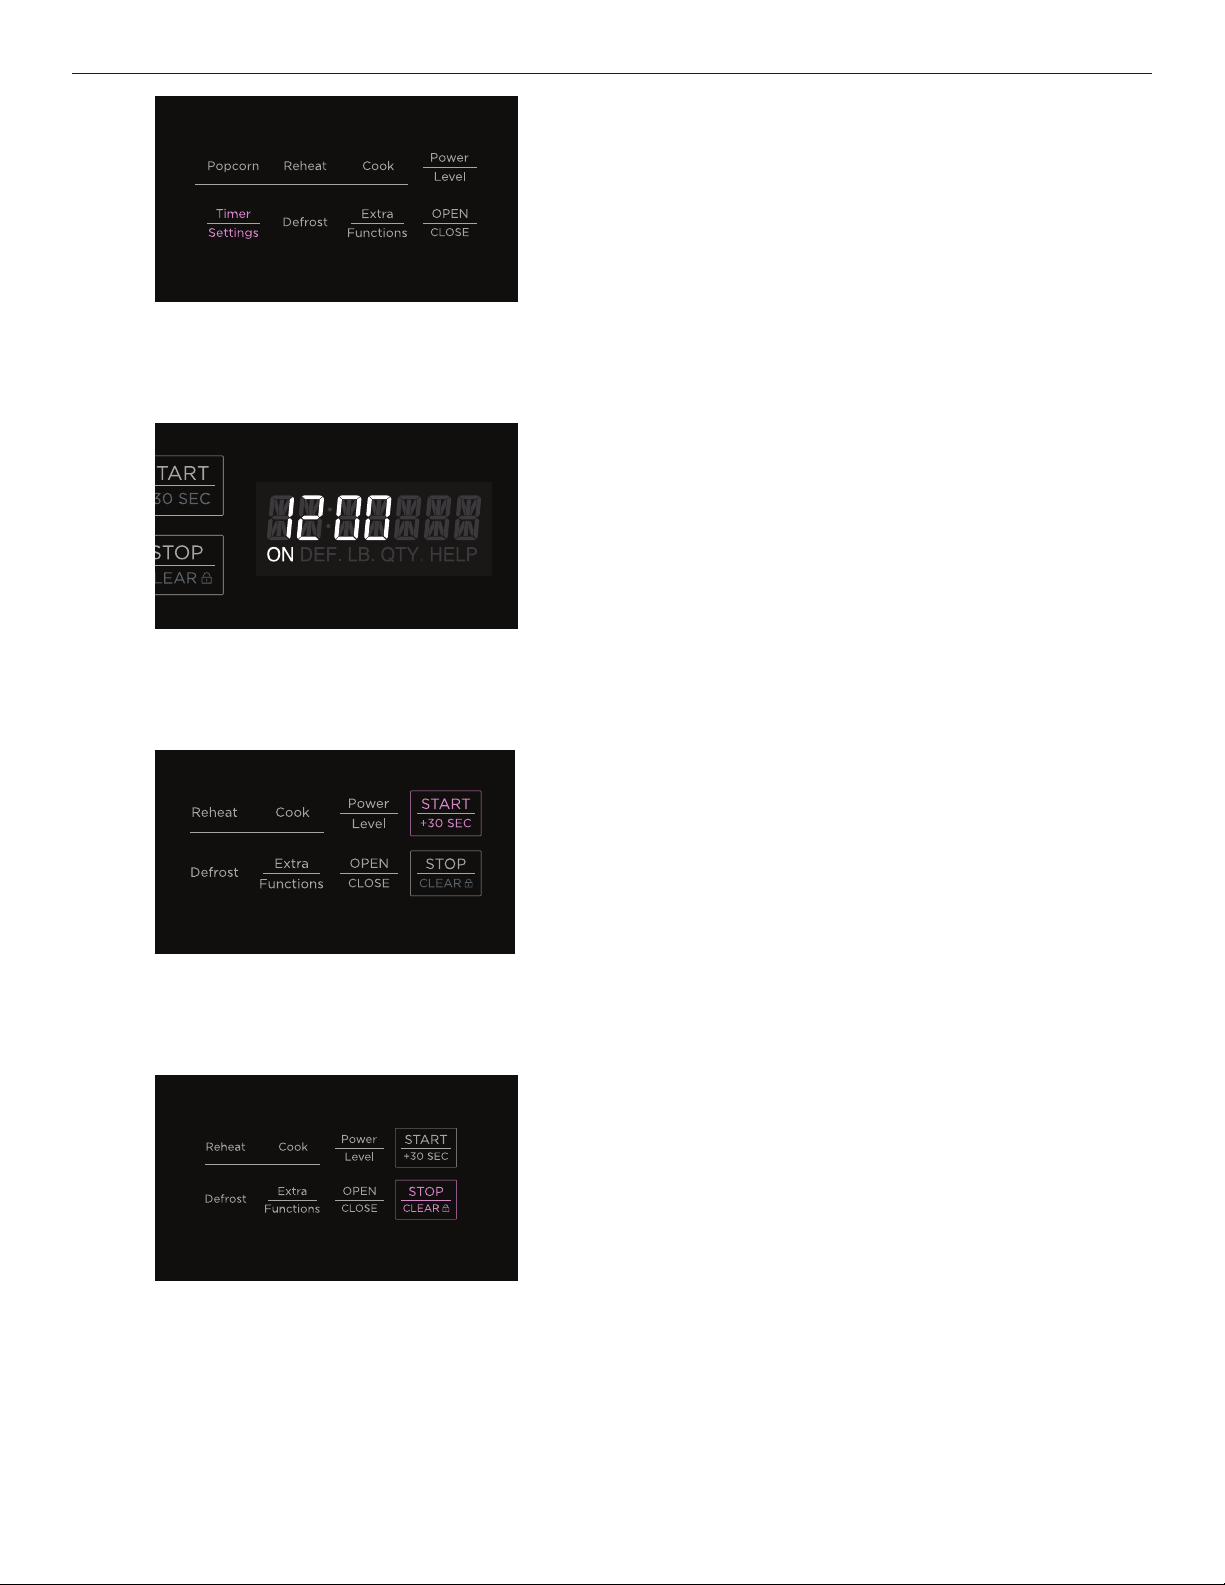
SETTING THE CLOCK
1
2
Press TIMER SETTINGS twice to open clock settings.
Use the number pad to enter the time in 12-hour format.
3
4
Press START/+30 SEC to confirm.
ERROR will display if format is incorrect.
Press
STOP/CLEAR to reset and re-enter time.
12
Page 13
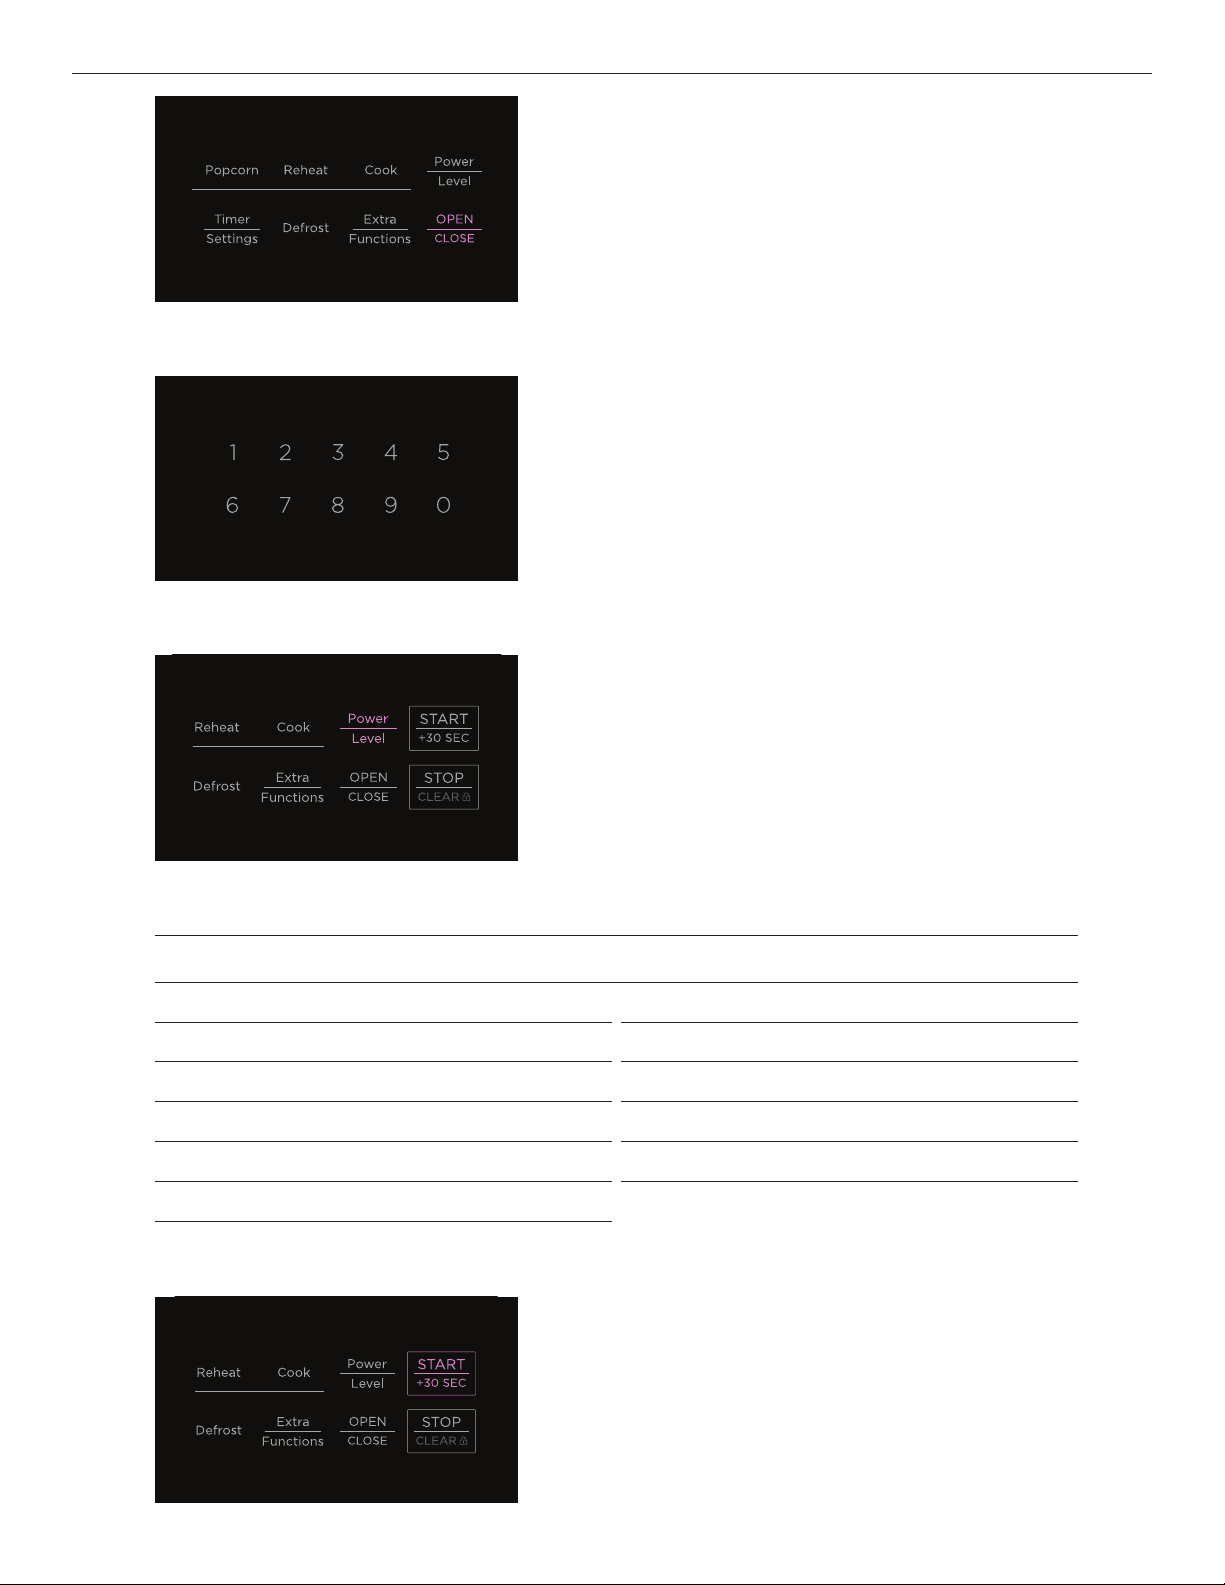
MANUAL COOK
1
2
3
Press OPEN/CLOSE to open the drawer before carefully
placing your item inside. Press again to close the drawer.
Enter your cook time in minutes using the number pad.
Press POWER LEVEL to cycle through the power level options.
4
POWER LEVEL OPTIONS
Press x 1 100% High Press x 7 40%
Press x 2 90% Press x 8 30% Medium low/defrost
Press x 3 80% Medium high Press x 9 20%
Press x 4 70% Press x 10 10% Low
Press x 5 60% Press x 11 0%
Press x 6 50% Medium
Press START/+30 SEC to begin cooking. Press again to extend cook
time in 30-second increments.
13
Page 14

Pausing a manual cook
Cancelling a manual cook
MANUAL COOK
STOP/CLEAR once to pause cooking. The drawer can be
Press
opened and closed while paused.
STOP/CLEAR twice to cancel cooking.
Press
Quick Cook
Quick Cook lets you cook in 30-second increments at full power. It cannot be used with Sensor settings,
Press
START/+30 SEC as desired to start cooking.
REHEAT or DEFROST.
14
Page 15
USING SENSOR FUNCTIONS
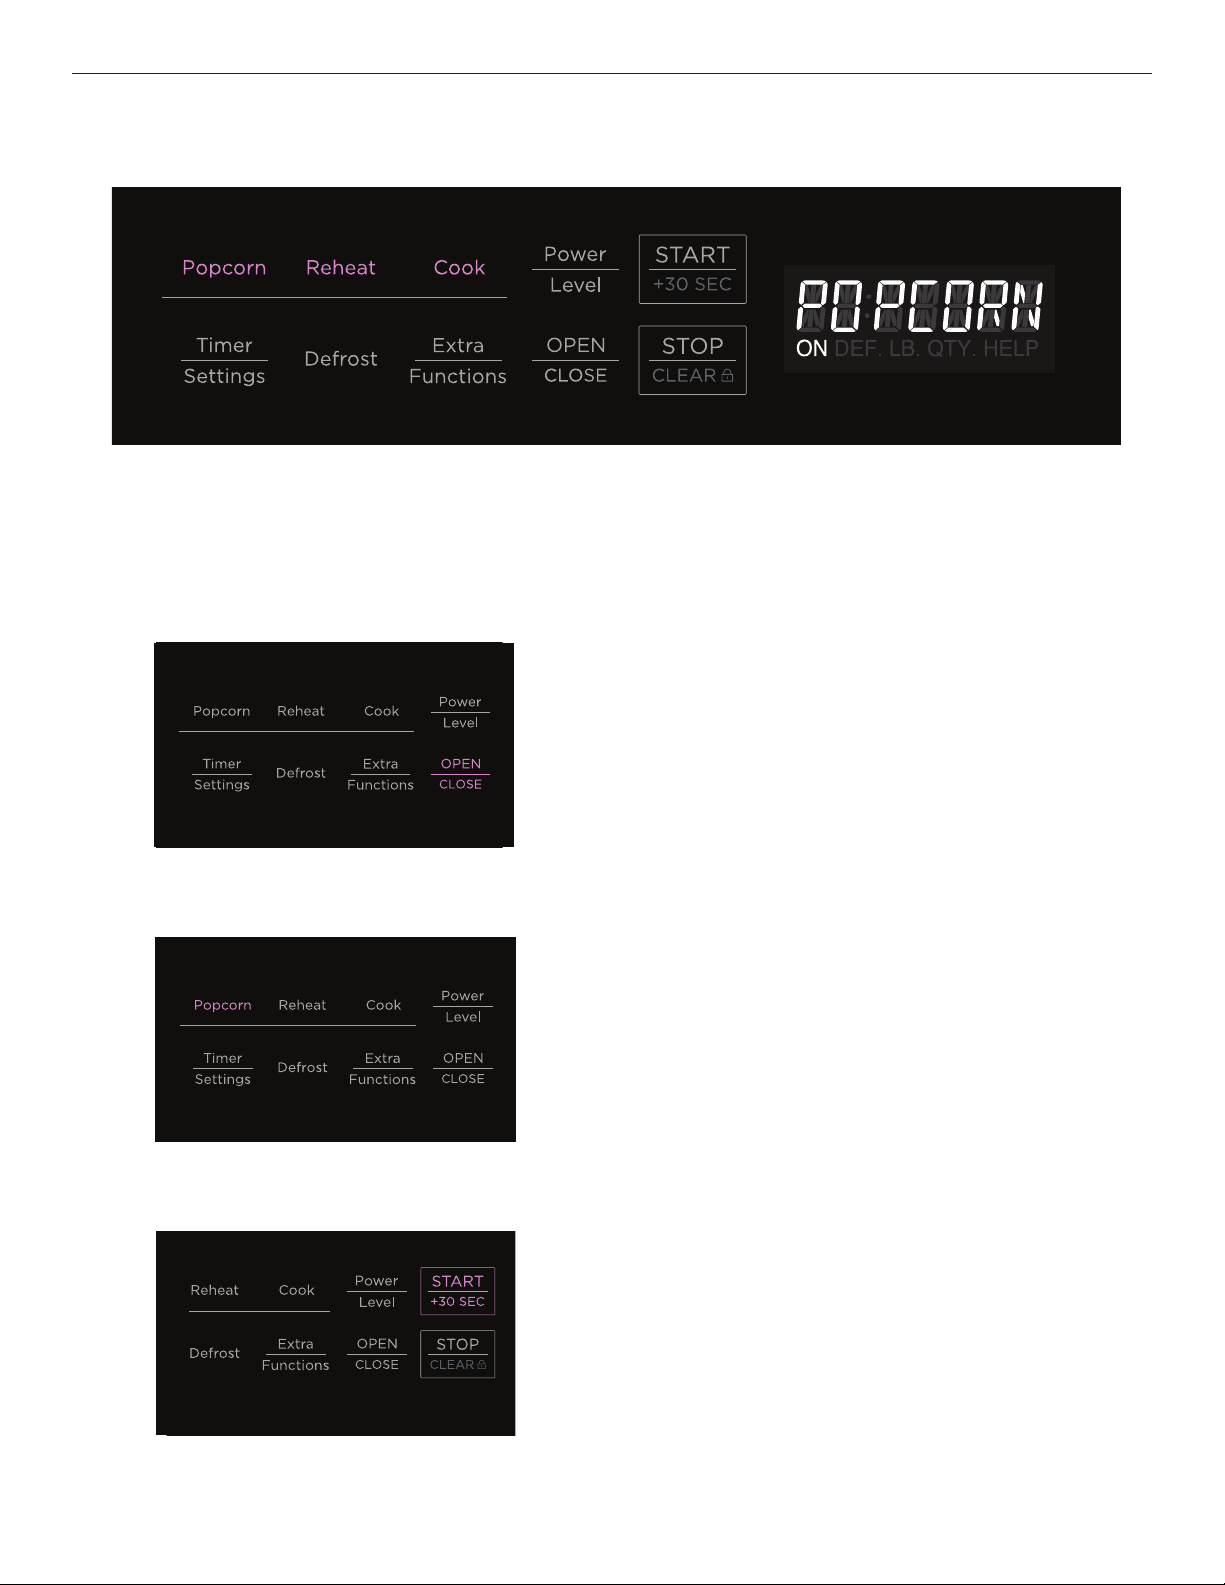
Sensor functions automatically set the power and cooking time based on food type and moisture level. There are three sensor
functions: POPCORN, REHEAT and COOK. Remove any excess moisture in the drawer or on cookware before using sensor functions.
Popcorn
Follow the directions on the microwave popcorn package and only cook one package at a time. Once cooked, open carefully to allow
steam to escape.
1
2
Press OPEN/CLOSE to open the drawer before carefully
placing item inside. Press again to close the drawer.
Only cook one popcorn package at a time.
Press POPCORN once to select a regular serving size 2.85–
3.5oz (80–100g) or twice to select a Mini/Snack serving size
1.2–1.75oz (35–50g).
3
Press START/+30 SEC to begin.
If further cooking is required after sensor cooking, add
manual cook time.
15
Page 16
USING SENSOR FUNCTIONS
Reheat
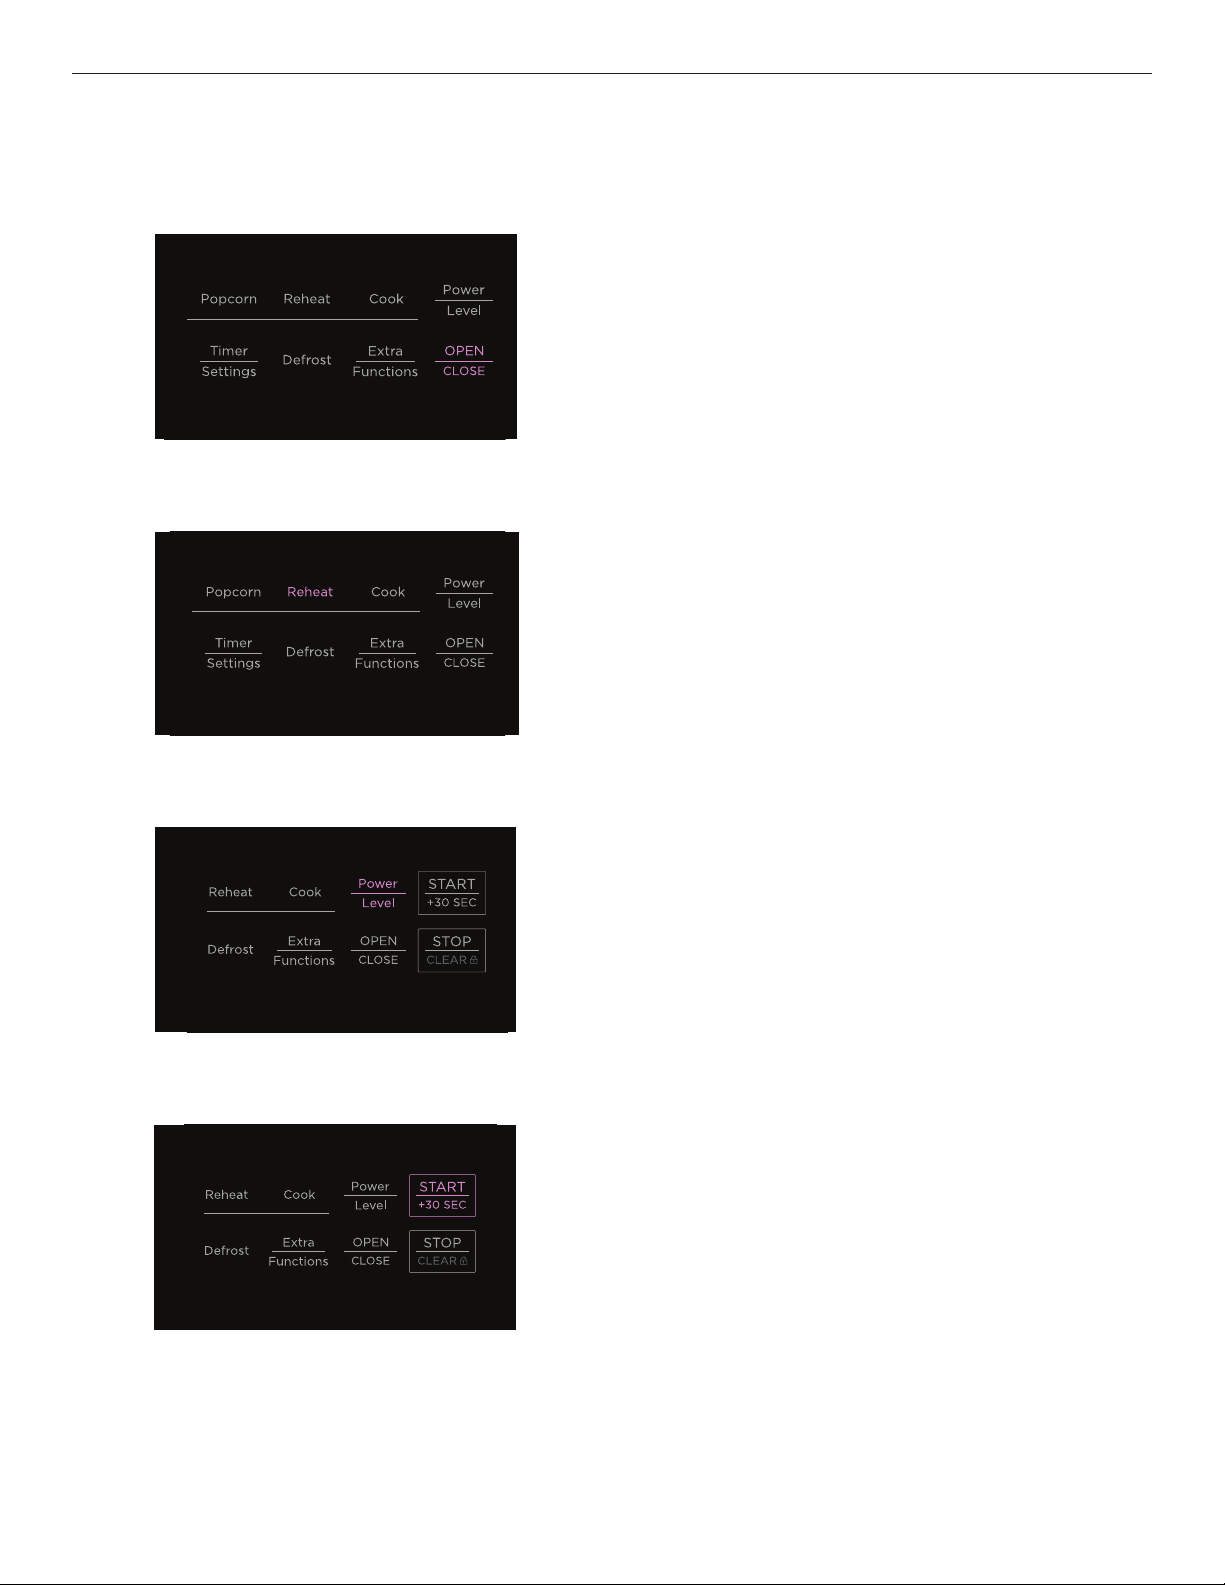
Use microwave-safe cookware and cover with a lid, plastic wrap or wax paper. Always leave a small vent for steam/moisture to escape
from the food during reheating.
Press
1
OPEN/CLOSE to open the drawer before carefully
placing item inside. Press again to close the drawer.
2
3
4
Press REHEAT.
Press POWER LEVEL once for extra time or twice for less time.
Press START/+30 SEC to begin.
If further reheating is required after sensor reheating, add
manual time.
Once heated, stir food and replace cover.Allow to stand for
2–3 minutes.
16
Page 17
DEFROST SENSOR COOK EXTRA FUNCTIONS
1 Ground Meat
2 Steaks/Chops
3 Boneless Poultry
4 Bone-in Poultry
5 Roast
6 Casserole or Soup
Cook
1
USING SENSOR FUNCTIONS
1 Baked Potatoes
2 Sweet Potatoes
3 Fish/Seafood
4 Brown Rice
5 White Rice
6 Quick Fresh Vegetables
7 Longer Fresh
Vegetables
8 Frozen Vegetables
9 Ground Meat
10 Frozen Entrees
Press
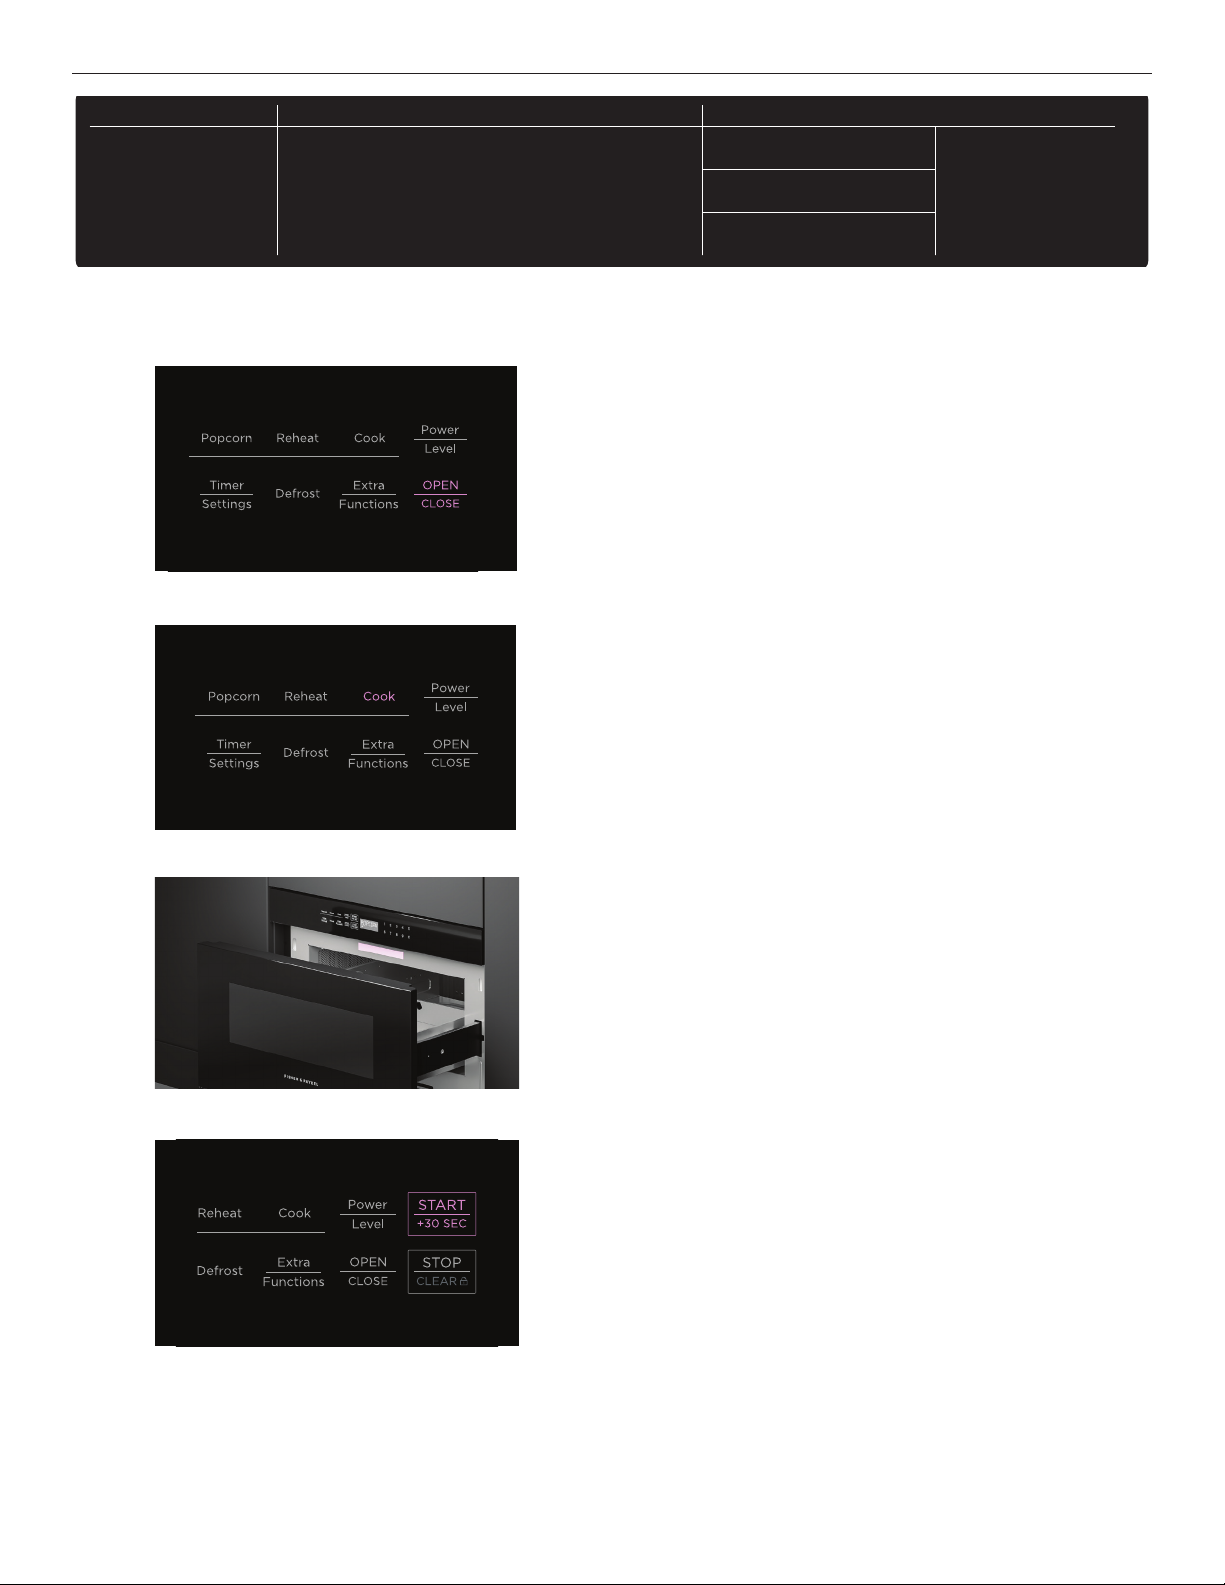
OPEN/CLOSE to open the drawer before carefully
placing item inside, and again to close the drawer.
Melt
Soften
Warm
1 Butter
2 Chocolate
3 Ice Cream
4 Cream Cheese
5 Syrup
6 Dessert Topping
7 Beverage Reheat
8 Hot Water
9 Hot Cereal
TLAB-BzzzMRR0
2
3
4
Press COOK.
Refer to the Sensor Cook label on the microwave and select
desired food type using the number pad. If food type is not listed
on the Cook Chart or the amounts do not match, use manual cook.
Press START/+30 SEC to begin.
If further cooking is required after sensor cooking, add
manual cook time.
Pausing or canceling sensor cook
When cook time is displayed, press
paused. Press START/+30 SEC to resume.
If you pause or cancel while food name or function is displayed, it will show an ERROR and the function will be canceled.
STOP/CLEAR once to pause and twice to cancel. The drawer may be opened and closed while
17
Page 18
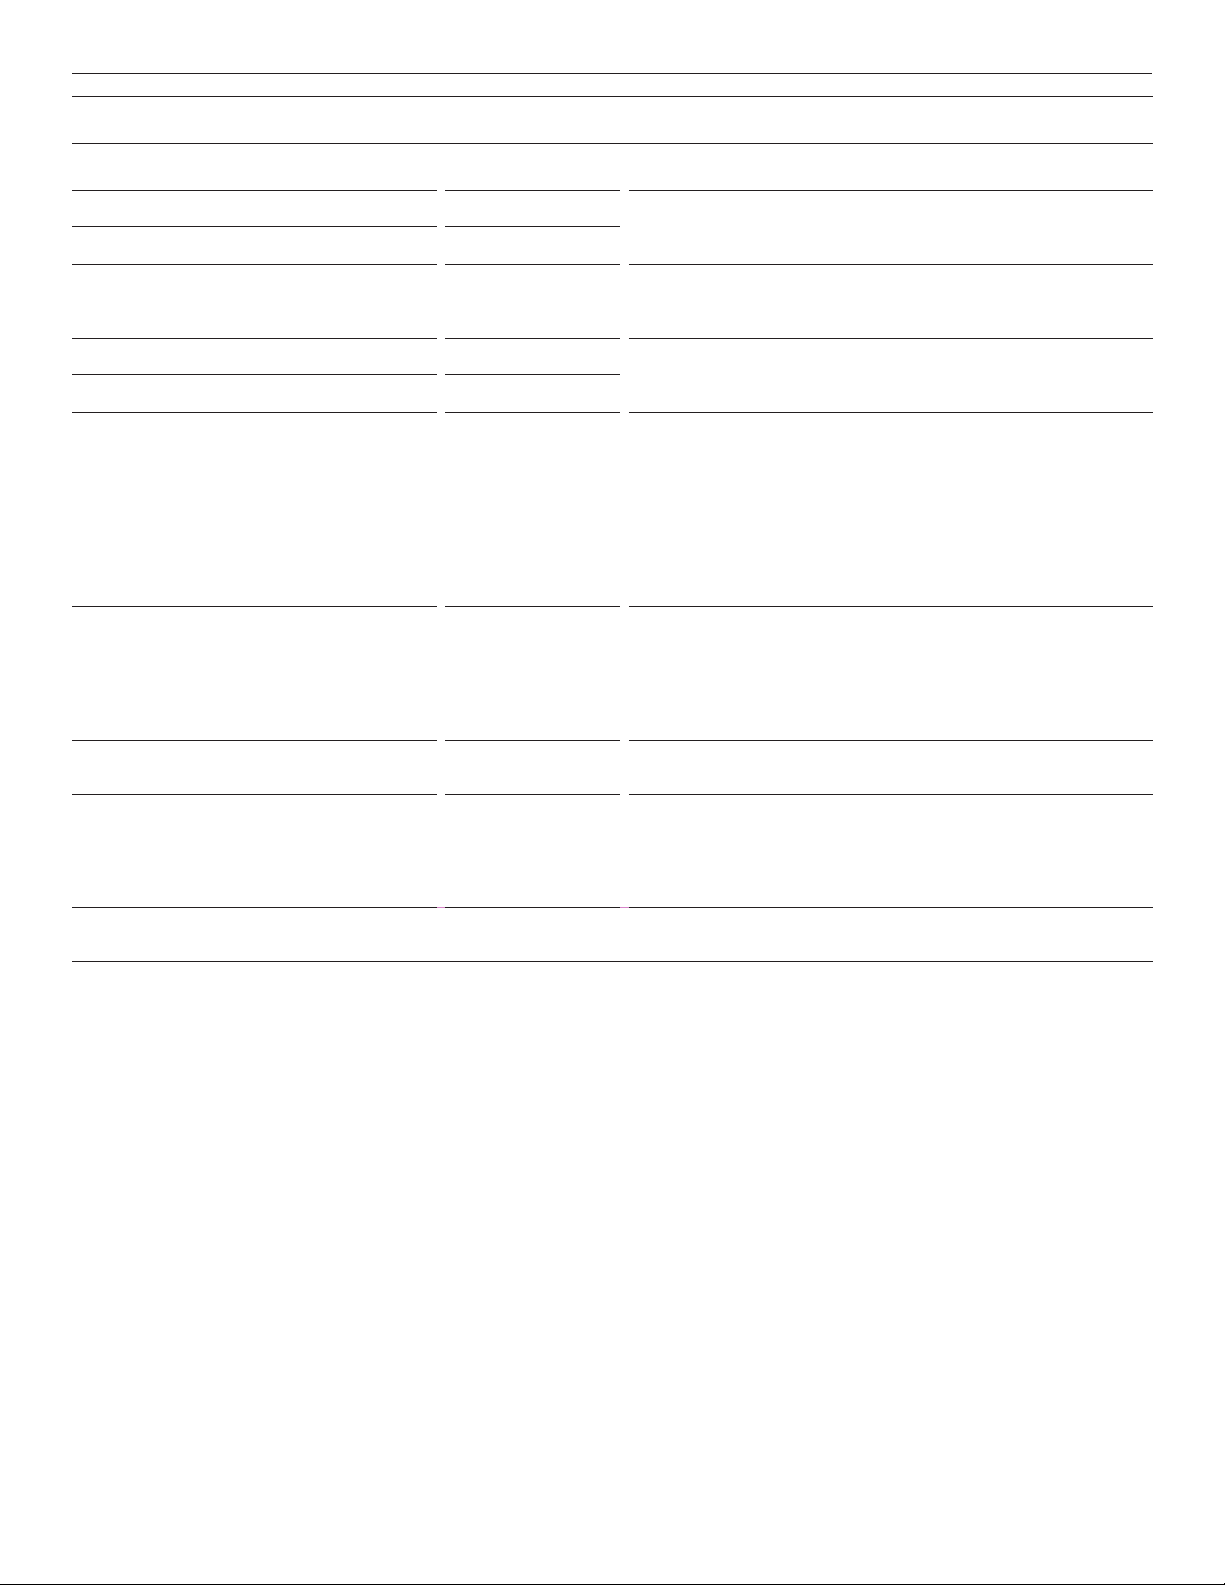
COOK CHART
FOOD AMOUNT PROCEDURE
Baked potatoes 1–6 med Pierce potatoes at least 3 times each on top, bottom and sides. This
1
Sweet potatoes 1–6 med
2
Fish/seafood 0.25–2.0 lb Arrange in a ring around a shallow glass dish. (Roll fillet with edges
3
Brown rice 0.5–2.0 cups Place in a deep dish and add double the quantity of water. Cover with
4
White rice 0.5–2.0 cups
5
Quick fresh vegetables
6
• Broccoli
• Brussels sprouts
• Cabbage
• Cauliflower (flowerets)
• Cauliflower (whole)
• Spinach
• Zucchini
• Baked apples
Longer fresh vegetables
7
• Carrots, sliced
• Corn on the cob
• Green beans
• Winter squash, diced
• Winter squash, halves
Frozen vegetables 0.25–1.25 lb Do not add water. Cover with lid or plastic wrap. After cooking, stir,
9
Ground meat 0.25–2.0 lb Place ground meat in a casserole dish and cover with wax paper or
!0
Frozen entree 6–17 oz Remove from outer packaging cover according to directions on
!1
USING SENSOR FUNCTIONS
allows steam to escape. Place in drawer on a paper towel. After cooking,
cover and stand for 5–10 minutes.
underneath.) Cover with vented plastic wrap. After cooking, cover and
stand for 3 minutes.
lid or plastic wrap. After cooking, stir, cover and stand for 3–5 minutes
or until liquid is absorbed.
0.25–2.0 lb
0.25–2.0 lb
0.25–2.0 lb
0.25–2.0 lb
1 medium
0.25–1.0 lb
0.25–2.0 lb
2–4 medium
0.25–1.5 lb
2–4
0.25–.5 lb
0.25–1.5 lb
1–2
Wash and place in casserole dish. Do not add water if vegetables have
just been washed. Cover with lid for tender vegetables or plastic wrap
for tender-crisp vegetables. After cooking, stir, cover and stand for 2–5
minutes.
Place in casserole dish. Add 1–4 tablespoons of water. Cover with lid
for tender vegetables or plastic wrap for tender-crisp vegetables. After
cooking, stir, cover and stand for 2–5 minutes.
cover and stand for 3 minutes.
plastic wrap. For ground meat patties, place on a microwave-safe dish
and cover with wax paper. Turn or stir meat when microwave pauses to
break up large pieces. Re-cover and press
cover and stand for 2–3 minutes.
package. After cooking, cover and stand for 1–3 minutes.
START/+30 SEC. After cooking,
18
Page 19

Automatic defrost
DEFROST
1
2
3
Press OPEN/CLOSE to open the drawer before carefully
placing item inside.
Press DEFROST.
Refer to the Defrost label on the microwave and select desired
food type using the number pad.
4
5
Use the number pad to enter the food weight/volume in
pounds/cups.
Press OPEN/CLOSE to close the drawer.
19
Page 20
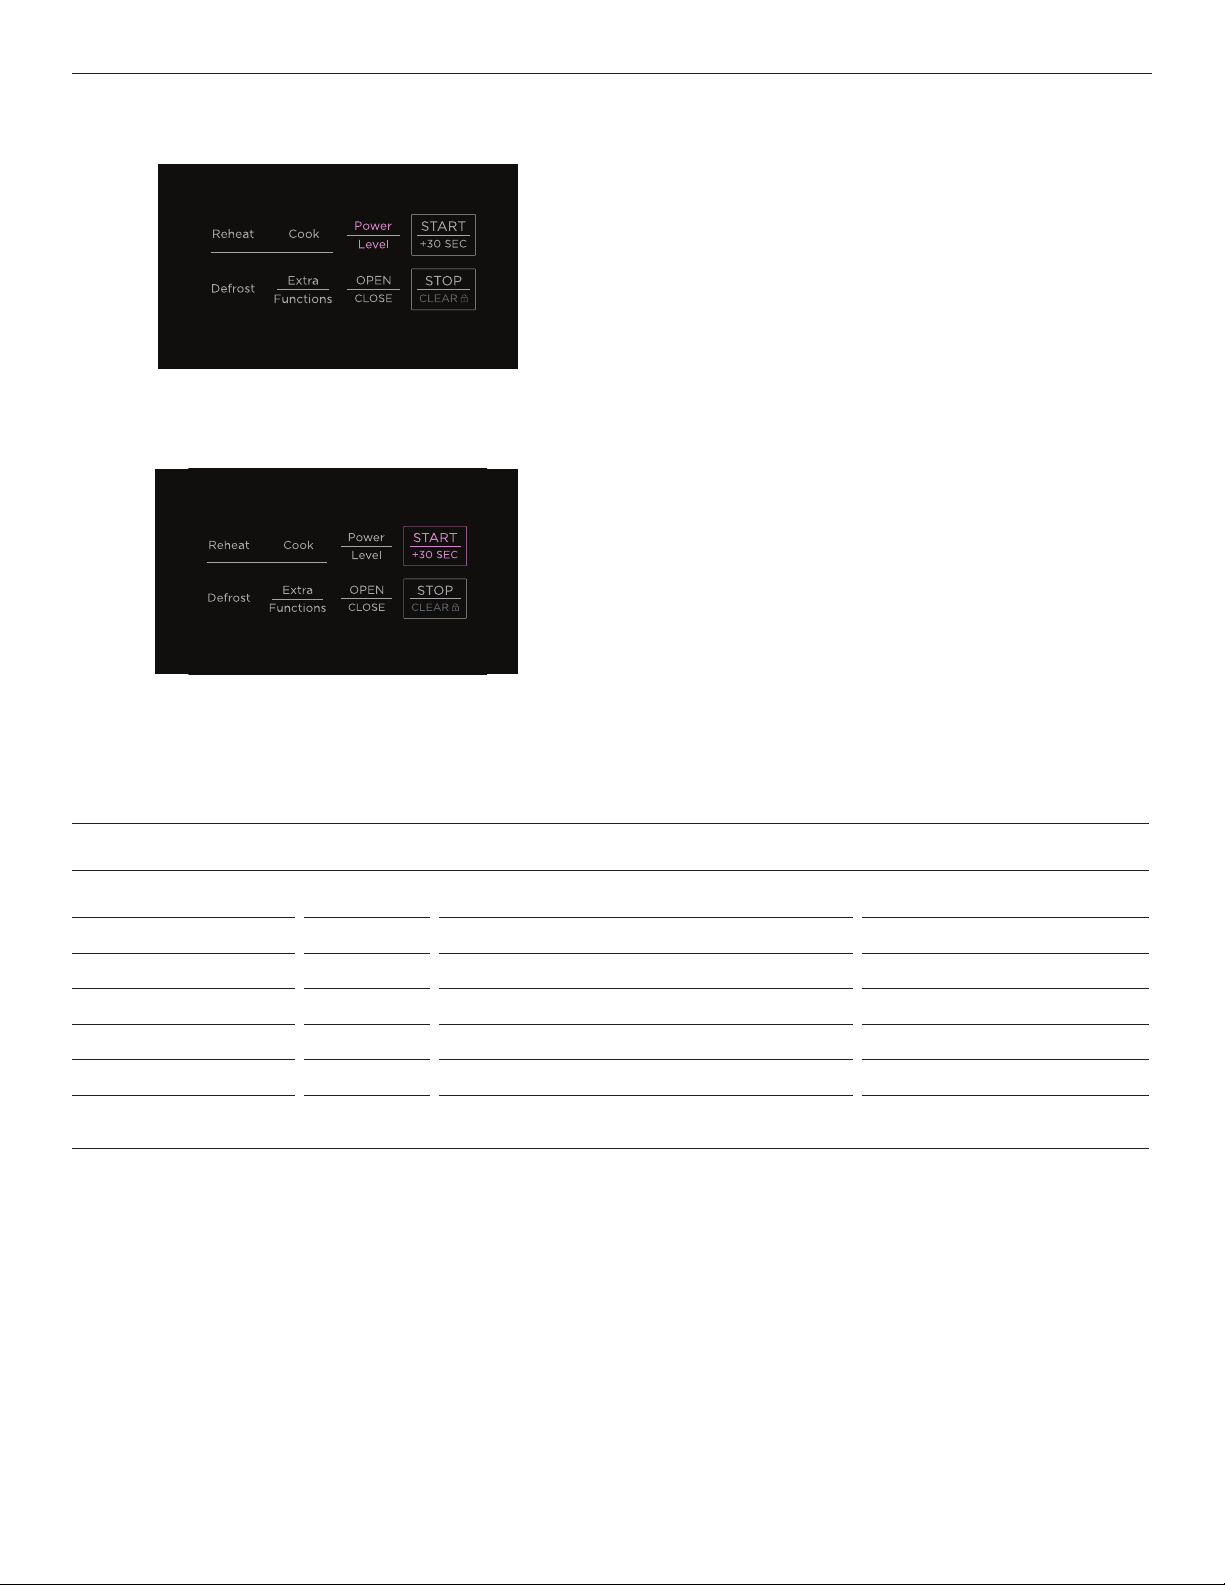
DEFROST
6
7
Turn food when the tone sounds and leave it to stand when the Defrost cycle ends. Refer to 'Defrost Chart' for standing times.
Press POWER LEVEL once for extra time and twice for less time.
Press START/+30 SEC to begin.
DEFROST CHART
FOOD AMOUNT AT EACH SIGNAL AFTER COOKING
Ground meat 0.5–2.0 lb Remove any thawed pieces and press START/+30 SEC. Cover and stand for 5–10 minutes.
1
Steaks/chops 0.5–3.0 lb Turn food and press START/+30 SEC. Cover and stand for 10–20 minutes.
2
Boneless poultry 0.5–2.0 lb Turn food and press START/+30 SEC. Cover and stand for 10–20 minutes.
3
Bone-in poultry 0.5–3.0 lb Turn food and press START/+30 SEC. Cover and stand for 10–20 minutes.
4
Roast 2.0–4.0 lb Turn food and press START/+30 SEC. Cover and stand for 30–50 minutes.
5
Casserole
6
Soup
2–6 cups
1–6 cups
Break apart and remove defrosted part. Stir well, cover and stand for
5–10 minutes.
20
Page 21
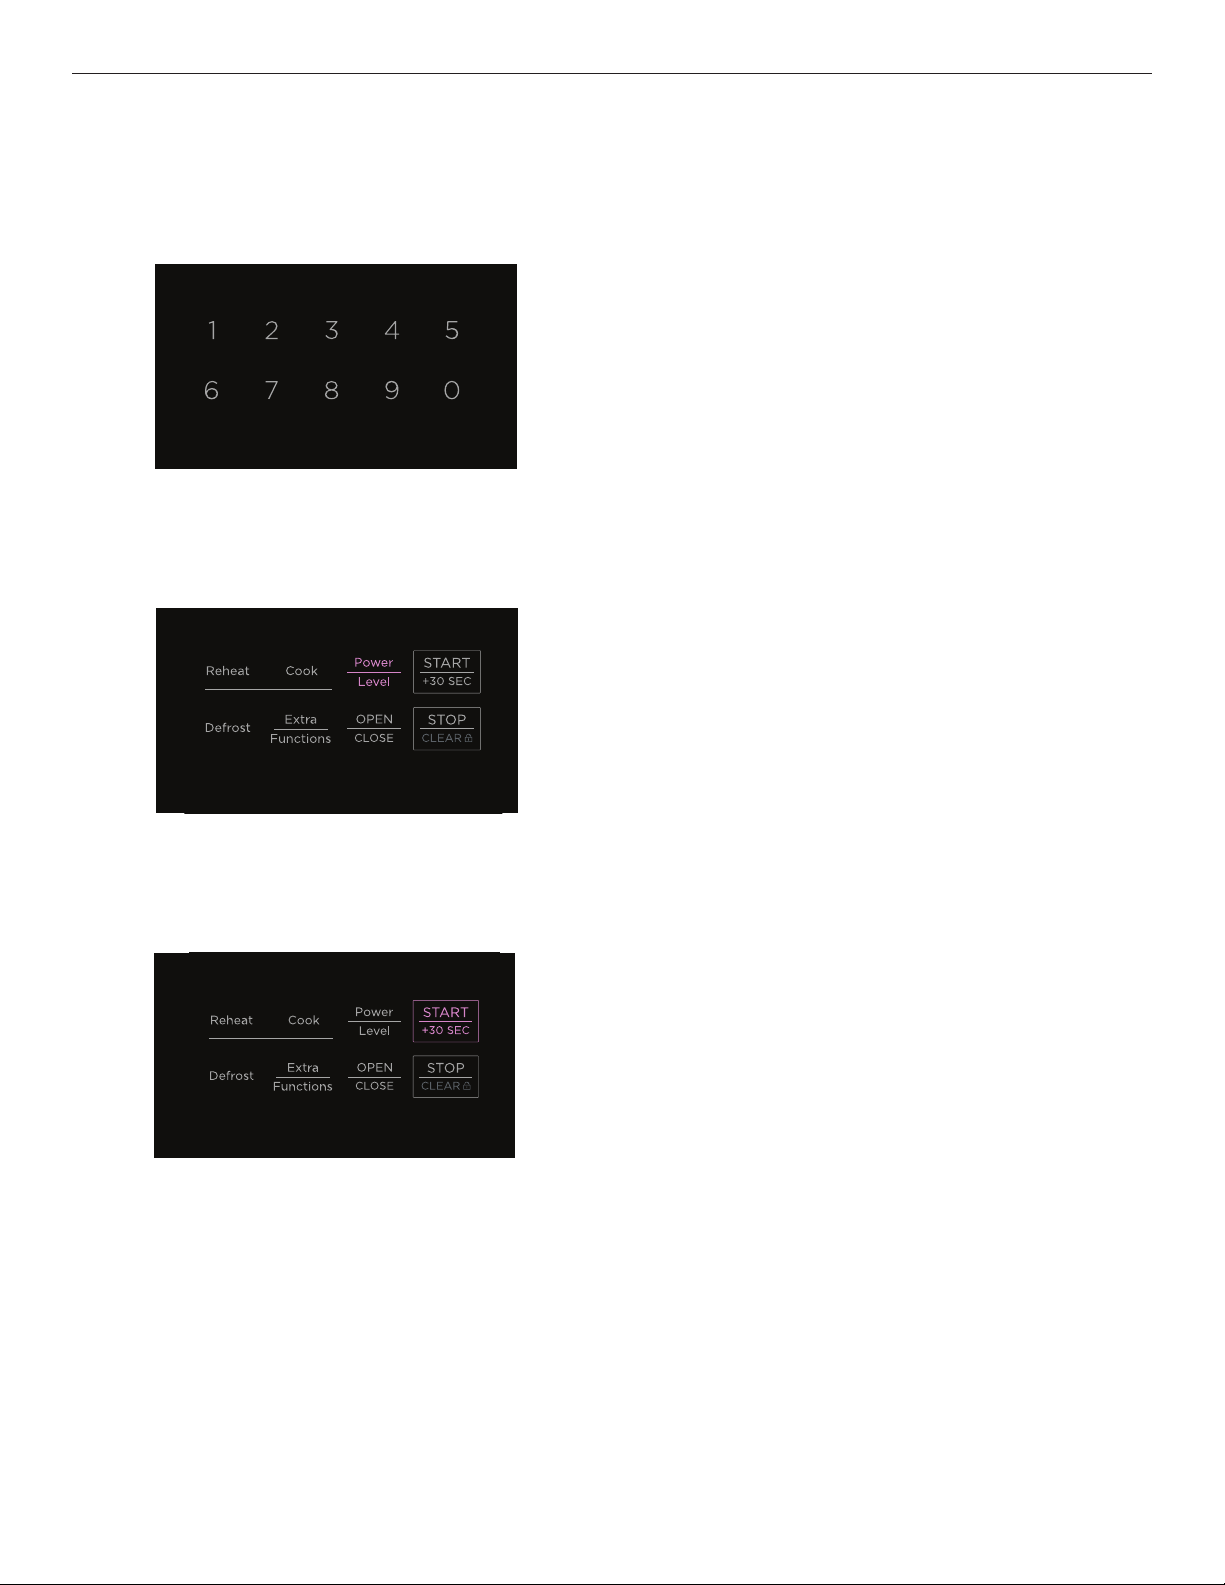
DEFROST
Manual defrost
If food type is not listed on the Defrost Chart or the amounts do not match, you can defrost any frozen food manually. As a general
guide, defrosting time is 4 minutes per pound of frozen food.
1
2
Use number pad to enter defrost time.
Press POWER LEVEL eight times to set power to 30%.
3
z
Stop the microwave periodically to remove or separate defrosted portions.
z
If food needs further defrosting, continue in one-minute increments.
z
When using plastic containers from the freezer, defrost only long enough to remove plastic and place food in a microwave-safe dish.
Press START/+30 SEC to begin.
21
Page 22
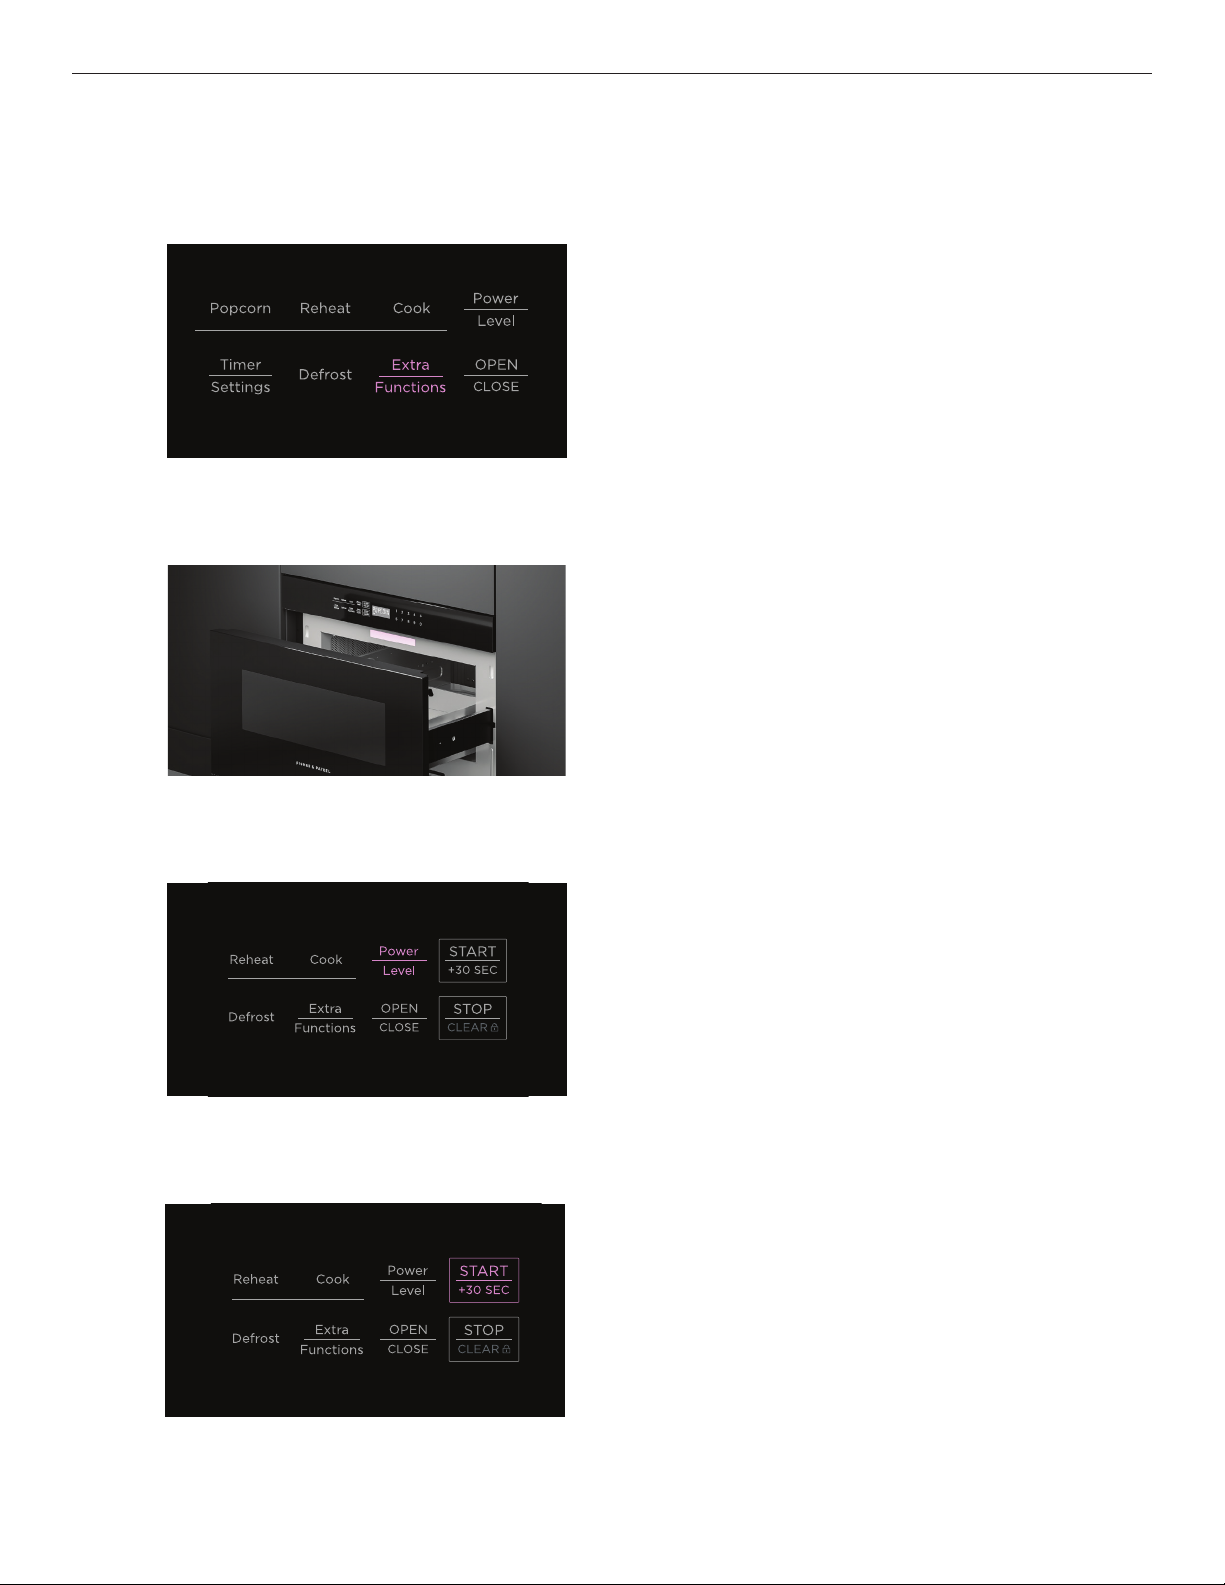
EXTRA FUNCTIONS
Extra Functions automatically sets the power and heating time for melting, softening or warming foods listed on the Extra Functions
label. Refer to 'Melt/Soften/Warm Chart' and 'Beverage Reheat/Hot Water/Hot Cereal Chart' for food quantity.
Use manual cook settings for foods or quantities not listed.
Press
1
EXTRA FUNCTIONS.
2
3
Refer to the Extra Functions label on the microwave and select
desired food type using the number pad.
Press the food type number again and follow the onscreen
instructions to select food quantity.
To adjust programmed time settings, press POWER LEVEL once
for more time or twice for less.
22
4
Press START/+30 SEC to begin.
Page 23
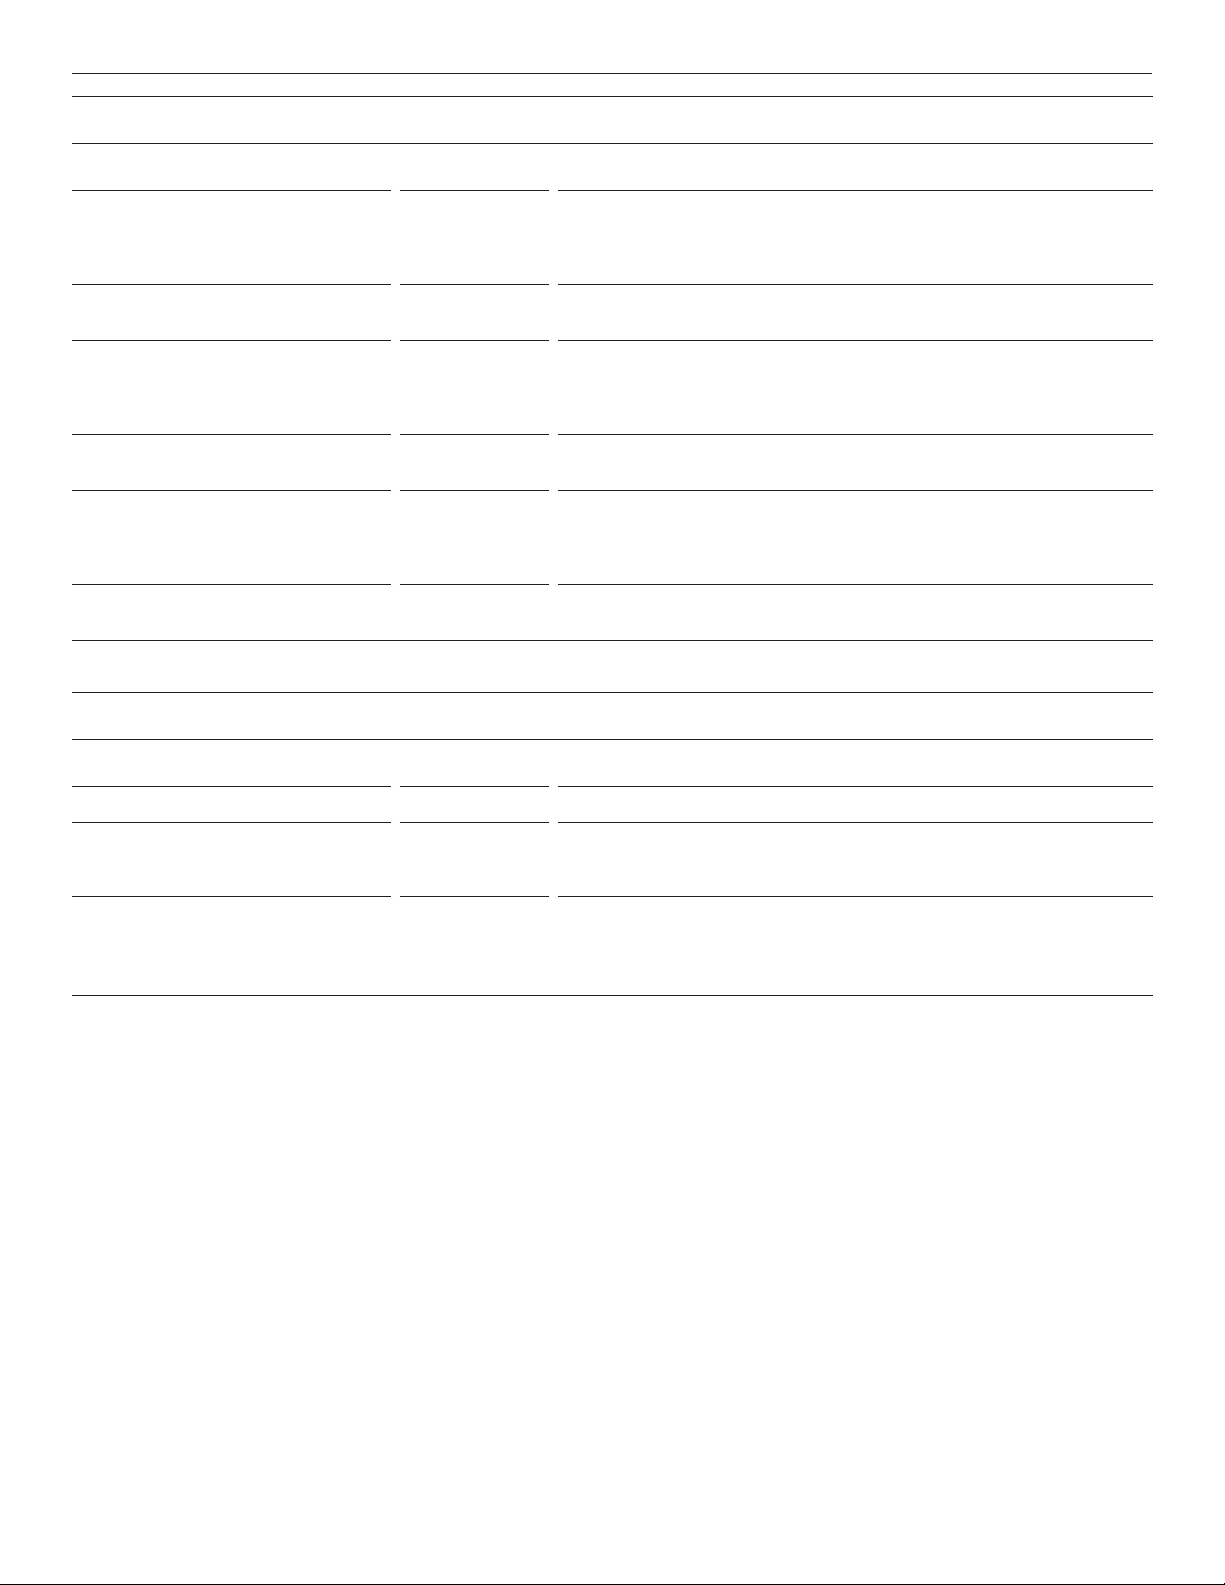
EXTRA FUNCTIONS
MELT/SOFTEN/WARM CHART
FOOD AMOUNT PROCEDURE
Melt Cover with plastic wrap.
Butter 2 tbsp
1
8 tbsp
Press EXTRA FUNCTIONS. Press 1 twice.
EXTRA FUNCTIONS. Press 1 three times.
Press
Chocolate 1 cup chips
2
1 square
Press EXTRA FUNCTIONS. Press 2 twice.
EXTRA FUNCTIONS. Press 2 three times.
Press
Soften Do not cover
Ice cream 1 pint
3
Cream cheese 3 oz
4
1.5 qt
8 oz
Press EXTRA FUNCTIONS. Press 3 twice.
EXTRA FUNCTIONS. Press 3 three times.
Press
Press EXTRA FUNCTIONS. Press 4 twice.
EXTRA FUNCTIONS. Press 4 three times.
Press
Warm Do not cover
Syrup 0.25 cup
5
Dessert toppings 0.25 cup
6
0.5 cup
0.5 cup
Press EXTRA FUNCTIONS. Press 5 twice.
EXTRA FUNCTIONS. Press 5 three times.
Press
Press EXTRA FUNCTIONS. Press 6 twice.
EXTRA FUNCTIONS. Press 6 three times.
Press
BEVERAGE REHEAT/HOT WATER/HOT CEREAL CHART
FOOD AMOUNT PROCEDURE
Beverage reheat 0.5–2 cups Press EXTRA FUNCTIONS. Press 7 for every 0.5 cup to be reheated.
7
Hot water 1–6 cups Heat COLD TAP WATER to below boiling point.
8
Hot cereal
9
(oatmeal, oat bran, cream of wheat,
farina or wheatena)
1–6 servings Use a large container to prevent boilovers. Follow directions on package for correct
EXTRA FUNCTIONS. Press 8 for every 1 cup to be heated. Stir briskly before and
Press
after heating to avoid eruption.
amount of water or milk.
EXTRA FUNCTIONS. Press 9 for every serving to be cooked. If microwave stops,
Press
stir and press
START/+30 SEC. After cooking, stir, cover and stand for 2 minutes.
23
Page 24
SETTINGS
CLOCK Set the time in 12-hour format.
Press
TIMER SETTINGS twice. Refer to 'Setting the clock'.
TIMER Keep track of cooking times. You can use it at any time, even if you are not using the oven.
The timer does not turn the microwave off.
Press
TIMER SETTINGS three times. Refer to ‘Setting the clock’.
SOUND ON/OFF Turn on/off beep that sounds at end of timed cook.
Press
TIMER SETTINGS four times. Display will show SOUND ON or SOUND OFF. Press
START/+30 SEC to confirm.
REMINDER SIGNAL ON/OFF Turn on/off reminder signal at end of timed cook. After cooking, reminder beeps every 10
seconds for one minute, then every three minutes for an hour or until you press STOP/CLEAR.
Press
TIMER SETTINGS five times. Display will show REMIND SIGNAL OFF or REMIND SIGNAL
ON. Press START/+30 SEC to confirm.
AUTO START Set microwave to begin cooking at a specified time of day.
Press
TIMER SETTINGS six times and follow onscreen instructions.
DEMO MODE ON/OFF Turn Demo Mode on/off. Microwave does not heat in Demo Mode and display counts down
quickly.
Press
TIMER SETTINGS seven times. Press and hold START/+30 SEC for 3 seconds to turn on or
press once to turn off.
+30 SEC Press once to cook for 30 seconds at 100%. Press repeatedly to extend manual cooking time
by multiples of 30 seconds. Can be used within 3 minutes of end of cooking, after closing the
drawer or after pressing
Cannot be used with Sensor settings,
STOP/CLEAR.
REHEAT or DEFROST.
24
Page 25

KEY LOCK
Key Lock allows you to lock the drawer and deactivate the control panel to prevent unwanted use by children or while cleaning
the microwave.
Locking
Press and hold STOP/CLEAR for three seconds.
Unlocking
Press and hold
STOP/CLEAR for three seconds.
25
Page 26
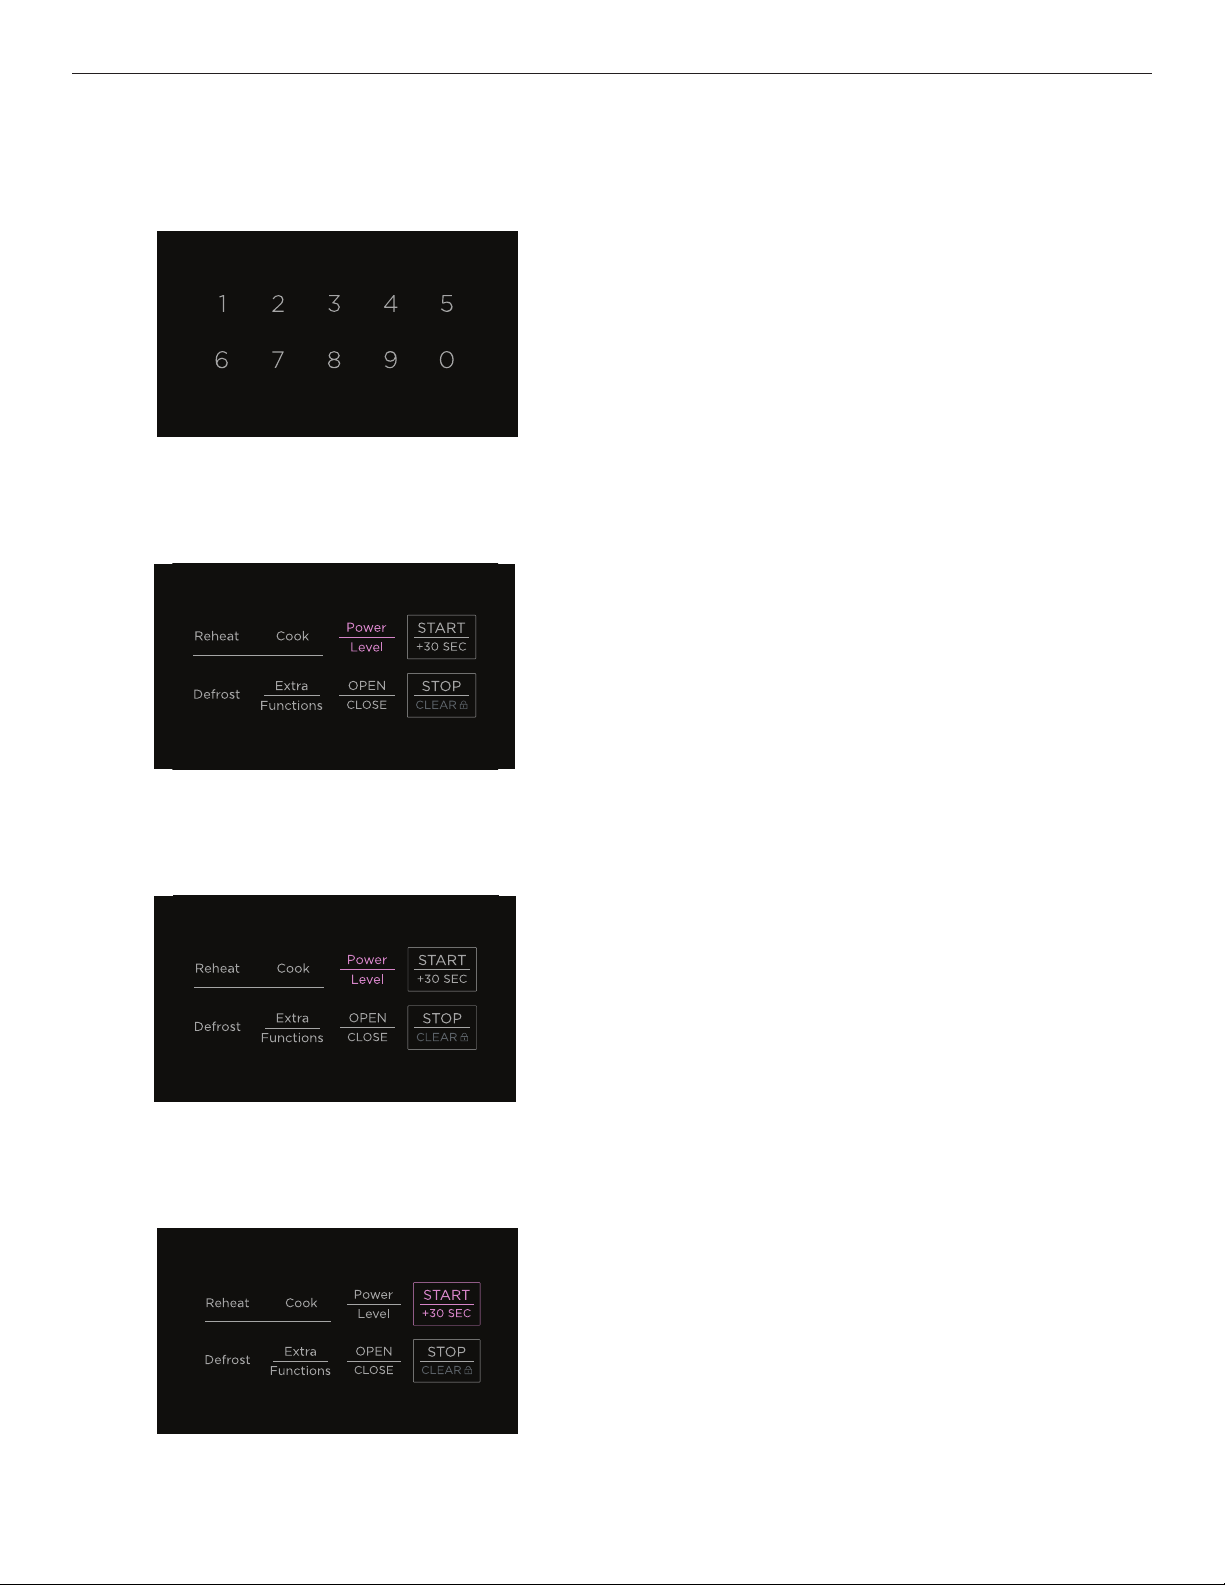
MULTI-STAGE COOKING
You can program up to four cooking stages with different power levels that change during the cooking process if cooking directions
require it.
1
2
Use number pad to enter initial cooking time.
Press
POWER LEVEL to cycle through the power level options
and set initial desired power level.
26
3
4
To set second cooking stage, enter next cooking time and
set next POWER LEVEL. Repeat as required up to four stages.
Press START/+30 SEC to begin. You can check current
power level at any time during a cooking stage by pressing
POWER LEVEL.
Page 27
CARE AND CLEANING
General
Use a soft cloth to clean. Do not use scouring pads, abrasives or solvent cleaners.
We recommend cleaning any easy-to-reach spills or splatters after every use to prevent build up or burning.
Removing odors
Mix 1 cup of water, the peel and juice of one lemon, and several cloves in a large microwave-safe dish and heat at 100% power for
several minutes. Allow to cool.
WHAT? HOW?
Control Panel Lock the control panel, then wipe with a soft damp cloth.
Exterior Clean with mild soap and water and wipe dry with a soft cloth.
Stainless steel surface Clean with a soft damp cloth, then polish with a soft dry cloth.
If necessary, spray a suitable stainless steel cleaner onto a soft cloth, then wipe the surface. Always wipe in the
direction of the grain.
Interior Open and lock the automatic drawer. Wipe interior with a soft damp cloth.
Drawer guides Remove food crumbs and clean with a soft dry cloth.
27
Page 28
TROUBLESHOOTING
PROBLEM POSSIBLE CAUSES WHAT TO DO
Microwave does not work No power. Check that the cord is connected to mains power
supply and wall switch is turned on, the fuse has not
tripped and there is no power outage in your area.
It is in Demo Mode. Disable Demo Mode. Refer to 'Settings'.
Food is not heated No power. Check that the cord is connected to mains power
supply and wall switch is turned on, the fuse has not
tripped and there is no power outage in your area.
Controls not set correctly. Check settings.
It is in Demo Mode. Disable Demo Mode. Refer to 'Settings'.
Control pad does not work The control panel is locked. Press and hold STOP/CLEAR for three seconds. See
'Key lock'.
Light does not work The light bulb is loose or burned out. Call Customer Care.
Display is flashing Power failure. Press STOP/CLEAR and reset the clock. See 'Setting
the clock'.
Steam coming from vent This is normal.
28
Page 29

WARRANTY AND SERVICE
Before you call for service or assistance
Check the things you can do yourself. Refer to the installation instructions and your user guide and check that:
z
Your product is correctly installed.
z
You are familiar with its normal operation.
z
Model number
z
Serial number
z
Date of installation
If after checking these points you still need assistance or parts, please refer to the Service & Warranty book for warranty
details and your nearest Service Centre, Customer Care, or contact us through our website www.fisherpaykel.com or email:
[email protected].
Complete and keep for safe reference:
Model
Serial No.
Purchase Date
Purchaser
Dealer
City
State
Zip
Country
29
Page 30

FISHERPAYKEL.COM
© Fisher & Paykel Appliances 2023. All rights reserved.
The models shown in this guide may not be available in all markets
The product specifications in this guide apply to the specific products and
models described at the date of issue. Under our policy of continuous product
improvement, these specifications may change at any time.
For current details about model and specification availability in your country,
please go to our website or contact your local Fisher&Paykel dealer.
and are subject to change at any time.
41252C/TINSEB620MRR0 08.2
 Loading...