

Page 1
FOOD EQUIPMENT TECHNOLOGIES COMPANY
640 Heathrow Drive • Lincolnshire • IL • 60069 • USA
Phone: (800) 338-2699 • (847) 821-1177 • Fax: (847) 821-1178
Emergency Service Only: (800) 660-0035 (U.S. & Canada)
E-mail: techsupport@fetco.com • Internet: http://www.fetco.com
3
User’s Guide
Installation - Operation - Service
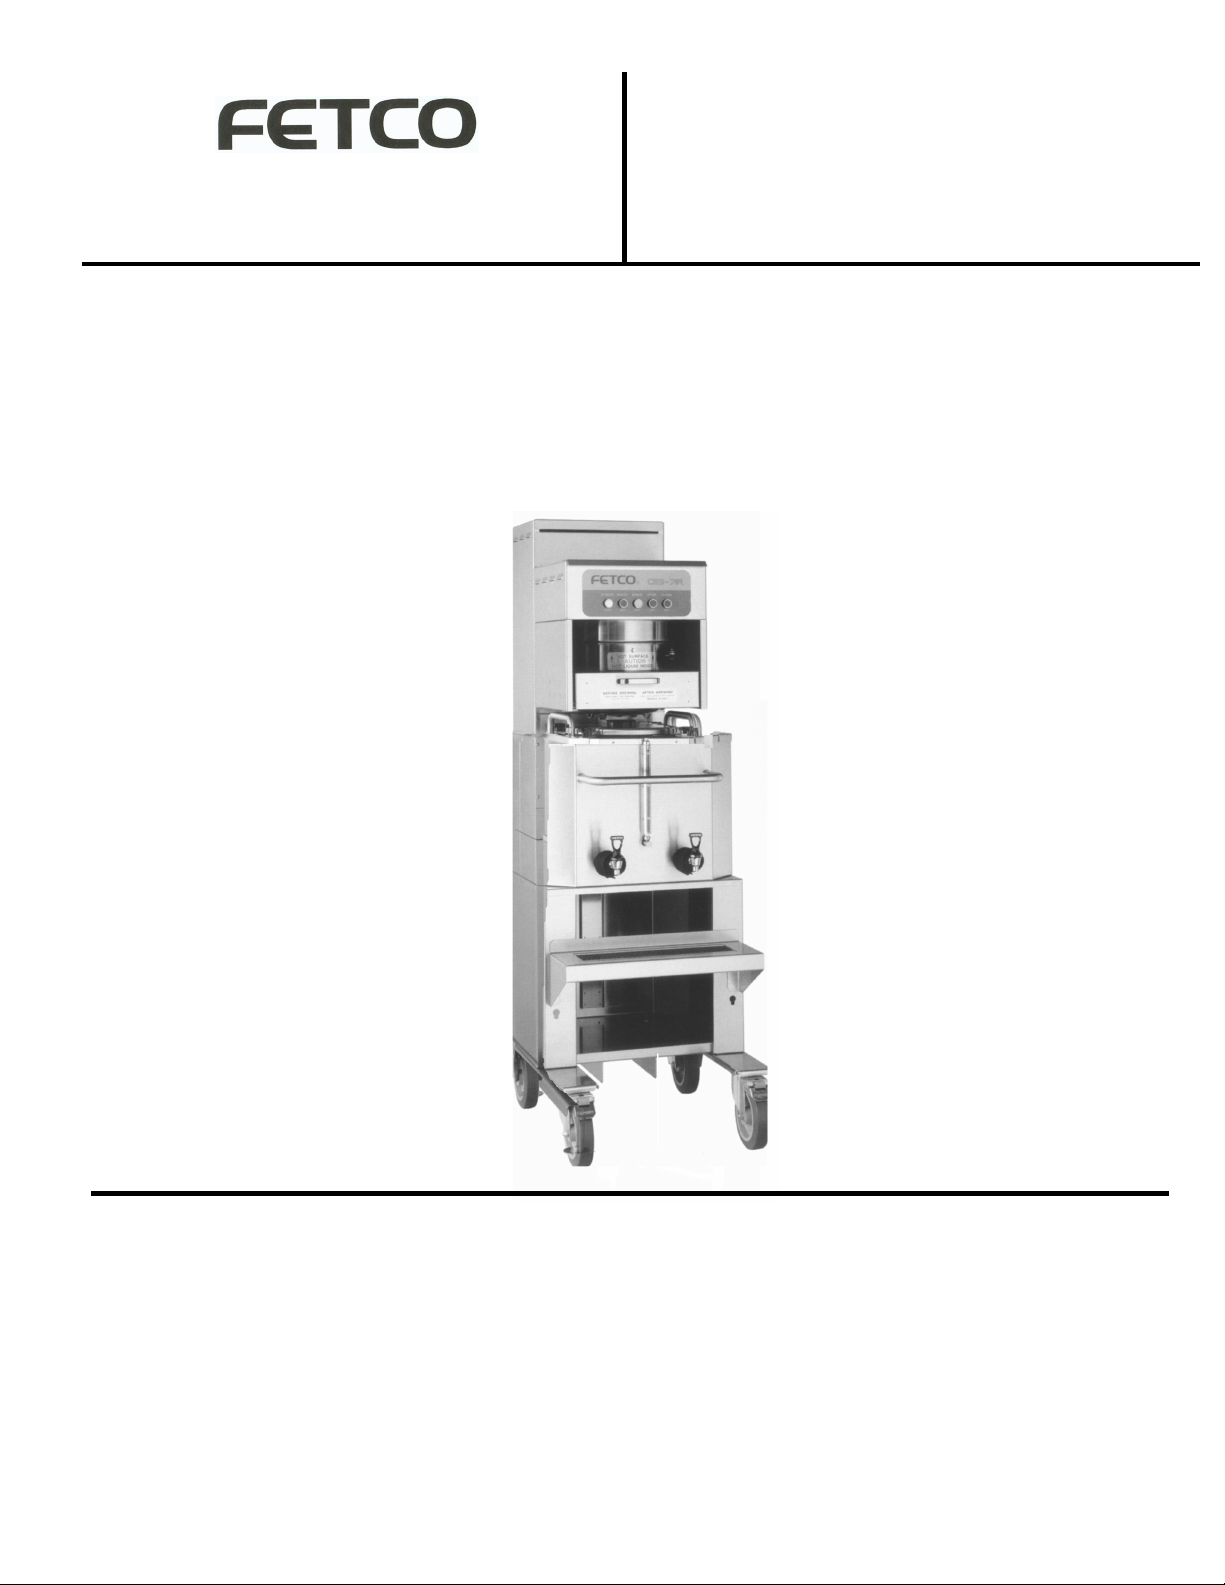
Tea
Brewing
System
TBS-71AC
Table of Contents
Technical Data ............................................................... 2
Brewing Specifications ............................................... 2
Weights and Capacities..............................................2
Electrical Configuration and Brewing Efficiency......... 2
Installation ...................................................................... 3
Keys To A Successful Installation .............................. 3
Brewer Installation ...................................................... 3
Operating Procedures .................................................... 5
Preparation ................................................................. 5
Brewing Hot Tea ......................................................... 5
Brewing Iced Tea ........................................................6
After Brewing ..............................................................6
Part # P009
Nov-99
Page 2
Technical Data
Brewing Specifications
Brew Volume: Hot Tea - 6 gallons (22.7 liters)
Iced Tea - 18 gallons (68.1 liters)
Water Requirements: 20-75 psig
Factory Settings
Water Temperature: 202°F in tank
Brew time: 14 minutes
Pulse: 15 seconds on, 15 seconds off
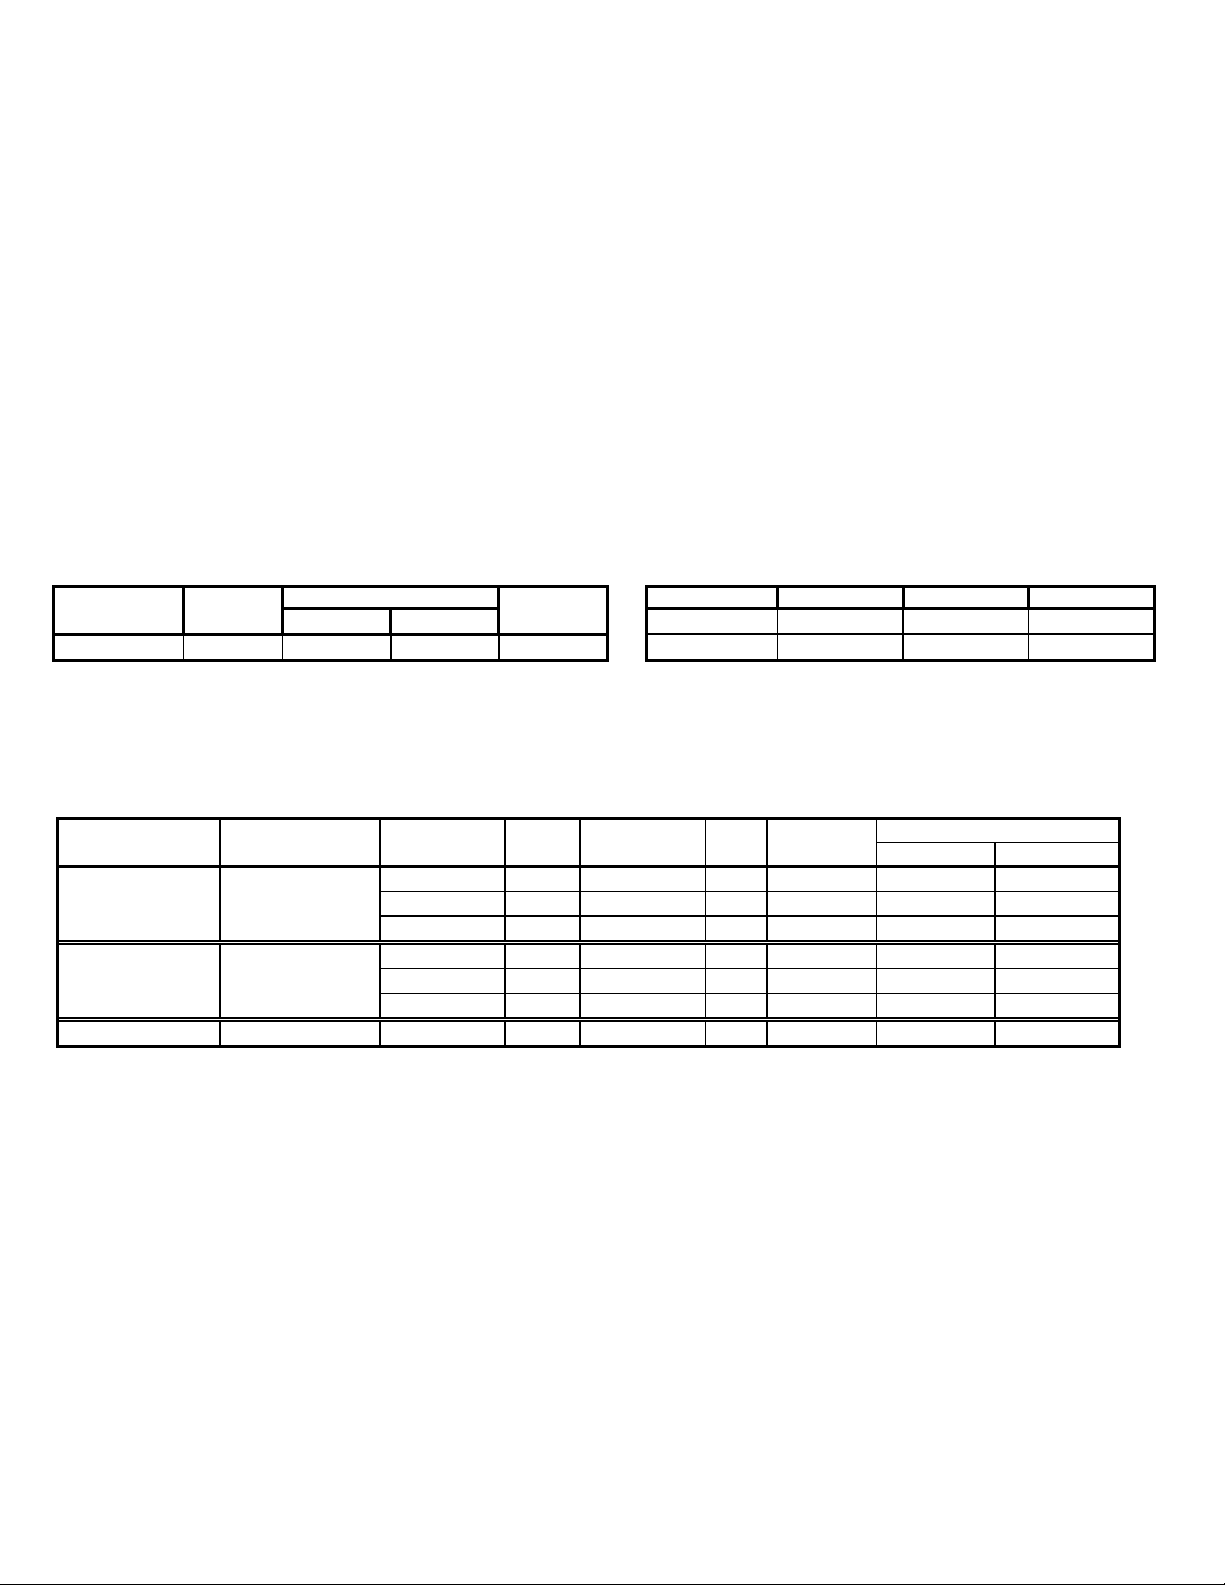
Weights and Capacities
Brewer Water Tank Total Weight, Dispenser Weight (empty) Capacity Weight (full)
Model Weight Capacity Weight filled
TBS-71AC 239 lbs. 18 gal. 150 lbs. 389 lbs. LBD-18 (iced) 228 lbs. 18 gal. 378 lbs.
Tea Filter Size: 23” X 9”
LBD-6C (hot) 152 lbs. 6 gal. 202 lbs.
Electrical Configuration and Brewing Efficiency
Heater Voltage Maximum Batches per Hour*
Model Configuration Connection Phase Wires KW Amp draw Hot Tea Iced Tea
TBS-71AC (-1) 3 X 5 KW 120/208 3 ph. 4 + ground 11.5 33.0 2.3 2.6
TBS-71AC (-2) 3 X 10 KW 120/208 3 ph. 4 + ground 22.7 64.3 3.0 3.2
TBS-71AC (-3) 3 X 10 KW 120/480 3 ph. 4 + ground 30.2 37.9 3.2 3.4
120/220 3 ph. 4 + ground 13.3 36.0 2.4 2.7
120/240 3 ph. 4 + ground 15.2 37.9 2.6 2.8
120/220 3 ph. 4 + ground 26.3 70.3 3.1 3.3
120/240 3 ph. 4 + ground 30.2 74.0 3.2 3.4
*Batches per hour based on 14 minute brew time, with 15 second pulse.
2
Page 3

Installation
(For Qualified Service Technicians Only)
Keys To A Successful Installation
FETCO tea brewers are rugged and reliable machines that will provide many years of service. However, if not
installed correctly by qualified personnel, the brewer will not operate properly and damage to the brewer may result.
Damages resulting from improper installation are not covered by the warranty.
Here are the key points to consider before installation:
Electrical: All FETCO brewers require NEUTRAL. Ground is not an acceptable substitute. Installation without
neutral may cause damage to the electronic components.
The power connection to L1 on the terminal block must be at least 105 volts. Less than 105 volts will cause
erratic behavior from the brewer and may damage certain components..
Push button circuit breakers are located on the front of the brewer, behind the dispensers.
Plumbing: The water line must be flushed thoroughly prior to connecting it to the brewer to prevent debris from
contaminating the machine.
General: Utilize a qualified beverage equipment service technician for installation.
Do not adjust the thermostat setting unless absolutely necessary. It is set at the factory for optimum
performance.
The heaters are protected by the liquid level control board when the tank is dry. There is no need to disable the
heaters during installation.
Brewer Installation
The installation must comply with applicable federal, state, and local codes having jurisdiction at your location. Check
with your local inspectors to determine what codes will apply to the installation and operation of FETCO products.
Brewer Set-up
• Place the brewer stand in the desired location.
Allow at least 1 foot of space between the wall and the back of the stand.
For easy access and visibility, electrical shut off switches, circuit breakers, water valves, and filters should not be
located directly behind the brewer.
• Using a carpenter’s level, adjust the legs until the stand is perfectly level front-to-back, and left-to-right.
• Each leg has a flange with 2 holes for bolting the stand to the floor (required for safety). Mark the location of the
holes on the floor.
• Set the stand aside, and drill holes in the floor as marked. The materials used will depend on the floor material.
• Bolt the stand to the floor, and double check to make sure it is level.
• The brewer is shipped lying on its’ back. Before standing it upright, remove the front cover. There is no need to
remove the 2 top covers.
• Place the brewer on top of the stand. This requires at least 3 people.
• Bolt the brewer to the stand, using the nuts and bolts provided.
Water connection
• Caution
incoming water to this fitting.
• The water connection is a single 3/8 inch male flare fitting, located inside the lower compartment.
• The brewer can be connected to a cold or hot water line. Cold water is preferred for best tea flavor, but hot
water will allow for faster recovery times.
• Install a water shut off valve near the brewer to facilitate service. If an in-line water filter is used, it should be
installed after the water shut off valve and in a position to facilitate filter replacement.
• Before connecting the water line to the brewer, flush the line and water filter thoroughly to remove any debris.
• Connect the water line to the brewer, and turn on the water to check for leaks.
! The hose barb fitting protruding from the back of the unit is the tank drain. DO NOT connect the
3
Page 4

Electrical connection
• Verify that the actual voltage at the electrical service connection is compatible with the specifications on the
brewer’s serial number plate. Make sure the electrical service includes neutral.
• A fused disconnect switch or circuit breaker on the incoming power line must be conveniently located near the
brewer, and its location and markings known to the operators.
• The body of the brewer must be grounded to a suitable building ground. A ground lug is provided in the brewer
next to the power terminal block. Use only 10 gauge copper wire for grounding.
• Make sure that the power switch is in the “off” position. The button should be in the “out” position.
• Connect the power, neutral, and ground wires to the terminals in the brewer.
208-240V
208-240V
120V
L1L2L3N
TERMINAL BLOCK
208-240V
GROUND
WIRE
GROUND
LUG
TO 120V OUTLET
CORD WITH 5-15P
NEMA PLUG
GROUND
LUG
480 V
L1L2L3
TERMINAL BLOCKS
480 V480 V
GROUND
WIRE
GROUND
LUG
Electrical Connection - 240 volts, 3 phase Electrical Connection - 480 volts, 3 phase
• Turn on the building circuit breaker. Do not
• At the brewer’s terminal block, verify that the correct voltage is between terminals, according to the diagram
above.
• Press the power switch. The power switch will illuminate. After a delay of 5-6 seconds, the tank should begin
filling with water.
• The heating process will begin after the water has reached a safe level, but before the tank has filled completely.
Approximately 10-15 minutes after the tank has filled, the ready light will illuminate, indicating that the brewer is
at the proper temperature and ready to operate.
turn on the brewer’s power switch yet.
4
Page 5

Operating Procedures
Preparation
Before brewing, always verify the cleanliness of the brew basket and dispensers.
1. Push the POWER switch to the ON position
• The button will illuminate to indicate that the brewer has power and is operational.
2. Select either Hot Tea (6 gallons), or Iced Tea (18 gallons) on the selector switch.
3. Prepare the brew basket.
• Carefully open the drawer holding the brew basket by pulling the
handle out until it stops.
• Grasp the brew basket by one handle, and turn it until you can reach
both handles comfortably.
• Grasp both handles and lift the basket out of the drawer. If
necessary, empty and rinse the brew basket.
• Place a paper filter in each basket to be used. Pour the appropriate
amount of tea into the filter. Spread the tea evenly in the basket
until it is a uniform depth. (The amount of tea used will depend on
your personal tastes and the recommendation of your tea supplier.)
• Place the brew basket back into the drawer. Turn the brew basket
to align either one of the handles with either front corner of the
drawer.
• Close the drawer completely. When fully closed, the drawer will be
flush with the front surface of the brewer.
Brewing Hot Tea
4-H. Place a LBD-6C (6 gallon) mobile dispenser in position under the brew basket.
• Ensure that the brew-through cover is in place, the dispenser is empty, and the faucet is closed.
• Ensure that the dispenser is pushed all the way in, and that the brew funnel is aligned with the bottom of the
brew basket.
• Always set both parking brakes. The brakes are set by pressing your foot on the paddle just above each of
the two wheels closest to you. When the brakes are set, a green button extends above the paddle. To
release the brakes for moving, press the green button with your foot.
5-H. Press the BREW button to start the brew cycle
• If the READY light is on when the button is pressed, the brew cycle will begin immediately, and the BREW
button will flash.
• If the READY light is off when the button is pressed, the BREW button will illuminate with a steady glow.
When the water has heated to the proper temperature, the READY light will go on, the brew cycle will begin,
and the BREW button will begin flashing.
• After the brew cycle is over, the brew button will continue to flash for an additional 90 seconds. This is to
warn the operator that hot tea is still dripping from the bottom of the brew basket.
• If necessary, you may stop the brew cycle at any time by pressing the STOP button. This will reset the
brewer, and you will have to start a new brew cycle from the beginning.
5
Page 6

Brewing Iced Tea
4-I. Place a mobile 18 gallon LBD Iced Tea dispenser in position under the brew basket.
• Ensure that the brew-through cover is in place, the dispenser is empty, and the faucets are closed.
• Ensure that the dispenser is pushed all the way in, and that the brew funnel is aligned with the bottom of the
brew basket.
• Always set both parking brakes. The brakes are set by pressing your foot on the paddle just above each of
the two wheels closest to you. When the brakes are set, a green button extends above the paddle. To
release the brakes for moving, press the green button with your foot.
5-I. Press the BREW button to start the brew cycle
• If the READY light is on when the button is pressed, the brew cycle will begin immediately, and the BREW
button will flash.
• If the READY light is off when the button is pressed, the BREW button will illuminate with a steady glow.
When the water has heated to the proper temperature, the READY light will go on, the brew cycle will begin,
and the BREW button will begin flashing.
• After the brew cycle is over, the brew button will continue to flash for an additional 9 minutes while the hot
tea concentrate is being diluted with cold water. After the dilution cycle is over, the brew button will continue
to flash for an additional 90 seconds. This is to warn the operator that tea and water are still dripping from
the bottom of the brew basket.
• If necessary, you may stop the brew cycle at any time by pressing the STOP button. This will reset the
brewer, and you will have to start a new brew cycle from the beginning.
After Brewing
CAUTION:
• Do not remove the brew basket or move the dispensers immediately after the brew cycle has
finished. Wait until dripping from the bottom of the brew basket has stopped. This may take several
minutes.
• When removing the brew basket, carefully inspect the inside of the basket for hot tea that may have
been trapped or has not finished draining.
• Always set both parking brakes whenever carts are not being transported.
6. End of the day cleaning
• Clean the dispensers and brew basket.
• Wipe the area above the brew basket with a cloth to remove any tea residue that has collected.
6
 Loading...