

Page 1
fellowes.comfellowes.com
fellowes.comfellowes.com
1789 Norwood Avenue, Itasca, Illinois 60143-1095 • USA • 630-893-1600
AustraliAustralia Canada Deutschland France Japan Polska United Kingdoma Canada Deutschland France Japan Polska United Kingdom
Benelux China EspañBenelux China España Italia Korea Singapore United Statesa Italia Korea Singapore United States
Office Laminators Office Laminators
Useful Phone NumbersUseful Phone Numbers
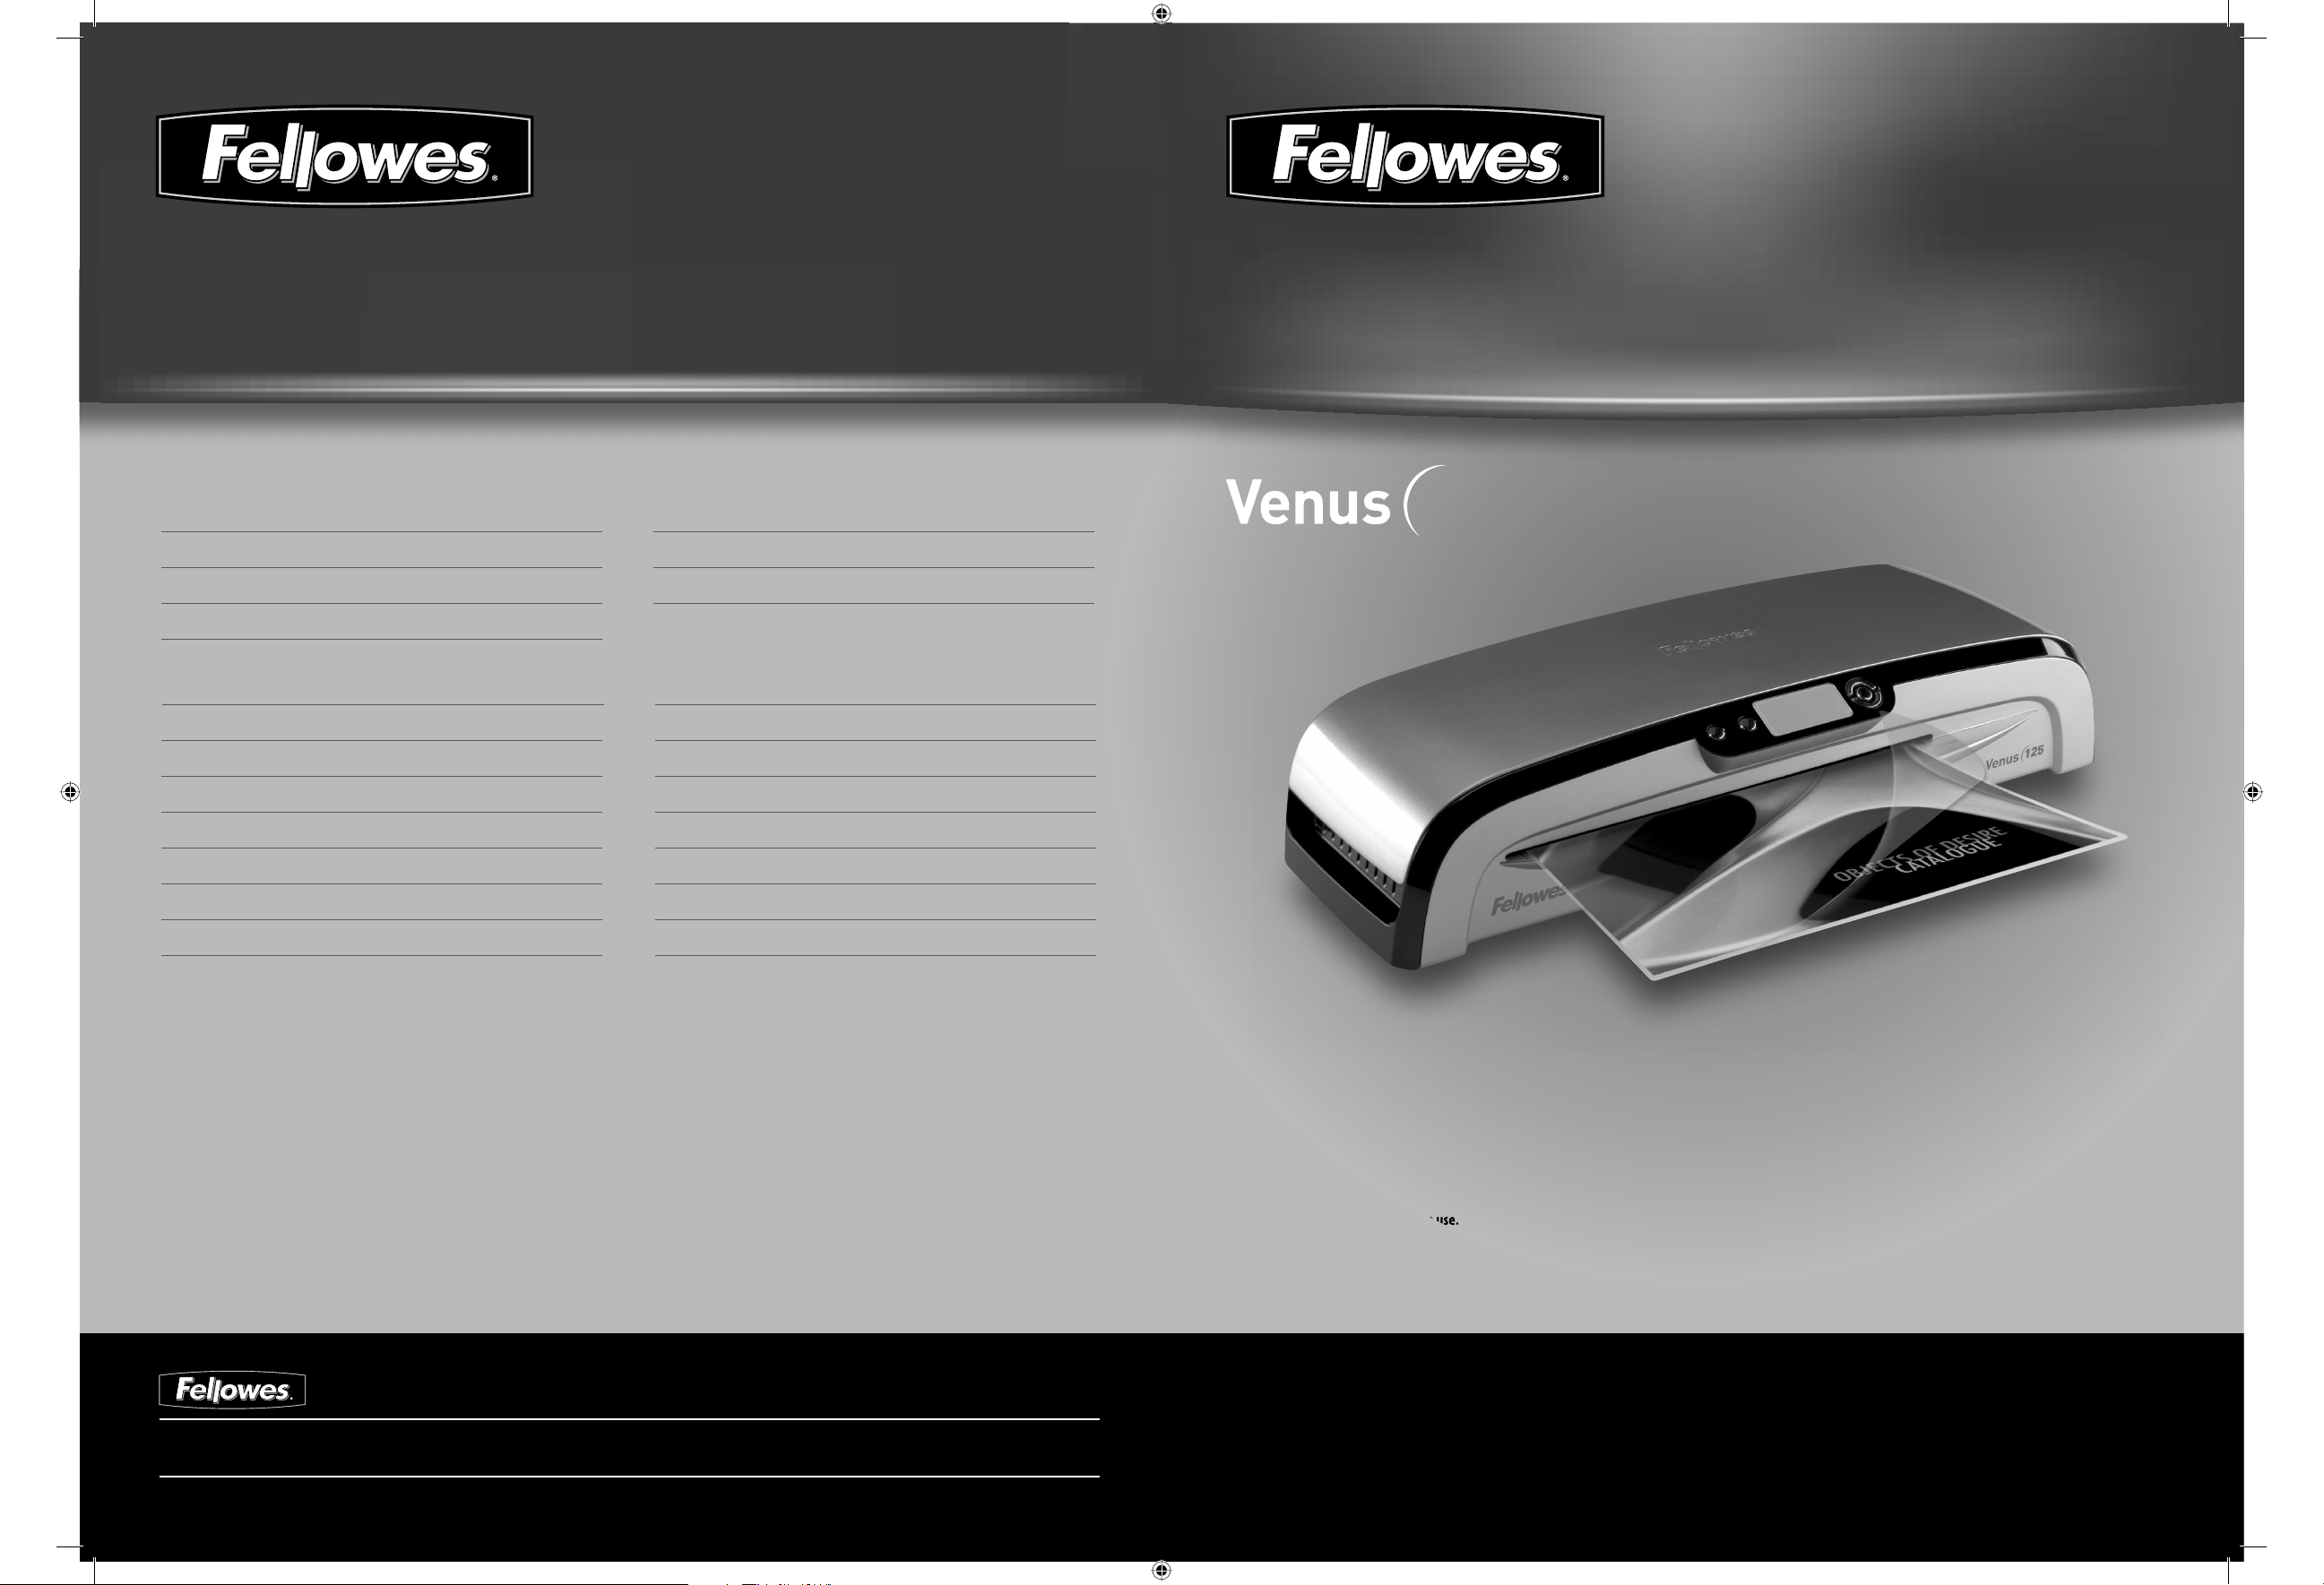
125125
Australia + 1-800-33-11-77
Australia + 61-3-8336-9700
Japan + 81-(0)-3-5496-2401
Veuillez lire ces instructions avant utilisation.
2006 Fellowes, Inc. Part No. 402103
402103.venus.110606_3L.PS.indd 8-Sec3:1402103.venus.110606_3L.PS.indd 8-Sec3:1 11/28/06 10:03:04 AM11/28/06 10:03:04 AM
Page 2
125
• The socket-outlet shall be installed near the equipment and
shall be easily accessible.
• To prevent electrical shock, do NOT use laminator close to
water and do NOT spill water on laminator, electric cord, or
wall socket.
• Do not leave electric cord in contact with a warm surface.
• Do not leave electric cord hanging from a cupboard or shelf.
• Do not use laminator if electric cord is damaged.
• Do not laminate metal objects.
• Only use pouches specifi cally designed for the lamination setting you intend to use.
• Always supervise children during laminator operation.
• Keep pets away from laminator while in use.
• Switch off and unplug laminator when not in use.
• Only open the laminator as explained under “Maintenance”. Do not open or attempt
to repair in any other way, as this could result in electric shock and will void your
warranty. Contact Customer Service if you have questions. Please note the warranty
does not apply in cases of abuse, mishandling or unauthorized repair.
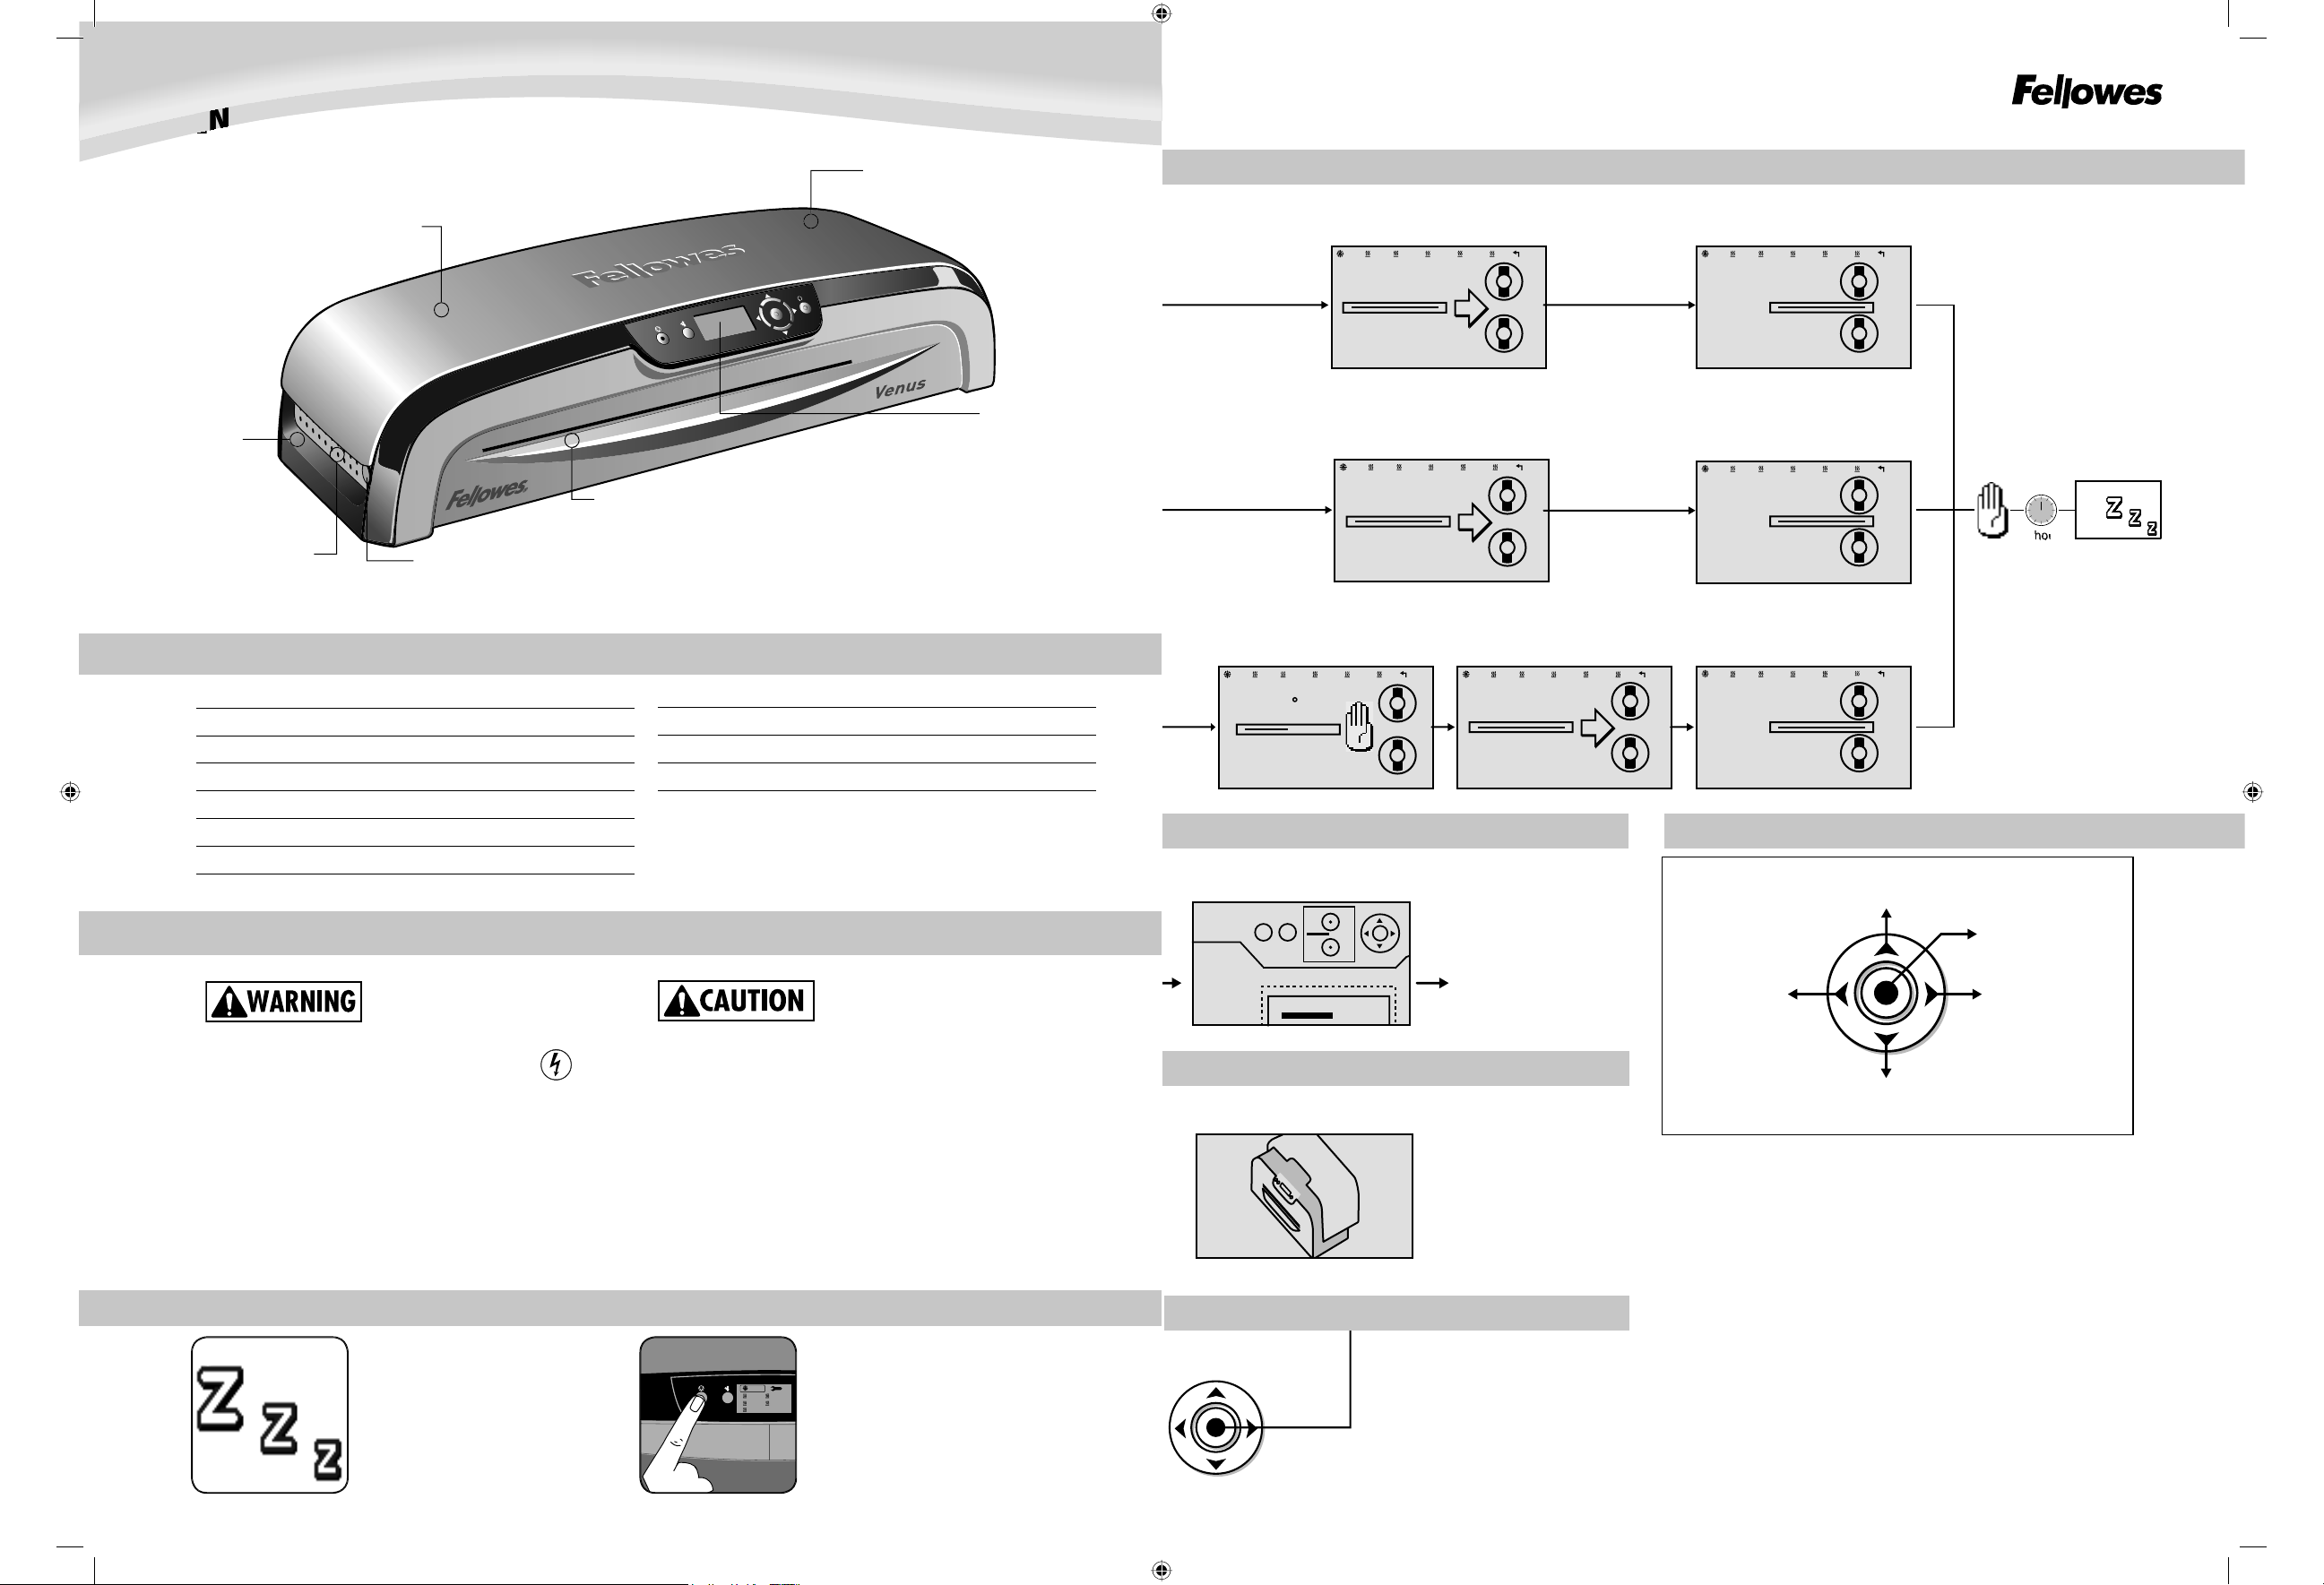
handles at side
Active Cooling System
Temperature controlled
release trigger for lid
Support Shelf on entry to
guide Laminate path
user guidance
insulation keeps heat inside
Opening lid to clean
laminating mechanism
CAPABILITIES
Approximate Cool-Down Time 60 Minutes
Maximum Width 12.5”
Voltage 120V
Max document thickness 1/32”
This laminator is equipped with an Auto shut-
off function. It will turn the laminator into
stand-by mode, if it has not been used for
over 60 minutes. The LCD screen will show
the sleep screen when in stand-by.
COLD
80
mic
100
mic
HELP? TEMP
??
175
mic
125
mic
To switch the laminator back on, simply press the
stand-by button at the left of the front operating
panel.
lamination. To do so, press down the reverse key.
This will eject the pouch back at the front entry.
Open Cover Animation
Ready Screen
Ready Screen
Forward Rolling Animation
Forward Rolling Animation
Forward Rolling Animation
Ready Screen
Increase number
Decrease number
Move Highlight
1 position down
Move Highlight
1 position up
Select the highlighted
element on the screen.
Warming Up Progress Bar
Return to the Main
Menu when animation
is complete.
Save
system settings.
Go to
Main Menu
COLD
80
mic
100
mic
125
mic
175
mic
???
EXIT
120
C
COLD
80
mic
100
mic
125
mic
175
mic
???
EXIT
COLD
80
mic
100
mic
125
mic
175
mic
???
EXIT
COLD
80
mic
100
mic
125
mic
175
mic
???
EXIT
1 hour
COLD
80
mic
100
mic
125
mic
175
mic
???
EXIT
COLD
80
mic
100
mic
125
mic
175
mic
???
EXIT
COLD
80
mic
100
mic
125
mic
175
mic
???
EXIT
CURSOR KEY
402103.venus.110606_3L.PS.indd Sec1:2-Sec7:7402103.venus.110606_3L.PS.indd Sec1:2-Sec7:7 11/28/06 10:03:10 AM11/28/06 10:03:10 AM
Page 3

RELEASE
COVER
Reverse Rolling Animation
Venus Laminator User Interface Display Illustrations
Manual Open Cool down AnimationJam Cool down Animation
Startup Screen
Show logo for 3 - 4 seconds
for startup before advancing
to the menu.
Cooling Down Progress BarPouch Selection Screen
Pouch Selection Screen
Pouch Selection Screen
C
old Lamination
Custom Temperature
Warming Up Progress Bar
EXIT
+2
-2
Select the
highlighted
element
on the screen.
EXIT
˚F mic
˚C
mil
EXIT
˚F
˚C mil
mic
EXIT
mic
mil
˚C
˚F
COLD
3
mil
4
mil
HELP? TEMP
??
5
mil
COLD
3
mil
4
mil
HELP? TEMP
??
7
mil
7
mil
5
mil
3
mil
4
mil
HELP? TEMP
??
7
mil
5
mil
3
mil
COLD
120
C
®
A
B
CE
D
A
B
CE
D
6
TROUBLESHOOTING
This sequence of display animations will play step by step in the background
when the laminator is not in use.
Select North America or European settings.
COLD LAMINATION STEPS
items to pass freely through
the machine.
at back of laminator.
of front operating panel to switch
4. Use navigation keys to select
setting for cold lamination
sealed edge; documents cannot be
(Enhance3 – Preserve10).
Select correct pouch size for
2. Switch laminator on with Power On /
3
COLD
80
mic
100
mic
HELP? TEMP
??
175
mic
125
mic
COLD
80
mic
100
mic
HELP? TEMP
??
175
mic
125
mic
4
CAUTION: Only use self-adhesive pouches when laminating with a cold setting.
sheet away from document.
and use the edge guide to centre it.
away.
6
• Always put item in a pouch. Never laminate an empty pouch.
• Trim excess pouch material from around your item after laminating and cooling.
• Before laminating valuable items, do a test run with an item similar in size and
thickness.
TIPS
• Do not laminate heat-sensitive documents (i.e., tickets, ultrasounds, etc.)
• Use a dry-erase marker for writing on laminated pouches.
402103.venus.110606_3L.PS.indd Sec6:6-Sec2:3402103.venus.110606_3L.PS.indd Sec6:6-Sec2:3 11/28/06 10:03:13 AM11/28/06 10:03:13 AM
Page 4

4
for 2 years from the date of purchase by the original consumer. If any part is found to be defec-
tive during the warranty period, your sole and exclusive remedy will be repair or replacement,
at Fellowes’ option and expense, of the defective part. This warranty does not apply in cases
of abuse, mishandling or unauthorized repair. ANY IMPLIED WARRANTY, INCLUDING THAT OF
MERCHANTABILITY OR FITNESS FOR A PARTICULAR PURPOSE, IS HEREBY LIMITED IN DURATION
TO THE APPROPRIATE WARRANTY PERIOD SET FORTH ABOVE. IN NO EVENT SHALL FELLOWES
this warranty. The duration, terms and conditions of this warranty are valid world-wide, except
where different limitations, restrictions or conditions may be required by local law. For more
details or to obtain services under this warranty, please contact us or your dealer.
in the laminator and the power
supply.
2
COLD
80
mic
100
mic
HELP? TEMP
??
175
mic
125
mic
3
COLD
80
mic
100
mic
HELP? TEMP
??
175
mic
125
mic
4
2. Switch laminator on with
of machine.
3. Press Stand-by button at
switch laminator on.
4. Use navigation keys to select
setting for the hot lamination
you wish to laminate.
COLD
80
mic
100
mic
HELP? TEMP
??
175
mic
125
mic
COLD
80
mic
100
mic
125
mic
175
mic
???
EXIT
6
COLD
80
mic
100
mic
125
mic
175
mic
???
EXIT
for temperature adjustment.
symbol will appear in the LCD
screen until the required tem-
7. One temperature is reached,
the selected setting will fl ash in
signal will sound and the roller
symbols will rotate.
wish to laminate. Place the item
inside the pouch and center it
against the sealed edge of the
a carrier when item is smaller
than the pouch.
0
into laminator entry. Keep pouch
straight and use the edge guide
to center it.
immediately remove laminated
item from back of machine. Let
item cool on fl at surface for
several seconds.
feed empty cleaning/carrier sheet
through machine to clean unit.
MAINTENANCE Unique Easi Access technology
MAINTENANCE - Unique Easi-Access technology
This laminator is equipped with the unique Easi-Access technology for easy maintenance. This allows the user to open the laminator for maintenance, just like a photocopier.
7. Please remember to re-secure
them to ensure safe operation.
“Open” button as shown in the illustra-
tion and wait for the “open” symbol to
appear on the LCD screen and the ready
2. Fans will turn on to cool the
temperature inside.
3. The “Open” symbol will show
in the LCD screen will turn on and
the ready beep will sound when
4. Press the buttons on both sides
of the machine to activate the Easi-
Access mechanism. (The laminator
active temperature control to work).
the rollers can be released by
experienced users. Press cam
5. Open the lid with both hands. You are
tor and carefully remove any residual glue
or other items. When laminator is opened,
power to internal parts is isolated, so that
TROUBLESHOOTING
Jamming
Cause
through Pouch/Document Entry.
Solution
Move laminator to a cool dry area.
All our laminators have been designed to operate jam-free.
The laminator can be opened to remove incorrectly inserted items
as described under Maintenance. Please ensure that you follow
the described steps. (See image 2)
Make sure that no residue is left
on the rollers and use
cleaning sheet before laminating.
Always put item in a pouch.
Align sealed edge with Pouch/Document Entry. Use guide to
center
Please call our experts at
Customer Service. You’ll fi nd
the numbers for your nearest
Service Centre on the
BACK cover of this booklet.
COLD
80
mic
100
mic
125
mic
175
mic
???
EXIT
242
1
7
5
1
2
5
8
0
1
0
0
3
1
7
5
1
2
5
80
1
0
0
6
402103.venus.110606_3L.PS.indd Sec4:4-Sec5:5402103.venus.110606_3L.PS.indd Sec4:4-Sec5:5 11/28/06 10:03:17 AM11/28/06 10:03:17 AM
 Loading...