

Page 1
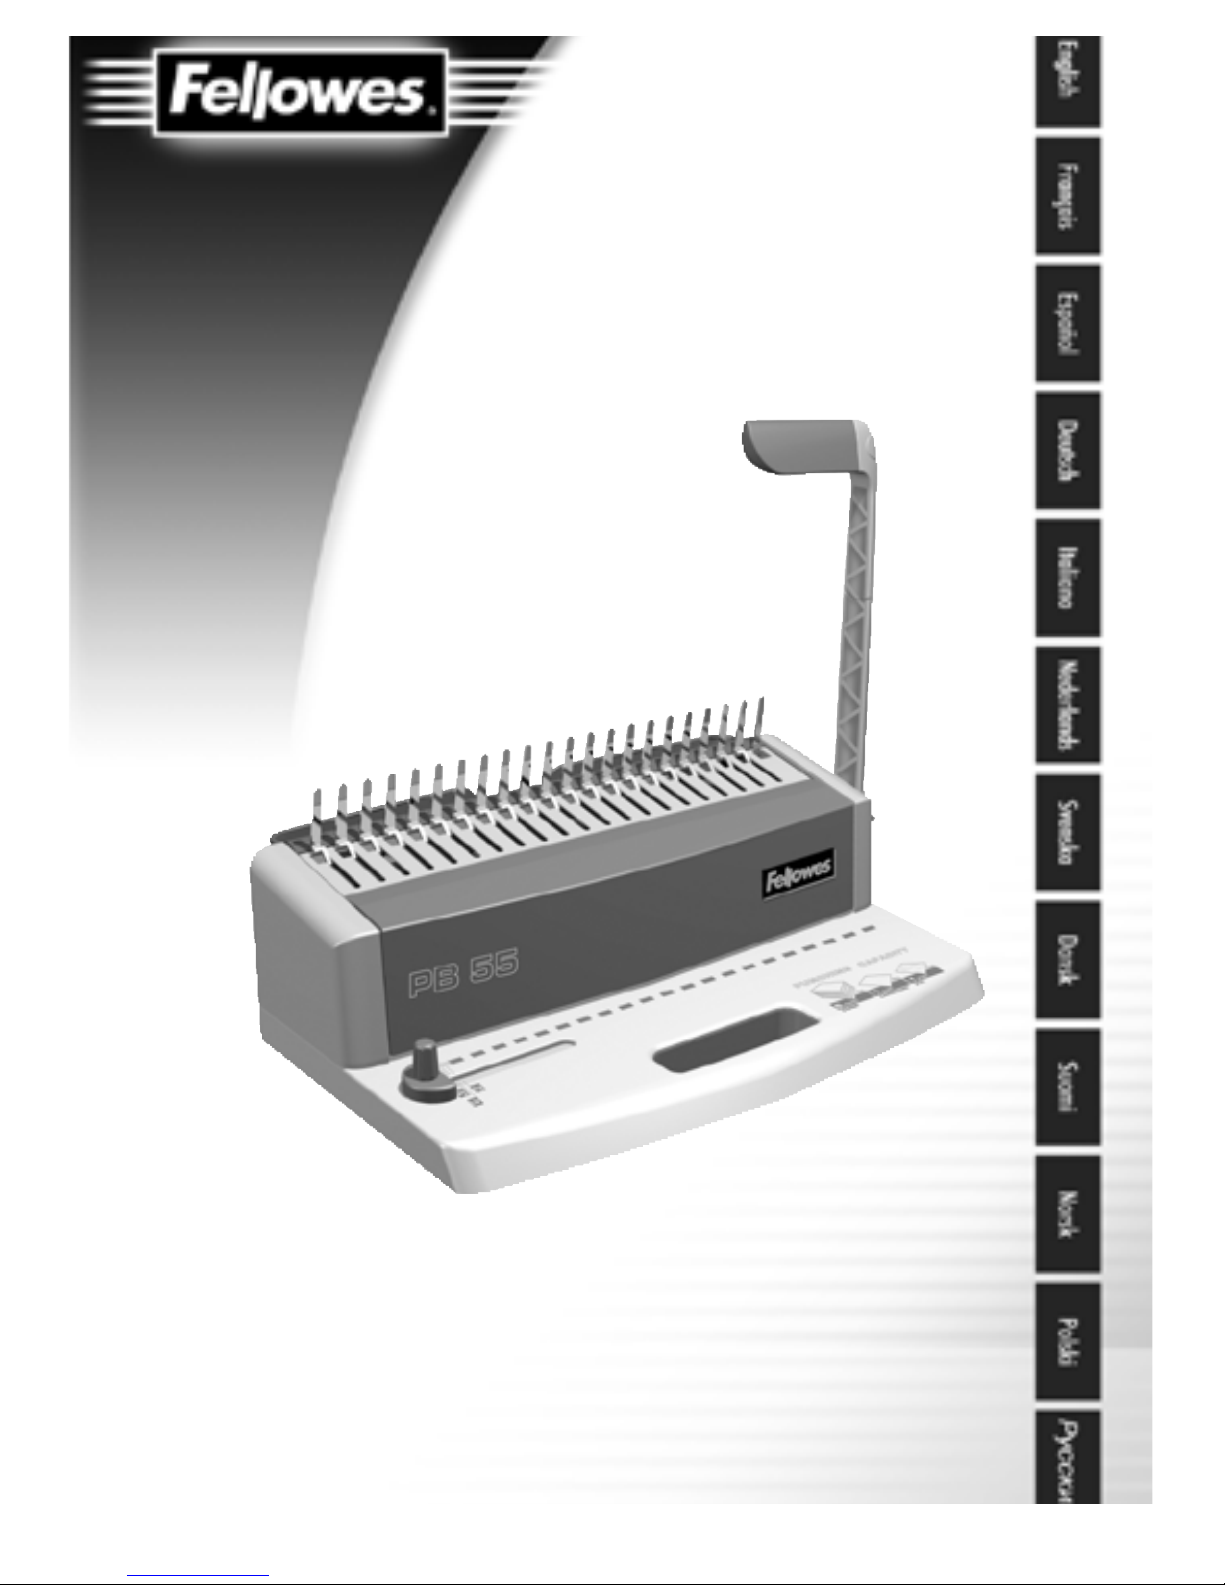
PB 55
Page 2
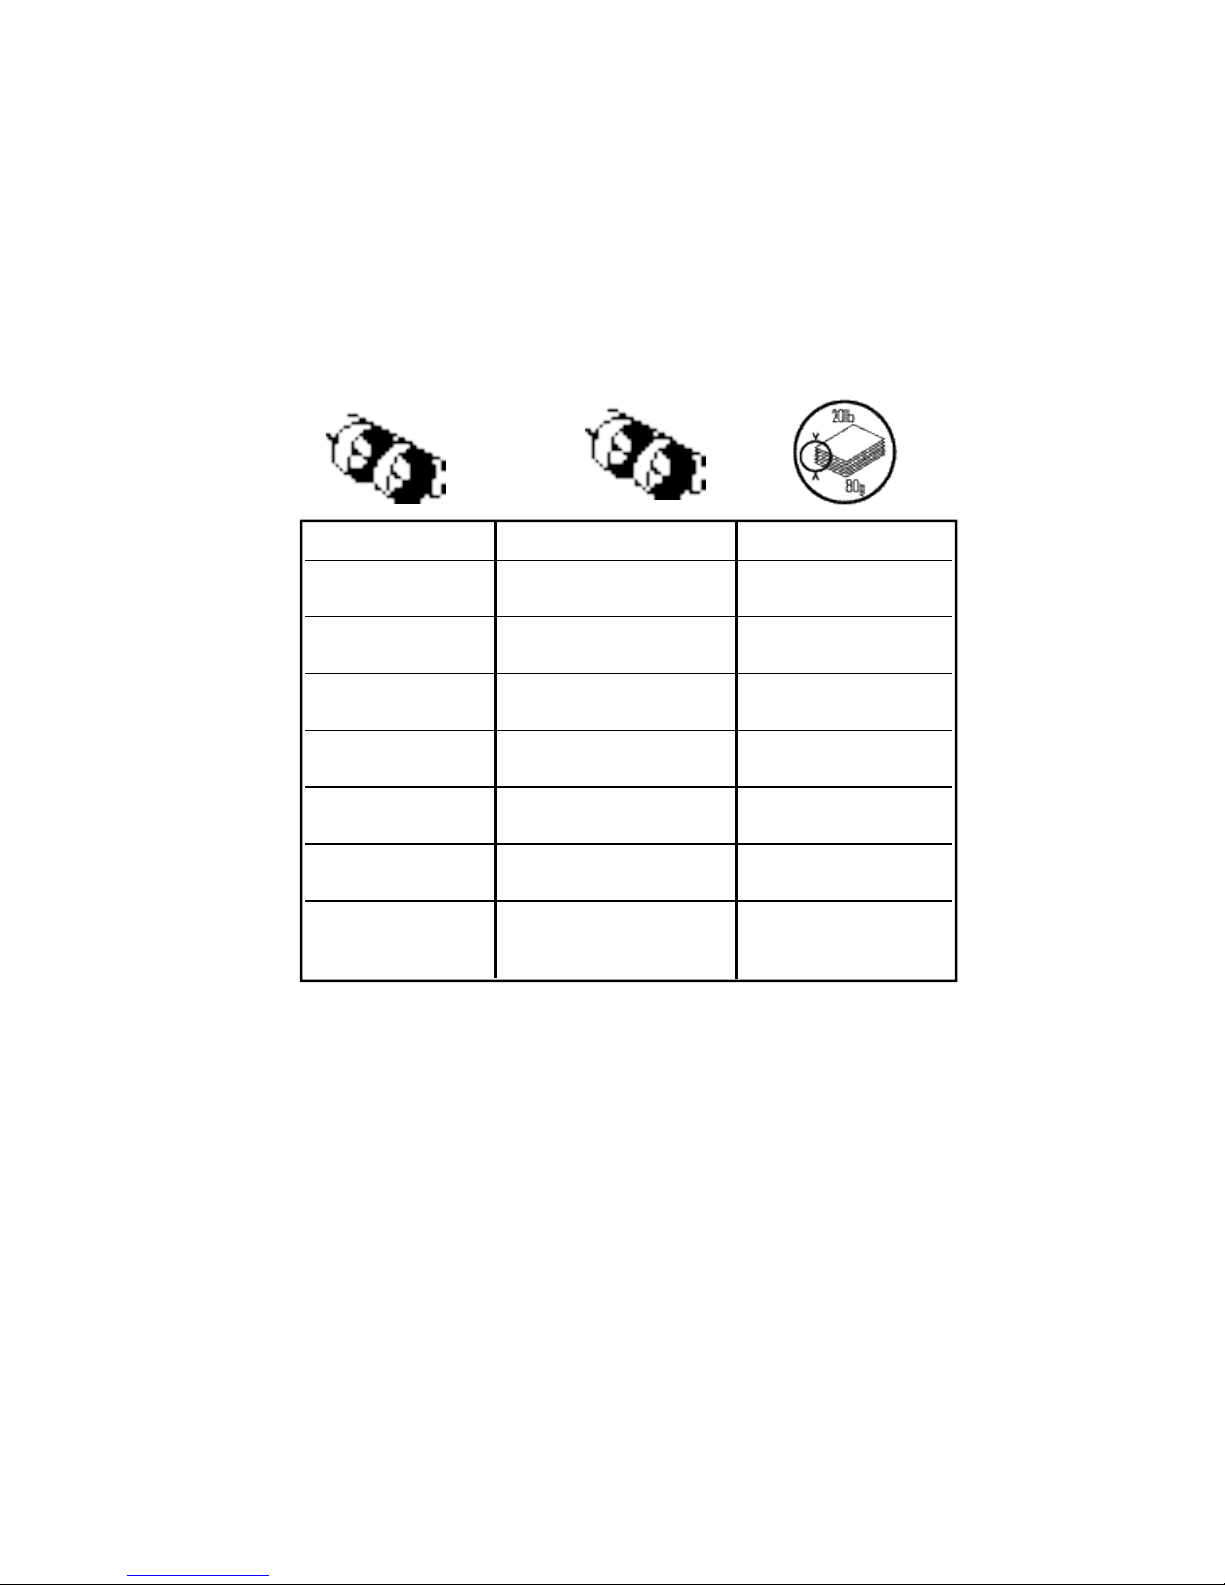
6 1/4" 1-20
8 5/16" 21-40
10 3/8" 41-55
12 1/2" 56-80
14 9/16" 81-100
16 5/8" 101-120
18 3/4" 121-150
22 7/8" 151-180
mm
Inch
Page 3
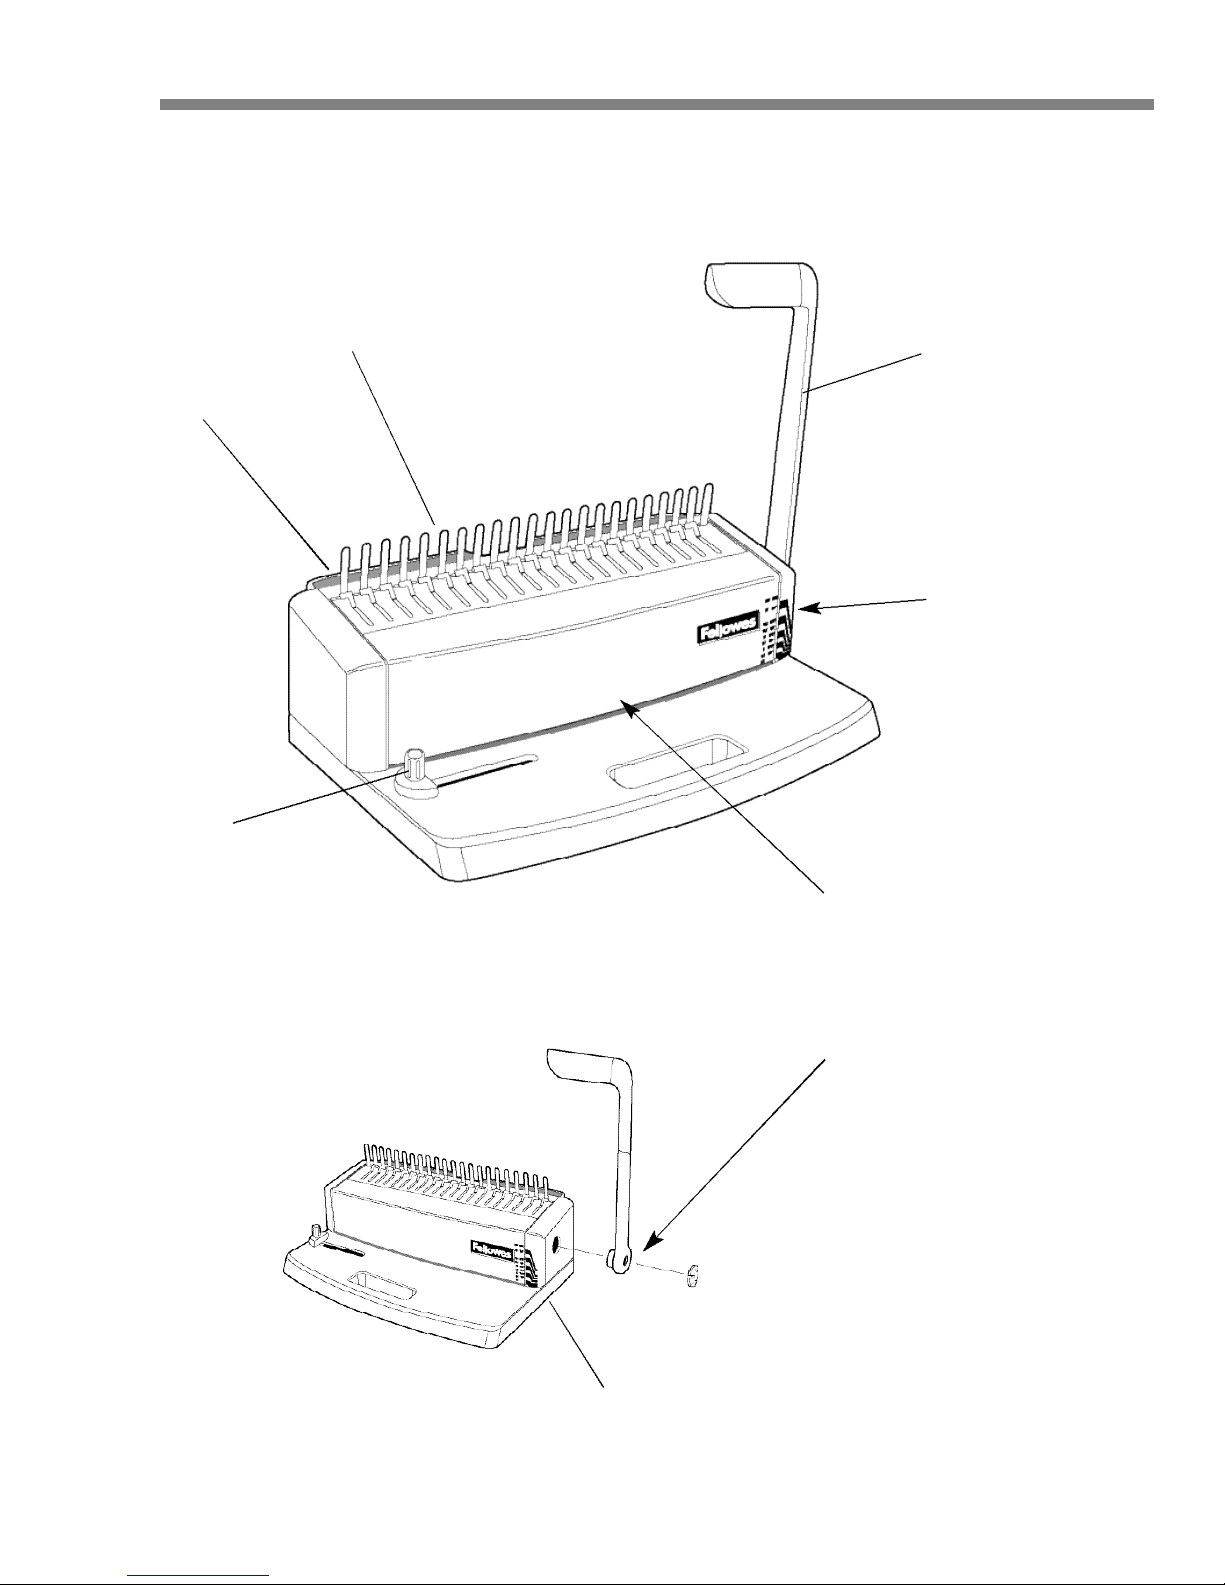
!
"
#
$
%
&
'
(
Page 4

2
C o n t e n t s
Product Profile . . . . . . . . . . . . . . . . . . . . . . . . . . . . . . . . . . . . . . . . . . . . . . . . . . . . .3
Safety Instructions . . . . . . . . . . . . . . . . . . . . . . . . . . . . . . . . . . . . . . . . . . . . . . . . . .3
Set-up . . . . . . . . . . . . . . . . . . . . . . . . . . . . . . . . . . . . . . . . . . . . . . . . . . . . . . . . . .3
Operation . . . . . . . . . . . . . . . . . . . . . . . . . . . . . . . . . . . . . . . . . . . . . . . . . . . . . . .4
Maintenance . . . . . . . . . . . . . . . . . . . . . . . . . . . . . . . . . . . . . . . . . . . . . . . . . . . . . .5
Troubleshooting . . . . . . . . . . . . . . . . . . . . . . . . . . . . . . . . . . . . . . . . . . . . . . . . . . .5
Customer Service . . . . . . . . . . . . . . . . . . . . . . . . . . . . . . . . . . . . . . . . . . . . . . . . . .6
Limited Warranty . . . . . . . . . . . . . . . . . . . . . . . . . . . . . . . . . . . . . . . . . . . . . . . . . . .6
Dear Customer,
Thank you for buying a Fellowes plastic comb binding machine. This
product represents a new generation of binding machines, a line of
products offering you not only greater operating capacity, but many
additional time-saving and ergonomic features as well. We are confident that it provides the greatest value for your money in its product category today.
To ensure your binding machine enjoys a long, pro d u c t i ve life,
I hope you take the time to read the few pages of this manual.
If you have any questions or wish to comment on this product, we welcome your call, email or letter.
Sincerely,
James Fellowes
Chairman & CEO
Page 5
3
Product Pr o f i l e
The Little One is what we call the PB 55. Although it is the smallest plastic comb
binder in the product family, we think you’ll find it a very hard worker. With its
powerful lever and ergonomic design, the PB 55 can help you to create professional-looking documents almost effortlessly – and for many years to come.
It also has considerably
more capacity
, so that you can work faster and
produce longer documents if you need to:
O V E R V I E W PB 55
Punching Capacity
– P aper sheets
80 gram 8
20 lb (70-75 gram) 9
–All standard covers
1
Binding Capacity
–Comb size
mm 22
inches 7/8
–Document length (pages)
180
And there’s another
little extra
: A built-in comb storage bin "at the back, so you can keep your
supplies handy, yet out of the way.
To
get the most
out of your binder, we recommend that you always operate it within its rated punching capacity. While you may be able to fit in more sheets than this, it is likely to jam the machine,
which over time will shorten its useful life. In addition, if your machine jams frequently when you are
using it at capacity, it could be a result of unusually high humidity or otherwise heavier than normal
paper. Putting in a little less should produce better results.
Safety Instructions
To prevent accidents, always:
• Remove staples and other metal from your sheets before punching, and
• Make sure the lever $is lowered when not in use in order to avoid bumping or catching your arm.
Also, never try to open or otherwise repair your machine.
S e t - u p
To get your machine ready for use, you need to first put on the lever $. Using the illustration on the
inside of the manual cover as a reference, attach the lever $to the side of the machine with the
screw provided.
Page 6
4
O p e r a t i o n
Before binding the first document, you should punch several sheets of scrap paper to remove any
factory-applied
g r e a s e
that might remain on the cutting dies. To do this, follow the
standard punching
p r o c e d u r e
:
• Raise the lever $to a vertical position
• Make your sheets into a neat stack
• Slide the stack into the comb-punch entry
(
• Tap the stack gently into the entry and against the edge guide 'on the left
• Pull the lever $toward the front of the machine and press down firmly
• Raise it back to a vertical position and remove the paper.
Repeat this a few times until the edges of the holes are clean. The machine is now
ready for use
.
The first step in comb-binding is to prepare the machine to accommodate your
document’s length and size:
1 .
Select the comb.
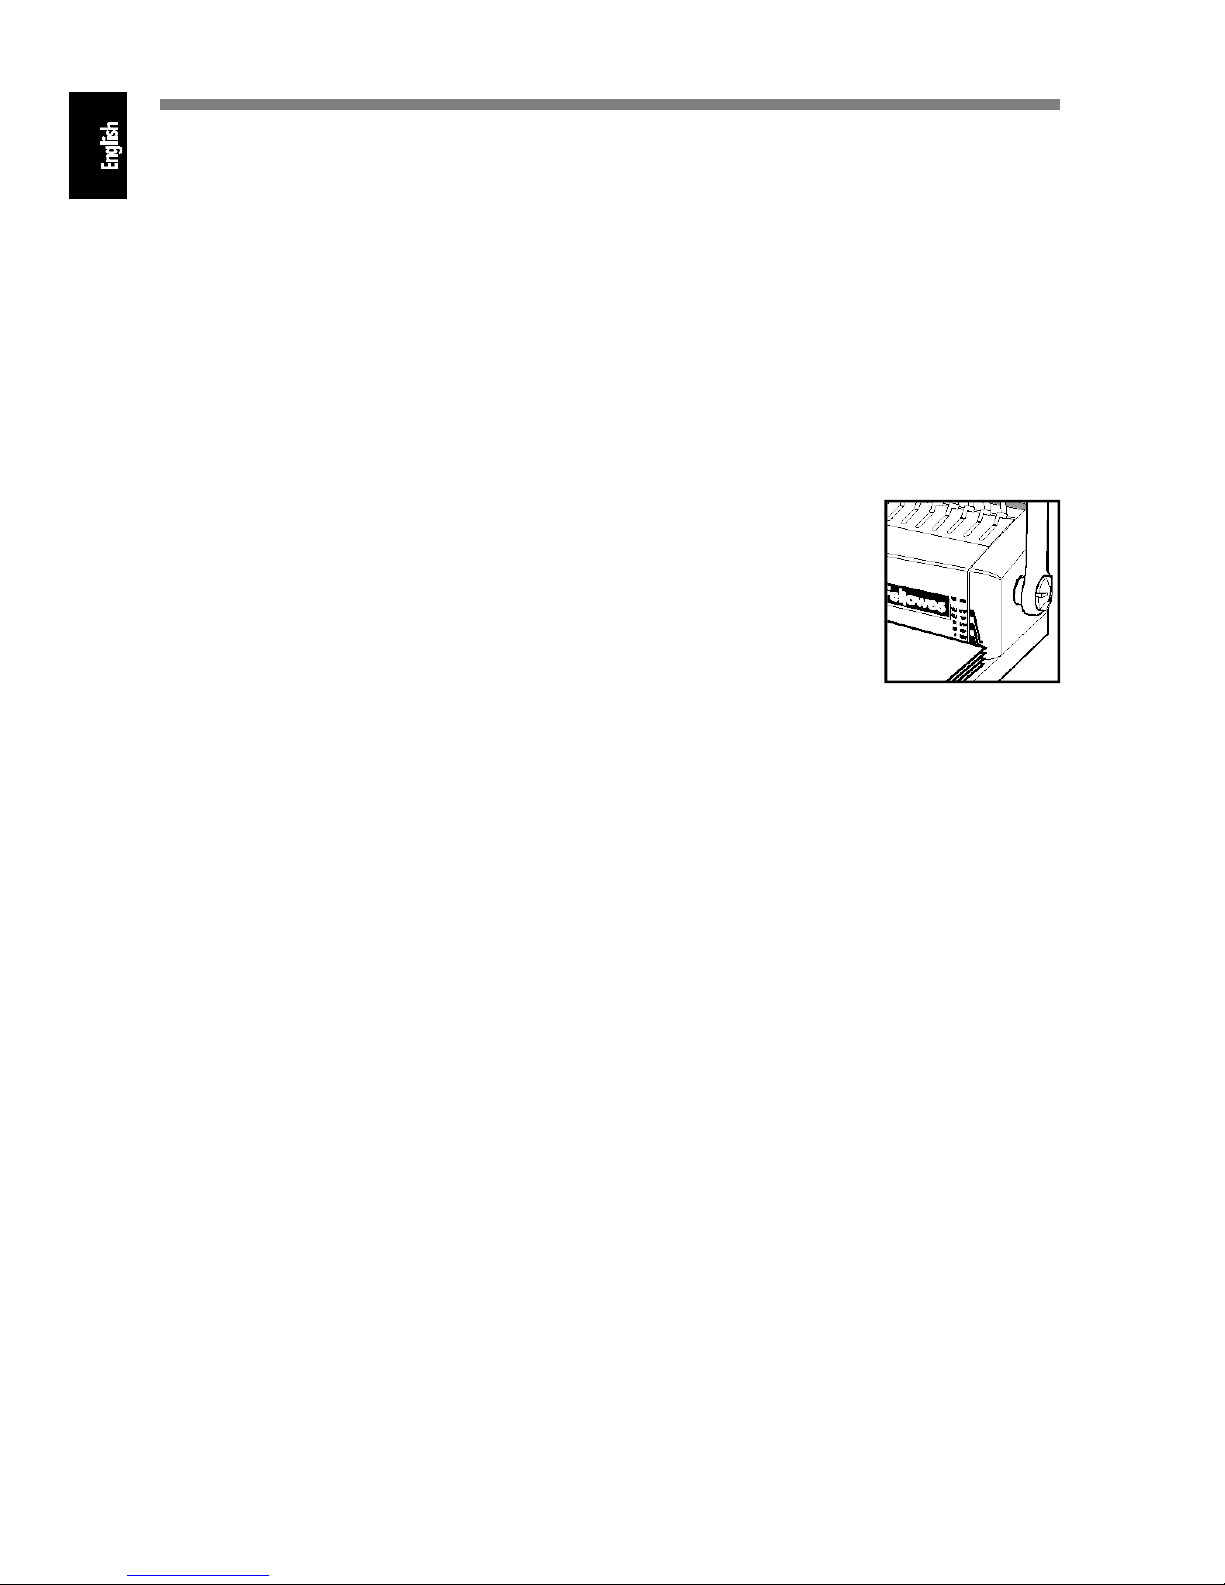
As shown, lay the stacked document, including covers, on the
machine where you see a ruler %calibrated from 6 to 22 mm (1/4” to 7/8”).
The right comb size will be the first one visible above the document. If the document is on the border between two comb sizes, it’s generally better to choose the
larger size.
2 .
Adjust centering of document,
if necessary. Your machine is factory-set to punch
holes in the document size(s) most common to your geographic region, but if your sheets are somewhat larger or smaller, you may need to adjust the centering somewhat. Put in a sheet of scrap paper
of the same size and punch it, following the standard procedure (p. 4). If the row of holes is not centered along the document edge, loosen the thumbscrew of the edge guide 'and slide it a little in one
direction or the other, as necessary, and retest. When you are satisfied with the centering, tighten the
thumbscrew to fix the position. (Note: Although a range of document sizes is marked on your machine,
yours will punch only the size(s) of your particular region.)
Now you are ready to do your
p u n c h i n g
, which you can combine with ordering your document.
Following the standard punching procedure:
• Punch the front cover and lay it face down next to the machine
• Punch the document in batches of no more than 8 sheets, laying them face down on top of the front
c o v e r, and
• Punch the back cover, laying it on top of the last page.
When you have finished punching the document, then:
•
Open the comb.
Position the comb behind the rake #with the comb opening toward the top. Pu s h
the comb firmly down between the rake teeth and push the lever $toward the back of the machine,
releasing it when the comb teeth have uncurled enough to allow easy insertion of the document. (If
pushing the lever $does not uncurl the comb, you need to turn it over. )
•
Insert the document.
Turn over the stacked document and insert the front cover into the comb.
(The front cover should be first so that the comb opening is hidden at the back.) Then, taking as many
sheets as you can reasonably handle, line up the holes and insert them into the comb, putting in the
back cover last.
•
Close the comb.
Simply pull the lever $toward you, back to its original vertical position, and lift out
the finished bound document.
Page 7

5
If you try to punch in batches of more than 8 sheets or 1 cover, you may cause your machine to
j a m
. If
this happens, you will not be able to push the lever $completely down to the horizontal position. To
avoid damaging your machine,
do not tear out sheets
in an effort to clear the jam. This will clog the
cutting area with paper and probably make a repair necessary. Instead, raise the lever $back up and
lower it with as much strength as you can, repeating this until you have cut through all of the sheets.
M a i n t e n a n c e
Strictly speaking, there is no maintenance required for your machine except occasionally wiping it off
with a soft cloth dampened with plain water. You can, however, help extend its life if you always:
• Make sure documents and covers are clean and free of metal, and
• Empty the waste drawer ®ularly to prevent debris from interfering with the dies.
Troubleshooting
If you experience a problem with your machine, you may be able to solve it quickly yourself:
•
Stuck lever$.
Your machine is jammed, most likely due to punching too many sheets at one time. Do
not try to tear out the document. Follow the jam-clearing procedure described under O p e r a t i o n.
•
Partial last hole.
Sheets are not perfectly aligned. Adjust the centering of your document, as
described under O p e r a t i o n.
•
Punch holes not parallel to edge.
Debris is stuck below the dies. Take a ruler or stiff cardboard and
slide it into the comb-punch entry (, moving it back and forth to release cuttings into the waste drawer
&
.
•
Damaged hole edges.
You may be trying to punch too many sheets at one time. Reduce the number
of sheets per batch.
If these measures do not solve the problem, please contact us through one of the many channels listed
under Customer Service.
SAFETY REMINDER :
Do not attempt to repair your machine.
Page 8

6
Customer Service
We offer a
toll-free help line
for customers living in the United States, Canada, Mexico and
Australia. If you live outside these regions or are otherwise unable to use our help line, please
call the Fellowes location nearest you, send a letter or email, or contact your local dealer. All of
our customer service phone numbers and other points of contact are listed on the back of this
manual.
Limited Wa r r a n t y
Fellowes, Inc. warrants all parts of the machine to be free of defects in material and workmanship for
1 year
from the date of purchase by the original consumer. If any part is found to be
defective during the warranty period, your sole and exclusive remedy will be repair or replacement, at Fellowes’ option and expense, of the defective part.
This warranty does not apply in cases of abuse, mishandling or unauthorized repair.
ANY IMPLIED WARRANTY, INCLUDING THAT OF MERCHANTABILITY OR FITNESS FOR A
PARTICULAR PURPOSE, IS HEREBY LIMITED IN DURATION TO THE APPROPRIATE WARRANTY
PERIOD SET FORTH ABOVE. IN NO EVENT SHALL FELLOWES BE LIABLE FOR ANY
CONSEQUENTIAL OR INCIDENTAL DAMAGES ATTRIBUTABLE TO THIS PRODUCT.
This warranty gives you specific legal rights. You may have other legal rights that vary from this
warranty. The duration, terms and conditions of this warranty are valid worldwide, except where
different limitations, restrictions or conditions may be imposed by local law.
For service under this warranty, please contact us (see back cover) or your dealer.
Page 9

Help Line
Australia + 1-800-33-11-77
Canada + 1-800-665-4339
México + 1-800-234-1185
United States + 1-800-955-0959
F e l l o w e s
Australia + 61-3-8336-9700
Benelux + 31-(0)-347-377988
Canada + 1-905-475-6320
Deutschland + 49-(0)-5131-49770
France + 33-(0)-1-30-06-86-80
Italia + 39-(0)-71-730041
Japan + 81-(0)-3-5496-2401
Korea + 82-(0)-2-3462-2884
Malaysia + 60-(0)-35122-1231
Polska + 48-(0)-22-837-7356
Singapore + 65-6221-3811
United Kingdom + 44-(0)-1302-836836
www.fellowes.com
© 2003 Fellowes, Inc. Printed in China. Form No. 400405D
 Loading...