

Fantasea EyeDaptor FXF80, EyeDaptor F67, EyeDaptor FXF100, EyeDaptor FXF200, EyeDaptor FXF200-F67 Instruction Manual
EyeDaptor FXF80/100/200-F67 Instruction Manual
Fantasea EyeDaptor FXF80/100/200-F67
(Cat. No. 4706)
Instruction Manual
The EyeDaptor FXF80/100/200-F67 enables mounting accessory
lenses and filters with a 67mm thread mount on the FujiFilm WPFXF80, WP-FXF100 and WP-FXF200 housings.
Mounting Lens Accessories with a 67mm Thread Mount on the
FujiFilm WP-FXF80/100/200 Housing
1. Please use the utmost care and do not use excessive force when assembling and
disassembling the different lens accessories, in order not to cause any damage to
the products.
2. Attach the secure line to the adaptor and the housing, in order to secure the lens
and adaptor to the housing.
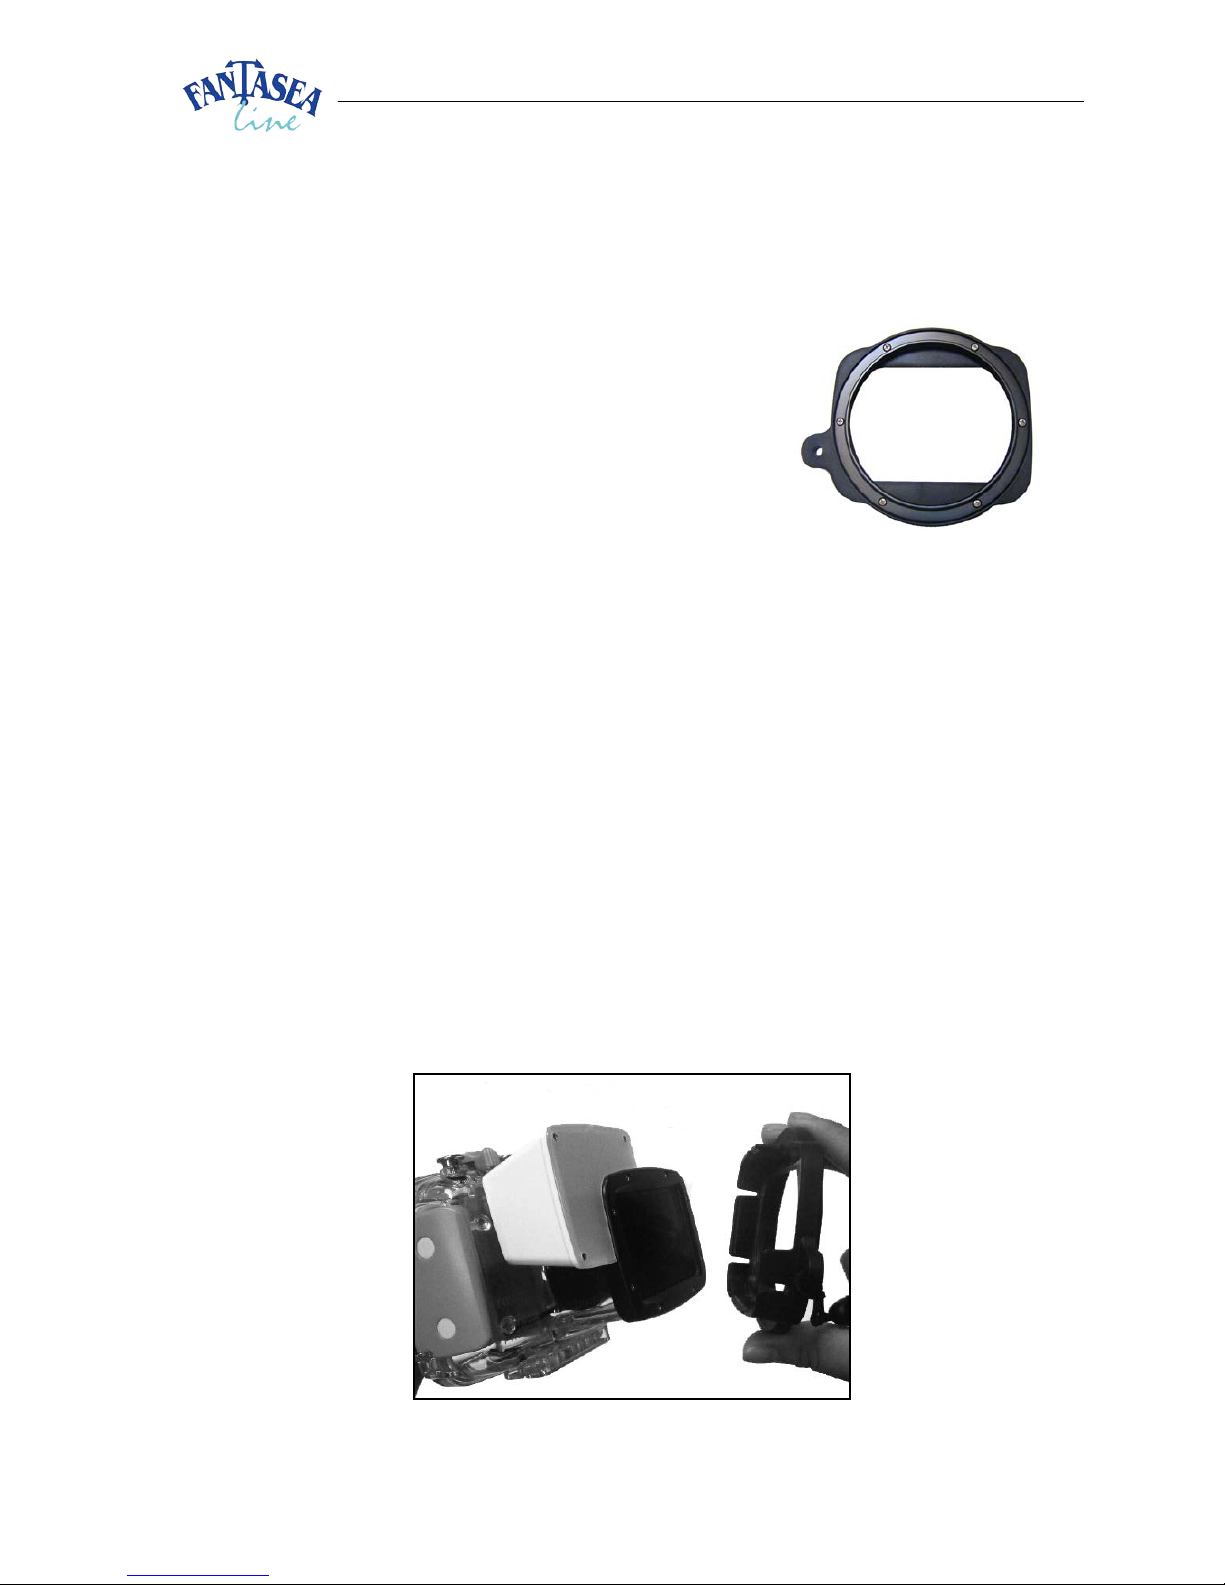
3. Install the EyeDaptor FXF80/100/200-F67 by attaching it to the housing lens port.
Prior to installing the adaptor, make sure you are holding it according to the shape
of the lens port, so the gap designed on the lens adaptor corresponds with the
housing built-in flash diffuser (image A). To install the adaptor, push it against the
lens port starting from the bottom right corner (when facing the housing) and
proceeding towards the top left corner, where the housing built-in flash diffuser is
located. After adaptor installation, make sure it is properly attached by gently trying
to pull it out. If properly installed, the adaptor should not easily come off the lens
port.
Image A
EyeDaptor FXF80/100/200-F67 Instruction Manual
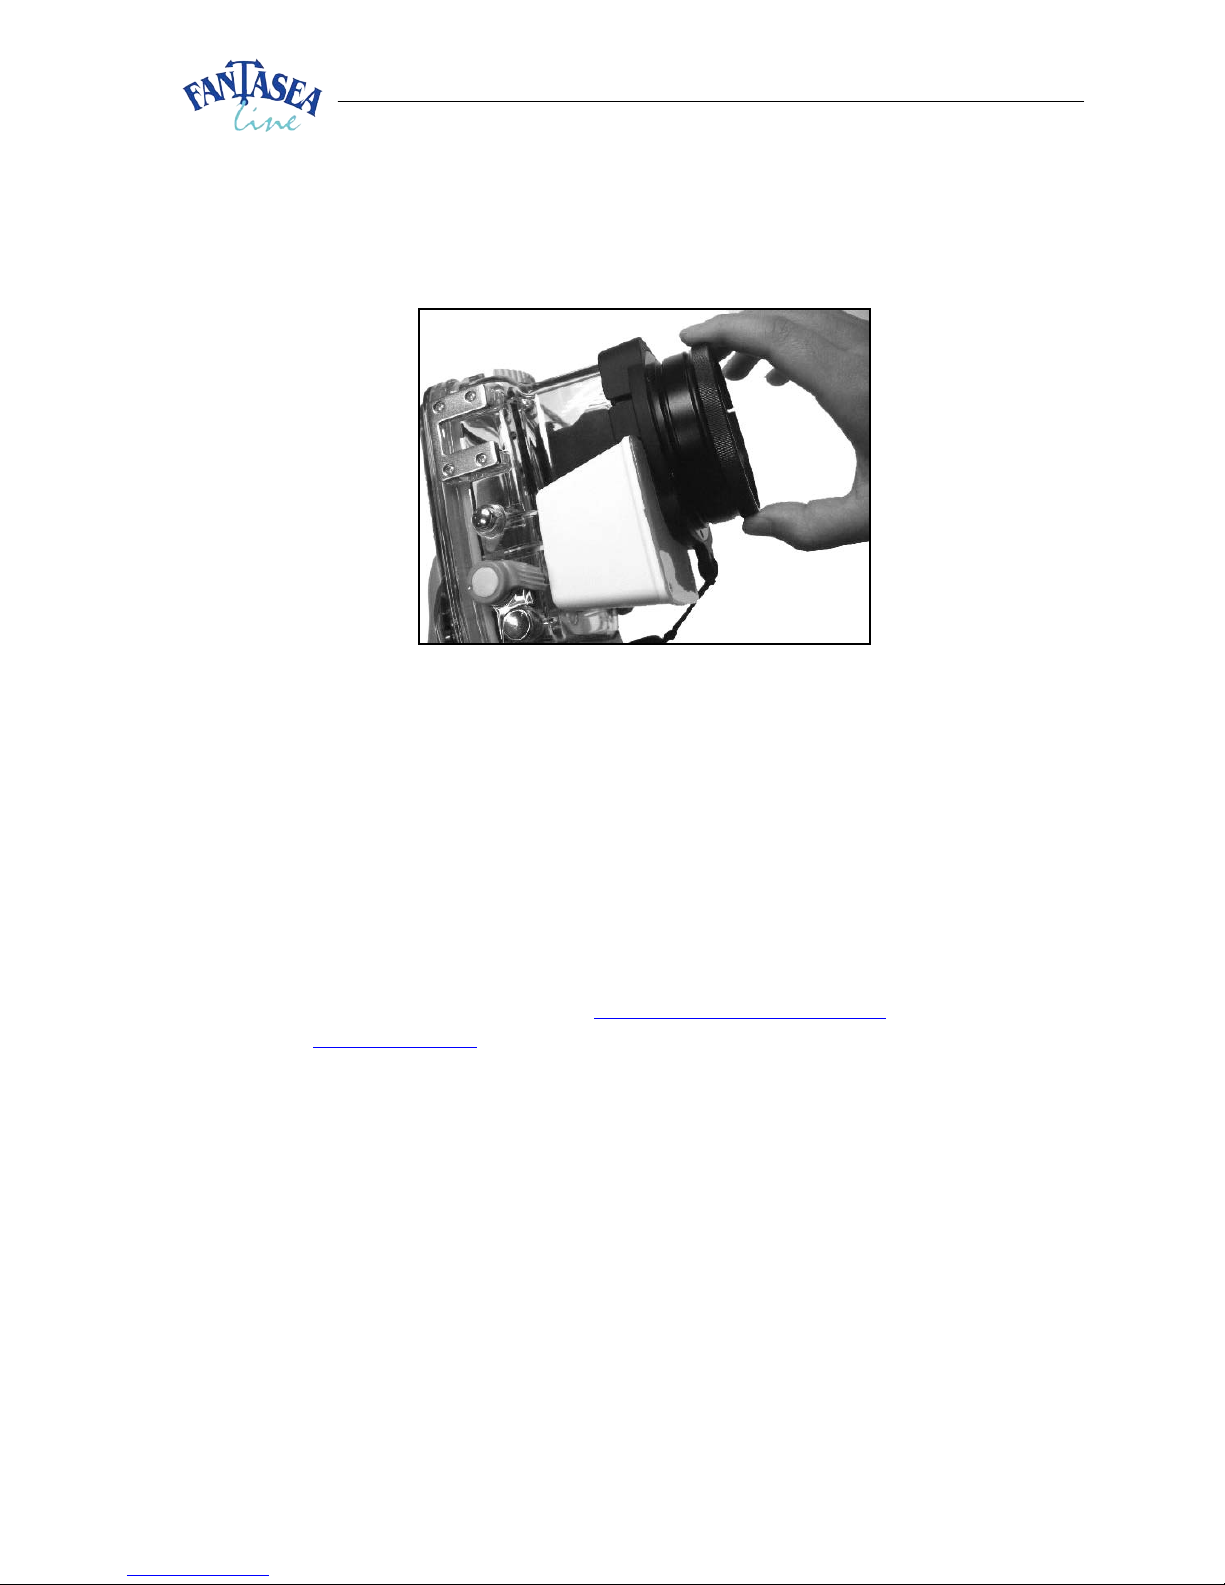
4. During the dive, install the 67mm threaded accessory lens on the thread of the
EyeDaptor FXF80/100/200-F67 by gently screwing it in (image B). The accessory lens
can be installed and removed during the course of the dive.
5. After the dive, detach the accessory lens and adaptor from the housing lens port and
rinse all lens components in fresh water. In order to remove the adaptor from the
housing lens port, gently push it off, starting from the secure line loop on the right
side of it, using your thumb in an outward direction.
6. Dry and store in a safe protected place.
For further information please contact us at
http://www.fantasea.com/contact or visit our
website at
www.fantasea.com.
Image B
 Loading...