

Page 1
T100472 Ref. 2
G1808X, G1838X, G1848X
DEEP FAT FRYERS
USERS INSTRUCTIONS
SECTION 1 - GENERAL DESCRIPTION
SECTION 2 - LIGHTING and OPERATIONS
SECTION 3 - COOKING HINTS
SECTION 4 - CLEANING and MAINTENANCE
These appliances have been CE-marked on the basis of compliance with the Gas Appliance Directive
for the Countries, Gas Types and Pressures as stated on the Data Plate.
These appliances MUST BE installed by a competent person in compliance with the INSTALLATION AND
SERVICING INSTRUCTIONS and National Regulations in force at the time. Particular attention MUST be paid
to the following:
Gas Safety (Installation & Use) Regulations
Health and Safety at Work Act
Furthermore, if a need arises to convert the unit for use with another gas, a competent person must be
consulted. Those parts which have been protected by the manufacturer MUST NOT be adjusted by the User.
Users should be conversant with the appropriate provisions of the Fire Precautions Act and the requirements of
the Gas Safety Regulations. in particular the need for regular servicing by a competent person to ensure the
continued safe and efficient performance of the Appliance.
Upon receipt of the User's Instruction manual, the installer should instruct the responsible person(s) of the
correct operation and maintenance of the appliance.
This equipment is ONLY FOR PROFESSIONAL USE, and shall be operated by QUALIFIED persons. It is the
responsibility of the Supervisor or equivalent to ensure that users wear SUITABLE PROTECTIVE CLOTHING
and to draw attention to the fact that, some parts will, by necessity, become VERY HOT and will cause burns if
touched accidentally.
PREVENTATIVE MAINTENANCE CONTRACT
In order to obtain maximum performance from this unit we would recommend that a Maintenance Contract be
arranged with AFE SERVICELINE. Visits may then be made at agreed intervals to carry out adjustments and
repairs. A quotation will be given upon request to the contact numbers below.
Falcon Foodservice Equipment
HEAD OFFICE AND WORKS
Wallace View, Hillfoots Road, Stirling. FK9 5PY. Scotland
SERVICELINE CONTACT -
PHONE - 01438 363 000 FAX - 01438 369 900
Page 2
SECTION 1 - GENERAL DESCRIPTION
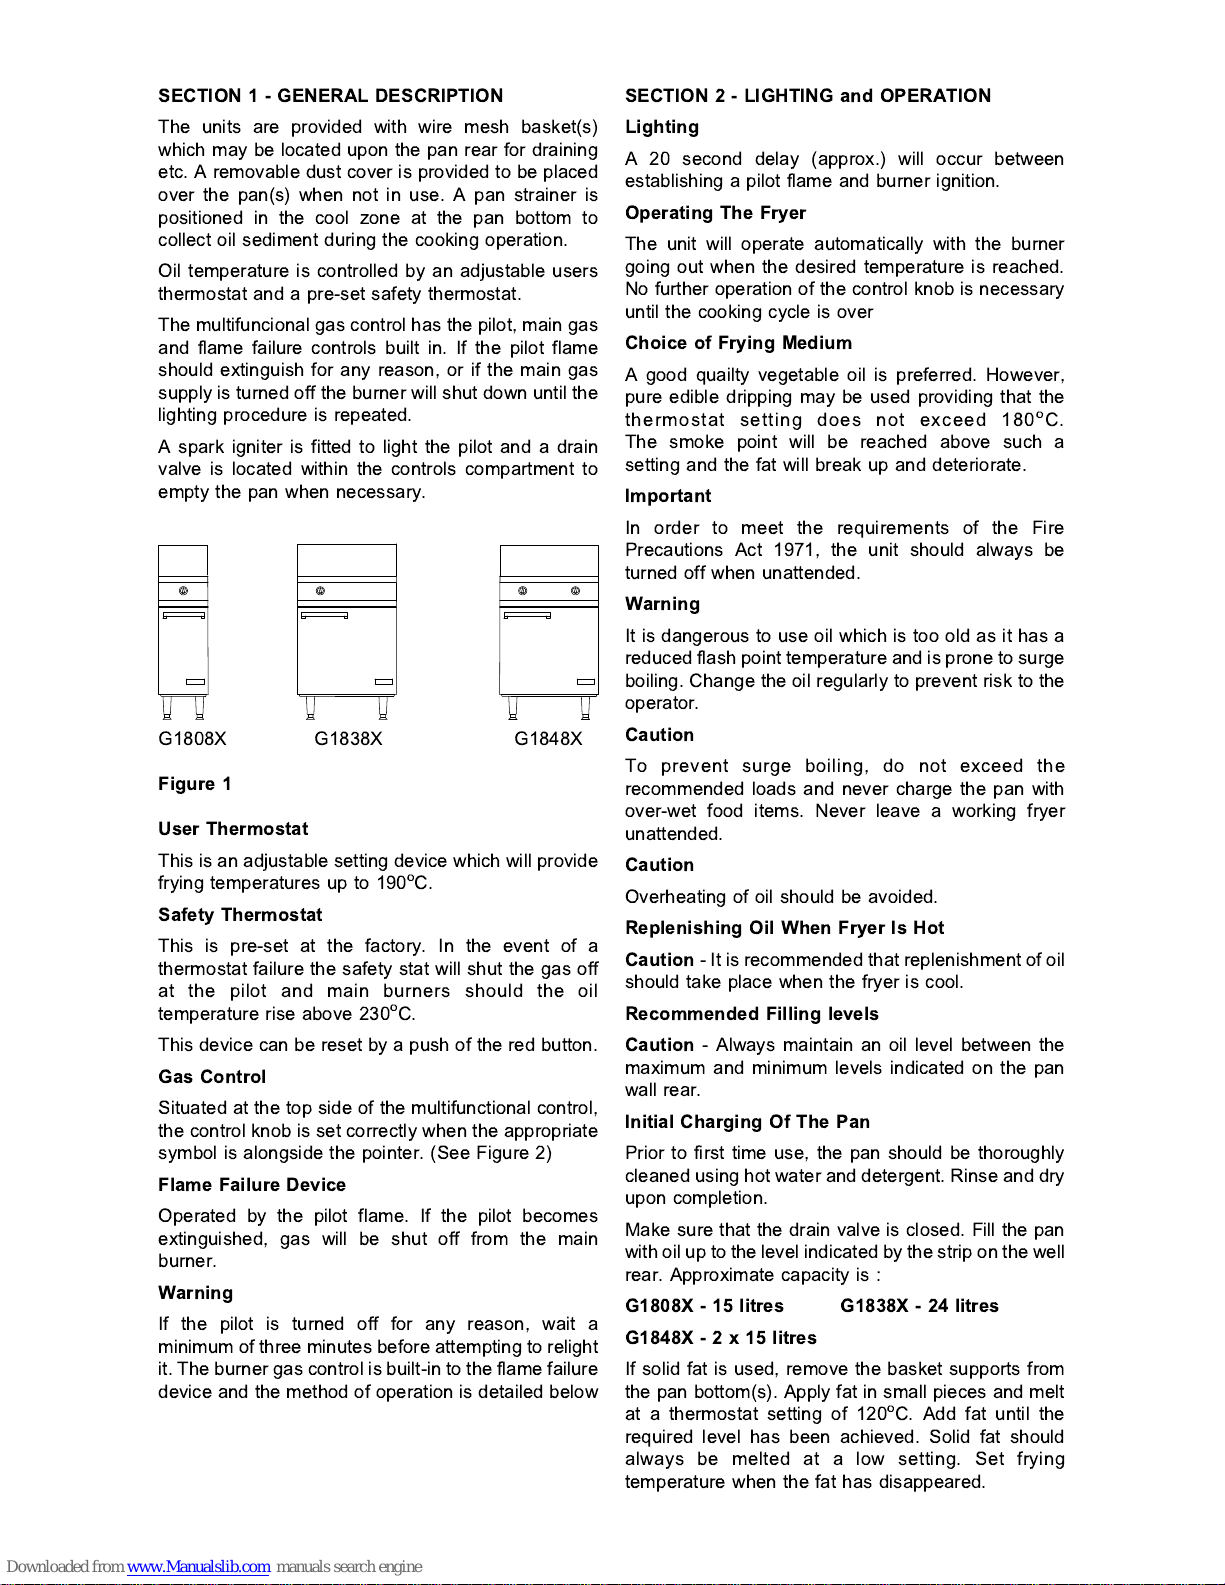
The units are provided with wire mesh basket(s)
which may be located upon the pan rear for draining
etc. A removable dust cover is provided to be placed
over the pan(s) when not in use. A pan strainer is
positioned in the cool zone at the pan bottom to
collect oil sediment during the cooking operation.
Oil temperature is controlled by an adjustable users
thermostat and a pre-set safety thermostat.
The multifuncional gas control has the pilot, main gas
and flame failure controls built in. If the pilot flame
should extinguish for any reason, or if the main gas
supply is turned off the burner will shut down until the
lighting pro cedure is repeated.
A spark igniter is fitted to light the pilot and a drain
valve is located within the controls compartment to
empty the pan when necessary.
G1808X G1838X G1848X
Figure 1
User Thermostat
This is an adjustable setting device which will provide
frying temperatures up to 190
o
C.
Safety Thermostat
This is pre-set at the factory. In the event of a
thermostat failur e the safety stat will shut the gas off
at the pilot and main burners should the oil
temperature rise above 230
o
C.
This device can be reset by a push of the red button.
Gas Control
Situated at the top side of the multifunctional control,
the control knob is set correctly when the appropriate
symbol is alongside the pointer. (See Figure 2)
Flame Failure Device
Operated by the pilot flame. If the pilot becomes
extinguished, gas will be shut off from the main
burner.
Warning
If the pilot is turned off for any reason, wait a
minimum of three minutes before attempting to relight
it. The burner gas control is built-in to the flame failure
device and the method of operation is detailed below
SECTION 2 - LIGHTING and OPERATION
Lighting
A 20 second delay (approx.) will occur between
establishing a pilot flame and burner ignition.
Operating The Fryer
The unit will operate automatically with the burner
going out when the desired temperature is reached.
No further operation of the control knob is necessary
until the cooking cycle is over
Choice of Frying Medium
A good quailty vegetable oil is preferred. However,
pure edible dripping may be used providing that the
thermostat setting does not exceed 180
o
C.
The smoke point will be reached above such a
setting and the fat will break up and deteriorate.
Important
In order to meet the requirements of the Fire
Precautions Act 1971, the unit should always be
turned off when unattended.
Warning
It is dangerous to use oil which is too old as it has a
reduced flash point temperature and is prone to surge
boiling. Change the oil regularly to prevent risk to the
operator.
Caution
To prevent surge boiling, do not exceed the
recommended loads and never charge the pan with
over-wet food items. Never leave a working fryer
unattended.
Caution
Overheating of oil should be avoided.
Replenishing Oil When Fryer Is Hot
Caution
- It is recommended that replenishment of oil
should take place when the fryer is cool.
Recommended Filling levels
Caution
- Always maintain an oil level between the
maximum and minimum levels indicated on the pan
wall rear.
Initial Charging Of The Pan
Prior to first time use, the pan should be thoroughly
cleaned using hot water and detergent. Rinse and dry
upon completion.
Make sure that the drain valve is closed. Fill the pan
with oil up to the level indicated by the strip on the well
rear. Appro ximate capacity is :
G1808X - 15 litres G1838X - 24 litres
G1848X - 2 x 15 litres
If solid fat is used, remove the basket supports from
the pan bottom(s). Apply fat in small pieces and melt
at a thermostat setting of 120
o
C. Add fat until the
required level has been achieved. Solid fat should
always be melted at a low setting. Set frying
temperature when the fat has disappeared.
Page 3

Lighting The Burner
Warning
After turning off pilot for any reason, wait
at least 5
minutes
before attempting to relight.
Ensure that there is cooking oil in the pan before
lighting. The thermostat must be turned off
(fully anti-clockwise).
A 20 second delay (approx.) will occur between
establishing a pilot flame and burner ignition.
The pilot has to be lit using the following procedure:
a) Push control knob in and turn to pilot position.
(See Figure 2)
b) Continue to hold knob in. Press igniter, located on
inner front panel wall, behind the door fully inwards
and release. The spark should light pilot. If pilot
does not light, continue to press and release igniter
button unti l pilot lights.
c) When pilot is lit, hold control knob in for 20 seconds
then release.
d) Check pilot remains lit. If pilot is extinguished when
knob is released, wait at least 3 minutes before
repeating from Step 1.
Main burner may now be lit as follows :
a) Light pilot as above and wait 30 seconds.
b) Set thermostat to 190
o
C.
c) Turn control knob to MAIN position (Figure 2) and
check burner lights.
d) Having lit burner turn thermostat to required setting
if other than 190
o
C.
To Turn Main Burner OFF
Return control knob to pilot position (see Figure 2).
This will extinguish main burner whilst leaving pilot lit.
To Turn Pilot Burner OFF
Push control knob in and turn to OFF position.
(Figure 2)
Heat-Up Time
It takes 12-14 minutes for frying temperature to reach
190
o
C from room temperature.
OFF
MAIN
IGNITION/PILOT
Figure 2 - Gas Supply Control Positions
SECTION 3 - COOKING HINTS
Frying Chips
Set thermostat to 180
o
C for dripping or 190oC for oil.
Each basket will hold 1.8kg (max.) of raw chips.
Cook for 4 - 6 minutes according to size and type of
potato. Slightly longer frying times are required when
using dripping. Output will also be marginally less.
Slow Blanching
This may be necessary when large quantities of chips
are required at peak periods. This process consists of
pre-frying at a thermostat setting of 150
o
C. Frying
time is 3 - 5 minutes.
Fast Blanching
This should be carried out at a setting of 180
o
Cfor
dripping or 190
o
C for oil. Frying time is 2 - 4 minutes.
Finishing chips prepared by either blanching method
should be carried out within 3 hours at a thermostat
setting of 180
o
C for dripping or 190oC for oil.
frying time is 1 - 2 minutes. Serve immediatley for
best results as further storage should be avoided.
Frying Fish
Take out baskets and fry fish on basket support grid
at a temperature of 180
o
C. Remove portion with a
regular hand held fish lifter. Small quantities of fish
may be prepared in the basket(s) with the following
method achieving the best results:
Dry fish well and season basket by immersing in hot
fat. Place portion in basket and lower it slowly into
pan. This will reduce risk of portion sticking to basket.
Other Types of Food
Food suitable for preparation by deep frying has a
particular cooking temperature where best results are
obtained. The following thermostat settings are
recommended but may be varied to suit individual
tastes. Such settings are only valid when vegetable
oil is used as the frying medium. The maximum
setting for dripping should never exceed 180
o
C.
The following information is simply a guide. Culinary
opinion is subjective thereby any values should be
considered to be approximate.
With the exception of potatoes, fried food is generally
coated with one of the following :
Milk and Flour, Egg and Crumbs, Batter or Pastry
i.e. Whitebait, potato croquettes,
fillet of fish, samosas.
The coating helps to protect food item from hot oil and
a variety of different food can be deep fried including :
Chicken, fish, vegetables, pork, egg,
pastries and fruit
Page 4

Chip Output Chart
Model Pre-blanched Frozen Shoestring
G1808X 36kg (79lbs) 20kg (44lbs)
G1838X 54kg (118lbs) 32kg (70lbs)
G1848X 2 x 36kg (79lbs) 2 x 20kg (44lbs)
Cooking temperatures and times are dependant upon
the following :
Class and state of the cooking medium
Quality, size and cut of food item
Pre-heat temperature
Load
Personal preference
SECTION 4 - CLEANING and MAINTENANCE
Shutting Down after Work
When work is done, the gas control knob should be
returned to the pilot position (See Figure 2) leaving
the pilot lit if required.
Do not use the thermostat knob as a gas control. The
burner will re-light when the temperature drops below
the dial setting. Before draining, the burner control
should be OFF ot avoid accidental burner operation.
Daily Cleaning
Isolate the gas supply and allow the pan contents to
cool to a safe temperature. Insert the drain pipe
suppied into the drain valve. Open the valve and filter
the oil through a strainer into the receptacle. Close
the valve and wipe down the stainless steel exterior
panels with a cloth wrung out in hot water and
detergent. Rinse with clean water and dry thoroughly.
Weekly Cleaning
Carry out the normal daily cleaning procedure.
Remove the false pan bottom and strainer and clean
seperately. Fill the pan with low sudsing detergent
and hot water, just above the normal oil level mark.
Allow the pan to soak overnight if necessary.
Drain the detergent water away and rinse the pan
thoroughly with clean, hot water before wiping dry.
Reposition the false bottom and strainer and refill the
pan with oil.
Stainless Steel Surfaces
Stainless steel can be easily marked by certain types
of scouring pad including nylon types therefore care
should be exercised when using these. Always rub
along in the grain direction when rubbing stainless
steel with a cloth.
Safety Precautions
A stop valve will be fitted in the sas suppy pipe to the
unit. The user must be familiar with the device
location and operation of the valve to enable isolation
in the event of an emergency.
Warning
Do not attempt to clean the fryer with a jet of water or
steam clean. Acid or halogen based descaling liquids
(e.g. - chlorine) and cleaning powders should similarly
never be used. If a smell of gas is evident, isolate the
supply and ventilate the area before calling the local
Gas Region Supplier.
Take care not to damage the thermostat boss or
tubes which are located within the stainless steel
guards when cleaning. These are positioned
immediately below the fishplate at the front of the
fryer pan. The use of flammable solvents for cleaning
must be avoided.
NEVER SEARCH FOR A GAS ESCAPE WITH A
NAKED FLAME.
Service - Contact AFE Serviceline, details on the
cover of this manual.
Page 5

Description G1808X/G1848X G1838X
Multifunctional control (Natural gas) 537320590 537320590
Multifunctional control (Propane gas) 537320595 537320595
Operating thermostat 537350034 537350034
Safety thermostat 537350032 537350032
Thermocouple 537350033 537350033
Thermopile 537320589 537320589
Spark igniter 537350036 537350036
Igniter lead 535710115 535710115
Ignition electrode 537320591 537320591
Burner 537320130 537300130
Injector (Natural gas) 537320140 531690410
Injector (Propane gas) 537320150 531690415
Pilot burner assembly (Natural gas) 537320587 537320587
Pilot burner assembly (Propane gas) 537320588 537320588
Pilot jet (Natural gas) 537320592 537320592
Pilot jet (Propane gas) 537320593 537320593
X-lighting assembly (Natural gas) 537320210 537320210
X-lighting assembly (Propane gas) 537320215 537320215
X-lighting jet (Natural gas) 537320230 537320230
X-lighting jet (Propane gas) 537320235 537320235
Drain valve 534510060 534510060
 Loading...