

Page 1

www.evolutionbuild.com
185mm (7-1/4”) TCT Multipurpose
36V Li-ion Cordless Circular Saw
Instruction
Manual
Read instructions before operating this tool.
Page 2
www.evolutionbuild.com
2
www.evolutionbuild.com
3
We, Evolution Power Tools Limited, Venture One,
Longacre Close, Sheffield, S20 3FR as the supplier of the
product listed below:
OUTRAGE 185mm (7-1/4”) TCT
Multipurpose 36V Li-ion Cordless Circular Saw
Part Number OUTRAGE1/OUTRAGE2/OUTRAGE2EU
Voltage 110V/230V
Declare, under our sole responsibility that the equipment
to which this document relates, is in conformity with the
following standards or other normative documents:
EN55014-1: 2006
EN55014-2: 1997+A1
EN61000-3-2: 2006
EN61000-3-3: 1995+A1+A2
EN60745-1: M2006
EN60745-2-5: 2007
And the reby conform s to the protection requirements
of Council Directive 2006/95/EC rel ating to the Low
Voltage Directive, Council Directive 98/37/EEC relating
to the Machine Directive and Council Directive 2004/108/
EC r elating to the EMC Directive, and is c ompliant with
Council Directive 2002/95/EC in relation to the Rest riction
of Ha zardous Su bstances i n electric al & el ectronic
equipment (RoHS). EU Directive 2002/95/EC restr icts
the use of the 6 substances fo llowing in the manufactu re
of specific types of elec trical eq uipment. Whilst this
restriction does not legally apply to components, it is
recogniz ed that componen t ‘compliance’ is relevant to
many cus tomers.
Evolution Power Tools definition of RoHS Compliance:
• The product does not contain any restricted substances in
concentrations and applications banned by the directive and
for components, the product is capable of being worked at
the higher temperatures required by lead-free soldering.
• The restricted substances and maximum allowed
concentrations in homogenous materials are, by weight:
Lead - 0.1%
Mercury - 0.1%
PBB (Polybrominated Biphenyis) - 0.1%
PBDE (Polybrominated Diphenyl Ethers) - 0.1%
Hexavalent Chromium - 0.1%
Cadmium - 0.01%
Level of Sound pressure according to
86/188/EEC & 98/37/EC
Guaranteed Sound Power Level 98.8 dB(A)
All relevant technical documentation is held at Evolution
Power Tools Ltd, Sheffield, United Kingdom.
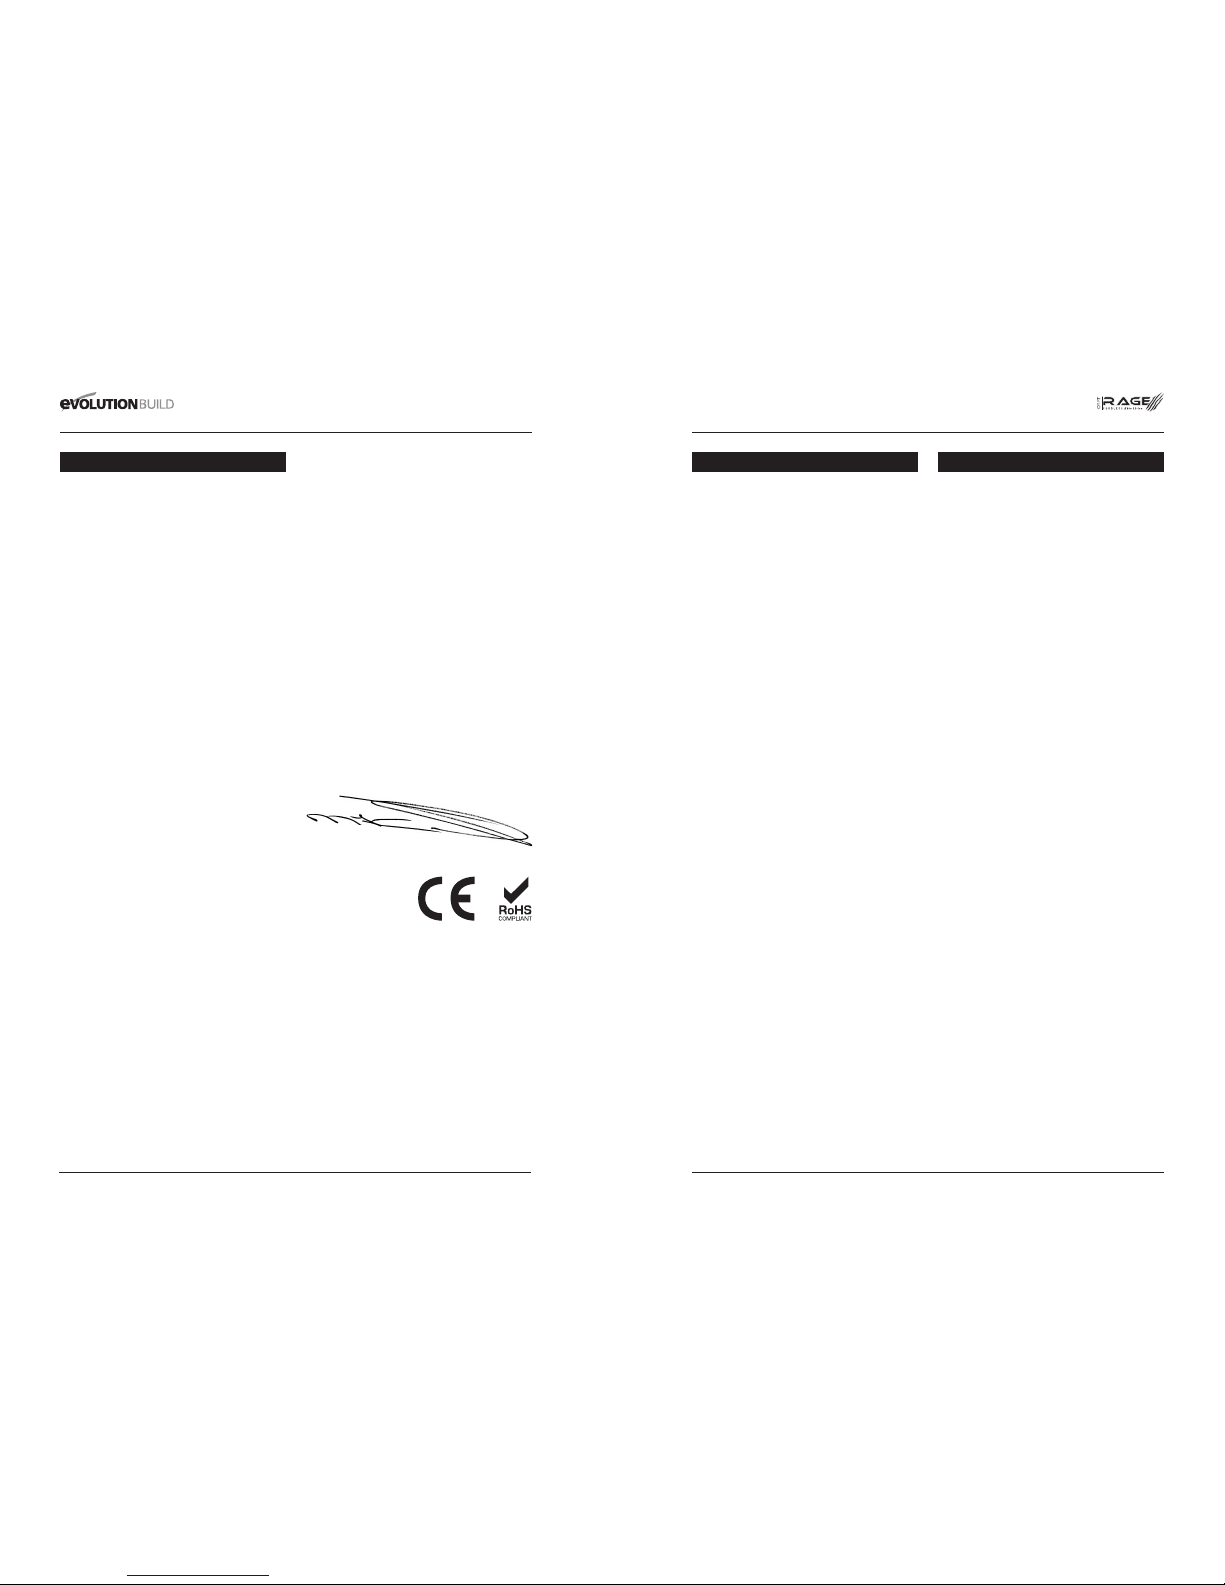
Authorised By
Mr Matthew J Gavins
Managing Director
5th February 2009
EC - DECLARATION OF CONFORMITY
Technical Helpline UK 0870 609 2297
Technical Helpline USA 1-866-EVO-TOOL
Important
Please read these operating and safety instructions carefully
and completely. For your own safety, before using this
equipment check that the voltage is correct and that all
handles and parts are firmly secured. If you are uncertain
about any aspect of using this equipment, please contact our
Technical Helpline.
Outrage
Battery 36V Li-ion 2.6Ah
Maximum Box (1/8” 3mm Wall 90°) 55mm
Maximum Box (1/8” 3mm Wall 45°) 35mm
Optimum Cutting Thickness (Mild Steel Plate) 6mm
Maximum Cutting Thickness (Wood) 25.4mm
RPM No Load (min-1) 3500
Recommended Maximum Duty Cycle) 20mins
Sound Pressure Level (Under Load) (dB(A)) 98.8
Vibration Level (Under Load) (m/s2) 4.8
Weight 5.5kg
Maximum Dimensions (HxWxD) 280 x 395 x 450
Minimum Dimensions (HxWxD) 240 x 260 x 400
Blade Dimensions
Maximum Diameter 185mm
Bore Diameter 20mm
Thickness 2mm
Standard Equipment Supplied With Unit
1 Side Handle, 1 Fence Guide, 1 Allen Wrench, 1 Carry Bag,
RAGE 185mm Multipurpose Blade & Operator’s Manual.
OPERATING INSTRUCTIONS SPECIFICATIONS
Page 3

www.evolutionbuild.com
4
www.evolutionbuild.com
5
Ear and eye pr otection MUST be worn wh ile operating this
equipment. Do NOT to uch the blad e while it is in motion.
Always follow the Persona l Protection Equipment (PPE)
recommendations while operating this tool. This machine
is designed for cutti ng steel using the appropriate TCT
(Tungsten Carbide Tipped) blades and accessories. It should
NOT be modified and / or used for any application other
than for which it was intended, including powering other
equipment.
Ensure that the total work area can be viewed from the
operating position. Use barriers to keep people 4 metres
away, to avoid possible ejected debris. Do not operate the
tool in explosive environments - power tools create sparks
that may ignite flammable materials or gases. Do not operate
the tool in damp or wet conditions or areas, as electric
shocks may result. Always use both hands to operate the
tool. Always ensure that the material you are working on is
securely clamped.
• This tool is equipped with an approved cord and plug for
its intended Country of use. The green and yellow conductor
in the cord is the grounding wire, never connect this to a
live terminal.
• Remove battery before replacement of the blade, making
adjustments, or other maintenance work.
• Use only genuine EVOLUTION brand saw blades.
• Inspect the machine and blade before each use and do not
use deformed, cracked, worn or otherwise damaged blades.
• Ensure the blade is correctly mounted and is appropriate
for the material to be cut.
• Do not use blades made of high-speed steel.
• Do not use blades that do not comply with the characteristics
specified in these instructions.
• Do not stop the blade by lateral pressure on the disc.
• When cutting wood, suitable dust extraction and breathing
apparatus must be used, and the chip collection compartment
MUST be emptied before cutting other materials.
• Ensure that moveable guards operate freely without jamming.
• Never use the tool without the original protection guard
system. Do not lock the moving guard in the open position.
• When you put the tool away, switch off and ensure that all
moving parts have come to a complete standstill.
• In case of jamming, immediately switch off the tool and
disconnect the battery.
• Before using accessories, always compare the maximum
allowed RPM of the accessory with the RPM of the tool.
• Ensure that the cutting depth adjustment handle, and angle
adjustment handle, are rmly xed while using the tool.
• Only use the flanges and washers that are supplied
with the tool, and replace them if they become damaged
or scored.
Use only the supplied Evolution OUTRAGE battery charger.
Only these battery chargers are matched to the lithium ion
battery of your power tool.
Note: The battery is supplied partially charged. To ensure full
capacity of the battery, completely charge the battery in your
battery charger before using your power tool for the first time.
1. Plug the charger in with no battery inserted; 2nd light
shows steady red.
2. Slide battery down on to charger; 1st light shows steady
dim red, 2nd light shows steady red. Fan starts running.
3. Battery lights on; 1st Battery light flashes green to indicate
charging has commenced.
4. In the charging process each of the battery lights will flash
green, the battery is fully charged when the 4th battery light
is flashing green and the charger shows 1st light steady
green, 2nd light steady red.
5. If the battery is left plugged in to the charger beyond this
stage the battery lights will go off and the charger lights will
remain 1st light steady green, 2nd light steady red.
Note: Battery can be removed from the charger and another
battery can be inserted, without switching off the charger.
OPERATING INSTRUCTIONS BATTERY CHARGING BATTERY CHARGER
1ST LIGHT 2ND LIGHT
BATTERY LIGHTS
Page 4

www.evolutionbuild.com
6
www.evolutionbuild.com
7
Multipurpose Blade Cuts Steel, Aluminium & Wood
Diameter Speed Bore Kerf Teeth
185mm 3500min-120mm 2mm 20
Diamond Blade Cuts Stone, Paving & Brick
Diameter Speed Bore Kerf Rim
185mm 8000min-120mm 2.5m Segmented
Notice: Normal wear and tear and damage caused by misuse
is NOT covered under the 12 month guarantee.
Recycle unwanted materials instead of disposing of them
as waste. All tools, hoses and packaging should be sorted,
taken to the local recycling center and disposed of in an
environmentally safe way.
Recyclable Materials Analysis List
Material Weight (Kg) Percentage (%)
Aluminum 1.1 21.10
Cast Iron 0 0.0
Iron Plate 3.3 63.40
Plastics 0.7 13.40
Others 0.1 1.90
Total 5.20 99.80
Major Packaging Materials
Material Weight (Kg)
Carton 1.16
Polystyrene 0.00
Plastic 3.43
Polypropylene 0.001
Others 0
Total 4.59
Mounting / Removing TCT Saw Blades
Remove the chip collection cover from the machine by
undoing the two knurled knobs on the back. Using the
supplied Allen Wrench, undo the M8 bolt that secures the
blade and remove the blade flange. Note: Use spindle lock.
Replace blade, making sure that the arrow for the direction
of rotation of the blade matches that of the machine then
tighten the M8 bolt with the ange in the correct position.
Note: Check that the spindle lock is fully released by manually
rotating the blade before use.
Adjustment Of The Cutting Depth
Release the handle to adjust to the required cutting depth.
Ensure that the blade protrudes a maximum of 5/8” (4mm)
through the material being cut. Tighten the handle fully to
lock in position.
Adjustment Of The Cutting Angle
Release locking handle and adjust to the required cutting
angle by lining up the mark with the imprinted scale. Tighten
handle fully to lock in position. Note: There are certain
compound cuts on which it may be necessary to manually
retract the guard to allow the blade to enter into and / or
through the cut.
Line Of Cut Guide Slots
Guide slots are provided at the front of the saw base. One
slot is used to follow a line when making a 90° cut. The other
slot is used to follow a line when making a 45° cut.
Operating Advice
Always clamp the work piece on a rigid support such as a
bench or saw horses where possible. This tool is equipped
with a safety start feature - to start the tool, you must first
push in the switch on the side of the handle with your
thumb - you can then depress the main trigger switch to
power the motor. Do not force the tool - let the speed of
the saw blade do the work. Cutting performance will not
improve by applying more pressure on the tool and blade
life will be reduced. When using the parallel guide, ensure
that it is parallel with the blade and not the base of the tool,
as otherwise the blade and motor could become damaged.
To set the guide, loosen the retaining screw, and slide it up
snugly against the side of the work piece. Retighten the
screw to secure it in the desired position. Place front edge of
saw squarely on work before starting motor. When starting
a cut, sight the cutting line with the line of cut guide taking
care to introduce the blade to the material slowly, so as not to
damage its teeth. Use both hands to move the saw forward
through the work piece. If the tool overload protection device
activates – allow the motor to cool and then press the reset
button to continue operation.
Chip Collection
This tool is provided with a chip collector compartment.
When the chips accumulate up to the see-through window,
remove the cover, clean out the cover, then replace it, and
tighten the knobs. Notice: The metal chips inside the cover
may be very hot and sharp - do not touch with bare hands.
Dust Extraction
To allow the tting of a dust extractor pipe, remove the small
black cover located at the top left of the chip collection cover.
Replace the cover when a dust extractor is not in use.
Maintenance & Troubleshooting
Keep tool and carry bag clean and free from chips. Avoid using
cleaning products, which include benzene, trichloroethelene,
chloride, and ammonia as these can damage plastic parts.
In case of electrical or mechanical malfunction, immediately
switch off the tool and disconnect the battery. For all other
service please contact our Technical Helpline.
Lubrication
Your machine is lubricated at the factory with sufficient lubricant
to last for approximately 72 hours of operation. To add lubricant,
it is necessary to dismantle the tool. Please contact our
Technical Helpline for information regarding this operation.
EVOLUTION BRAND BLADES ACCESSORIES ENVIRONMENTAL PROTECTIONOPERATING INSTRUCTIONSMACHINE SET-UP
 Loading...