

Everspring Industry Co SA224, S250, HA51P Users Manual
Radio Alarm System HA 51
U
• 2 Zones
• 24-hr Surveillance
• Protection against sabotage
Congratulation! You purchased an alarm system which most likely is the easiest one to be installed
and to be operated. The alarm system uses radio transmission on the European frequency of 433
MHz to transmit all sensor signals. This makes an installation extremely easy. Routing of cables
associated with conventional systems and with a lot of work is no longer necessary.
Also, there is no need for complicated programming. At the hand transmitter, and the sensors you only
have to set a so-called "house code" which will independently be memorized by the central station.
These instructions comprise of two sections:
A) Illustrated instructions with details for normal users.
B) Short reference using keywords for technically advanced users, and an overview.
A) Illustrated Instructions
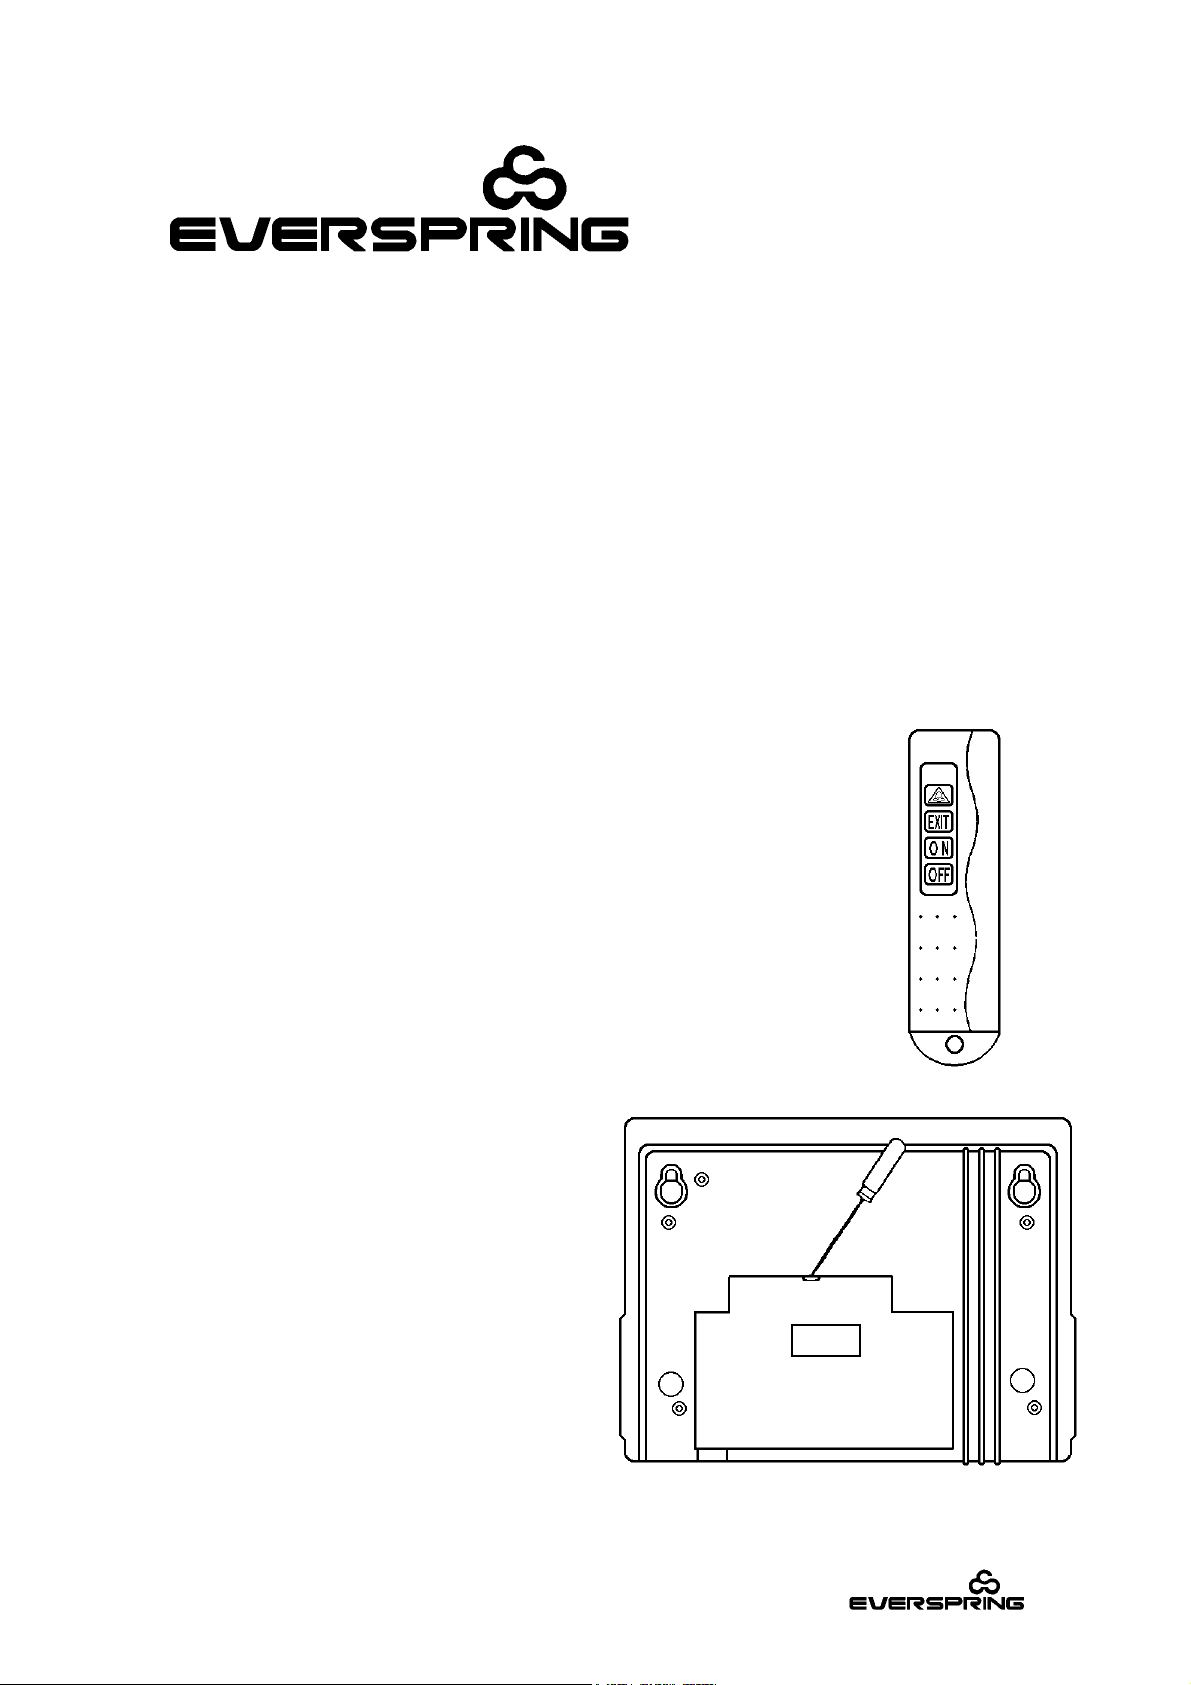
Hand Transmitter HA 51R
1. Use a small cross-slotted (Phillips) screw driver and open the hand transmitter
by removing the screw on the rear side, and then by removing the cover. To do
this, insert the cross-slotted screw driver between the halves of the casing, and
pry them open.
2. Use the now visible 8-setting switch to set your own house code. To do this, set
some switches to ON by moving them upwards. However, avoid setting all
switches to upward, or downward positions, or do not leave all switches
unchanged, otherwise there is a great risk that a second alarm system, e.g. the
one of your neighbor, might interfere with your system.
3. Insert the enclosed battery type 23A (12V) by observing the correct polarity.
The positive pole shows towards the center of this transmitter.
4. Re-attach the halves of the casing, and fix them with screws.
Central Station HA 51
5. Use a screw driver and open the cover on the
rear side of the central station, as depicted in
the opposite illustration (Fig. 1).
Fig. 1
Copyright 1997
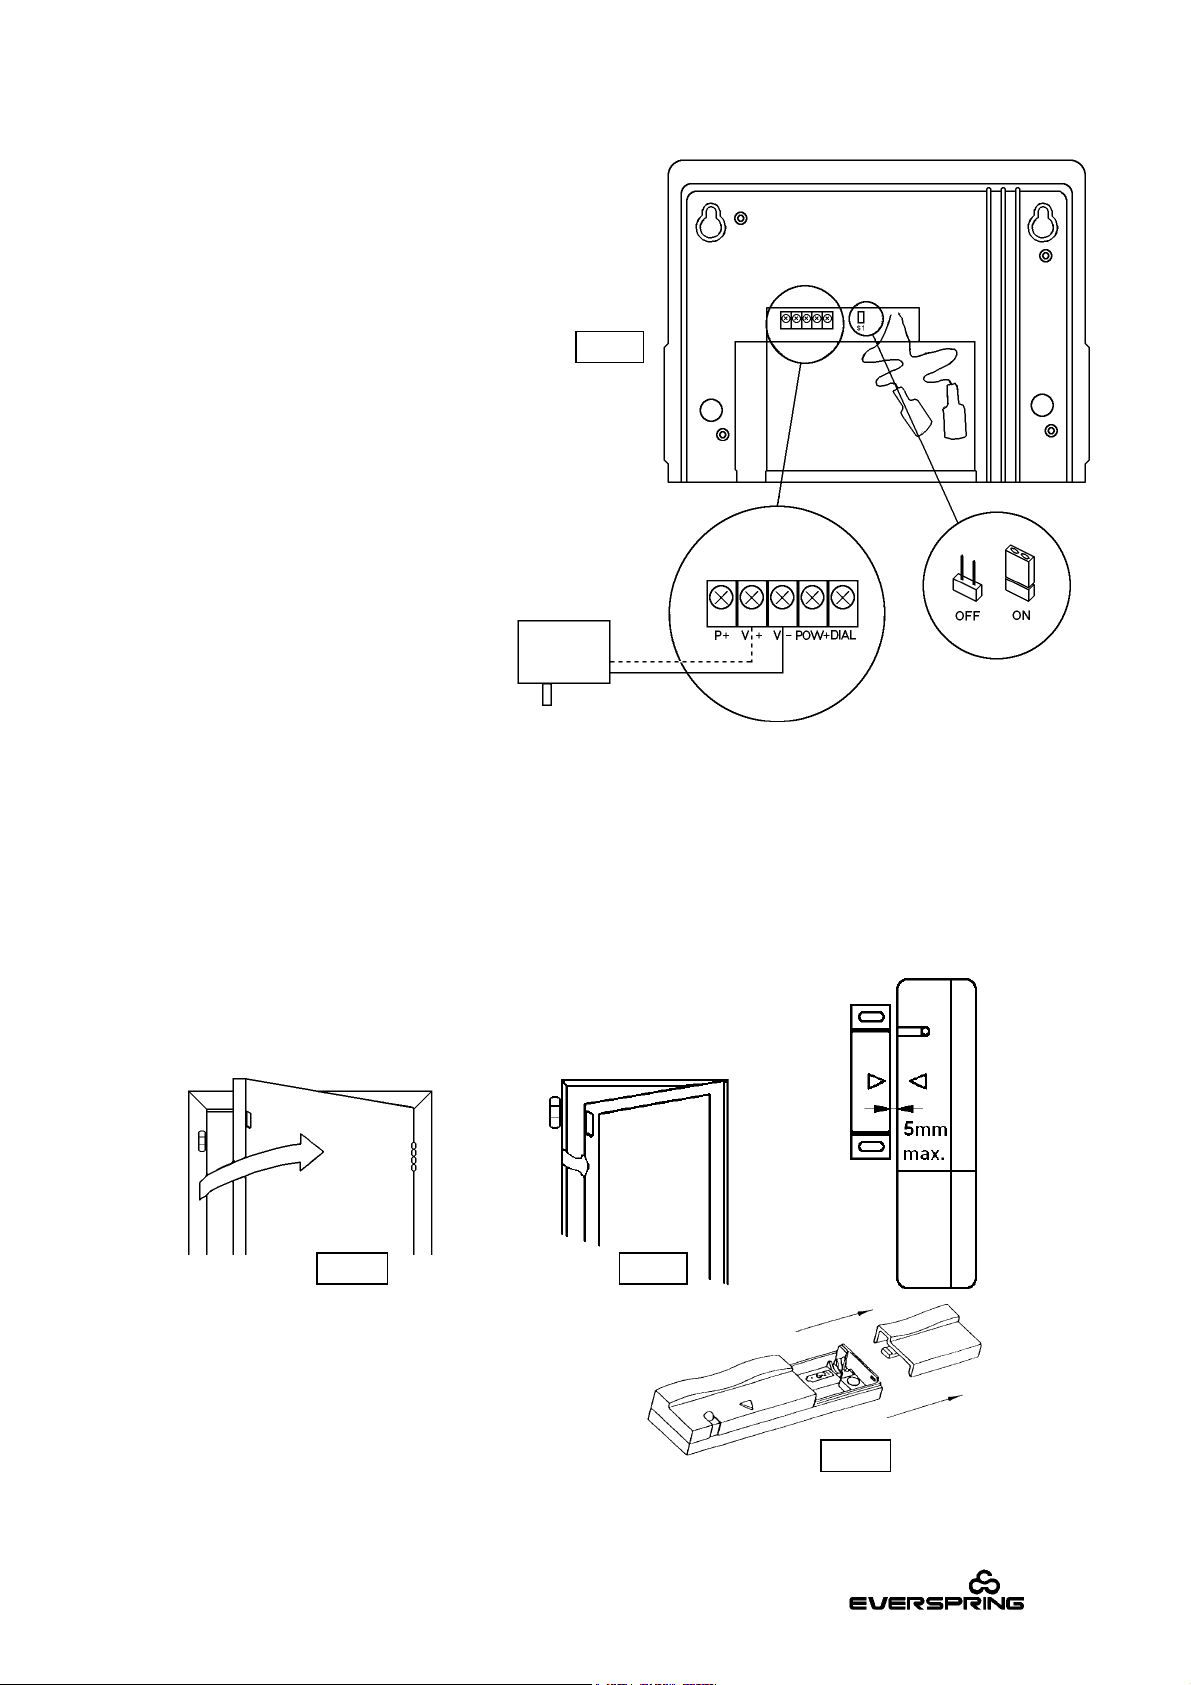
6. Connect the power supply included
in the delivery to the central station
with reference to Fig. 2,
V+ cable with white lines
V- black cable.
7. If you also purchased an
emergency battery (12V / approx.
1.2Ah), connect this battery to the
plugs. Observe correct polarity! The
red plug connects to the positive
pole (+), and the black plug
connects to the negative pole (-).
8. The terminals POW and DIAL of
the central station can also be used
to connect the phone dialing
device S-126 for alarm transfer.
9. Use the jumper S1 to select the
alarm duration. This duration is
! 10 minutes with closed jumper
! 3 minutes with open jumper.
Fig. 2
10. Now, connect the power supply to the mains supply.
11. A single "beep" tone signals that the central station is in standby mode, and the POWER LED
lights up.
12. Press the OFF key on the hand transmitter. Doing so, the central station automatically "learns"
your house code which will be confirmed by "beep beep".
Magnetic Contact Sensor HA 51M (Fig. 3)
13. The magnetic contact sensor is used to secure doors (Fig. 4), and
windows (Fig. 5). During mounting, make sure that the magnet is
attached to movable parts (window, door, etc.), whereas the sensor is
attached to fixed parts (border, frame, etc.).
Fig. 4 Fig. 5
14. Remove the cover of the sensor by sliding it
downwards (Fig. 6).
Copyright 1997
Fig. 6
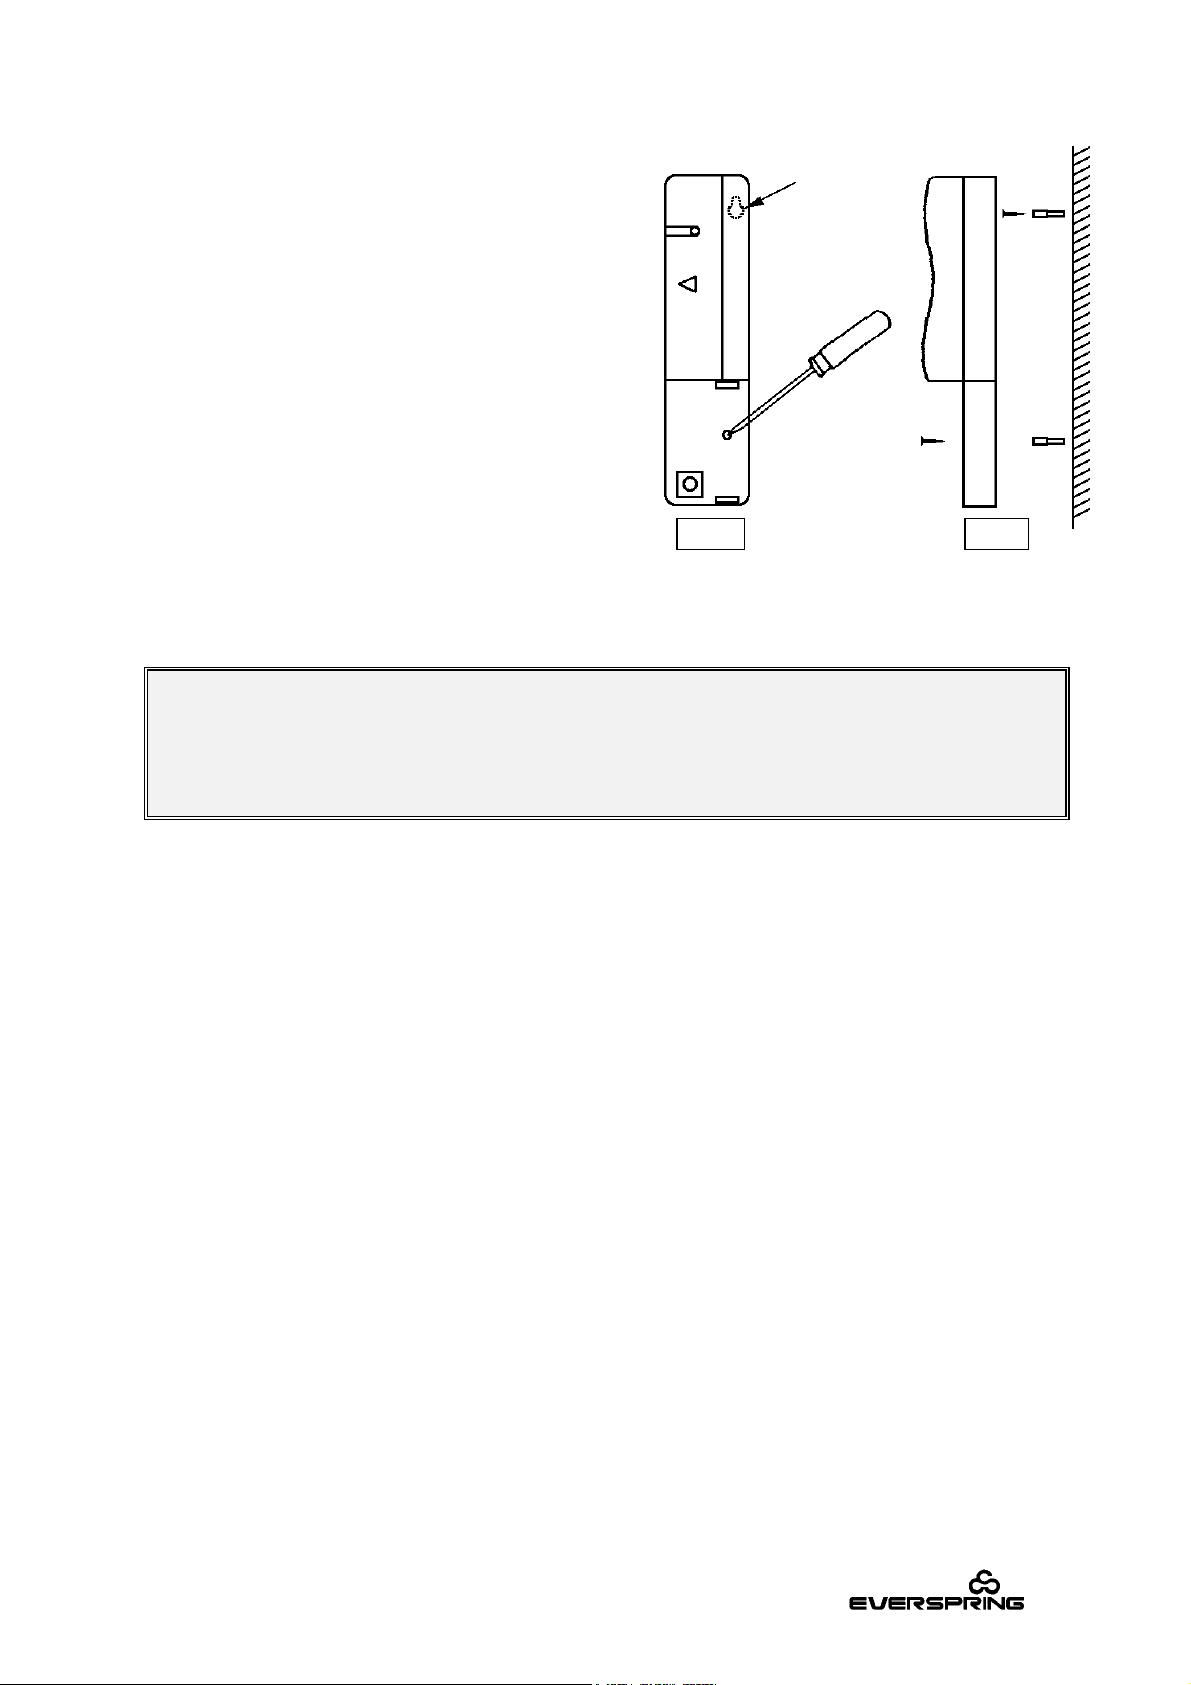
15. You can use the enclosed double-sided adhesive
tape to mount the sensor and the magnet. If you
prefer a permanent attachment with screws, use a
screw driver to pierce through the bottom at the
marked location (Fig. 7).
The cut for the upper screw is located on the rear
side of the sensor. First, insert this screw, use a
dowel if necessary, and let the screw protrude for
approx. 3 mm from the wall. Hang the sensor on
this screw and now mark the position of the lower
screw on the wall. After drilling a hole here, or
insertion of a dowel, tighten the lower screw (Fig. 8).
Fig. 7 Fig. 8
16. While mounting the magnet, make sure that the distance between the sensor and the magnet is
as small as possible, and that the arrow markings are at the same height. The distance should
not exceed 5 mm (Fig. 3).
Before opening doors or windows secured for 24 hrs., you must unplug the power supply from
the wall plug and disconnect one of both connections to the emergency battery. If you forget
these steps, an alarm will be triggered. Therefore, choose version B only for windows and
doors which are normally always closed.
After resuming operation, press the OFF key on the hand transmitter. (Points 11+12)
1. Set the 8-setting switch to the same house code as the hand transmitter.
Insert the enclosed battery (23A, 12V) by observing the correct polarity.
Now decide, in which instance the sensor should trigger an alarm:
A) ONLY for armed system Æ Use cover WITH bulge on the inside.
B) ALSO for switched-off system (24 hrs.) Æ Use cover WITHOUT bulge on the inside.
Slide the appropriate cover onto the sensor. Make sure that the cover is completely closed.
2. Function control of sabotage protection (works only with alarm version according to point 17 A):
Open the cover again. The LED on the sensor must light up for 1 - 2 secs., thus indicating that
the sabotage protection is working properly. Close the cover again.
3. Function control of magnetic contact: Close the secured door, or window. By opening the door, or
window, the LED lights up for 1 - 2 secs. and then extinguishes again.
ATTENTION! The sensor is equipped with a power saving switch. After its activation (open
window), the sensor transmits an alarm signal to the central station, and then switches itself off
completely. The sensor will be reactivated as soon as you close the window. Thereby, the
battery’s life span is extended significantly when doors and windows are left open for several
hours, for instance in Summer.
Copyright 1997
 Loading...