

HSP01 PIR Motion Detector
p
/
y
)
Installation Instructions
General Introduction
The HSP01 PIR Motion Detector is a U-Net device and is fully compatible with other
U-Net devices. This Detector is designed with a Passive Infra-Red (PIR) sensor and
light sensor in order to fulfill the purpose of security and home automation. It detects
motion by monitoring changes in infra-red radiation levels emitted by body heat. Its
great compatibility with our U-Net family security products makes it suitable for
smart home cloud based platforms such as Homesys.
Product Overview
LED
(hidden
behind
PIR lens
PIR Lens
LED Indication
Red LED Used to indicate trigger events, low battery power, and warm u
Green LED Used to indicate key learning controls
Orange LED Used to indicate no codes learned
Binding with Homesys
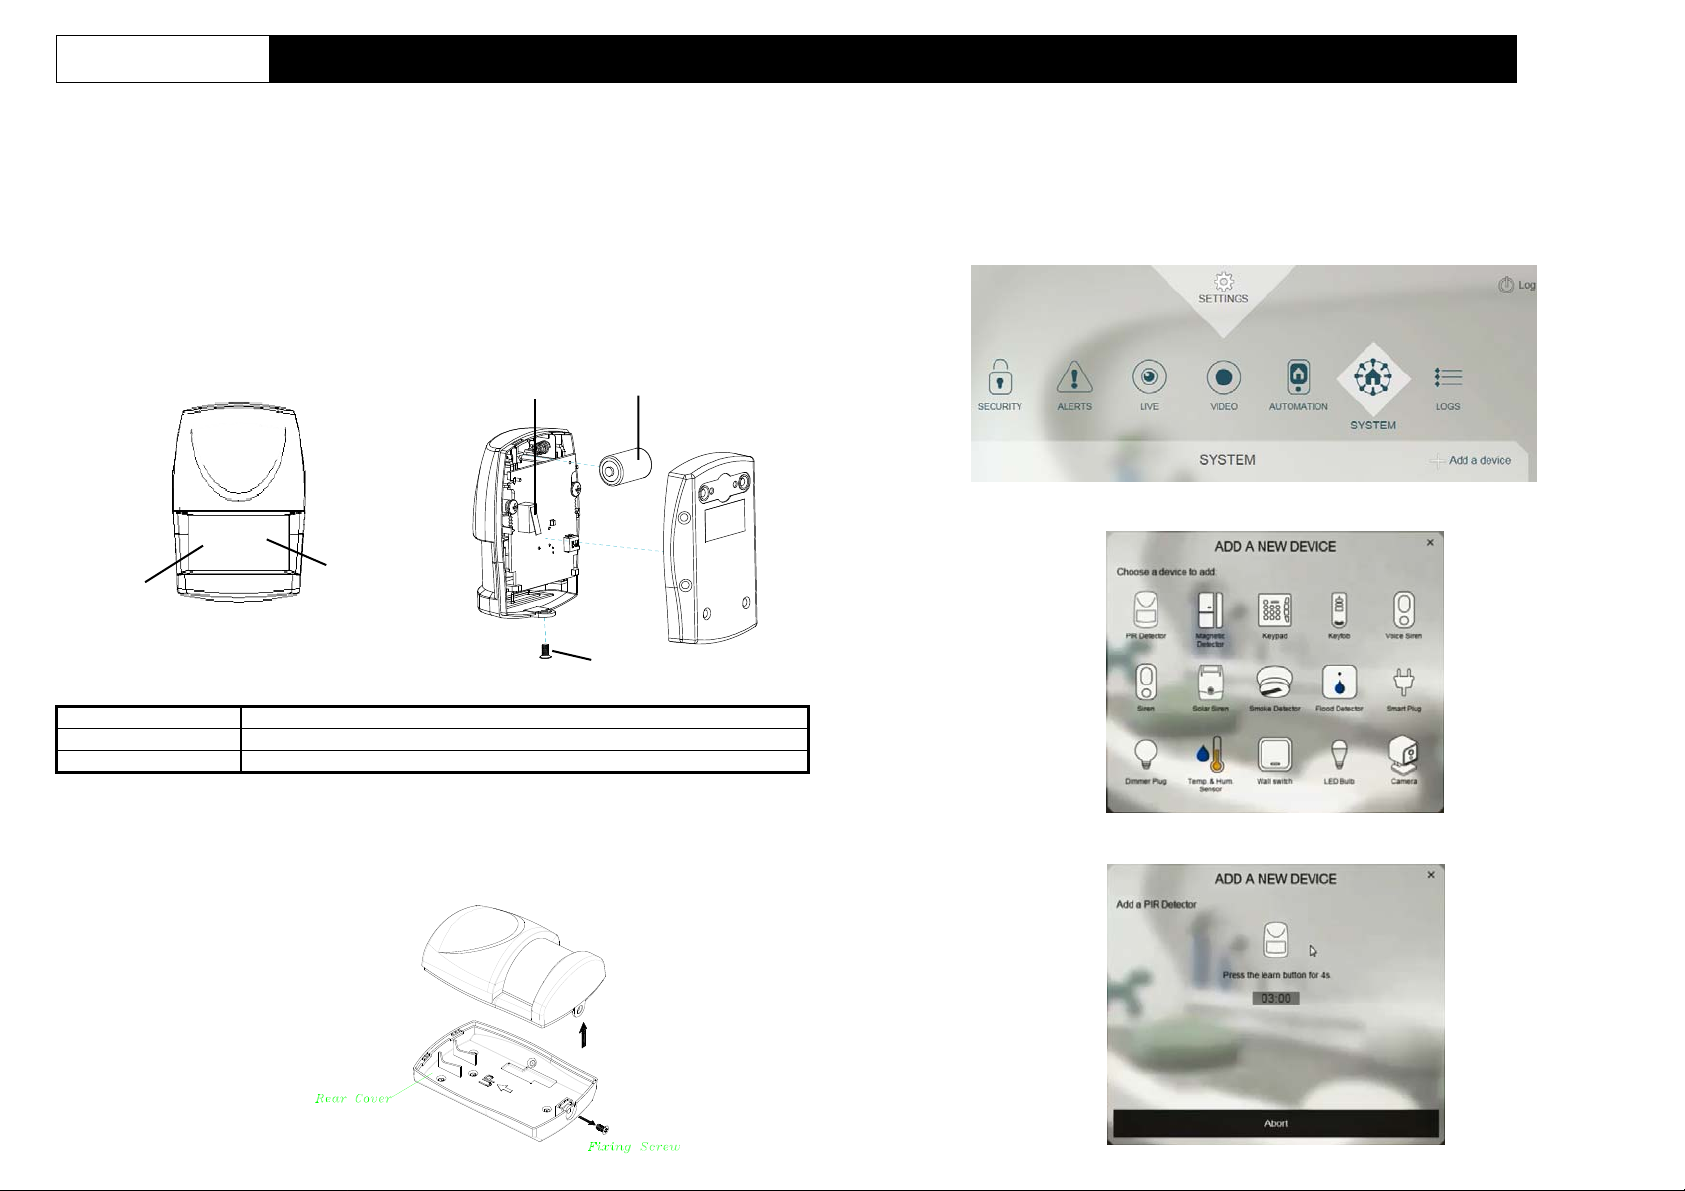
1. Undo and remove the fixing screw from the bottom of the detector. Carefully
pull the bottom of the detector away from the rear cover and then slide down to
release the top clips.
Tamper Switch
Link Ke
Battery
Fixing Screw
2. Prepare a CR123A battery. Do not insert the battery into the unit yet.
3. Log into the Homesys account from a web browser.
4. Select “System” then “Add a Device”.
5. Select “PIR Detector”.
6. The following screen will appear. This means the gateway is entering binding
mode.
1
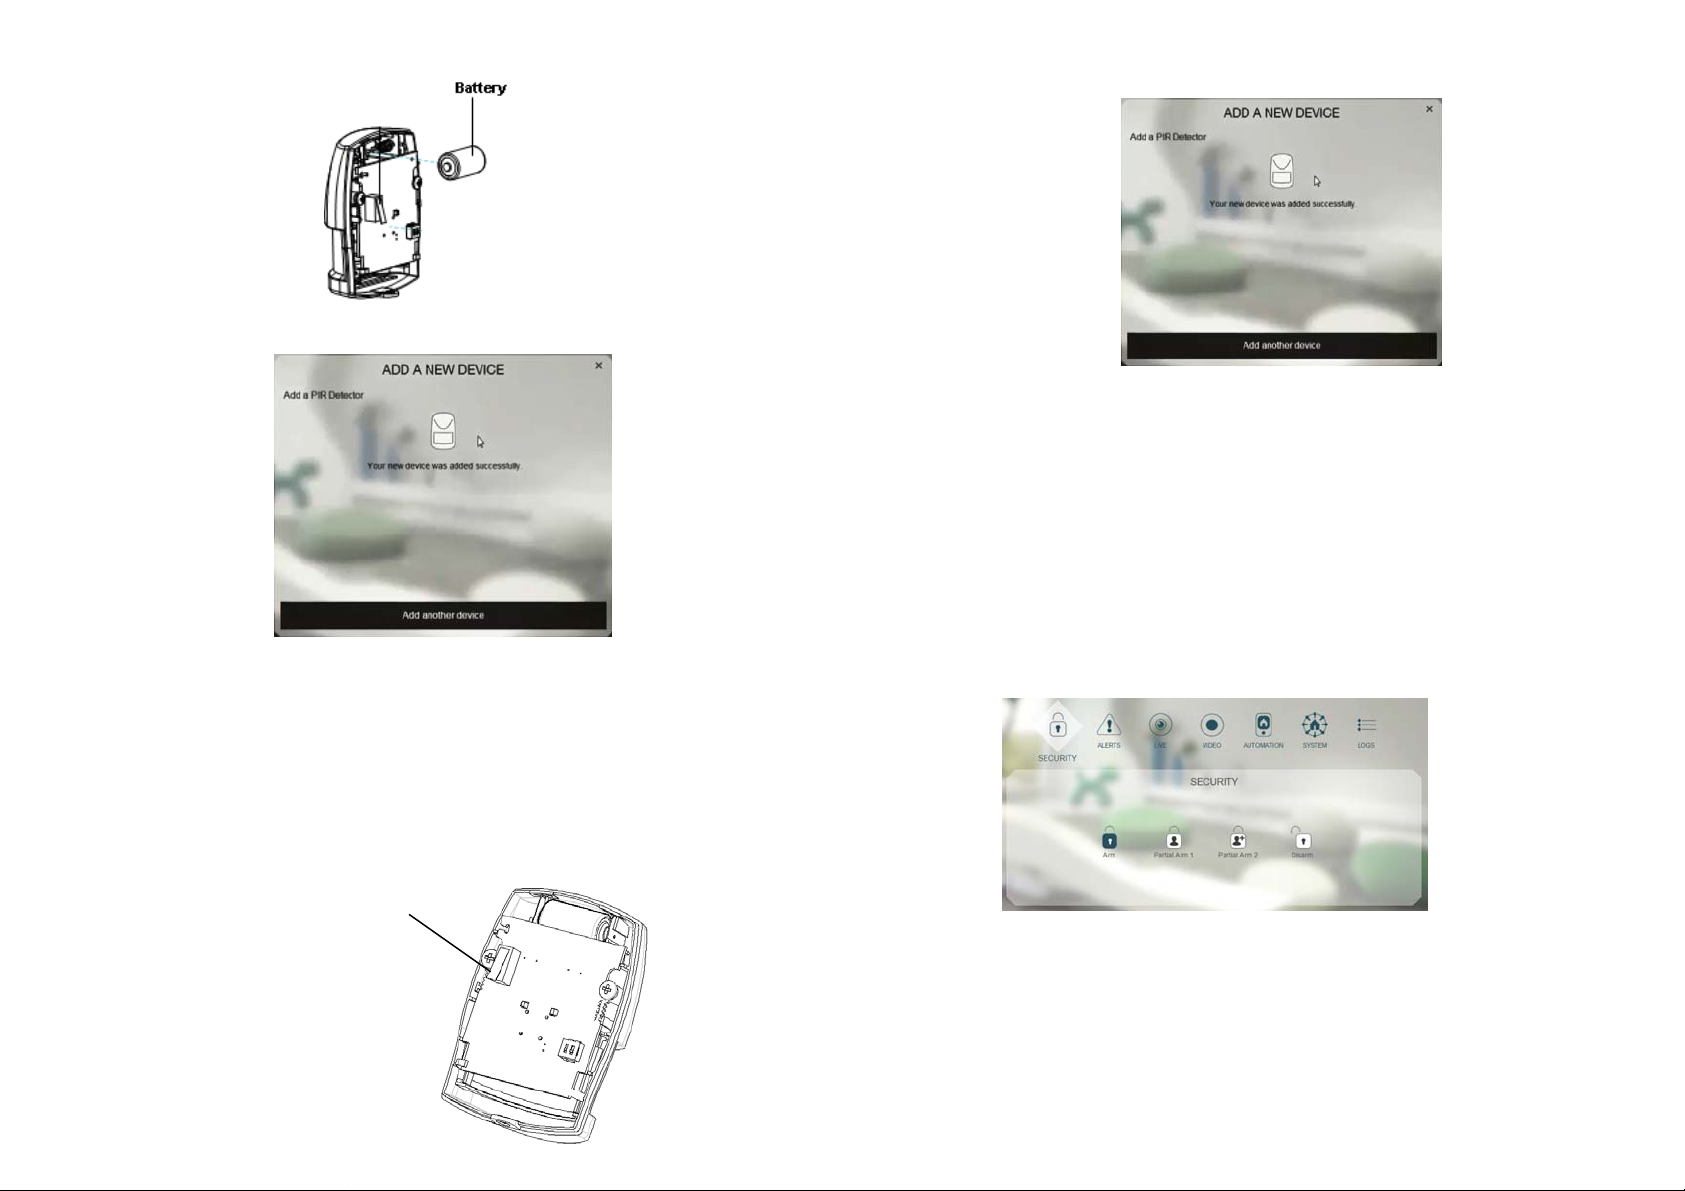
7. At this for point, insert the battery with correct polarity into the unit.
8. The screen below will appear in 10 seconds if the process is successful.
9. Time-out will occur if the binding process was unsuccessful. Please refer to the
“Manual binding” section.
Note: Leave the detector with the rear cover open to prepare for testing.
Manual Binding
1. Repeat steps 3 to 6 of the Binding with Homesys section.
2. With the battery inserted, press and hold the link key on the PCB for 3 or more
seconds, and the detector LED will start to flash, implying that it has entered ID
code learning mode.
Link key /
Tamper
3. The LED indicator will stop flashing and turn off within 5 seconds, indicating the
learning procedure is completed. The screen below will appear indicating the
process is successful.
4. If after 30 seconds the LED flashes rapidly (with an interval of 0.1 second) for 3
times, it means the PIR failed the binding process.
Operation & Testing
Warm-Up
It will take approximately 2 minutes to warm up the Detector after a battery is
inserted. During this period the LED will flash red slowly. When the LED turns red
for 5 seconds, it implies warm-up procedure is complete and the detector is ready
for detection.
Testing
1. Go to System, and set it to ARM.
2. Wait for 30 secs then wave your hand in front of the detector.
3. If the test is successful the system will trigger an alarm (alarms are listed in
“Events”).
Note: It is necessary that the Homesys gateway is powered and connected to
internet.
4. If the test is unsuccessful, please check the troubleshooting section.
2
 Loading...