

EverFocus EZ632e Operation Instruction Manual
Operation Instruction
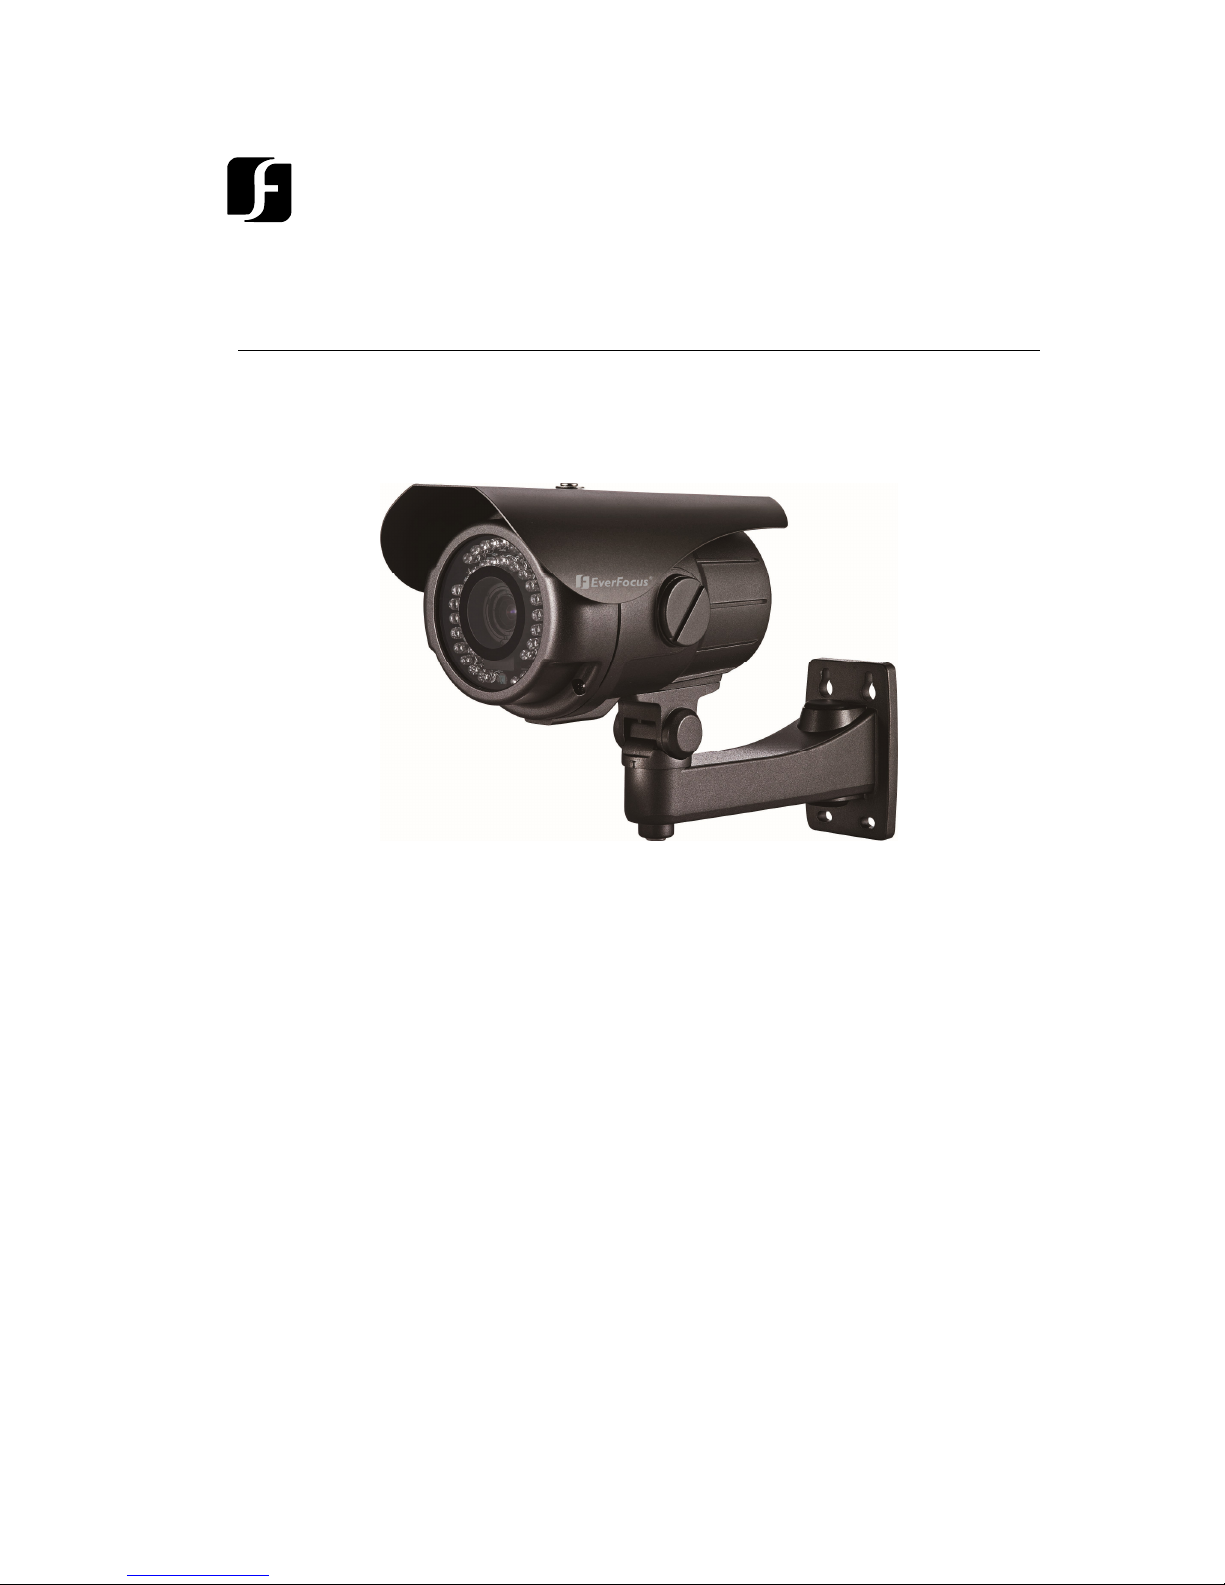
700TVL High Resolution Day /
Night Weather Resistant
Outdoor IR Bullet Camera
EEZZ663322ee
EverFocus

2
E VE RF O C U S EL EC T R O NI CS C O R P OR AT I O N
Operation Instruction
2011 EverFocus Electronics Corp
Please read this manual first for correct installation and operation. This manual should be retained for
future reference. The information in this manual was current when published. The manufacturer reserves
the right to revise and improve its products. All specifications are therefore subject to change without
notice.
All rights reserved. No part of the contents of this manual may be reproduced or transmitted in any form or by
any means without written permission of the EverFocus Electronics Corporation.

3
PRECAUTIONS
1. Do not install the camera near electric or magnetic fields.
Install the camera away from TV/radio transmitters, magnets, electric motors, transformers
and audio speakers since the electromagnetic fields generated from these devices may
distort the video image or otherwise interfere with camera operation.
2. Never disassemble the camera beyond the recommendations in this manual nor
introduce materials other than those recommended herein. Improper disassembly or
introduction of corrosive materials may result in equipment failure or other damage.
3. Try to avoid facing the camera toward the sun.
In some circumstances, direct sunlight may cause permanent damage to the sensor and/or
internal circuits, as well as creating unbalanced illumination beyond the capability of the
camera to compensate.
4. Keep the power cord away from water and other liquids and never touch the power
cord with wet hands. Touching a wet power cord with your hands or touching the power
cord with wet hands may result in electric shock.
5. Never install the camera in areas exposed to oil, gas or solvents.
Oil, gas or solvents may result in equipment failure, electric shock or, in extreme cases, fire.
6. Cleaning
For cameras with interchangeable lenses, do not touch the surface of the sensor directly
with the hands. Use lens tissue or a cotton tipped applicator and ethanol to clean the
sensor and the camera lens. Use a damp soft cloth to remove any dirt from the camera
body. Please do not use complex solvents, corrosive or abrasive agents for cleaning of any
part of the camera.
7. Do not operate the camera beyond the specified temperature, humidity or power
source ratings. This camera is suitable for indoor and outdoor operation. Use the
camera at temperatures within -40°C~50°C (-40°F~122°F) and in an IP66 compliant
environment; this device is not rated as submersible. The input power source is 12VDC.
The use of properly fused or Class 2 power limited type supplies is highly
recommended.
8. Mounting
Use care in selecting a solid mounting surface which will support the weight of the camera
plus any wind, snow, ice or other loading, and securely attach the camera to the mounting
surface using screws and anchors which will properly support the camera. If necessary
(e.g. when mounting to drop ceilings) use a safety wire to provide additional support for the
camera.

4
ATTENTION!
This is a class A product which may cause radio interference in a domestic
environment; in this case, the user may be urged to take adequate measures.
Federal Communication Commission Interference Statement
This equipment has been tested and found to comply with the limits for a Class B digital
device, pursuant to Part 15 of the FCC Rules. These limits are designed to provide
reasonable protection against harmful interference in a residential installation. This
equipment generates, uses and can radiate radio frequency energy and, if not installed
and used in accordance with the instructions, may cause harmful interference to radio
communications. However, there is no guarantee that interference will not occur in a
particular installation. If this equipment does cause harmful interference to radio or
television reception, which can be determined by turning the equipment off and on, the
user is encouraged to try to correct the interference by one of the following measures :
•Reorient or relocate the receiving antenna.
•Increase the separation between the equipment and receiver.
•Connect the equipment into an outlet on a circuit different from that to which the receiver
is connected.
•Consult the dealer or an experienced radio/TV technician for help.
FCC Caution: Any changes or modifications not expressly approved by the party
responsible for compliance could void the users’ authority to operate this equipment.

5
Table of Contents
1. PRODUCT OVERVIEW ...................................................................................................................... 6
1.1 F
EATURES
..................................................................................................................................... 6
1.2 A
CCESSORY PARTS LIST
............................................................................................................... 6
1.3 S
PECIFICATIONS
........................................................................................................................... 7
1.4 D
IMENSIONS
................................................................................................................................. 8
2. INSTALLATION AND CONNECTION............................................................................................. 9
2.1 I
NSTALLATION OF THE CAMERA
................................................................................................... 9
2.2 A
DJUST
2-A
XIS BRACKET
............................................................................................................ 9
2.3 F
OCUS ADJUSTMENT
.................................................................................................................. 10
2.4 R
EMOVE THE CONTROLLER CAP
................................................................................................ 10
2.5 I
NSTALL SUNSHIELD
................................................................................................................... 11
2.6 C
ONNECT TO A MONITOR
........................................................................................................... 12
2.7 C
ONNECT THE POWER
................................................................................................................ 12
3. OSD MENU & CONFIGURATION .................................................................................................. 13
3.1 OSD M
AIN MENU DESCRIPTION
................................................................................................ 14
3.1.1 LENS: MANUAL /AUTO selectable. .......................................................................................... 14
3.1.2 SHUTTER/AGC: AUTO / MANUAL selectable. ........................................................................ 14
3.1.3 WHITE BAL: ATW / PUSH / USER1 / USER2 / ANTI CR / MANUAL / PUSH LOCK selectable.
............................................................................................................................................................. 15
3.1.4 BACKLIGHT: BLC / HLC / OFF selectable. ............................................................................. 16
3.1.5 ATR: ON / OFF selectable. ........................................................................................................ 16
3.1.6 NR: ↲ ......................................................................................................................................... 16
3.1.7 PICT ADJUST: ↲ ....................................................................................................................... 16
3.1.8 NEXT: ↲ ..................................................................................................................................... 17
3.1.9 EXIT: ↲ ...................................................................................................................................... 17
3..1.10 SAVE ALL: .............................................................................................................................. 17
3.1.11 PRIVACY: ON / OFF selectable. ............................................................................................. 17
3.1.12 MOTION: ON / OFF selectable. .............................................................................................. 18
3.1.13 CAMERA ID: ON / OFF selectable. ........................................................................................ 18
3.1.14 LANGUAGE ............................................................................................................................. 19
3.1.15 CAMERA RESET...................................................................................................................... 19
3.1.16 BACK ....................................................................................................................................... 19

6
1. Product Overview
Amazing low light sensitivity of 0.03 lux before the added benefits of advanced DSP technology,
delivered by a 1/3” Sony Exview HAD CCD II 960H sensor, is just the beginning with the new
EverFocus EZ632e. Equip with 42 IR LEDs to get extended IR range, variable output IR control to
manage illumination and conserve energy, 700TVL resolution, full motion true day/night images even
with no ambient light without ghosting, plus Digital Wide Dynamic Range (Sony ATR technology)
smoothly work with BLC, AGC, AWB functions to handle the most challenging of bright or unbalanced
scene lighting conditions. Easy to mount and install, Vandal resistant, IP66, with external focal
adjustment varifocal auto iris lens and a full suite of OSD Menu and DSP functions controllable at the
camera. This is the camera you have been waiting for, and might be the only camera you’ll ever need.
1.1 Features
True Day/Night camera with Sony 1/3” Exview HAD CCD II 960H Sensor, 700 TVL
resolution.
Sony Effio-E platform to provide advanced camera functions.
Vari-Focal DC Iris Lens 3.7~12mm or 9~22mm with ICR.
High sensitivity, low smear, high anti-blooming and high S/N ratio for high performance
video.
True Day/Night with ICR module and 42 IR LEDs reach up to 40m (~130ft.) range.
Switchable 10m / 20m / 40m IR Range for different range of requirements.
Easy to use OSD Setup Menu.
D-WDR functions by Sony ATR technology.
Built-in Auto Electronic Shutter (AES), Auto Gain Control (AGC), Back Light Compensation
(BLC) and Auto White Balance (AWB).
Built-in Motion Detection, Privacy Mask advanced surveillance functions.
Internal wire system with anti-cut bracket.
Auto Blemish compensation up to 32 points.
External manual focus adjustment.
Weather Resistant IP66, Vandal Resistant and built-in heater.
1.2 Accessory Parts List
Please be careful when you unpack the box due to the electronics devices inside. Check and
make sure that you have all the items listed below inside the original box:
EXD330e camera x 1
User Manual x 1
Power adapter pigtail x 1
Mounting template x 1
Accessory kit x 1 (containing mounting screws and plastic anchors)
Chapter
1
 Loading...