

EverFocus EAN7221, EAN7260, EAN7360 Quick Installation Manual
Star Light Box Network Camera
EAN7221/7260/7360
Ultra Low Light Network Camera
Quick Installation Guide
** Lens not included.
Copyright © EverFocus Electronics Corp.
Release Date: March, 2016
EAN7221/7260/7360
2
6
7
1
12
10
11
13
9
8
4
5
14
3
No.
Item Name
Descriptions
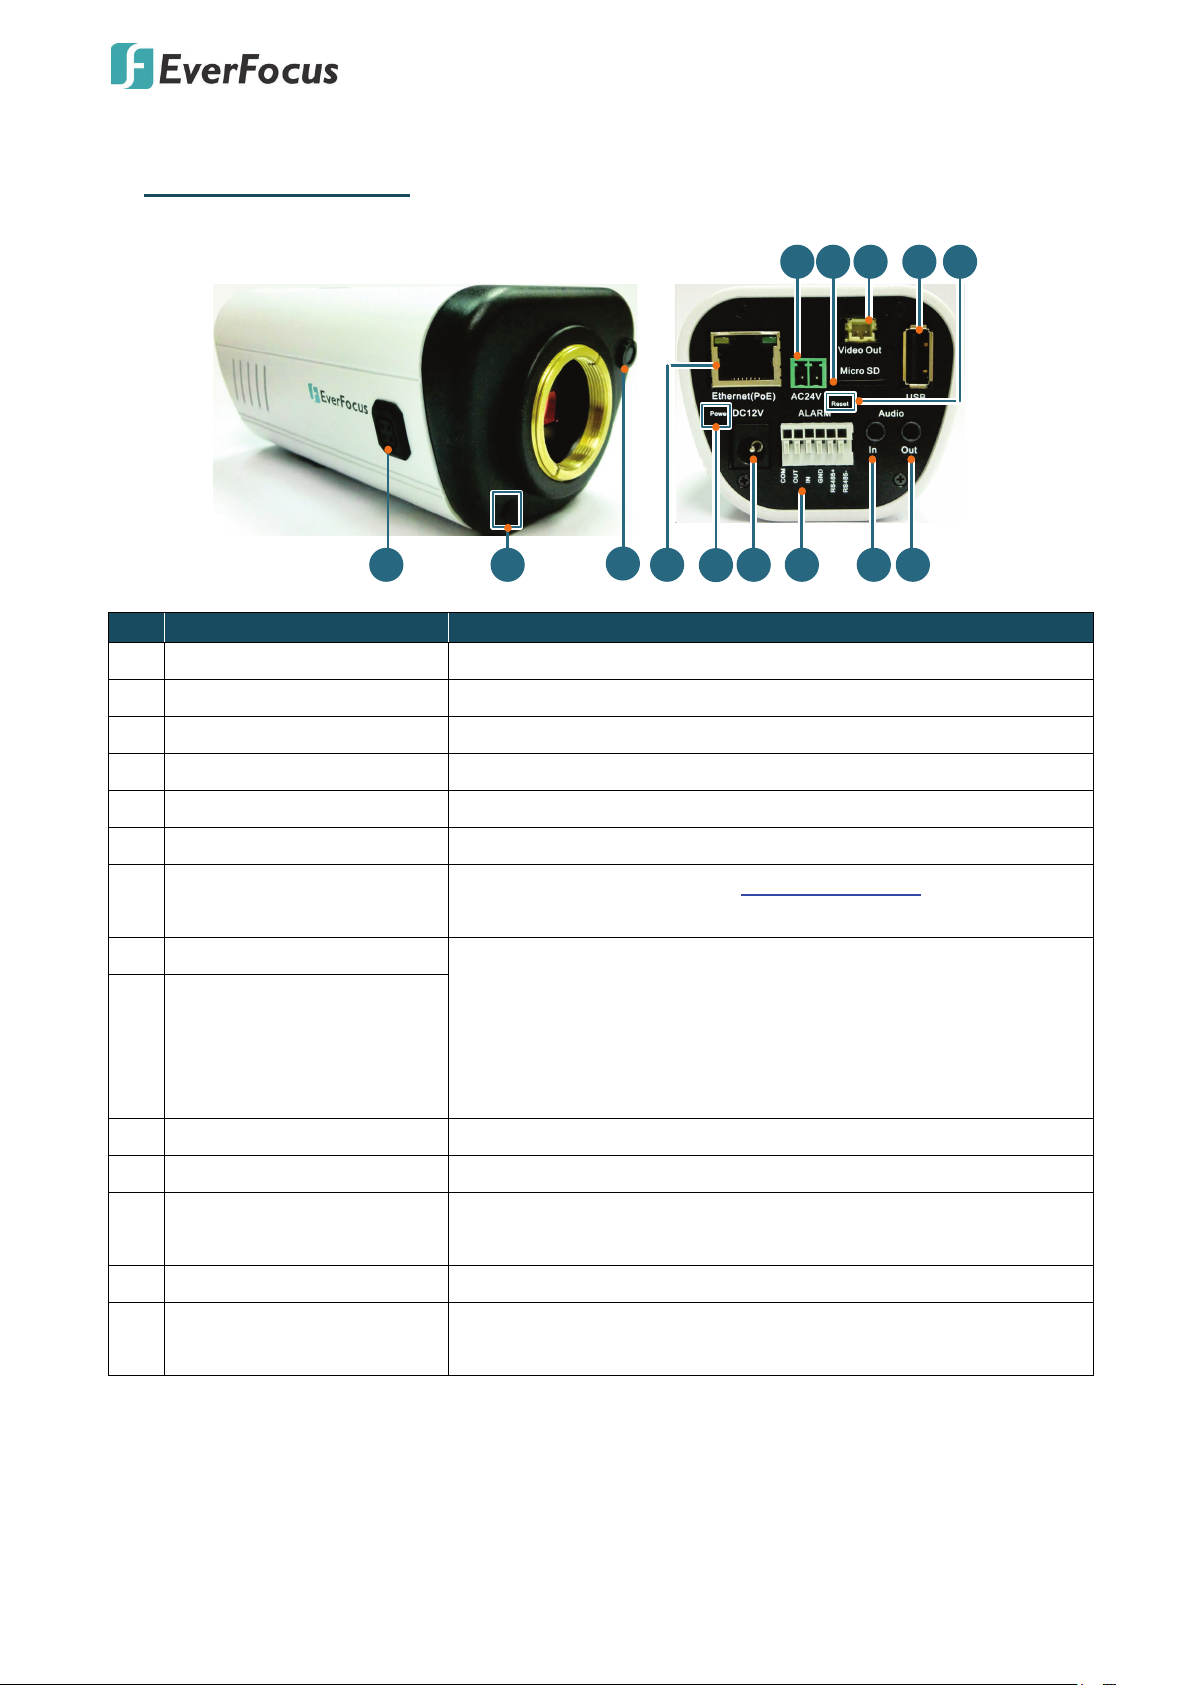
1. Physical Description
1 Auto Iris Lens Connector Plug the iris control cable to the connector.
2 Microphone One built-in microphone.
3 Light Sensor Detects lights.
4 Ethernet / PoE Connects to a 10BASE-T / 100BASE-TX Ethernet or PoE.
5 Power LED After powering the camera, the power LED will be lit in red.
6 DC 12V Port Connects to 12VDC power.
Connects to I/O devices (see I/O Terminal Block for more details
7 Alarm
later).
8 Audio In Connects to microphones (In) / Speakers (Out). Note that the
audio input / output features a line 3.5mm jack (TRS). Be sure
to prepare microphones / speakers with TRS connector (see TRS
9 Audio Out
Connector image below). Also, microphones / speakers with a
(built-in) amplifier and external power supply are required.
10 AC 24V Port Connects to 24VAC~ power.
11 Micro SD / SDHC Card Slot Insert a micro SD / SDHC card to store recording data.
Connects to a portable monitor using the supplied BNC cable
12 Video Out
for testing the camera view during initial installation.
13 USB USB slot is currently reserved.
14 Reset Button
Press and hold the button for 6 seconds to reset all
configurations to factory default.
1
EAN7221/7260/7360
2
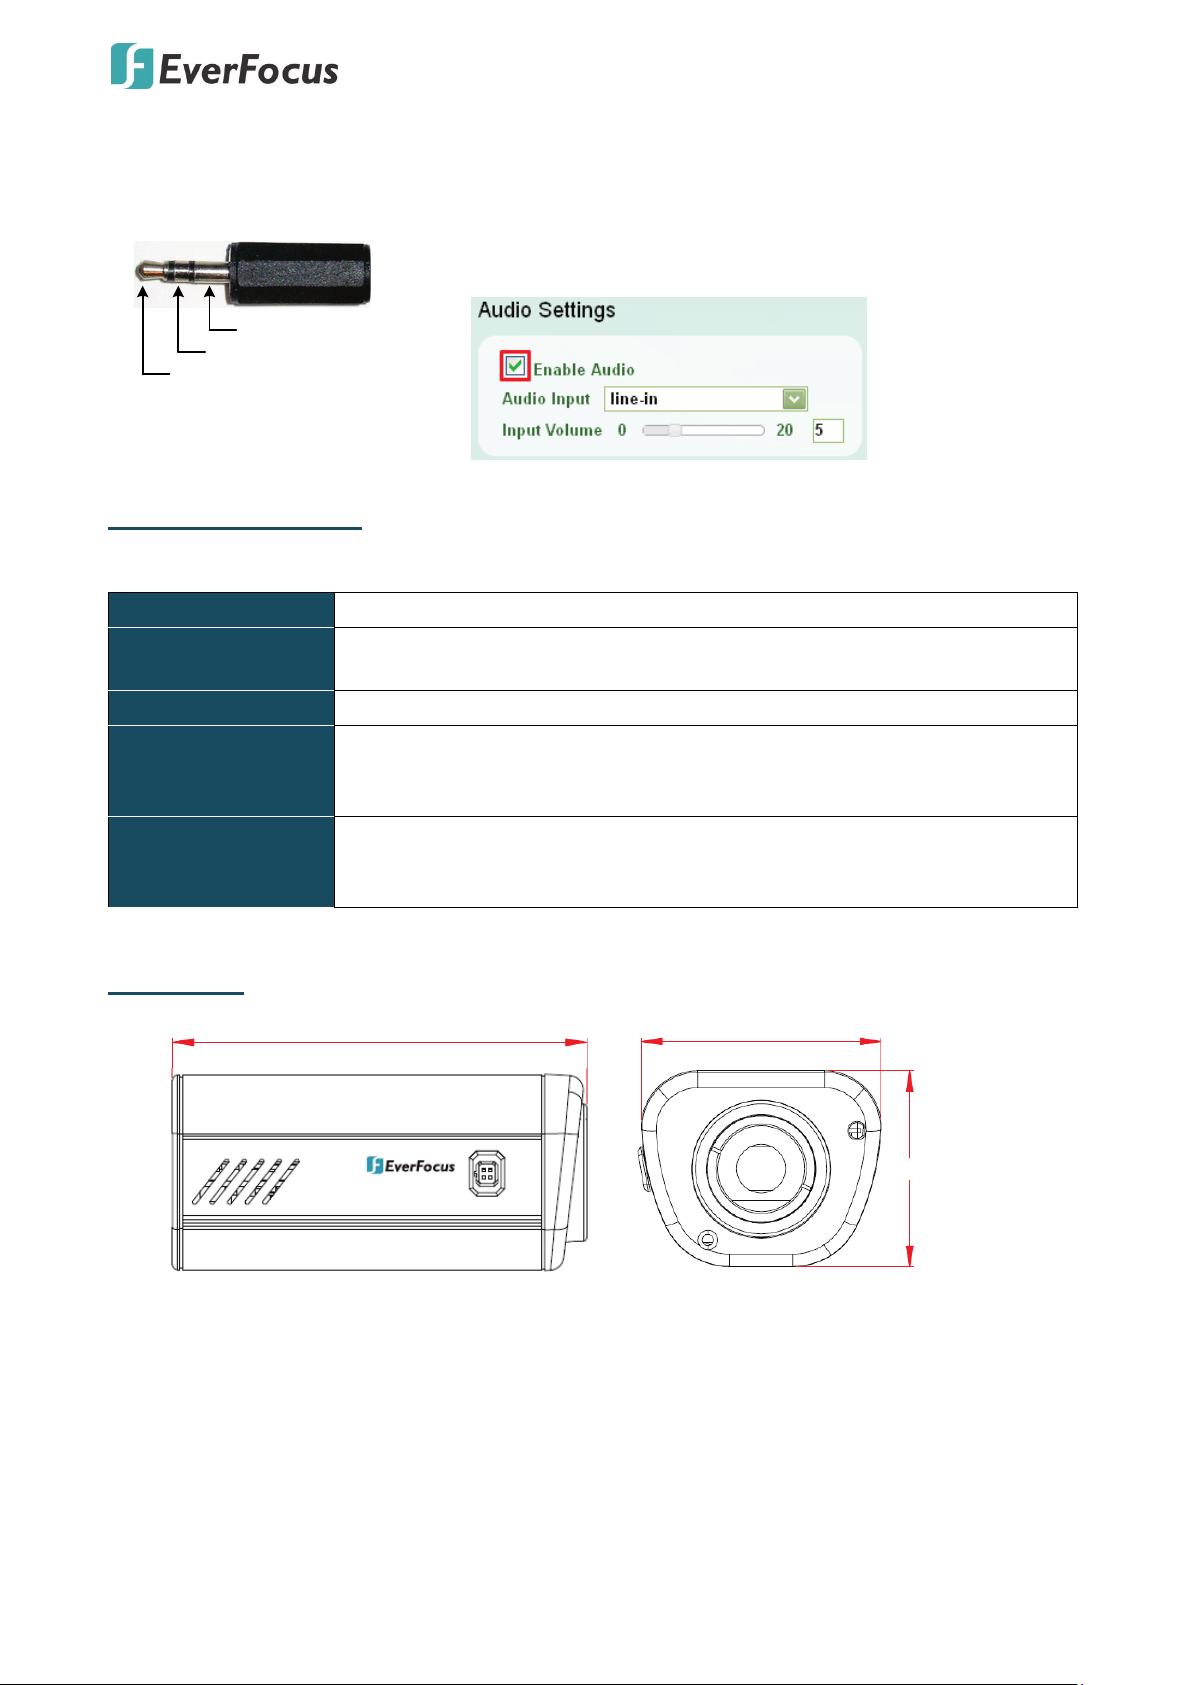
TRS Connector
Left Channel (Tip)
Right Channel (Ring)
Ground (Sleeve)
•
•
118.10mm/4.65" 68.30mm/2.69"
56.40mm/2.22"
To activate the Audio function, the Enable Audio must be
checked. You can also select Audio Input from line-in or mic-in.
See 7.2.1 Streaming and Audio in the User’s Manual in the
software CD.
System Requirements
Before installing, please check that your computer meets the following system requirements.
Operating System Windows 7 (32 and 64-bit) or above
CPU
Intel Core i5 CPU @ 2.0GHz (or equivalent AMD) or higher
(Intel Core i7 CPU @ 3.4GHz recommended)
Graphic Card 512MB RAM graphic cards (or equivalent on-board graphic cards)
2GB or more (8GB recommended)
RAM
• Additional HD space depends on required local storage of video files,
100 Mbps network card.
DirectX 9.0c
Software
• Internet Explorer 9 and later, Firefox 4.0-9.0, Chrome (Windows
version 44 and earlier)
Dimensions
EAN7221/7260/7360
3
1 2 3 4
5 6
I/O Terminal Block
The I/O terminal block, located on the rear panel of the camera, can be used to develop application
for alarm in / out and RS-485 devices.
Pin Assignment
No. Function No. Function No. Function
1 Alarm COM (-) 3 Alarm Input (+) 5 RS-485+
2 Alarm Output (+) 4 Digital GND (-) 6 RS-485-
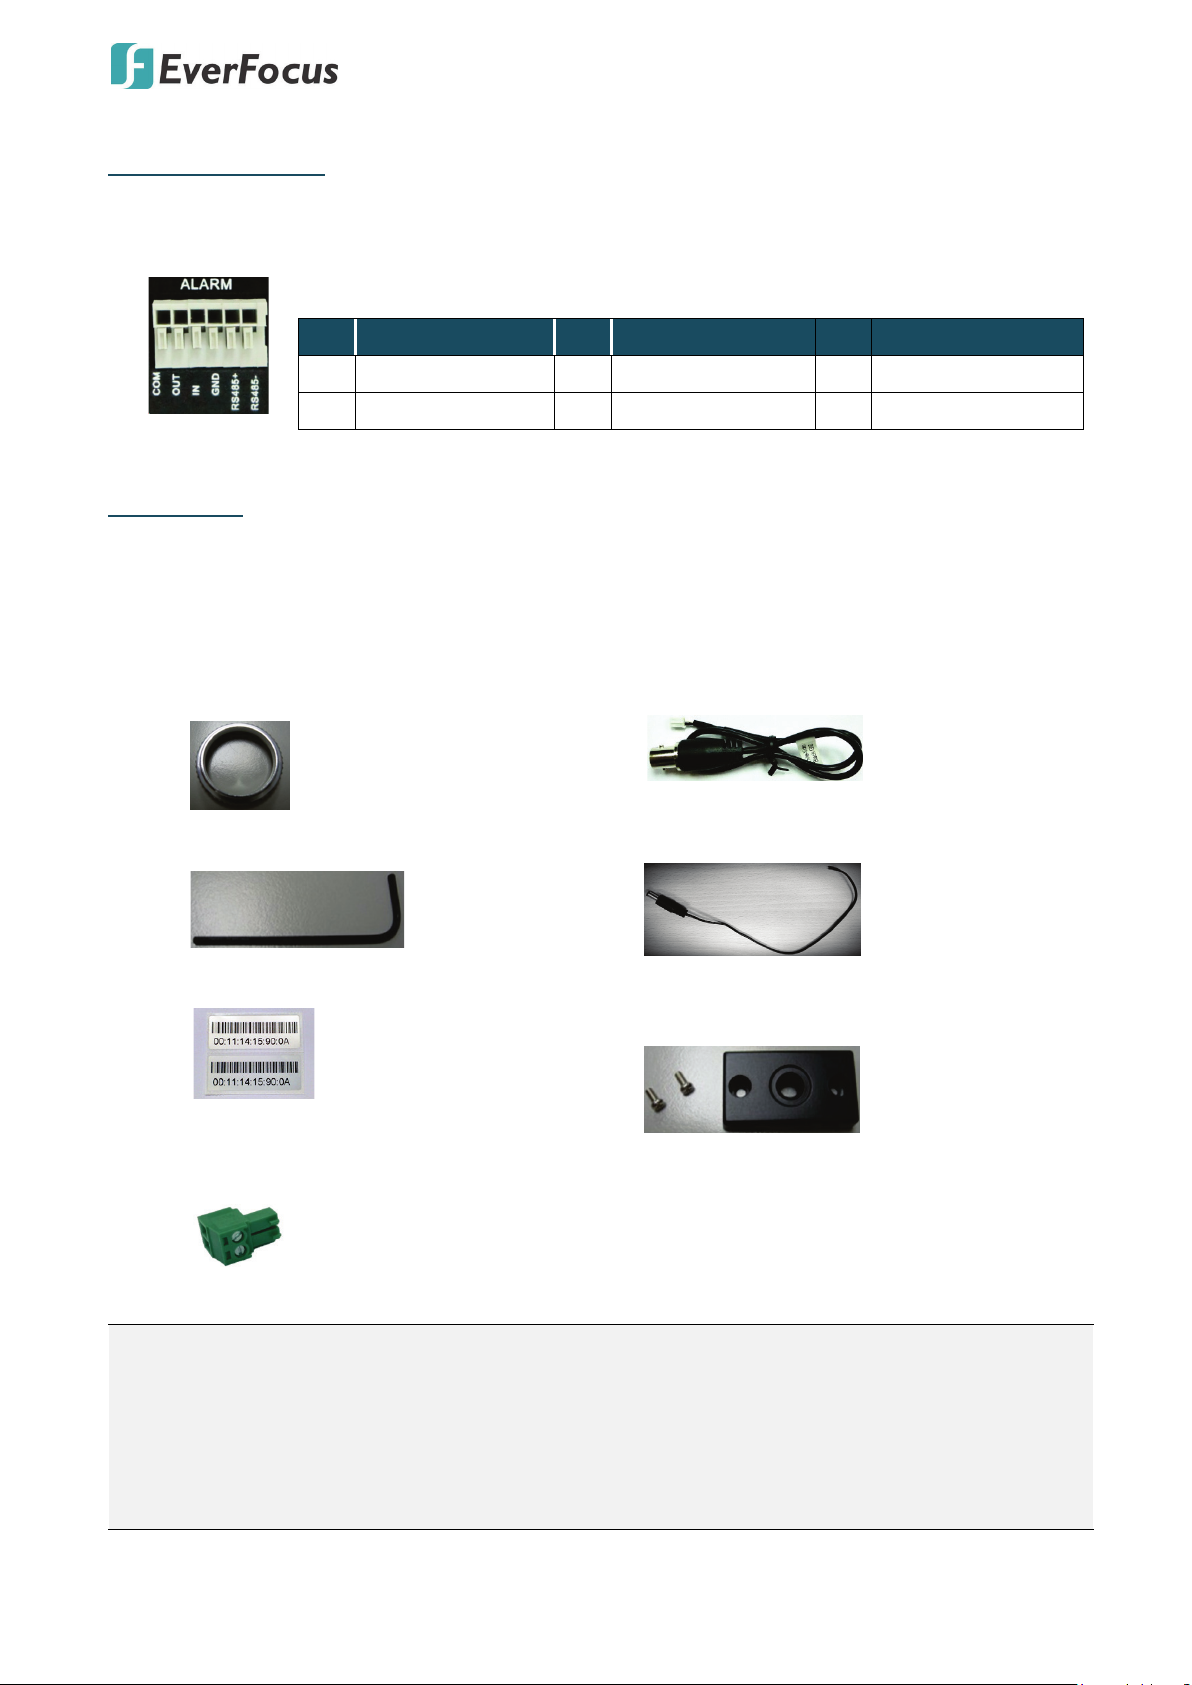
Packing List
• EAN Series Camera (lens not included) x 1
• Software CD x 1
• Quick Installation Guide x 1
• Tool Packet x 1 (contains the following items)
- C-Mount Lens Adapter - Video Test-Out Cable (BNC)
- Hexagon Wrench - Power Pigtail Cable
- 2 MAC Address Stickers
- ¼-20 UNC Thread Mounting Bracket and 2
Screws
- Two-Pin Terminal Block (24VAC~)
Note:
1. Equipment configurations and supplied accessories vary by country. Please consult your local
EverFocus office or agents for more information. Please also keep the shipping carton for
possible future use.
2. Contact the shipper if any items appear to have been damaged in the shipping process.
EAN7221/7260/7360
4
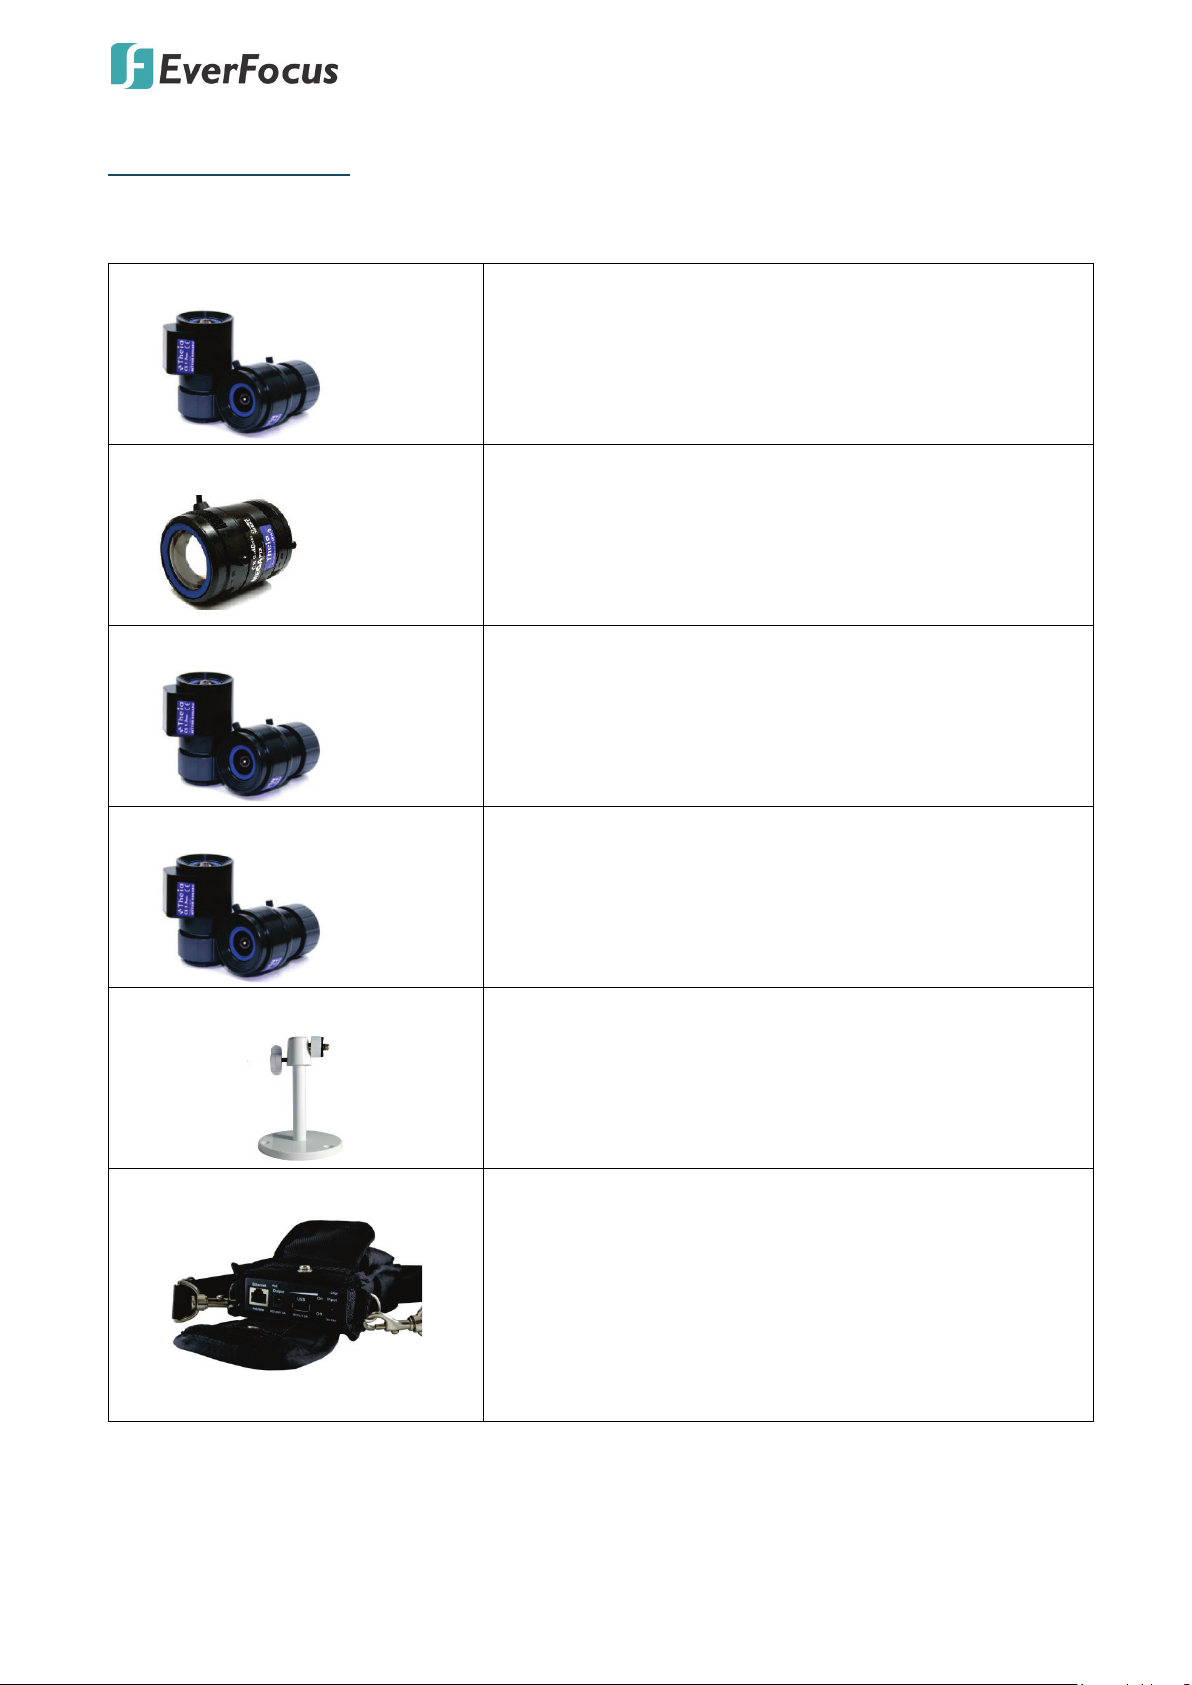
Optional Accessories
You can use the optional accessories to expand the capabilities and versatility of the camera. Please
contact your dealer for more information.
• EFV-M1600DCIR
• EFV-M0940DCIR
• EFV-M1803IR
• EFV-M1803DCIR
1/2.5" F=1.67mm, DC IRIS F/1.8, IR CS Mount (5 MegaPixel)
1/2”, MP Lens, F=9-40mm, DC IRIS, CS mount (5 MegaPixel)
1/2" 1.8-3mm, Manual IRIS F/1.8, IR CS Mount (5
MegaPixel)
1/2" 1.8-3mm, DC IRIS F/1.8, IR CS Mount (5 MegaPixel)
• BA-EZN
• IP Sidekick - ESK1000
Bracket for Box Type Cameras
Max. Load: 990g / 2.18lb
Dimensions: 137 x 105.5 x 105mm / 5.39" x 4.15" x 4.13"
Aluminum
Using it for installation, you do not need to pre-configure
the IP address or to use an additional monitor to check and
adjust all the IP cameras. The product can assign an IP
address to the camera, then you can connect and check the
camera live view using EverFocus mobile App EF Sidekick.
For details about IP Sidekick, please refer to the IP Sidekick –
ESK1000 User’s Manual.
EAN7221/7260/7360
5
C-Mount Lens Adapter
DC Auto Iris Lens Connector
Focus Screw
Zoom Screw
• EverFocus 5 / 8 / 16 / 24 Ports
PoE Switch
5 Ports: ES0501-40
8 Ports: ES0812-31 / ES0802-41
16 Ports: ES1625-31 / ES1645-51
24 Ports: ES2426-31 / ES2446-51 / ES2448-62
2. Installation
This installation guide provides the basic instructions on installing an EAN box IP camera.
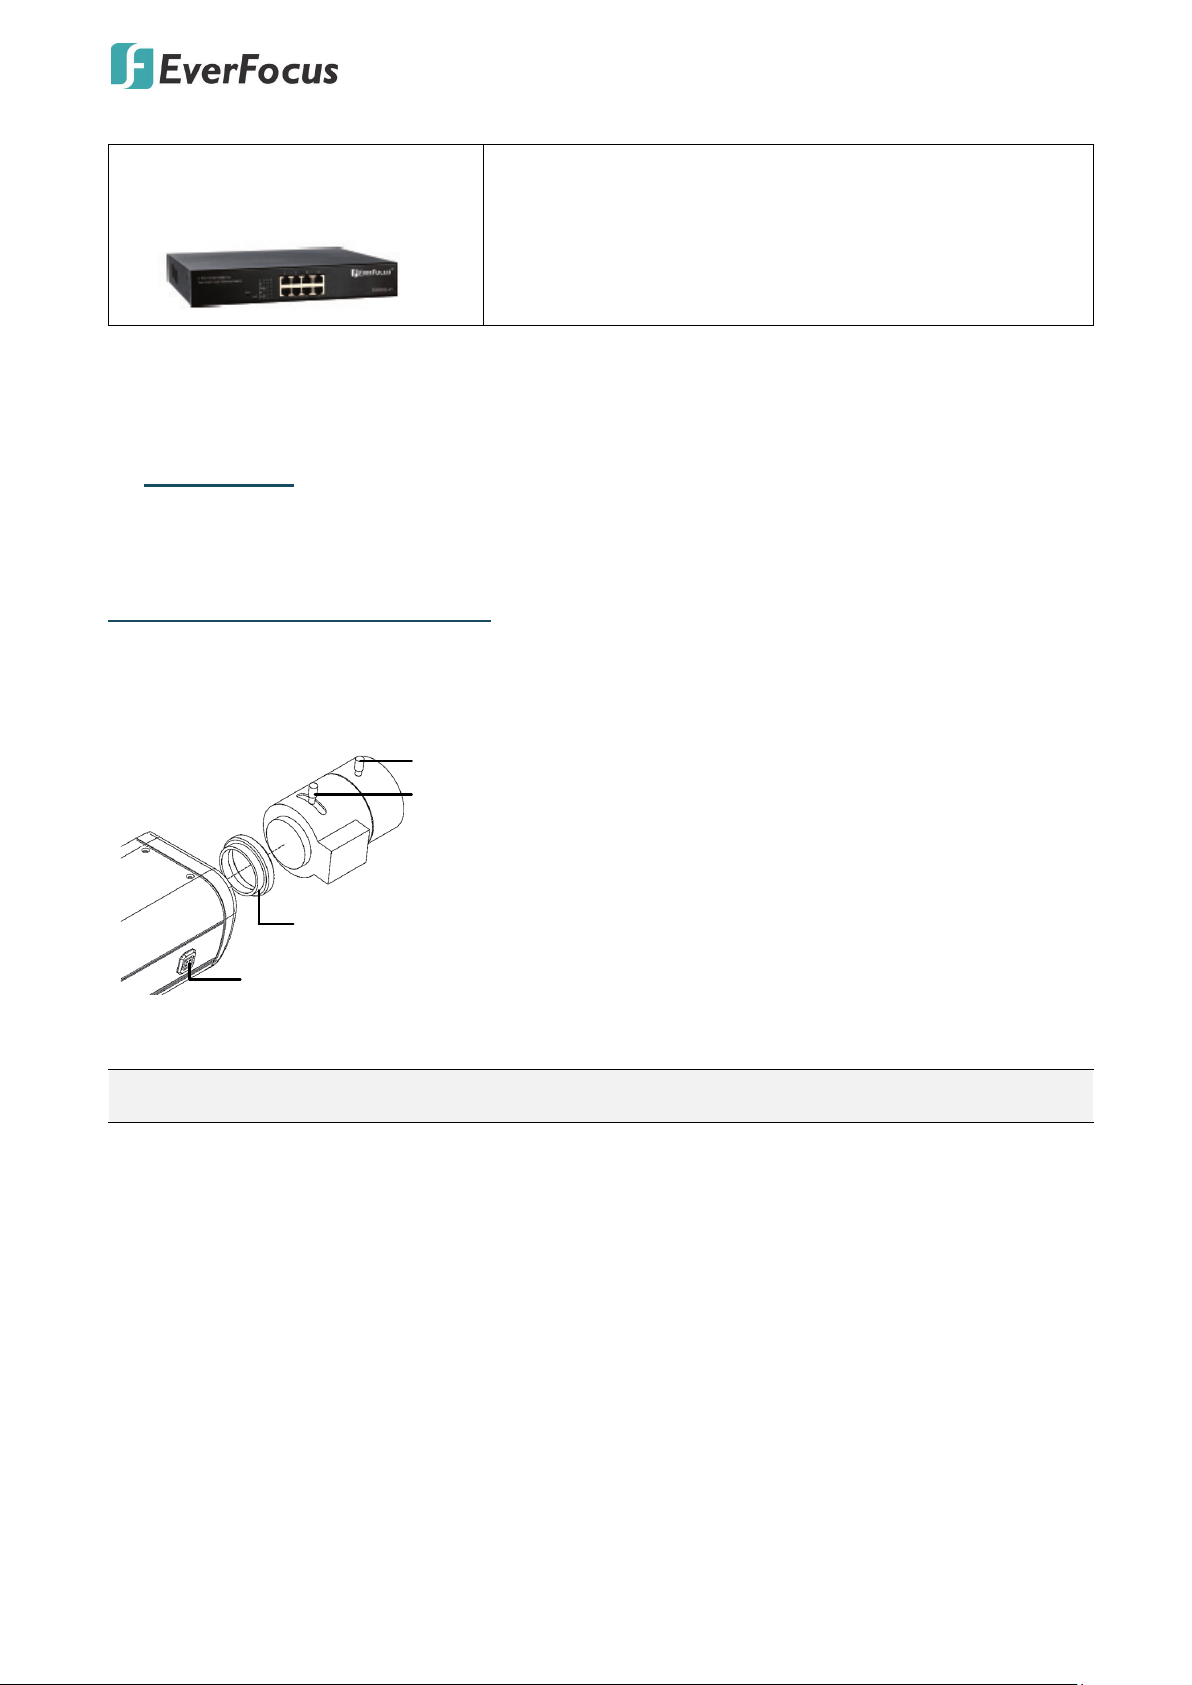
Lens Installation and Adjustment
You can install either a CS-Mount or a C-Mount lens into the camera. It is recommended to use a
lens with aperture ratio of F/1.2 or smaller. Please refer to the following reference steps.
C-Mount Lens:
1. Remove the cover cap from the camera body.
2. Install the lens into the camera body using the
supplied C-mount lens adapter.
3. Adjust the lens using the Focus / Zoom Screws.
Note: Installing a C-mount lens without the C-mount lens adapter may damage the camera sensor.
If you are using a DC Auto Iris lens:
1. Remove the cover cap from the camera body.
2. Install the lens into the camera body.
3. Connect the DC cable to the DC Auto Iris Lens Connector.
 Loading...