

Page 1
& MAINTENANCE INSTRUCTIONS
Models Included:
INSTALLATION, OPERATION
FOR EVERDURE RANGE HOOD
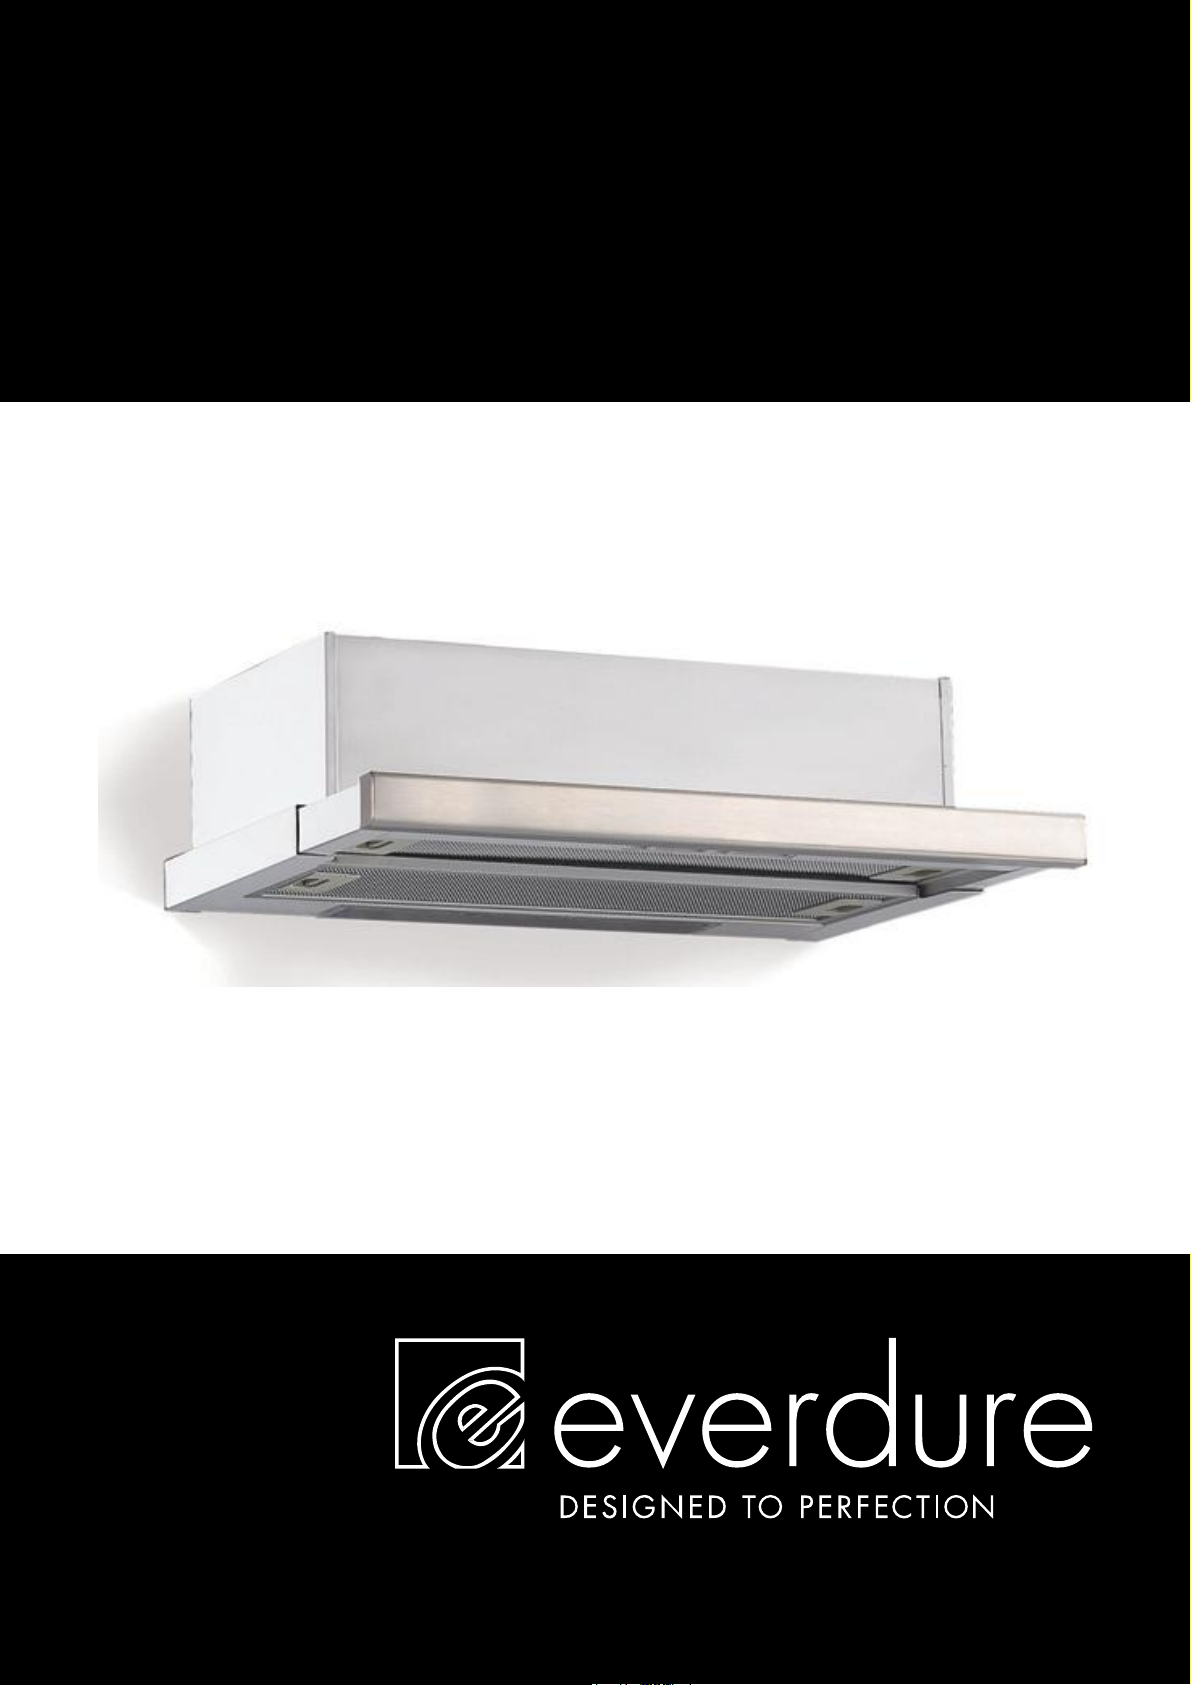
RBES62
KIMBERLEY
INSTALLATION, OPERATION AND MAINTENANCE INSTRUCTIONS
DESIGNED TO PERFECTION
Page 2

FOR EVERDURE RANGE HOOD RBES62
CONTENTS
SECTION PAGE NO.
Important Safety Instructions……………… 3
Appliance Details ………………………… 4
General Information …………………….. 4
What Is Supplied ………….……………… 4
What May Be Needed For Installation … 4
Installation Instructions …………………… 5-6
Operating Instructions …………………… 7
Cleaning …………………………………… 7
It is important that you retain these instructions, proof of purchase as well as
other important documents about this product for future reference.
2
DESIGNED TO PERFECTION
Page 3

IMPORTANT SAFETY INSTRUCTIONS
IMPORTANT: Read the assembly instruction section and safety precautions of this booklet
carefully before removing the contents of this carton.
1. In certain circumstances electrical appliances may be a danger hazard.
2. This appliance is not intended for use by persons (including children) with reduced physical, sensory or
mental capabilities, or lack of experience or knowledge, unless they have been given supervision or
instruction concerning the use of the appliance by a person responsible for their safety. Children should
be supervised to insure that they do not play with the appliance.
3. Do not check the status of the filters while the cooker hood is operating.
4. Do not touch the light bulbs after appliance use.
5. Do not disconnect the appliance with wet hands and do not disconnect the power cord with extreme
force.
6. Do not flambé underneath range hood.
7. Avoid free flame, as it may cause damage to the filters and be a fire hazard.
8. If frying food, ensure to check regularly to avoid the oil overheating and becoming a fire hazard.
9. Unplug the appliance before carrying out maintenance or replacing lamps.
10. If the power cord is damaged, it must be replaced the manufacturer, an authorized service centre or
similarly qualified persons to avoid a hazard.
11. Indoor use only.
12. When the appliance is not in use and before cleaning, unplug the appliance from the outlet.
13. It is recommended to operate the range hood prior to cooking.
14. It is recommended to leave the range hood in operation for 15 minutes after cooking is terminated in
order to completely eliminate cooking vapours and odours.
15. Turn off the range hood when not in use.
16. Don’t use or stop use if the range hood is damaged especially the supply cord and the case.
17. Don’t immerse the range hood in liquid.
18. The exhaust air must not be discharge into a flue which is used for exhausting fumes from appliance
burning gas or other fuels (not applicable to appliances that only discharge the air back into the room).
19. Regulations concerning the discharge of air have to be fulfilled. There shall be adequate ventilation of
the room when the range hood is used at the same time as appliances burning gas of other fuels.
20. Clean the surface of the cooker hood regularly using cloth moistened with denatured alcohol of non
abrasive liquid detergent.
21. For re–circulating range hoods, replace filters approximately every 3 - 4 months.
22. There is a fire risk if cleaning is not carried out in accordance with the instruction.
23. The unit is intended for use above hobs with four elements.
24. If the instruction for the minimum distance between the supporting surface of the cooking vessels on the
hob and the lowest part of the range hood are specified by hob instructions, these instructions should be
taken into account.
DO NOT OPERATE THIS APPLIANCE BEFORE READING THE
INSTRUCTION BOOKLET
DESIGNED TO PERFECTION
3
Page 4

APPLIANCE DETAILS
Voltage: 220-240V
Frequency: 50Hz
Lamp Max: 2x40W ES14
Rated Input Power: 280W
GENERAL INFORMATION
Before installing and operating the range hood, carefully read the following important information regarding
installation safety and maintenance. Keep this information booklet accessible for further consultations.
The appliance has been designed to exhaust cooking fumes externally, or it may be used as a re-circulating
range hood (Filters required for re-circulating type).
Before installation, please ensure that the following have been supplied and that the tools listed below are
readily available.
600
282
308
TOP VIEW
40
178
282
SIDE VIEW
600
552
REAR VIEW
455
EXTENDED VIEW
WHAT IS SUPPLIED
Range hood (including one way valve for ducting) x 1
Installation kit (long screws x 4, short screws x 2, long bolts x 6, short bolts x 2, washers x 6, plastic plugs x 4,
small brackets x 2, long bracket x 1) x 1
Instruction booklet x 1
Note: Parts needed for the ducted option are not included in packaging (charcoal filters & flue tubing).
WHAT MAY BE NEEDED FOR INSTALLATION
Electric Drill Duct Tape
Tape Measure Jig Saw
Spirit Level Ladder
Screwdrivers Torch (If natural lighting is minimal)
4
DESIGNED TO PERFECTION
Page 5

INSTALLATION INSTRUCTIONS
Please ensure that before installing the range hood, that all power is switched off.
Installation must be in accordance to the local electrical authority and codes.
This range hood must be earthed at all times for the operators’ safety.
The G.P.O. for the range hood should be positioned to enable the user to turn the power off, to enable
cleaning and any maintenance required.
The G.P.O. should be installed within 600mm from the rear of the unit.
Ensure that when installing the range hood, that it is protected from any possible damage from tools etc.
Ducting for this unit must be installed in accordance to the local authority.
Ensure that the fixings used for this range hood are suitable.
Check the area where the range hood is to be fitted, to ensure that it is structurally sound.
Before using the appliance, remove the plastic coatings protecting the stainless steel finish.
The Everdure RBES62 range hood is intended to be fitted into kitchen cabinetry. It can also be installed
directly onto a wall if required.
INSTALLATION OF THE EVERDURE RBES62 RANGE HOOD DIRECTLY TO A WALL
Ensure that the wall is structurally sound, and is capable of carrying the weight of the range hood.
The range hood can be placed at a minimum of 600mm away from an electric cooktop, or 650mm minimum
from a gas cooktop.
Measure the distance between the two fixing holes on the back of the unit. Due to manufacturing
processes, there mat be slight variations on each range hood produced.
Mark the distance on the wall in the desired location, at the correct distance above the cooktop.
For timber framed houses, the range hood should be attached to a wall stud. Drill holes of a suitable size to
fix the screws into, which will take the weight of the range hood. Using a screwdriver, attach the screws to
the studs in the pre drilled holes, leaving an adequate amount for the range hood to rest on. Locate the
range hood onto the screws, via the mounting holes in the back of the unit.
For masonry walls, mark the position of the holes on the wall, and drill holes of a suitable size, to accept the
size of masonry anchor to be used. Alternatively, a wall plug of a suitable size may be fitted. Fit the
masonry anchor (if being used) into the hole, or if using wall plugs, attach a screw into the plug. Allow an
adequate amount of the screw or anchor out for the range hood to be fitted onto. Locate the range hood
onto the anchor or the screw, via the mounting holes in the back of the unit. Fit the right angled brackets
onto either side of the unit. Mark the position required onto the wall to fit the brackets. Drill the holes in the
wall, to accept either a screw or wall plug, depending on the wall structure. Attach screws through the
brackets and into the hole or wall plug drilled previously.
Fit the one way valve onto the range hood, ready for the ducting to be installed.
See diagram below for any clarification required.
DESIGNED TO PERFECTION
5
Page 6

INSTALLATION OF THE EVERDURE RBES62 RANGE HOOD TO A CABINET
The diagram below shows the distance required between the holes in the top of the range hood. Due to
manufacturing procedures, it is recommended that the dimension be checked on the range hood before
installing.
Drill the 6 x 4mm diameter holes into the bottom of the cupboard (ducted installation only).
Fit the one way valve onto the range hood, ready for installation of the ducting.
Install the range hood to the bottom of the cupboard using the screws supplied with the range hood. The
holes in the range hood are already threaded. Fully tighten the screws. Install the flashing plate supplied
with the range hood, to the back of the range hood and underneath of the cupboard. This is used to hide
any gaps that may exist after fitting the range hood.
See diagram below for any clarification required.
6
DESIGNED TO PERFECTION
Page 7

OPERATING INSTRUCTIONS
Note: Before the unit can be operated, it must either be ducted or, if the model is installed as a re-circulating
range hood, it must be fitted with charcoal filters.
Connect the plug into the power.
Below is a diagram of the light and fan functions, with an explanation of how the light and the fan functions
operate.
To operate the light, push the switch ① into “I” position to switch the light on, or into “0” to turn the light off
.
To operate the fan, push the switch ② onto either:
I – Low Fan Speed
II – Medium Fan Speed
III – High Fan Speed
0 – To turn the fan Off.
If your range hood does not function correctly when attempting any of the above, please ensure that your
power is on and functioning correctly. If the power seems to be functioning correctly in the house, there may
be a problem with the range hood. Please call your authorized service agent in this case to organise a
service call or replacement unit.
CLEANING
SAFETY PRECAUTION
Before cleaning your range hood or performing any maintenance, please ensure that the range hood is
turned off at the power point.
Do not use abrasive cleaners to clean the range hood. The use of warm soapy water and a cloth are
recommended.
Ensure that the range hood is cleaned regularly, as a build up of grease and fat may occur otherwise.
The filters on the range hood must be cleaned regularly to maintain efficiency, and prevent grease build up.
It is recommended that this is undertaken every 4 – 6 weeks, depending on frequency of use.
The filters can be cleaned with warm soapy water or a cloth, or they may be washed in a dishwasher. If
washed in a dishwasher, discolouration may occur to the mesh and frame.
Cleaning of the range hood must be performed as described above, otherwise there is a possibility of a fire
hazard due to grease and fat build up.
If the range hood is fitted with charcoal filters (for re-circulating) it is recommended that the filters be
changed every 3 – 4 months. Filter replacement will ensure correct function of the range hood, and ensure
that the air being re-circulated back into the room is clean.
DESIGNED TO PERFECTION
7
Page 8

All Service and Assembly Enquiries:
1300 766 066
A division of Shriro Australia Pty Ltd
23-27 Chaplin Drive Lane Cove NSW 2066
1300 766 066
www.everdurekitchen.com.au
IM Ref: RBES62 27/2009/02FC
FOR INDOOR USE ONLY
DESIGNED TO PERFECTION
 Loading...