

Page 1
Using Your Phone
Answering a Call
When your phone rings, press or (speaker).
Placing an outbound call
MANUALLY
1. Select or (speaker).
2. Enter the number to dial.
USING THE VIRTUAL DSS
1. Press to activate the DSS list.
2. Scroll to the DSS key you want to dial.
3. Press again.
CONTACT LIST
1. Press the Menu key.
2. Selects Contacts.
3. Scroll and select the contact you want to dial.
4. Press
At any time, press to switch the audio output to the
speaker.
Placing an Intercom Call
Press and dial the extension number, or press a
programmed virtual station key. The station key LEDs
indicate:
Solid Red = Line or Station in use, Do Not Disturb
Blinking Red = Line or Station is ringing
Releasing a Call
To release a call, either press or place the handset in
its charger cradle.
Using a Headset
To use a compatible headset with the handset, simply unplug
the headset into the headset outlet located on top of the
handset. Audio will automatically pass through the handset.
Transferring a Call to Another Phone
While connected to an outside caller, press CNF/TR and dial
the extension number (or press the virtual station key) for
the person to receive the call. To perform an unsupervised,
hang up immediately . For a supervised transfer, wait
until the called person answers, announce the call, then
hang up immediately . If during a supervised transfer,
the transferred-to person doesn’t answer, do one of the
following:
• Press F/RDL.
• Or press to release the call to the station’s mailbox.
Transferring a Call Directly to Mailbox
To transfer an outside call to another user’s mailbox, press
CNF/TR, then VM and the appropriate station key (or enter
the station number manually). Even though you both will
hear the personal greeting, you can hang up at any time to
release the call to the mailbox.
Transferring a Call to the Main Menu
To transfer an outside call to the main menu, press VM and
hang up.
Leaving a Message in Another User’s Mailbox
Press VM then CNF/TR and then dial the extension number
(or press VM and the appropriate virtual station key). If you
press 1 during the user’s personal greeting, you will advance
directly to the record tone.
Initiating a Conference Call
While connected to a call, press CNF/TR and call another
station or outside person. Repeat the step to add another
person to the conference (the maximum, including yourself,
is four people). Hang up to disconnect all persons
in the conference. If the newest added-on person does not
answer, press F/RDL to return to the original conferees.
Picking Up a Call at Another Station
If a call is ringing at another station (if it is programmed
into one of your virtual station keys, it will be blinking red),
that call can be picked up at your station by pressing *,
then press either ringing virtual station key or entering the
extension number (e.g. press *103 to pick up a call on
extension 103).
Call Waiting
If you receive another call while you’re already on a call
and you have activated call waiting (see “Programming
Your Phone”), you will hear a tone in your earpiece and the
display will indicate that a call is waiting. You can ignore the
call waiting (and it will be directed to your mailbox), or you
can toggle between the two callers by pressing F/RDL. To
drop either call, press . Your phone will then ring with
the other call.
Dialing 911
Local: Dialing 9-1-1 from a local phone places an
emergency call and also notifies the system operator via a
speaker or displayed prompt.
Remote: To successfully dial 911 from a remote phone the
base station must be connected to an analog CO line. Dial
using one of these methods: 1) press then the LCL
(local analog CO line) key that you programmed on one of
the virtual DSS keys, or 2) press , then * and wait
for the analog CO dial tone before dialing 911. Emergency
services will not be sent to the correct address without using
one of these methods.
Using Feature Keys
FIXED KEYS
Talk
Press to start/answer or to release a call.
Call Pickup (*)
A call ringing at another station or group can be answered
from your station by pressing
*
, then press the appropriate
blinking station key or enter the extension number (e.g. *103
to pick up a call on extension 103).
Paging (#)
To page through all available stations, press # 0. To page in
only a programmed paging zone, press # and the one-digit
paging zone designation (in a range of either 1-3 or 1-9; see
the System Administrator for assistance).
Volume / Mute
For volume, see Adjusting Volume. For ring volume, press
the plus/minus keys shown in the display on an incoming
call. To mute the handset, press .
VIRTUAL KEYS
Hold
Press to place a caller on hold for pickup at any station. To
pick up a held call, press HOLD. The display will show which
outside lines are holding calls, with the most recently held
calls on the right. Enter the appropriate line number (ex. 1 2
for line 12) to pick up the call.
F/RDL (Flash/Redial)
When you’re on a call, press this key to generate a flash
hook on the outside line or to toggle between calls waiting.
Otherwise, press this key to redial the last outside number
dialed. If you have a Caller ID service, press the key while
listening to a voice mail message to automatically return the
call.
CNF/TR (Conference/Transfer)
This lets you transfer a call to a station for which you don’t
have a programmed station key. Press CNF/TR and then
dial the extension number. See Initiating a Conference Call
for this keys others uses.
Special Features
Call Forwarding
Dial 5 6 5 and then either dial an extension or press a virtual
station key to forward your call to that station. To disable
call forwarding, dial 5 6 5 and . You can create a call
forward key by assigning 5 6 5 to a programmable feature
key.
DND (Do Not Disturb) Mode
Program the code 5 7 8 into one of the eight virtual keys and
press this key to toggle into and out of DND (Do Not Disturb)
mode.
Call Recording
Program the code 5 8 2 into one of the eight virtual keys and
press this key while on a call to toggle live call recording on
and off. If you press the key when the handset is idle, you
can record a personal memo. Access your voice mail box for
recordings.
Quick Switch Key
Verify with the System Installer or Administrator that your
handset has been associated with an ESI desktop phone,
which is needed to use this feature.
Key code 583 can be programmed only on one of the
programmable feature keys on an ESI desktop phone.
When the phone is idle, press the key to select a ring option:
• Ring desktop - Incoming calls will ring only to the desktop
phone.
• Ring cordless - Incoming calls will ring only the Cordless
Handset.
• No-ring option - When a caller dials (or is transferred to)
the desktop phone, only the desktop phone rings. If the
caller dials (or is transferred to) the Cordless Handset,
only the Cordless Handset rings.
While you’re on a call or when either the desktop phone or
Cordless Handset in ringing, the Quick Switch Key will be lit
green, which signifies a “push” action can be performed:
• While connected to a call on your desktop phone, press
the Quick Switch Key to “push” the call to your Cordless
Handset. This essentially performs a blind transfer. The
Cordless Handset will ring, while the desktop phone
automatically disconnects.
• Press on the Cordless Handset to answer the call.
• While connected to a call on your Cordless Handset, press
the Quick Switch Key on the desktop phone to “push”
the call to the desktop phone. The Cordless Handset
will automatically disconnect and the desktop phone will
ring (or go into the speakerphone mode).
Note: If you’ve “pushed” a call accidentally, you can
retrieve the call by pressing the Quick Switch Key again.
Refer to the applicable User’s Guide for more information
concerning the Quick Switch Key.
Note: When programming a 5XX feature key for any
phone running on an IP Server 900, you must enter “#”
followed by the 5XX key code.
Page 2
Copyright © 2016 ESI (Estech Systems, Inc.). • 0450-1426 Rev. B
Digital and IP
Cordless Handset III
Quick Reference Guide
Programming Your Phone
Setting your Phone Preferences
Press PROG to access programming, and then select from
the menu choices.
1. Personal Greeting 4. Station Audibles
1. Record 3. Message ring
2. Delete 5. Password
3. Hear 1. Enter
2. Programmable Feature Keys 2. Delete
3. Station Options 3. Hear
1. Call waiting 4. Security level
2. Greeting reminder 6. External notification
5. Hands-free answer 9. Message Recycle Bin
6. Monitor mode
7. Power-saving mode
Note: Not all menu options are available with all ESI
systems.
Programmable Feature Keys
There are two steps for programming your phone’s keys:
Assigning a Label
1. Press the Menu Key.
2. Select Key Label.
3. Scroll to and select the desired button.
4. Enter the new label using the dial pad. To use numbers,
select the number key at the bottom of the LCD screen.
To delete an entered digit, press Delete on the LCD.
5. Press Save at the bottom of the LCD screen before
exiting.
Assigning a Number
1. Press .
2. Scroll to the desired key.
3. Press and hold until the programming prompt
plays.
4. Enter the desired number. Phone numbers should
begin with the line access code.
5. Press the square key.
6. Scroll to the DSS key and press again.
The eight virtual programmable keys can programmed as:
• Line keys - If programmed with a line number, the key
will become a line key providing lamp information and
outside line access.
• Station keys - If programmed with an extension
number, the key will provide station lamp status and
direct station access and transfer.
• Speed-dial keys - Can be used for automatic dialing of
frequently called outside numbers. Enter the line access
code (9, 8 or 7) plus the phone number.
• Additional Feature keys - Depending on your system,
these may include live recording, ACD agent log-on,
system speed-dial, personal greeting, etc. See the
System Administrator for assistance.
Note: This handset’s virtual keys diplay as only red,
while an ESI desktop phone’s LEDs are tri-color (red,
amber and green).
Using Voice Mail
If you have new messages, your display will show an
envelope icon.
Retrieving Messages at Your Station
1. Press , then VM.
2. When prompted, enter your password (if required)
followed by #. The default password is 0 (meaning no
password is required).
During message playback, the display will show the
originator of the message, the duration of the message,
whether it is old or new, and the time/date of the message.
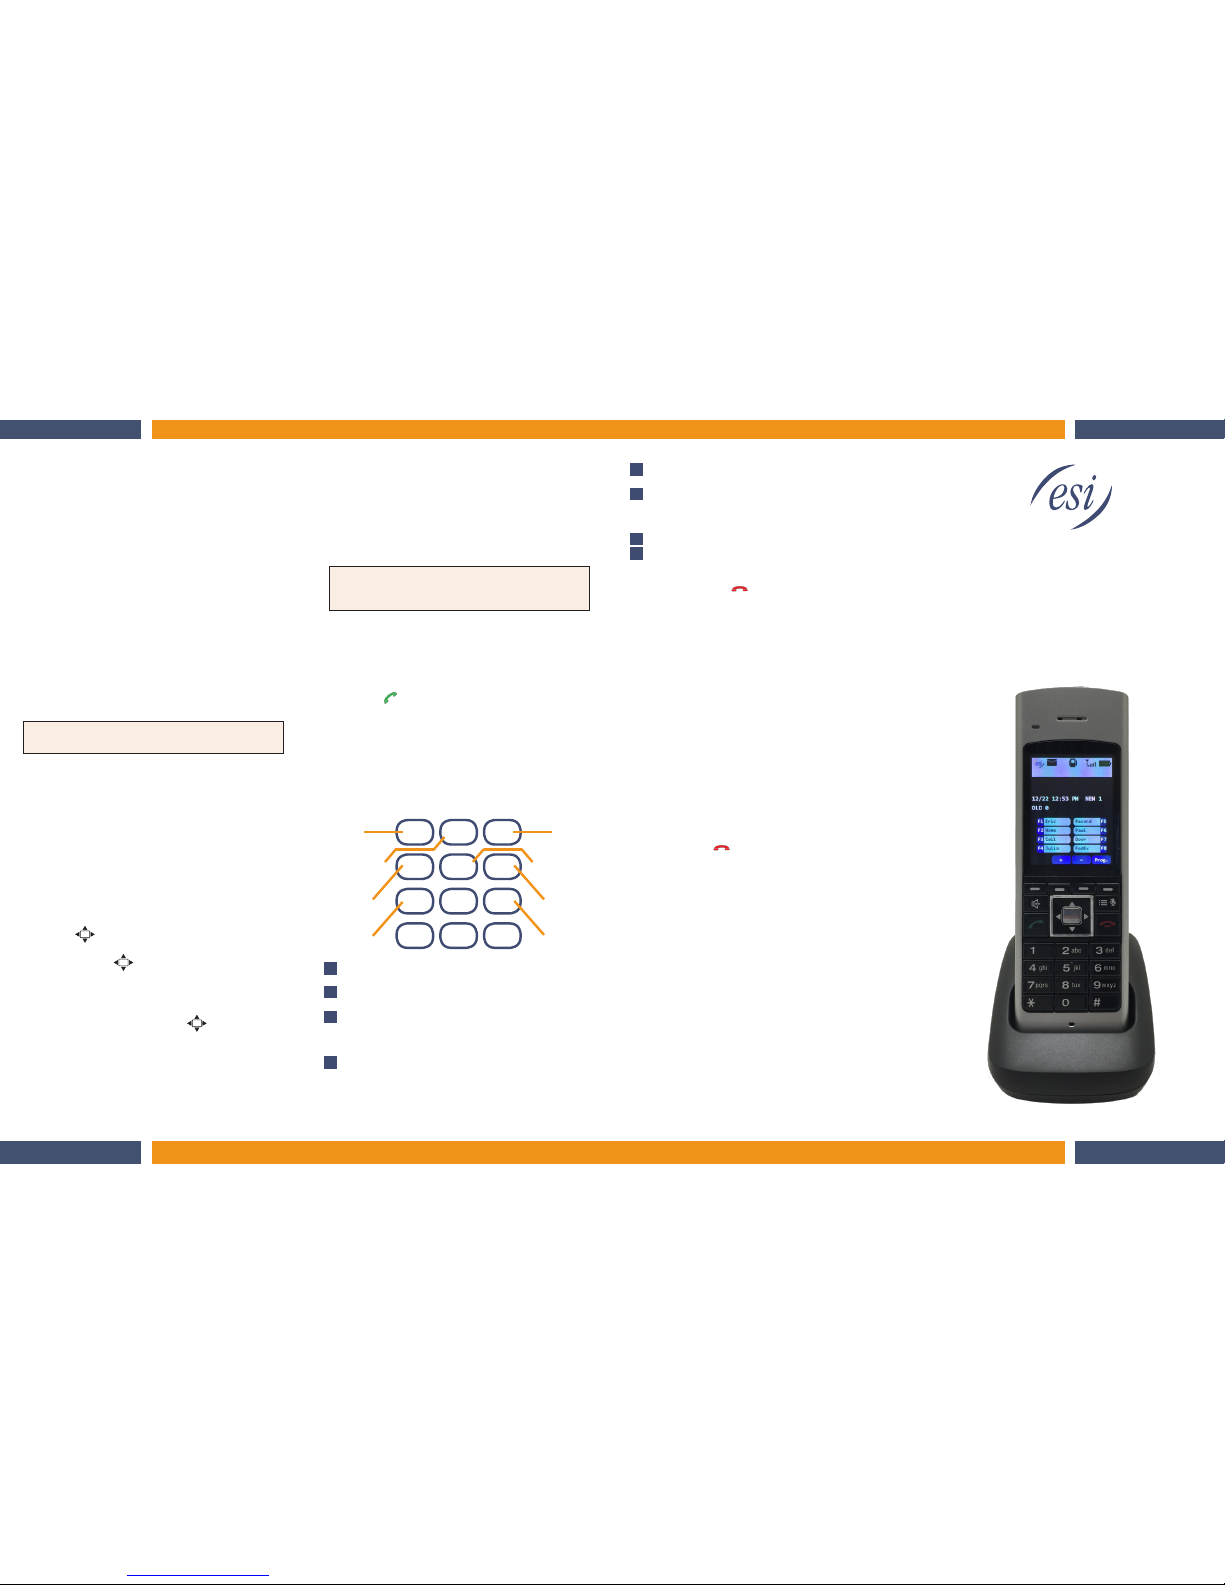
You can press any of the following keys at any time during
the message or during the prompt following the message.
1. Pause - Pauses playback for one minute, or until
pressed again.
2. Time/date to number - Toggles the display between
the time/date and Caller ID number (if available).
3. Reply - To automatically reply to a message from
another user (within the system). Begin recording your
reply at the tone; press 1 to stop. You will then be
returned to the original message for further action.
4. Rewind - Rewinds playback four seconds for each time
you press it during message playback. If pressed after
the message has finished, returns you to the message’s
beginning.
5. Fast forward - Advances playback four seconds each
time you press it (not available on Remote Cordless).
6. Move - Moves a copy of the message to another
user’s mailbox. To add an introduction, press 1 when
prompted. When you’ve finished your recording, press
1 to stop.
7. Delete - Deletes the message.
8. Save - Saves the message. It will be played as an old
message the next time messages are retrieved.
When finished, press to hang up (if you hang up while
a message is playing back, the message will remain as
“new”).
Deleted Voice Mails
Your ESI system stores your ten (10) most recently deleted
messages in a Message Recycle Bin (PROG 9) to allow you
to recover messages that may have been deleted in error.
Personal Mailbox Greetings
You can record up to three personal greetings (PROG 1),
and then change between them as desired.
Power-save Mode
Power-saving mode activates after the handset has been idle
for 30 seconds. Once in this mode, the display goes dark
until an incoming or outgoing call is made.
To enable or disable power-save:
1. Press the MENU button.
2. Scroll to and select Settings, then Power-Save.
3. Scroll to and select either On or Off.
4. Press Back or to exit the menu.
Hardware
• Charger: Used to charge the phone when it is idle.
• Base station: This device communications between the
handset and the ESI system.
• Repeater (optional): Placed between the handset and the
base station to extend the signal range.
1
2
3
4
5
6
7
9
1 2 3
4 5 6
7 8 9
*
0 #
PAUSE
TIME/DATE
REWIND
DELETE
REPLY
FAST FWD
MOVE
SAVE
 Loading...