

Page 1
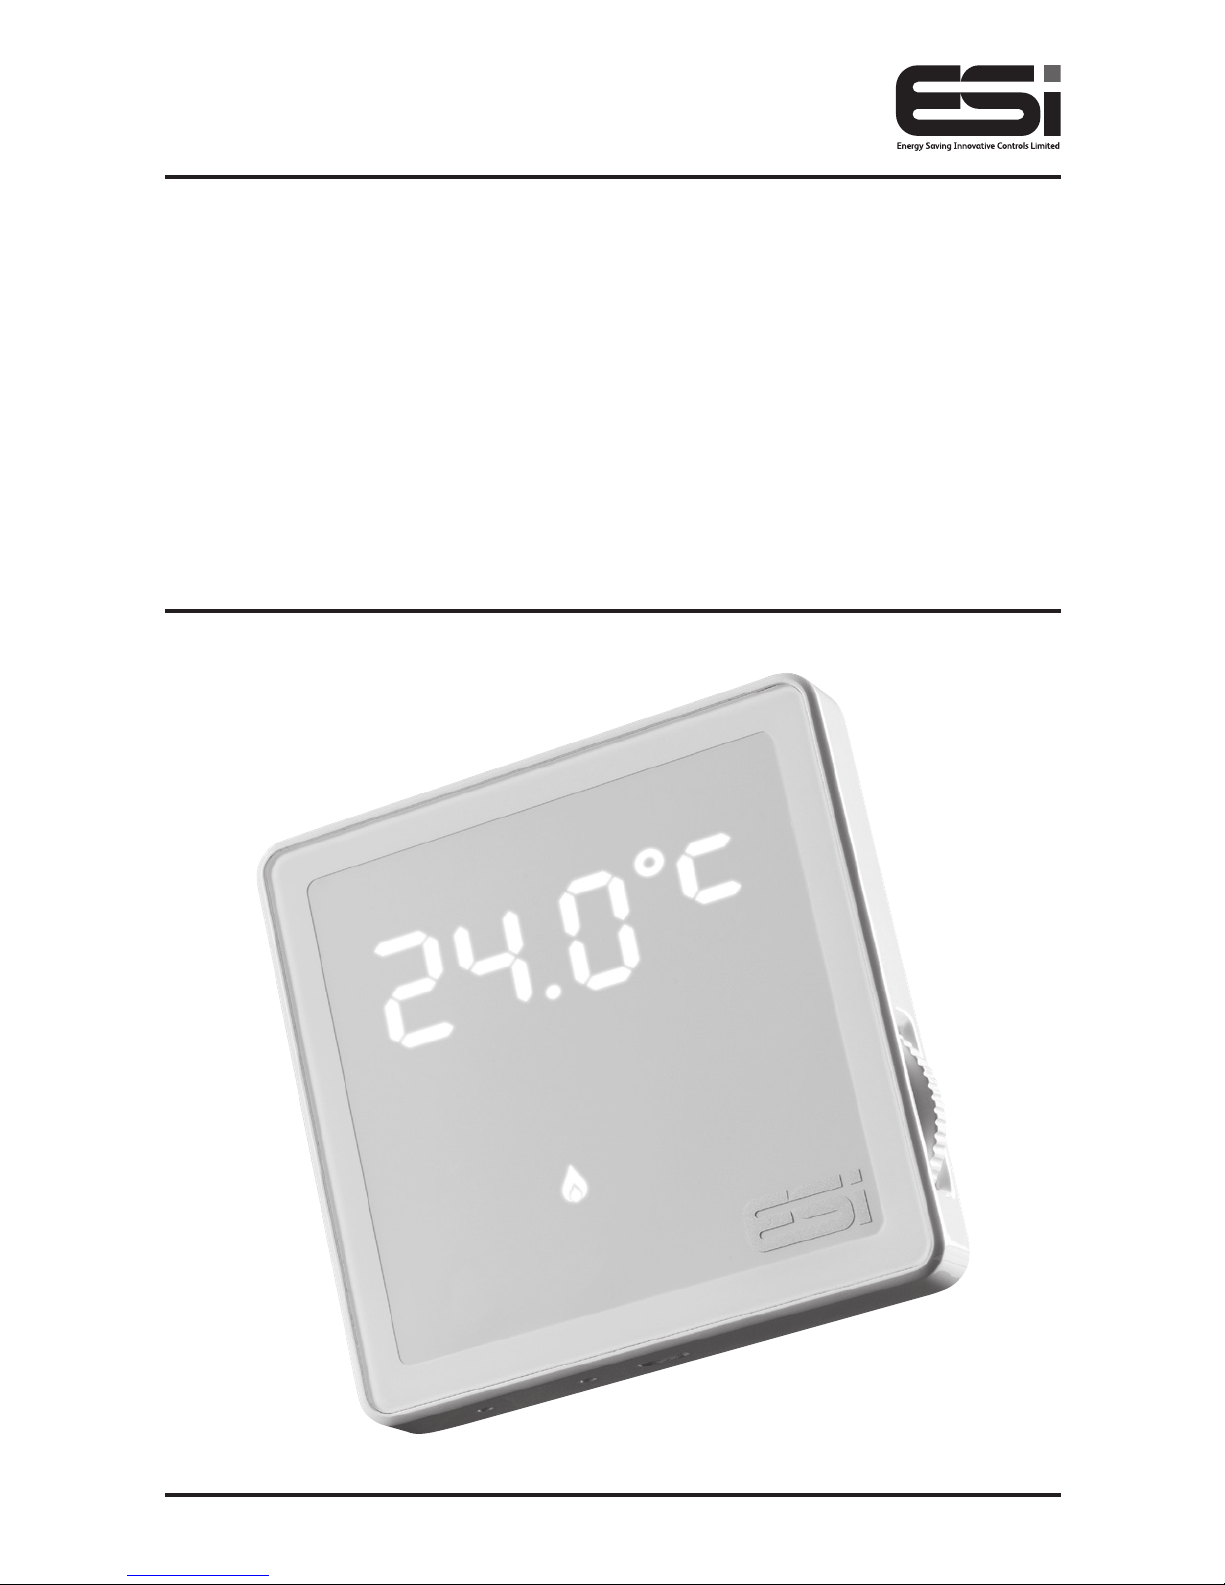
ESRTD5 & ESRTD5VF
Digital Room Thermostat
with TPI & Delayed Start
User Instructions
Page 2

Thank you for choosing ESi Controls.
All our products are tested in the UK so we are
confident this product will reach you in perfect
condition and give you many years of service.
However, for additional peace of mind, we
recommend you register your product online at
www.esicontrols.co.uk/warranty for your
extended warranty.
2
Page 3

User Instructions
1. Setting & Adjusting the Thermostat 6
1.1 Setting the Temperature 6
1.2 Setting TPI 6
1.3 Setting Delayed Start 6
2. Switching between 5 & 6 Series Thermostats 7
2.1 Removing the thermostat from the backplate 7
2.2 Attaching the thermostat to the backplate 7
Terminology Explained
3. Explanations for Householders & Installers 9
3.1 What is a Room Thermostat? 10
3.2 What is Chronoproportional Control (TPI) 11
3.3 What is Delayed Start? 12
Contents
3
Page 4

4
Page 5

5
User Instructions
Page 6

6
1. Setting & adjusting the
thermostat
1.1 Setting the Temperature
To set the temperature, turn the dial until the desired temperature is shown in the LED display. The LED display will flash
the desired temperature for (approximately) 5 seconds before
returning to display the current room temperature.
1.2 Setting TPI
TPI is usually set up during installation. To adjust the setting
after installation, simply click the unit off the backplate (See
section 2.1 for details) and move the DIP switch on the rear of
the unit to TPI (See section 4.2.3 for details). Refer to Section
2.2 to click the unit back into place.
1.3 Setting Delayed Start
Delayed Start is usually set up during installation. To adjust
the setting after installation, simply click the unit off the backplate (See section 2.1 for details) and move the DIP switch
on the rear of the unit to Delayed Start (See section 4.2.3 for
details). Refer to Section 2.2 to click the unit back into place.
Page 7
7
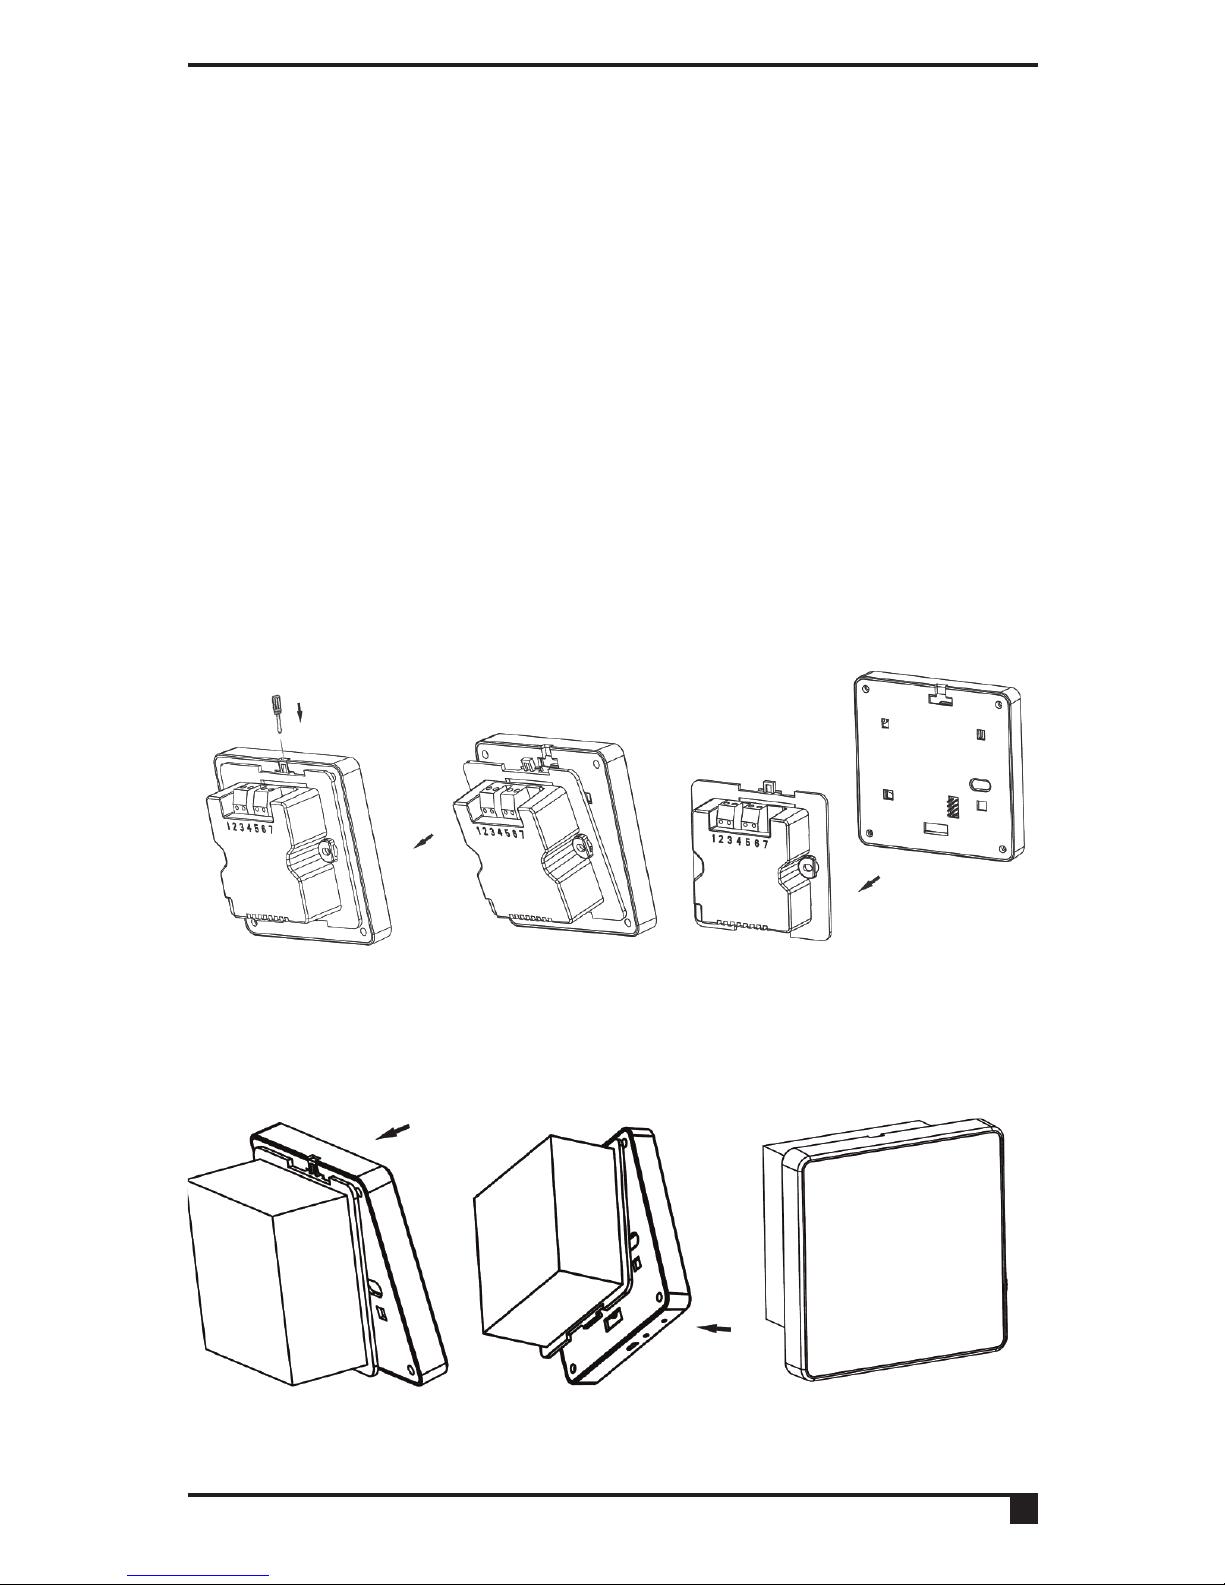
2. Switching between 5 Series
Thermostats
The simple click on/off backplate is designed to be fully
interchangeable throughout the entire 5 range and, with just
a 5 volt connection, can be upgraded to different versions
safely by the homeowner without disconnecting the power or
re-wiring.
2.1 Removing the thermostat from the backplate
Use a flat headed screwdriver to press the fastener at the top
of the unit. Then gently loosen from the unit, unhooking from
top to bottom.
2.2 Attaching the thermostat to the backplate
Fit the unit onto back-plate securing from bottom to top.
Page 8

8
Page 9

9
Terminology Explained
Page 10

10
3. Explanations for Householders
& Installers
3.1 What is a Room Thermostat?
A room thermostat simply switches the heating system on
and off based on room temperature. It works by sensing
the air temperature, switching on the heating when the air
temperature falls below the thermostat setting and switching
it off once this set temperature has been reached.
Turning a room thermostat to a higher setting will not make
the room heat up any faster. How quickly the room heats up
depends on the design of the heating system, for example,
the size of the boiler and radiators. Neither does the setting
affect how quickly the room cools down. Turning a room
thermostat to a lower setting will result in the room being
controlled at a lower temperature, and saves energy.
The heating system will not work if a time switch or
programmer has switched it off. The house insulation quality
is a key factor in heating control.
The way to set and use your room thermostat is to find the
lowest temperature setting that you are comfortable with,
and then leave it alone to do its job. The best way to do this
is to set the room thermostat to a low temperature—say
18°C and then turn it up until you are comfortable with the
temperature (20°C is the usual preferred set point). You won’t
have to adjust the thermostat further. Any adjustment above
this setting will waste energy and cost you more money.
If your heating system is a boiler with radiators, there may
only be one room thermostat to control the whole house (but
Page 11

11
building regulations Part L require houses above a certain
size to have more than 1 heating zone). Room thermostats
need a free flow of air to sense the temperature, so they must
not be covered by curtains or blocked by furniture. Nearby
electric fires, televisions, wall or table lamps may prevent the
thermostat from working properly. Also keep out of direct
sunlight.
3.2. What is Chronoproportional Control (TPI)?
A chronoproportional (or TPI) room thermostat makes boilers
operate more efficiently and provide close accurate control.
Chronoproportional control is a load compensator as it
ensures that the boiler ‘ON’ time is reduced to a minimum
and matches the boiler heat output with the heat loss. This
reduces the net temperature of the return water to the
boiler. This is due to the TPI (Time Proportional and Integral)
advanced energy saving feature.
Rather than just a simple ON/OFF control, like other domestic
room thermostats, room thermostats with TPI increases
boiler efficiency by firing the boiler at regular intervals,
adjusting firing duration with demand, to maintain set
room temperatures, giving them a great advantage over
other domestic room thermostats and achieving a constant
ambient environment for the user e.g. if a property only has
a simple mechanical thermostat installed, then the energy
saving benefits of a replacement high efficiency condensing
boiler will not be realised as the boiler will rarely be running in
condensing mode.
Heating and hot water can account for over 80% of
total household energy usage. Chronoproportional (TPI)
thermostats can provide great cost savings. It can be used
on any boiler, with underfloor and radiator systems, zoned
Page 12

12
heating and electric heating systems. The use of an electronic
thermostat with chronoproportional capability provides closer
temperature control plus possible reductions of 10% in both
fuel cost and carbon emissions. This thermostat has the
option of standard setting or TPI.
3.3 What is Delayed Start?
Thermostats with the Delayed Start function have been
shown to reduce heating costs by as much as 10%. This
feature delays the start-up of the heating, depending on how
warm the room temperature is at the time when the central
heating is due to come on.
The heating start can be delayed for up to 45 minutes if the
room is already relatively warm, when the weather is milder
for example. This often reduces how long the heating is on
per day, with no comfort loss, saving you energy and money!
The Delayed Start feature can be fully automated and needs
no extra programming.
Page 13

13
Page 14

14
We are continuously developing our products to
bring you the very latest in energy saving
technology and simplicity. However, should you
have any questions setting up your controls
please email us at [email protected] or for
technical queries call us on our dedicated technical
helpline 07539 117468.
Page 15

15
WARNING: Interference with sealed parts renders the
guarantee void.
In the interests of continuous product improvement we reserve
the right to alter designs, specifications and materials without
prior notice and cannot accept liability for errors.
Page 16

Version 6.10.1
 Loading...