

Ericsson HBS2 Quick Installation Manual
HBS2 Quick Installation Guide
Home Base Station 2
Mobile@Home
2
Disclaimer
The contents of this document are subject to revision without notice due to continued progress in methodology, design, and manufacturing. Ericsson shall have no
liability for any error or damage of any kind resulting from the use of this
document.
Introduction
This guide describes briefly how to install the HBS2 access point (AP) and how to
pair/bond this to the mobile phone.
HBS2 Installation
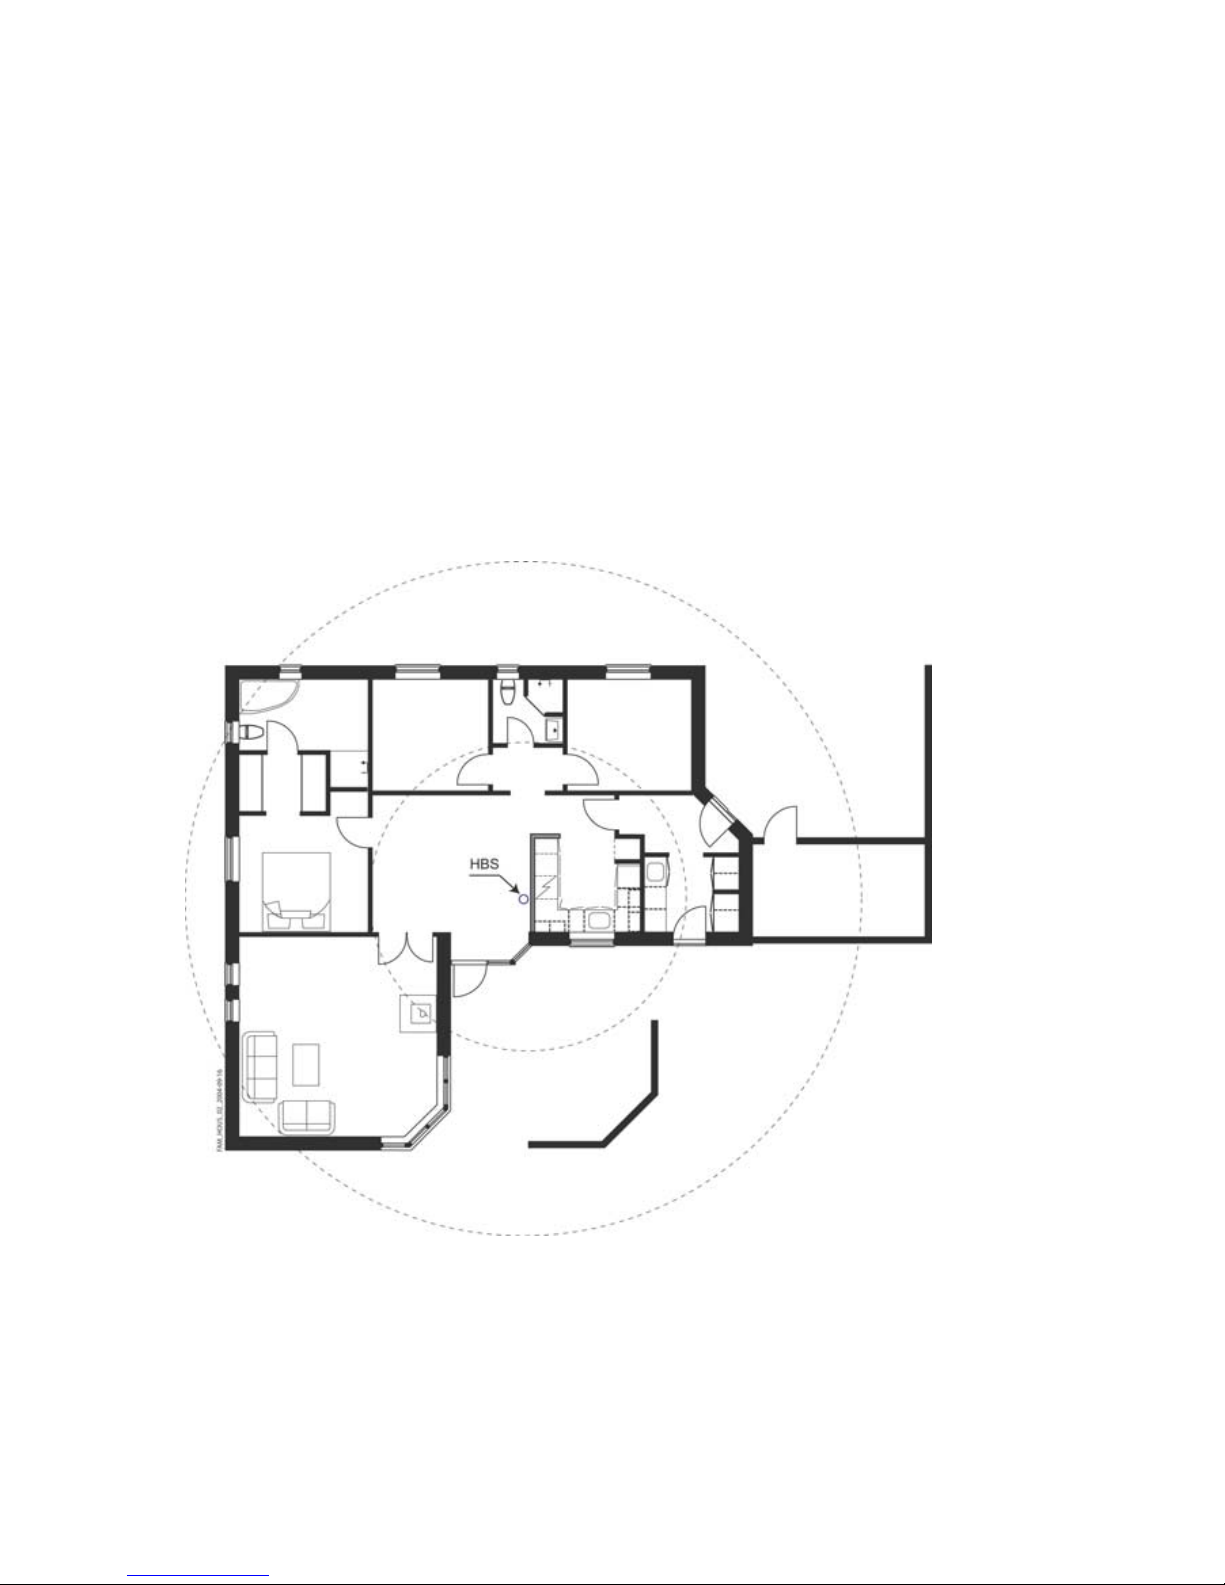
It is recommended to place the HBS2 as centrally as possible in the area to give
coverage; see Figure 1. A height of at least 1 meter above floor level is advised.
Figure 1 Example on centrally placement of HBS2 in the home;
circles indicate distance to the HBS2
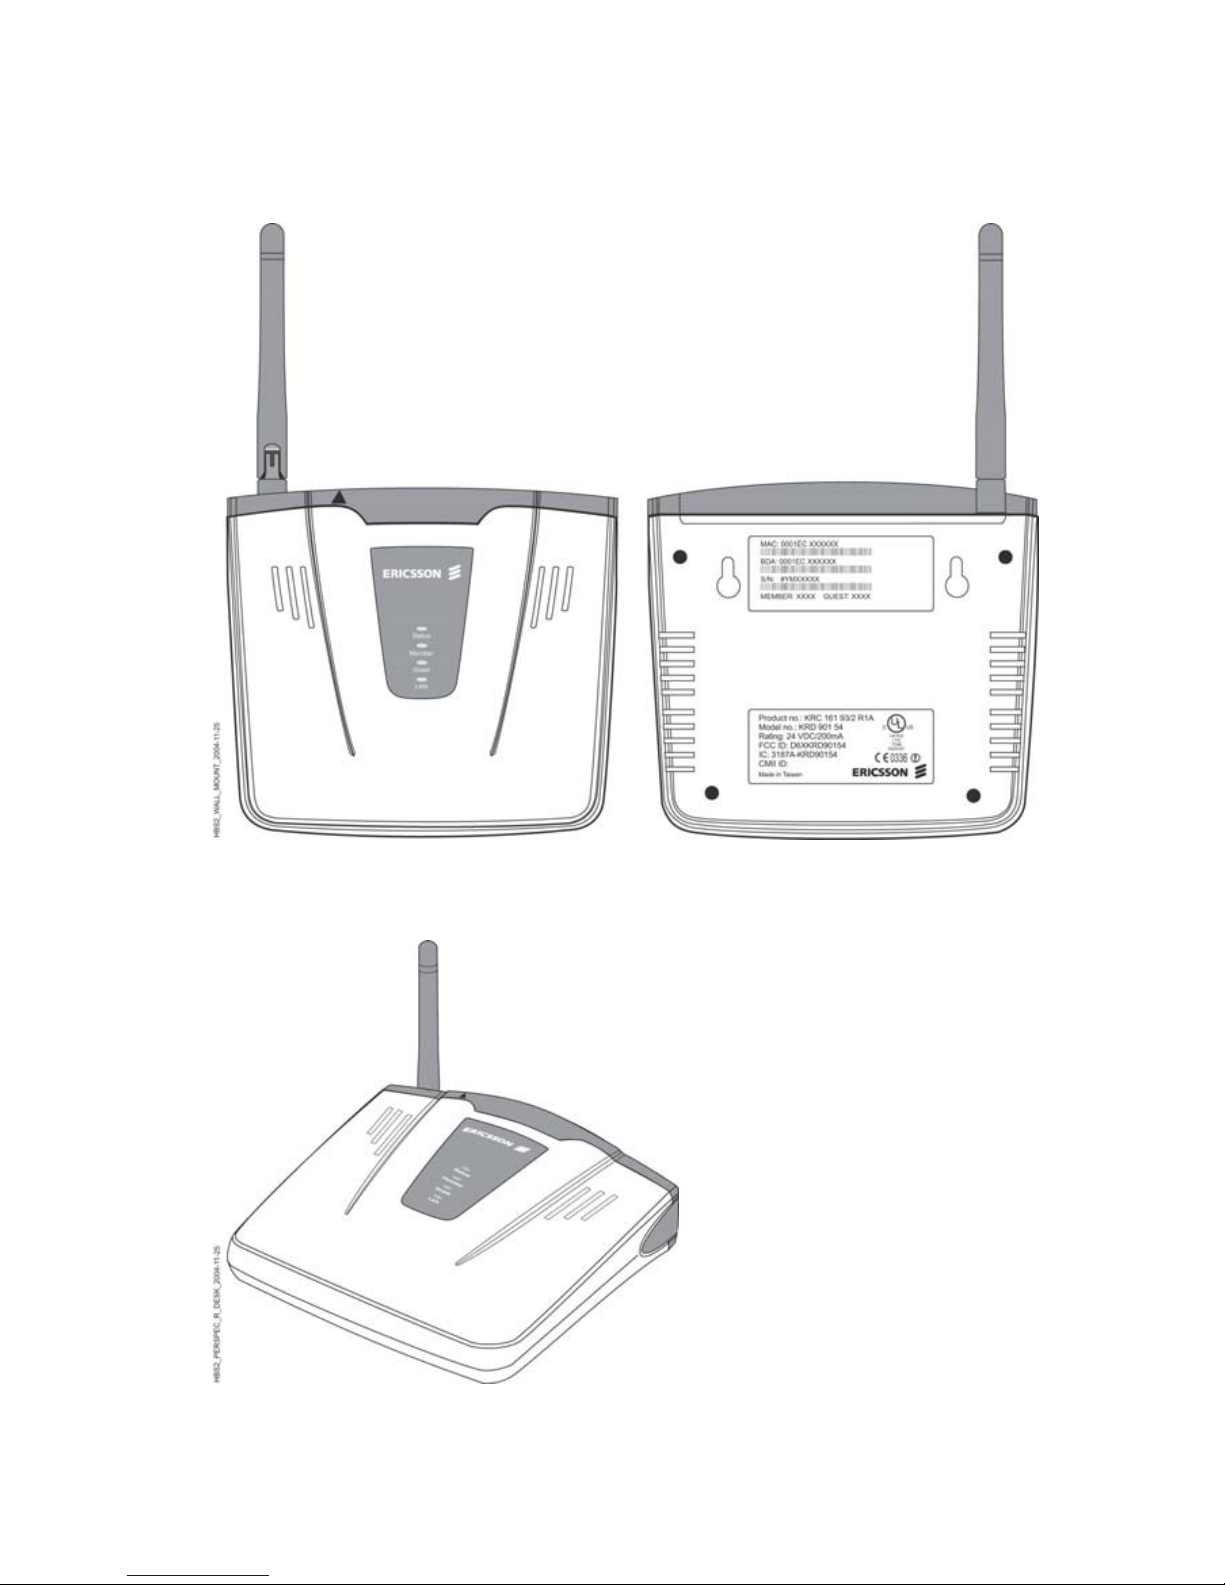
The HBS2 can be placed on the wall; see Figure 2 or standing on a desk, shelf or
the like; see Figure 3.
In principle the HBS2 may be placed where desired, although, to get the best
coverage, it is recommended not to place the HBS2 close to metallic objects, as
3
they will influence the transmitted signals. Usually the antenna is recommended to
point vertically.
Figure 2 Wall mount. Front view to the left. Bottom view to the right.
PIN codes for Member and Guest pairing are Factory default settings.
The Screw holes are 80 mm apart.
Figure 3 Desk and shelf placement
 Loading...