

Epson Stylus 2200 Quick Start Manual
Start
Start
Photo 2200
®
EPSON Stylus
Here
Here
1
1
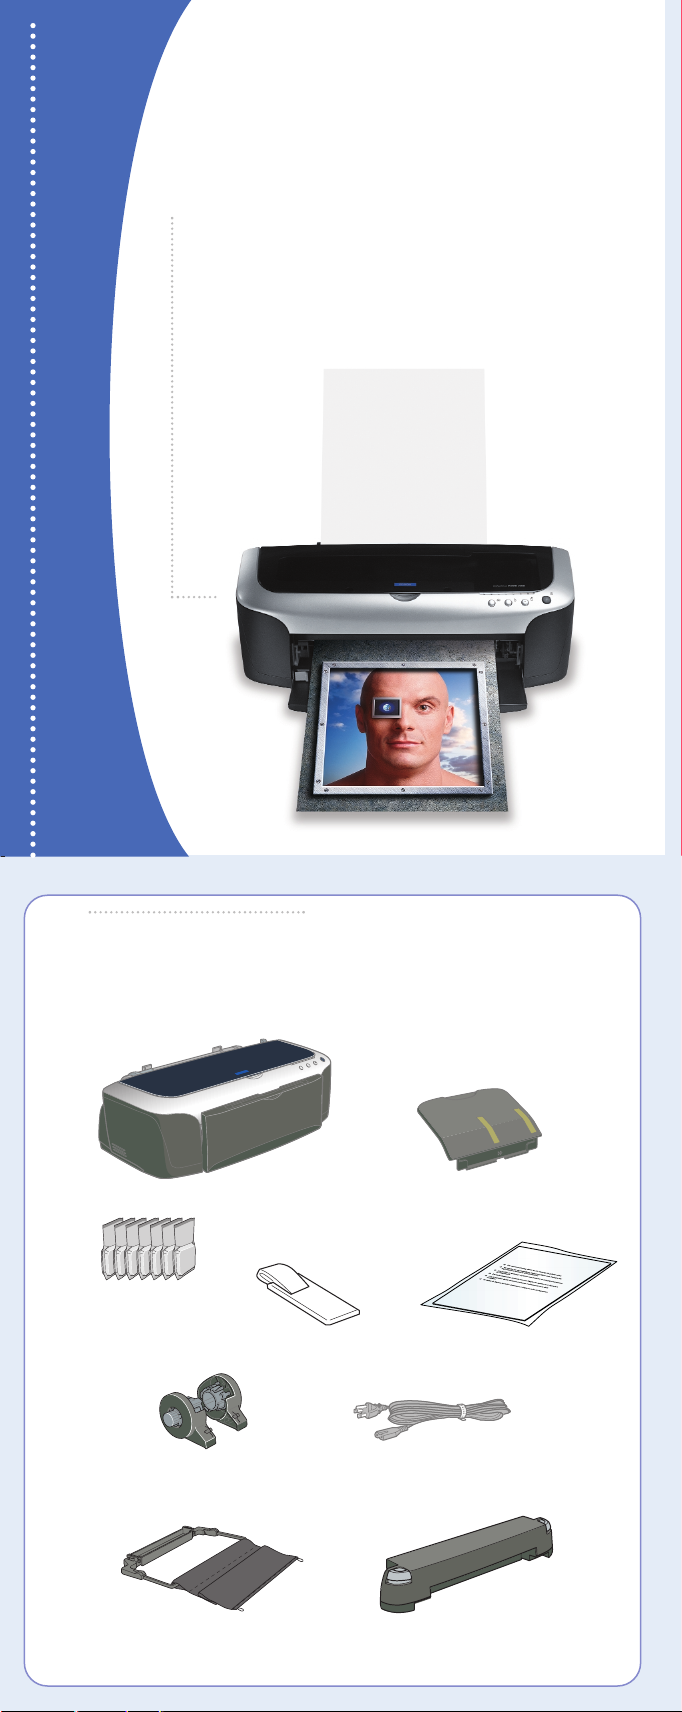
1 Remove everything from the box.
Unpack
Unpack
Ink cartridges
Roll paper holders
Printer
Paper support
Cleaning pad
Cleaning sheets
Power cord
Basket for
cut photos
Automatic roll
paper cutter
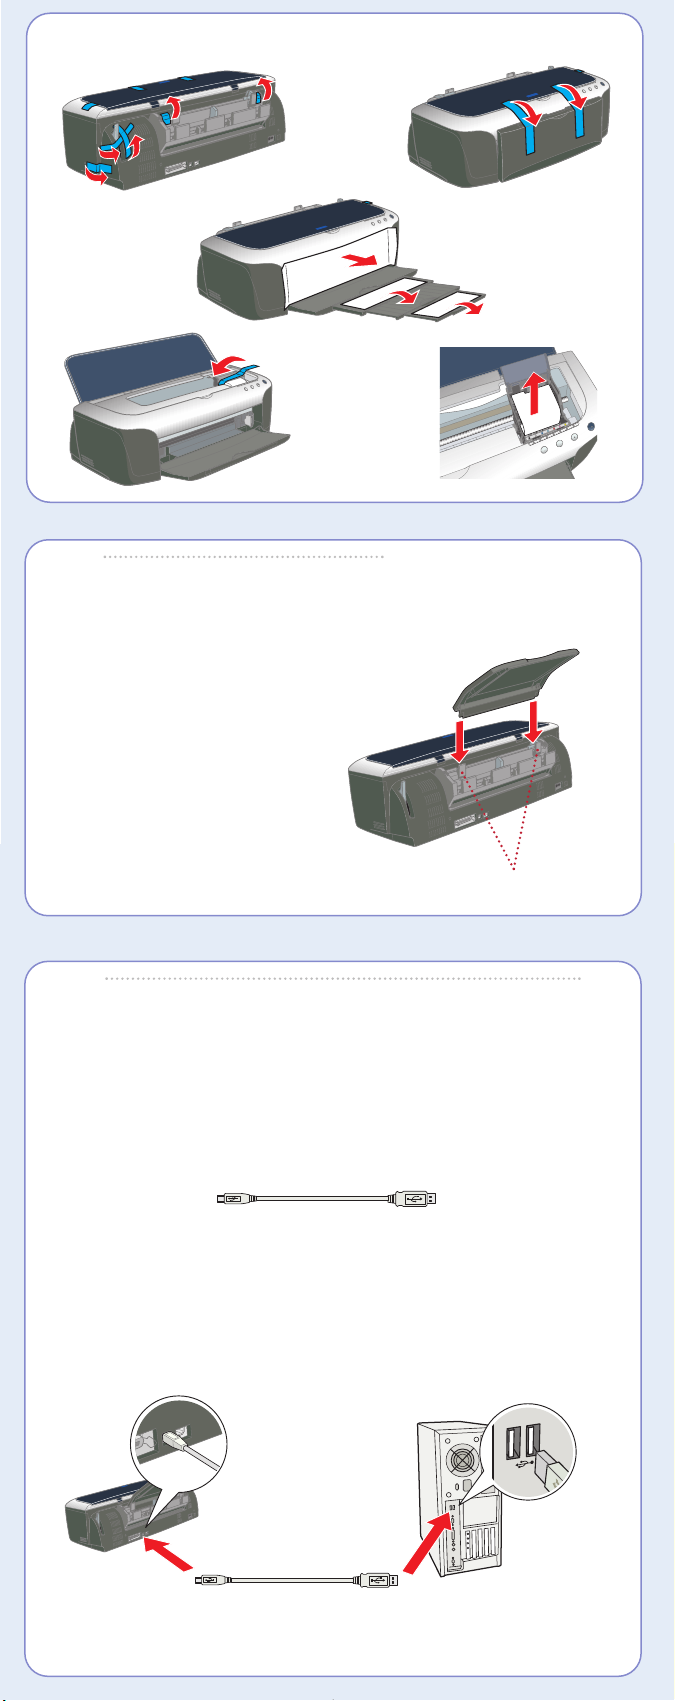
2 Remove all the blue tape and packing materials inside and around the printer.
2
2
Insert the paper support into its slots behind
the sheet feeder.
(To install the roll paper holders, and
automatic roll paper cutter and basket,
see your Printer Basics book.)
3
3
Printer connection cables are not included with your printer. You need only one of the
following cables:
• USB cable, or
• Parallel cable (PC only), or
• IEEE-1394 or FireWire™ cable.
Put On the
Put On the
Paper Support
Paper Support
Paper support slots
Connect the Printer
Connect the Printer
USB Cable Users
1 Shut down your computer. In Windows
or Tu rn O f f option.
Leave your computer turned off until section 7.
2 Plug the square end of the cable into your printer’s USB port until it stops.
3 Plug the flat end of the cable into your computer’s USB port until it stops.
(You can use any open USB port.)
Square end
4 Now plug in and turn on your printer, as described in section 4.
®
, click Start and select your Shut Down
Flat end
 Loading...