

Epson Stylus 2200 Read me
Read This First
This document contains important information about your Epson
Stylus® RIP Professional 2.0 software, including:
■ What you need to know before you install the software on your
Windows® system
■ Instructions for viewing the on-screen User’s Guide
■ Guidelines for setting up the PS Server on Macintosh
■ Which Epson
■ Information about sharing your printer on a network
®
papers are supported
®
OS X
Install Your Windows Printer Driver First
If you’re running Windows, be sure to connect the printer to your
computer and install the printer software that came with your Stylus
Photo 2200 before installing the Stylus RIP software. Otherwise you
may experience problems with the Stylus RIP software.
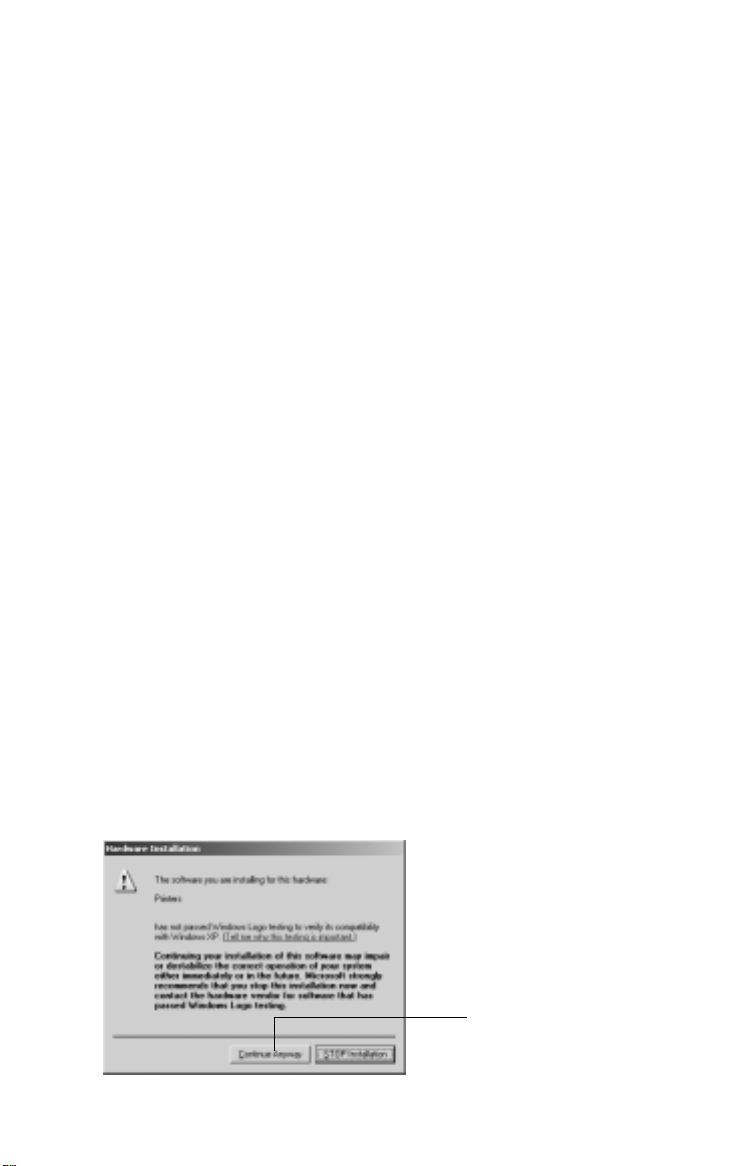
Windows Logo Testing
When you install the Stylus RIP software on Windows XP or 2000,
you’ll see a message that the software has not passed Windows Logo
testing or has not been digitally signed. Click Continue Anyway or
Next and continue with installation.
Click here (Windows XP)

Viewing Your On-Screen User’s Guide
The on-screen User’s Guide includes all the information you need to
install, set up, and use your software. Follow the instructions for your
operating system.
Macintosh
1. Insert the Epson CD-ROM included with the Stylus RIP software
in your drive.
2. If necessary, double-click the EPSON Stylus RIP Pro 2.0 icon on
your desktop to open its window.
3. Double-click the Manual folder.
4. Double-click the INDEX.HTM icon. The User’s Guide opens in
your Internet browser.
Windows
1. Insert the Epson CD-ROM that came with the Stylus RIP
software in your drive.
2. Click Cancel to close the language-selection dialog box.
3. Windows XP: Click Start > My Computer.
Other Windows systems: Double-click the My Computer icon
on your desktop.
4. Right-click the
EPSON Stylus RIP Pro icon and click Explore.
5. Double-click the english folder.
6. Double-click the
INDEX.HTM icon. The User’s Guide opens in
your Internet browser.
2
 Loading...